1. Introducere
The SINGER M1000 Mending Machine is a compact, lightweight, and portable sewing machine designed for light to medium weight fabrics and various mending and repair tasks. It features 32 stitch applications, an LED light, and user-friendly controls, making it suitable for both beginners and experienced sewists.
This manual provides essential information for setting up, operating, and maintaining your SINGER M1000 machine to ensure optimal performance and longevity.
2. Instrucțiuni de siguranță
- Always unplug the machine from the electrical outlet immediately after using and before cleaning, removing covers, or performing any user servicing adjustments.
- Țineți degetele departe de toate părțile în mișcare. O atenție specială este necesară în jurul acului mașinii de cusut.
- Use only accessories recommended by the manufacturer as contained in this manual.
- Nu folosiți niciodată mașina dacă are un cablu sau un ștecher deteriorat, dacă nu funcționează corect sau dacă a fost scăpată sau deteriorată.
- Nu operați acolo unde se folosesc produse aerosoli (spray) sau unde se administrează oxigen.
3. Componentele mașinii
Familiarize yourself with the main parts of your SINGER M1000 Mending Machine:

- Axul bobinei: Ține bobina de ață.
- Bobbin Winder Spindle: Folosit pentru a înfășura ața pe bobină.
- Selector de tensiune a firului: Reglează tensiunea firului superior.
- Selector de cusături: Used to choose from the 32 available stitch applications.
- Reverse Sewing Lever: Activează cusătura inversă pentru a fixa cusăturile.
- Ac Clamp Şurub: Fixează acul la loc.
- Picioruș presor: Ține materialul ferm pe transportoare.
- Câini de alimentare: Move the fabric under the needle.
- Lumina LED: Illuminates the sewing area.
- Braț liber: Allows for easy sewing of tubular items like cuffs and sleeves.
4. Configurare
4.1. Despachetarea și inspecția inițială
Carefully remove the machine from its packaging. Ensure all included accessories are present:
- Picior universal
- Extra Needle
- Bobbins: Class 15 (transparent)
- Înfilator manual cu ac
- Cablu de alimentare

4.2. Conexiune la alimentare
Connect the power cord to the machine and then to a suitable electrical outlet. Plug the foot pedal into its designated port on the machine.
4.3. Înfășurarea bobinei
- Puneți o bobină de fir pe axul bobinei.
- Ghidați firul prin ghidajul superior al firului și în jurul discului de tensionare a bobinei.
- Așezați o bobină goală pe axul bobinei.
- Înfășurați firul în sensul acelor de ceasornic de câteva ori în jurul bobinei.
- Împingeți axul bobinatorului bobinei spre dreapta.
- Apăsați pedala de picior pentru a începe înfășurarea. Opriți când bobina este plină.
- Tăiați firul și împingeți axul bobinei înapoi spre stânga.
4.4. Introducerea bobinei
The SINGER M1000 features a convenient top drop-in bobbin system:
- Open the transparent bobbin cover plate.
- Introduceți bobina în carcasa bobinei, asigurându-vă că firul se derulează în direcția corectă (de obicei, în sens invers acelor de ceasornic).
- Follow the indicated threading path on the machine for the bobbin thread.
- Înlocuiți placa de acoperire a bobinei.

4.5. Înfilarea firului superior
Follow the numbered threading guides on the machine for proper upper thread tension and needle threading:
- Ridicați maneta piciorușului presor.
- Așezați bobina de ață pe axul bobinei.
- Ghidați firul prin ghidajul superior al firului (1).
- Bring the thread down through the right thread channel (2).
- Loop the thread up and around the take-up lever (3) from right to left.
- Bring the thread down through the left thread channel (4).
- Treceți firul prin spatele ghidajului de fir al tijei acului (5).
- Thread the needle from front to back. Use the manual needle threader if desired.

4.6. Instalarea acului
To install or change the needle:
- Rotiți volantul spre dumneavoastră pentru a ridica acul în poziția sa cea mai înaltă.
- Slăbiți acul clamp şurub.
- Remove the old needle (if applicable).
- Introduceți noul ac cu partea plată orientată spre spatele mașinii, împingându-l în sus până la capăt.
- Strângeți acul clamp înșurubați bine.
5. Funcționare
5.1. Selectarea cusăturii
The SINGER M1000 offers 32 stitch applications. Turn the Stitch Selector Dial to choose the desired stitch. The machine has preset stitch length and width for ease of use.

5.2. Adjustable Thread Tension
The thread tension dial allows you to customize the stitch appearance based on the fabric and thread type. Adjust the dial to achieve balanced tension for neat, professional-looking results. Refer to the manual for recommended tension settings for different stitches and fabrics.
5.3. Cusătură inversă
To reinforce seams at the beginning and end, use the reverse stitch lever. Press and hold the lever while sewing to stitch backward. Release the lever to resume forward stitching. This prevents stitches from unraveling.
5.4. Free Arm Functionality
The machine features a built-in free arm. To access it, slide off the removable accessory storage compartment. The free arm is ideal for sewing tubular or hard-to-reach fabric areas such as cuffs, sleeves, and pant hems.
5.5. Lumina LED
The integrated LED light illuminates the sewing area, providing clear visibility for detailed work and reducing eye strain, especially in low-light conditions.
5.6. Basic Sewing Applications
The M1000 is versatile for various tasks:
- Mending: Repair tears, holes, and worn areas on clothing.
- Hemming: Create neat and durable hems on garments.
- Patch-uri: Apply patches to strengthen or decorate fabric.
- Embellishments: Add decorative stitches or appliques to personalize items.

6. Întreținere
6.1. Curatenie
Regular cleaning helps maintain your machine's performance:
- Deconectați întotdeauna aparatul înainte de curățare.
- Scoateți placa acului și carcasa bobinei.
- Folosiți o perie mică pentru a îndepărta scamele și praful de pe transportoare și din zona bobinei.
- Ștergeți exteriorul mașinii cu o lavetă moale și uscată.
6.2. Depozitare
When not in use, store your SINGER M1000 in a dry, dust-free environment. Using a dust cover is recommended to protect the machine from dust and debris.
7. Depanare
If you encounter issues with your SINGER M1000, consider the following common solutions:
- Cusături sărite: Ensure the needle is inserted correctly, not bent, and is the appropriate type for your fabric. Re-thread the machine completely.
- Ruperea firului: Check for proper threading, correct thread tension, and ensure the needle is not dull or bent. Use good quality thread.
- Blocarea mașinii: Remove any tangled threads from the bobbin area. Ensure the bobbin is correctly inserted and wound.
- Cusături neuniforme: Adjust the thread tension. Ensure the fabric is fed evenly without pulling or pushing excessively.
For more detailed troubleshooting guides and tutorials, refer to the SINGER Creativate App or the official SINGER support website-ul.
8. Specificații
| Caracteristică | Detaliu |
|---|---|
| Numărul de model | M1000 |
| Marca | CÂNTĂREAŢĂ |
| Dimensiunile produsului | 11.4 x 5.1 x 9.4 inchi (28.96 x 12.95 x 23.88 cm) |
| Greutatea articolului | 5.5 lire (2.49 kg) |
| Aplicații de cusături | 32 |
| Componente incluse | All-Purpose Foot, Extra Needle, Bobbins: Class 15 (transparent), Manual Needle Threader, Power Cord |
| Culoare | Negru |
| UPC | 840163309608 |
9. Garanție și asistență
Pentru informații despre garanție, înregistrarea produsului și asistență suplimentară, vă rugăm să vizitați site-ul oficial SINGER website or utilize the SINGER Creativate App.
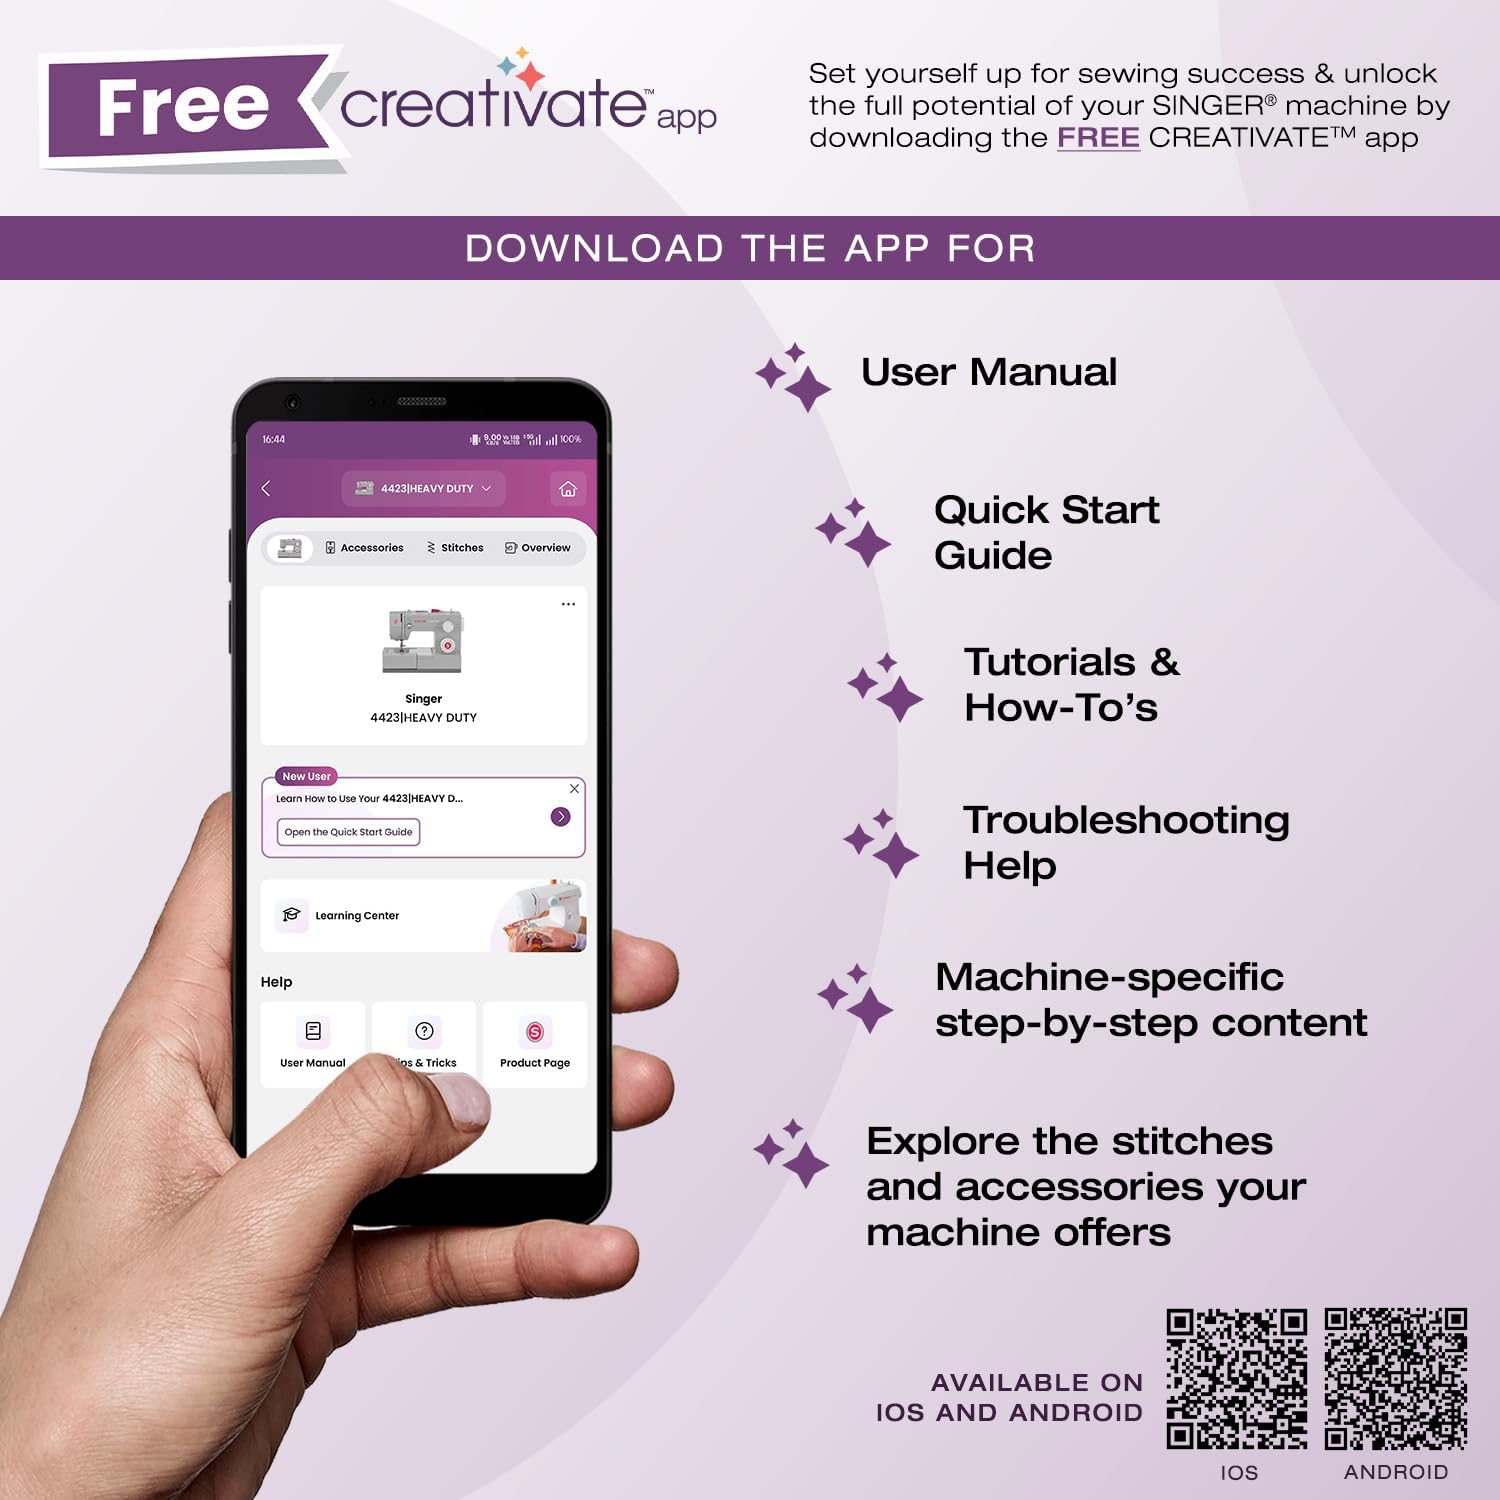
The SINGER Creativate App is your sewing support hub, offering access to your machine's manual, quick start guides, tutorials, troubleshooting tips, and information on accessories. Download the app to enhance your sewing experience.

Descărcați aplicația:
For direct support, visit the SINGER support page: singer.com/support


