1. Introducere
This manual provides detailed instructions for the installation, operation, and maintenance of your MOES WiFi Smart Light Switch (1-Gang). This smart switch is designed to enhance your home lighting control with convenience and smart features.
Caracteristici cheie:
- Supports both no-neutral wire and with-neutral wire configurations.
- No hub required; connects directly to your 2.4GHz Wi-Fi network.
- Compatible with Alexa and Google Assistant for voice control.
- Control de la distanță prin intermediul aplicației pentru smartphone.
- Timer and scheduling functions for automated lighting.
- Space-saving design fits most standard wall boxes.

Image 1.1: MOES WiFi Smart Light Switch packaging and the 1-gang switch unit.
2. Informații de siguranță
- Întotdeauna opriți alimentarea cu energie de la întrerupătorul de circuit înainte de instalare sau întreținere.
- Dacă nu sunteți sigur în legătură cu cablajul electric, consultați un electrician calificat.
- This switch is designed for indoor use only.
- Nu depășiți sarcinile maxime specificate în specificațiile produsului.
3. Ghid de instalare
3.1. Lista de verificare înainte de instalare
- Ensure your home has a 2.4GHz Wi-Fi network. 5GHz networks are not supported.
- Confirm the existing wiring in your wall box (neutral wire present or not).
- Tools required: Screwdriver, wire strippers, voltage tester.
3.2. Instrucțiuni de cablare
The MOES Smart Light Switch supports both neutral wire and no-neutral wire configurations. Please identify your wiring type before proceeding.
3.2.1. No-Neutral Wire Installation
If your wall box does not have a neutral wire, a capacitor (included in the package) is required for proper operation. This capacitor must be connected across the light bulb terminals.
- Opriți alimentarea: Localizați întrerupătorul și opriți alimentarea cu energie a comutatorului pe care îl înlocuiți. Verificați dacă alimentarea este întreruptă cu un volmetru.tage tester.
- Identificați firele: In your wall box, identify the Line (Live) wire, Load wire(s), and Ground wire.
- Connect wires to the switch:
- Connect the Line wire to the 'L' terminal on the smart switch.
- Connect the Load wire(s) to the 'L1' (OUT) terminal. For 1-gang switches, typically only L1 is used.
- Connect the Ground wire to the 'GND' terminal.
- Instalați condensatorul: Connect the provided capacitor across the light bulb terminals (between the live and neutral wires at the light fixture). This is crucial for no-neutral setups to ensure stable power to the smart switch.
- Montați comutatorul: Secure the smart switch into the wall box and attach the faceplate.
- Restaurați alimentarea: Reporniți alimentarea la întrerupător.

Image 3.1: Wiring diagram for no-neutral wire installation, showing capacitor connection.

Image 3.2: Comparison of Neutral + Live Wire and No Neutral Wire diagrams, highlighting the capacitor for no-neutral setups.
3.2.2. With-Neutral Wire Installation
If your wall box has a neutral wire, the installation is straightforward.
- Opriți alimentarea: Localizați întrerupătorul și opriți alimentarea cu energie a comutatorului pe care îl înlocuiți. Verificați dacă alimentarea este întreruptă cu un volmetru.tage tester.
- Identificați firele: In your wall box, identify the Line (Live) wire, Neutral wire, Load wire(s), and Ground wire.
- Connect wires to the switch:
- Connect the Line wire to the 'L' terminal on the smart switch.
- Conectați firul neutru la terminalul „N”.
- Connect the Load wire(s) to the 'L1' (OUT) terminal. For 1-gang switches, typically only L1 is used.
- Connect the Ground wire to the 'GND' terminal.
- Montați comutatorul: Secure the smart switch into the wall box and attach the faceplate.
- Restaurați alimentarea: Reporniți alimentarea la întrerupător.
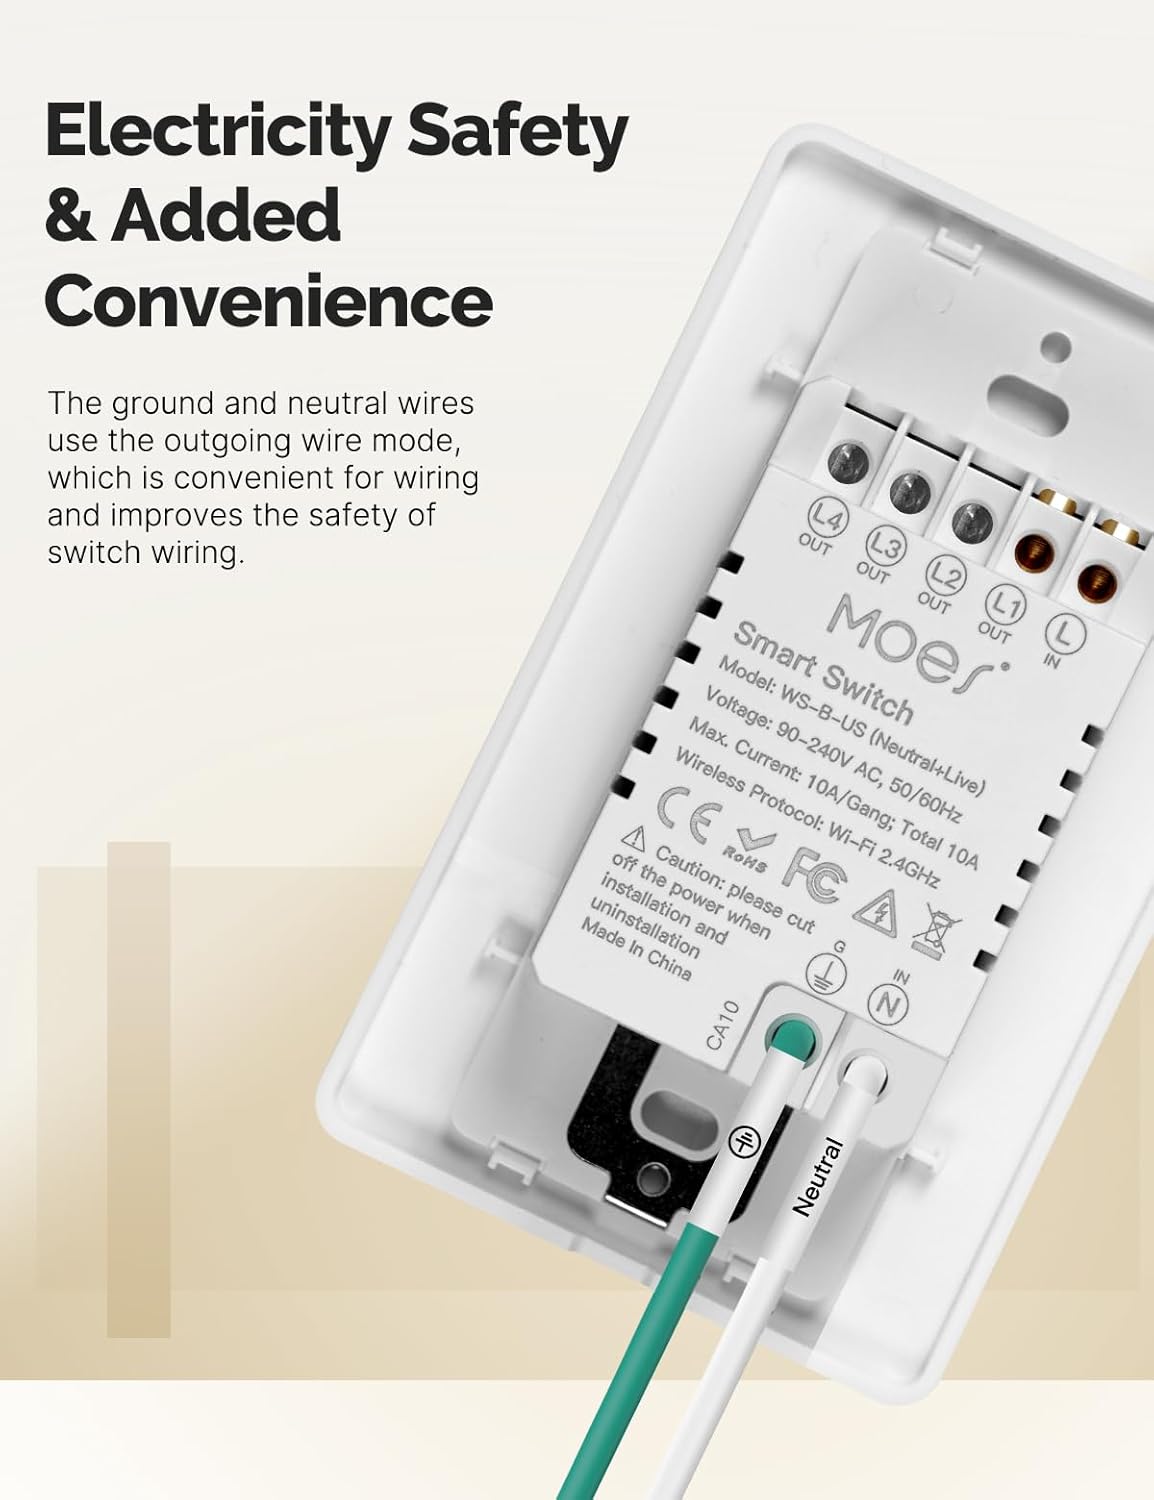
Imaginea 3.3: Spate view of the MOES Smart Switch showing wiring terminals for Line, Neutral, Load, and Ground connections.
3.3. Împerecherea aplicațiilor
- Descărcați aplicația: Download the "Smart Life" or "MOES" app from your smartphone's app store.
- Înregistrare/Autentificare: Creați un cont sau conectați-vă la aplicație.
- Adăugați dispozitiv: Atingeți pictograma „+” din colțul din dreapta sus al aplicației pentru a adăuga un dispozitiv nou.
- Selectați tipul dispozitivului: Choose "Electrical" then "Light Switch" or "Switch (Wi-Fi)".
- Introduceți detaliile Wi-Fi: Asigurați-vă că telefonul este conectat la o rețea Wi-Fi de 2.4 GHz. Introduceți parola Wi-Fi.
- Mod de asociere: The switch should automatically enter pairing mode (indicator light blinking rapidly). If not, press and hold the switch button for 5-10 seconds until it blinks rapidly.
- Împerechere completă: Follow the on-screen instructions in the app to complete the pairing process. Once connected, you can rename the switch.
Video 3.1: A visual guide demonstrating the general installation process for the MOES Smart Light Switch, including wiring and app pairing. (Note: Video may show a multi-gang switch, but principles apply to 1-gang).
4. Instrucțiuni de utilizare
4.1. Control manual
Press the physical button(s) on the switch to turn the connected light(s) on or off. The switch features high-quality buttons for reliable operation.
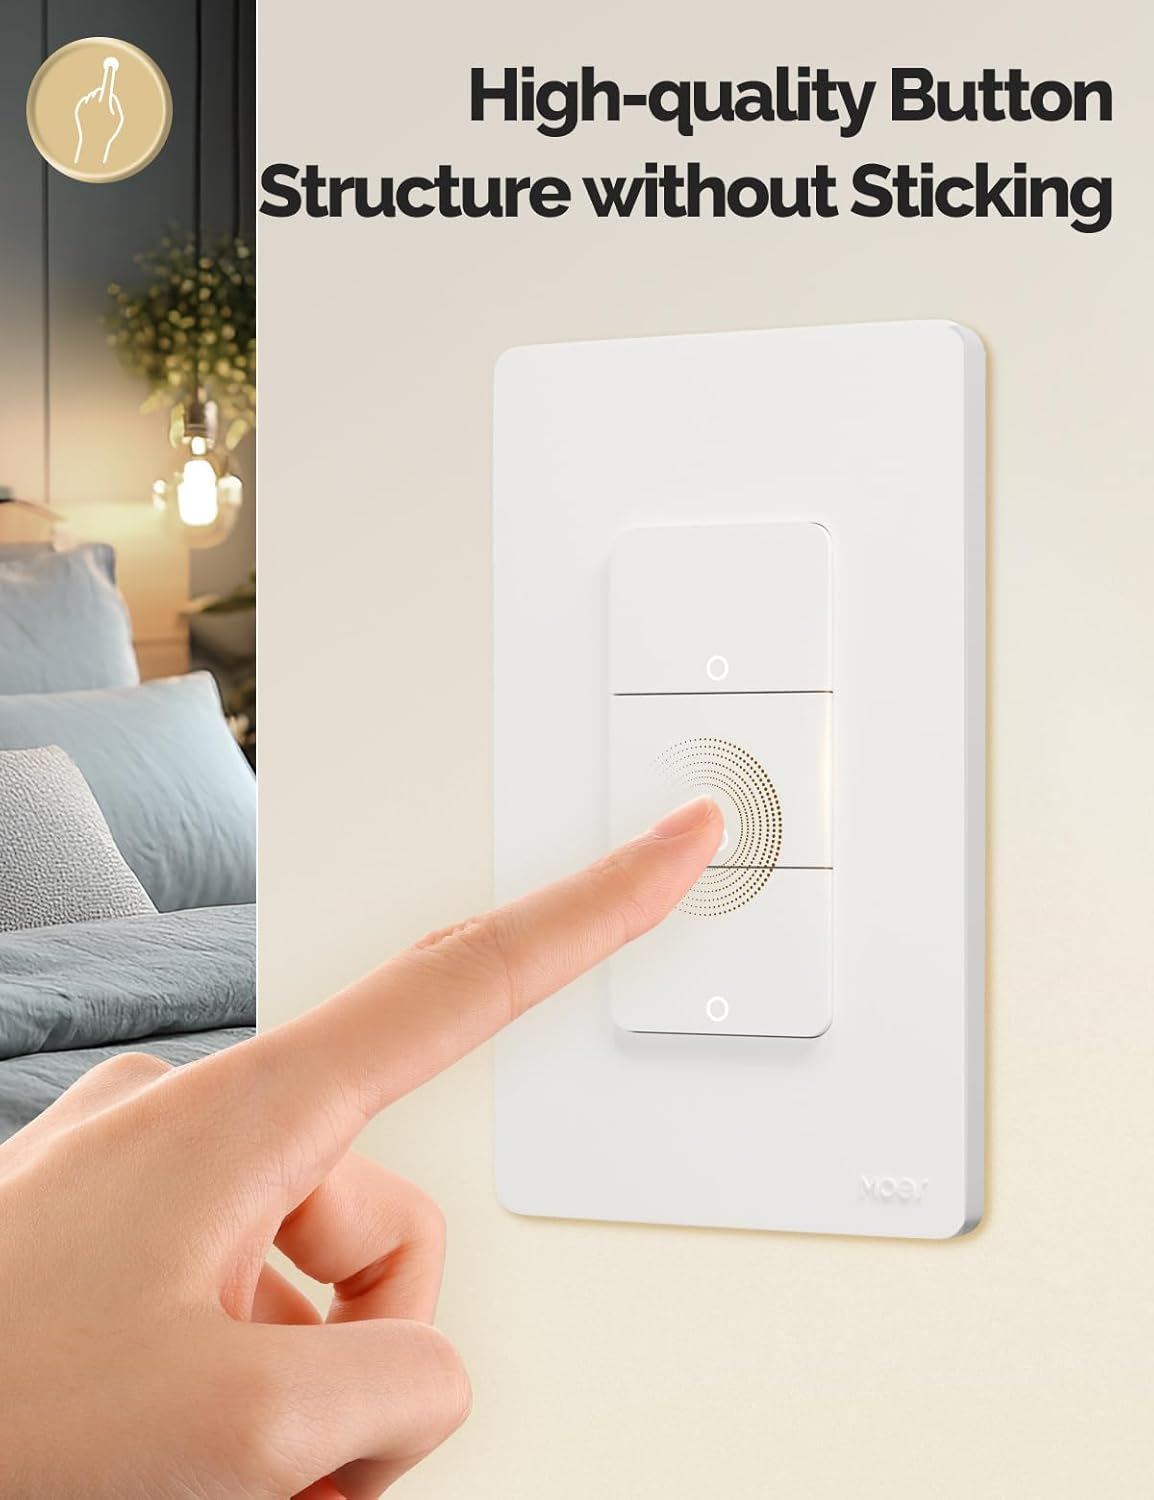
Image 4.1: Close-up of the MOES Smart Switch highlighting its high-quality button design.
4.2. App Control (Remote Control)
Once paired with the app, you can control your lights from anywhere using your smartphone.
- Open the "Smart Life" or "MOES" app.
- Select your smart switch from the device list.
- Tap the on/off icons to control your lights.

Image 4.2: Demonstrates remote control functionality of the smart switch via the mobile application.
4.3. Control vocal
The switch is compatible with Amazon Alexa and Google Assistant for hands-free control.
- Conectare cont: In your Alexa or Google Home app, link your "Smart Life" or "MOES" account.
- Descoperiți dispozitive: Roagă-ți asistentul vocal să descopere dispozitive noi.
- Comenzi vocale: Use commands like "Alexa, turn on the living room light" or "Hey Google, turn off the bedroom light."

Image 4.3: Setup showing smart speakers (Alexa, Google Home) interacting with the smart switch for voice control.
4.4. Funcții de temporizator și programare
Automate your lighting with customizable timers and schedules through the app.
- Programa: Setați ore specifice pentru aprinderea sau stingerea luminilor zilnic sau în anumite zile.
- Numărătoarea inversă: Set a countdown timer for lights to turn off after a set duration.
- Sincronizarea ciclului: Configure lights to cycle on and off at regular intervals.
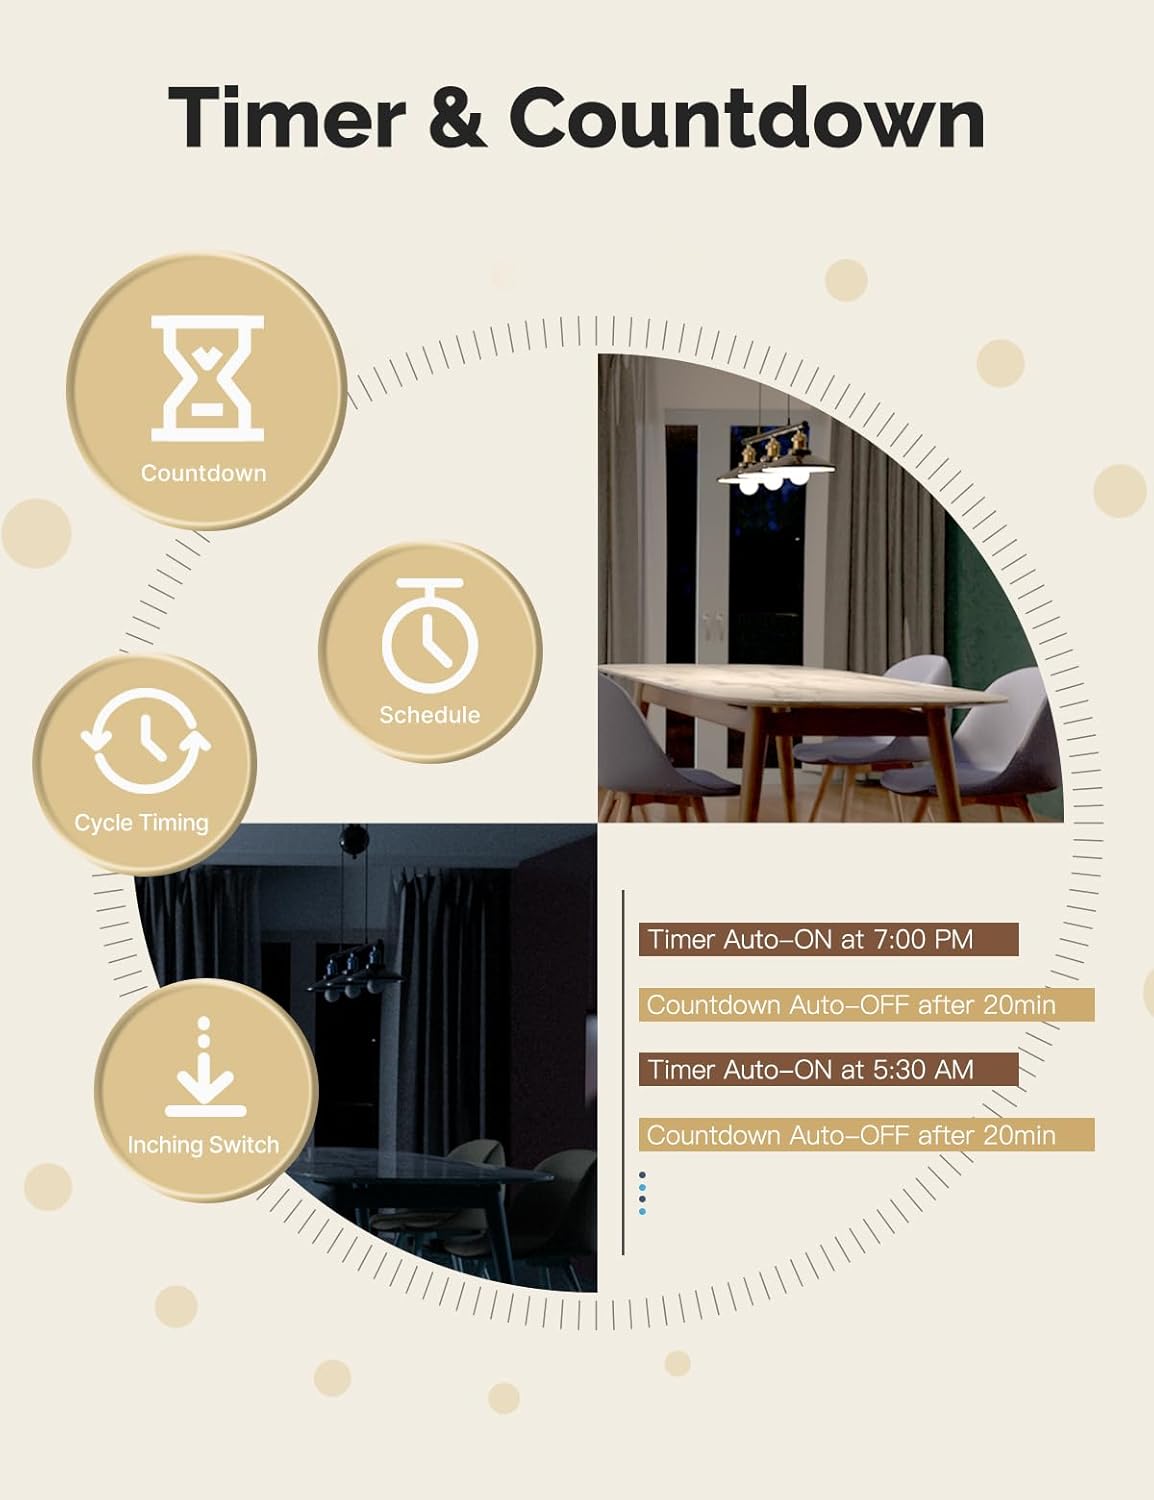
Image 4.4: Visual representation of timer and countdown settings available in the smart home application.
4.5. Indicator Light Mode
The switch features an indicator light that can be configured via the app to show ON/OFF status or switch location in the dark.

Image 4.5: Illustrates different indicator light modes, such as showing ON/OFF status or switch location.
4.6. Relay Status Settings
Configurați comportamentul switch-ului după o întrerupere a alimentăriitage (Power-off, Power-on, or Restart Memory) through the app settings.

Image 4.6: Screenshot of the app interface for configuring relay status settings after a power interruption.
5. Întreținere
- Clean the switch faceplate with a soft, dry cloth. Avoid abrasive cleaners or solvents.
- Regularly check for app updates to ensure optimal performance and security.
- Ensure your Wi-Fi network is stable and within range of the switch.
6. Depanare
| Problemă | Cauza posibila | Soluţie |
|---|---|---|
| Comutatorul nu răspunde la comenzile aplicației/vocale. |
|
|
| Lights flicker or do not turn off completely (no-neutral wiring). |
|
|
| Switch gets warm or burns out. |
|
|
| Difficulty with initial installation. |
|
|
7. Specificații
| Caracteristică | Detaliu |
|---|---|
| Marca | MOES |
| Model | WS-US-L (1-Gang) |
| Modul de operare | Automat |
| Tip de contact | Deschis normal |
| Tip conector | Terminale cu șuruburi |
| Terminal | Şurub |
| Tipul circuitului | 2 sensuri |
| Tip de montare | Montare pe perete |
| Material de contact | Cupru |
| Numărul de poziții | 1 |
| Metoda de control | Aplicație, Telecomandă, Tactil, Voce |
| Protocolul wireless | 2.4GHz Wi-Fi |
| Voltage | 90-240V AC, 50/60Hz |
| Max. Current (per gang) | 8A |
| Total Max. Current | 8A |

Image 7.1: Detailed dimensions and technical specifications of the MOES Smart Light Switch.
8. Garanție și asistență
MOES products are designed for reliability and performance. For warranty information, technical support, or further assistance, please visit the official MOES website-ul lor sau contactați direct serviciul lor de asistență pentru clienți.
Puteți găsi mai multe informații și resurse de asistență la Magazinul MOES pe Amazon.


