1. Produs terminatview
The Pixio PS1D Wave Dual Monitor Arm Stand is designed to enhance your workspace by providing an ergonomic and organized setup for two monitors. It features a gas spring system for smooth adjustments, integrated cable management, and versatile mounting options.
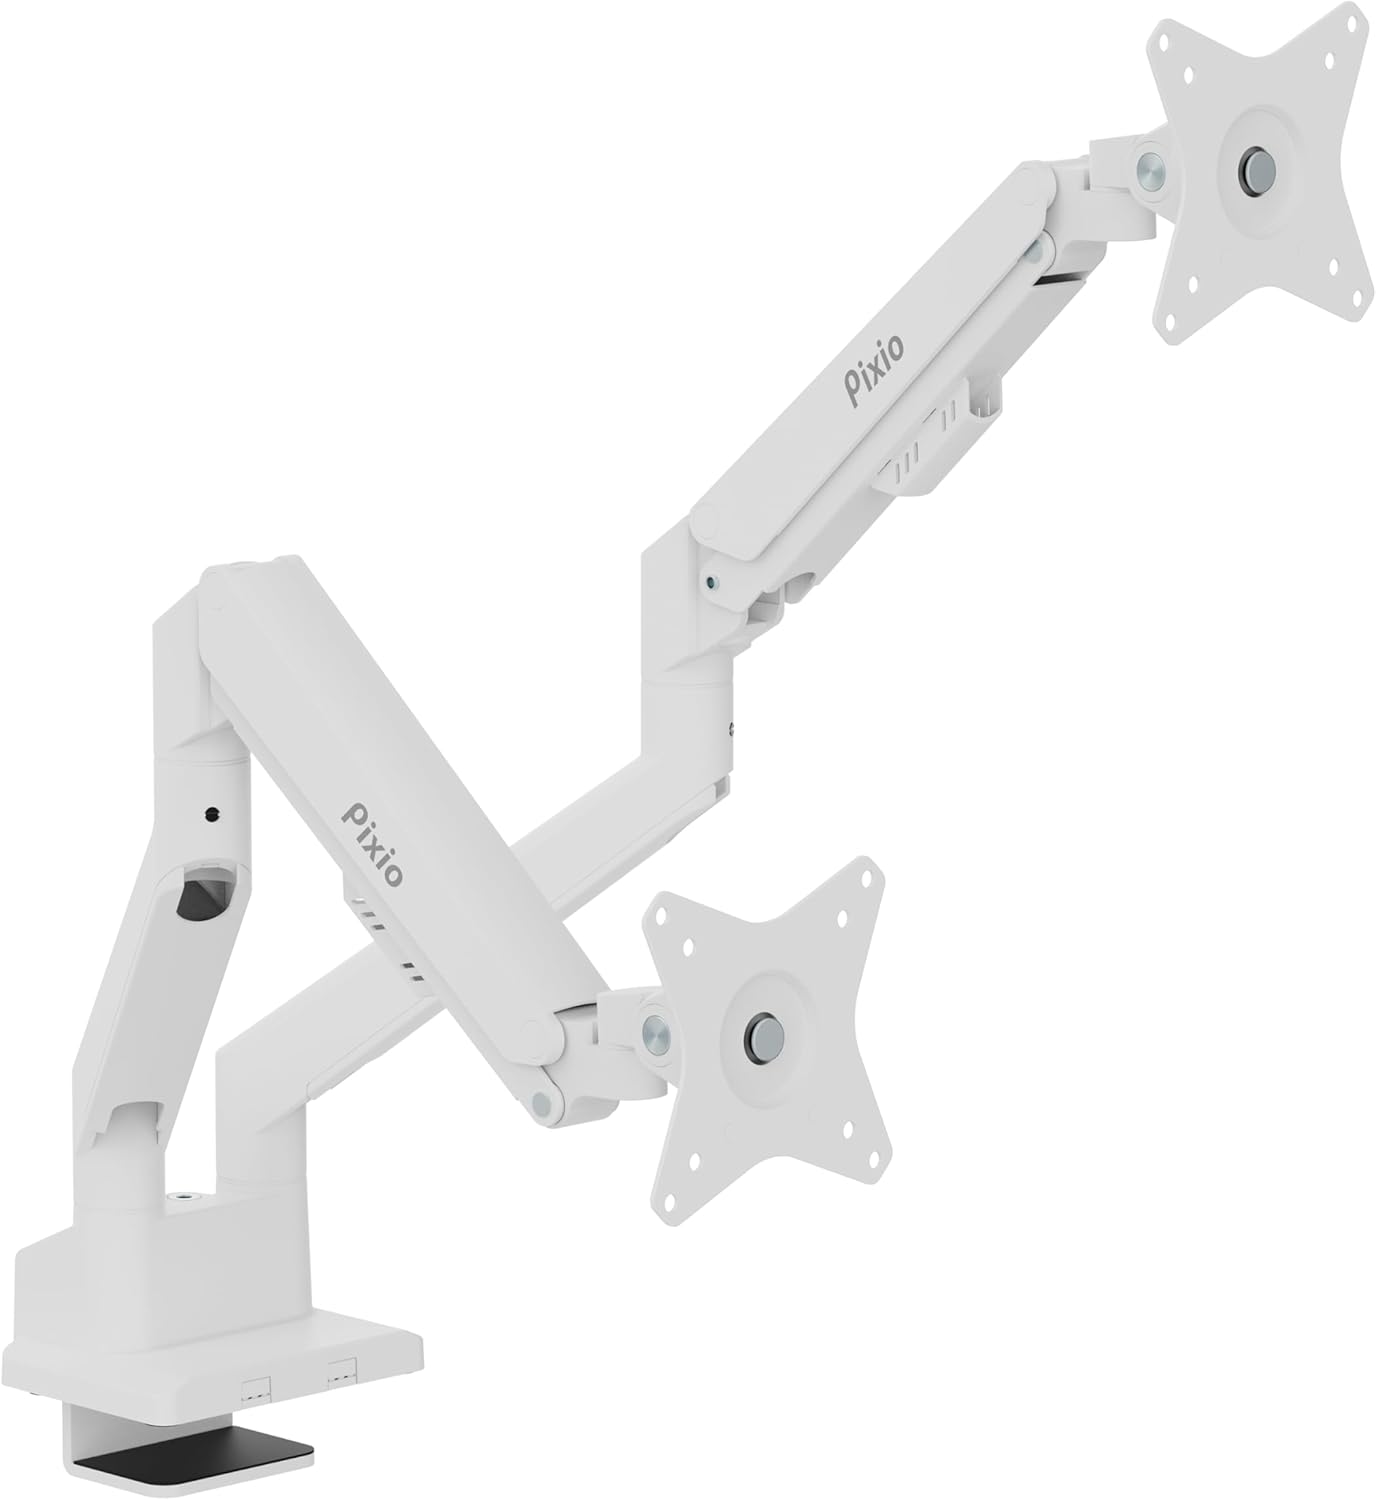
Image: The Pixio PS1D Wave Dual Monitor Arm Stand, showcasing its dual arms and desk clamp in a clean white finish.

Image: A visual representation of two monitors mounted on the PS1D Wave stand, demonstrating how it elevates and organizes the desk space.
Caracteristici cheie:
- Supports two monitors up to 32 inches each.
- Load capacity of 2.2 to 19.8 lbs per arm.
- VESA compatibility: 75x75mm and 100x100mm.
- Smooth height, tilt, swivel, and pivot adjustments.
- Integrated cable management system.
2. Configurare și instalare
2.1 Despachetarea și verificarea componentelor
Carefully remove all components from the packaging. Verify that all parts are present according to the included parts list in your product box.
2.2 Opțiuni de montare
The PS1D Wave offers two primary mounting methods: C-Clamp and Grommet Mount. Both methods allow for installation entirely from above the desk surface.

Imagine: Detaliată view al C-Clamp and Grommet mounting options, illustrating how the stand attaches to a desk. The C-Clamp supports desk thickness from 0.39" to 1.8", and the Grommet mount supports 0.39" to 1.6".
C-Clamp Instalare:
- Atașați C-clamp base to the bottom of the main pole.
- Poziționați clamp pe marginea biroului tău.
- Tighten the screw until the stand is securely fastened to the desk. Ensure the desk thickness is between 0.39 inches and 1.8 inches.
Instalare montare cu ochiuri:
- Insert the grommet bolt through the desk's grommet hole.
- Attach the grommet base to the main pole.
- Secure the stand from underneath the desk using the provided nut. Ensure the desk thickness is between 0.39 inches and 1.6 inches.
2.3 Atașarea monitoarelor
The monitor arm supports VESA mounting patterns of 75x75mm and 100x100mm.

Image: Close-up of the detachable VESA plate, highlighting its compatibility with 75x75mm and 100x100mm VESA patterns, simplifying monitor attachment and removal.
- Atașați placa VESA pe spatele monitorului folosind șuruburile corespunzătoare.
- Slide the monitor with the attached VESA plate onto the arm's mounting head until it clicks into place.
- Repeat for the second monitor.

Image: Two monitors attached to the stand, illustrating the supported screen size of 17"-32" and load capacity of 2.2-19.8 lbs per arm.
3. Operare și reglaje
The PS1D Wave monitor arm features a built-in spring tension mechanism for smooth and precise adjustments.

Imagine: Un prim-plan view of the arm's tension adjustment point, showing an Allen key being used to modify the spring tension for different monitor weights.
3.1 Reglarea tensiunii
Adjust the tension of the gas spring to match the weight of your monitors. This ensures the monitors stay in place after adjustment.
- La creste tensiunea (for heavier monitors), turn the adjustment screw în sensul acelor de ceasornic.
- La reduce tension (for lighter monitors), turn the adjustment screw în sens invers acelor de ceasornic.

Image: A diagram showing the tension adjustment points on the monitor arm, indicating which direction to turn for increasing sau decreasing tension based on monitor weight.
3.2 Poziționarea monitorului
The arm allows for a wide range of motion to achieve your ideal viewing position:
- Reglarea înălțimii: Move the arm up or down along the pole.
- Înclinare: Adjust the monitor screen vertically (+45° to -45°).
- pivotare: Rotate the monitor horizontally (±90° at the VESA plate, ±180° at the arm joint).
- Rotaţie: Rotate the monitor from landscape to portrait orientation (±90°).

Image: A comprehensive diagram illustrating the various adjustment capabilities of the monitor arm, including tilt, swivel, and rotation angles.
3.3 Managementul cablurilor
Utilize the integrated cable management clips to keep your desk tidy and cables organized.

Imagine: Un prim-plan view of the monitor arm's integrated cable clips, designed to neatly route and conceal monitor cables.
Simply open the clips on the underside of the arms, route your monitor and power cables through them, and close the clips to secure the cables. This helps prevent clutter and protects cables from damage.
Video: An official Pixio video demonstrating the features and adjustability of the PS1D Wave Dual Monitor Arm, including setup, VESA compatibility, spring mechanism, cable management, and various positioning options.
4. Întreținere
To ensure the longevity and optimal performance of your Pixio PS1D Wave Dual Monitor Arm Stand, follow these simple maintenance guidelines:
- curatenie: Use a soft, dry cloth to wipe down the surface of the monitor arm. For stubborn marks, a slightly damp Se poate folosi o lavetă cu săpun delicat, urmată de uscarea completă. Evitați substanțele de curățare abrazive sau solvenții.
- Verificări periodice: Verificați periodic toate șuruburile și conexiunile pentru a vă asigura că rămân strânse și fixate. Strângeți-le din nou dacă este necesar.
- Reglarea arcului cu gaz: If your monitors feel too loose or too stiff, re-adjust the gas spring tension as described in Section 3.1.
5. Depanare
If you encounter any issues with your Pixio PS1D Wave Dual Monitor Arm Stand, refer to the following common troubleshooting tips:
5.1 Monitor Does Not Stay in Position (Sags/Rises)
This is typically due to incorrect gas spring tension for the weight of your monitor.
- Soluţie: Adjust the gas spring tension. If the monitor sags, increase tension (turn clockwise). If it rises too easily, decrease tension (turn counter-clockwise). Refer to Section 3.1 for detailed instructions.
5.2 Stand Feels Unstable
An unstable stand can be caused by loose mounting or an unsuitable desk surface.
- Soluţie: Ensure the C-Clamp or Grommet mount is securely tightened to the desk. Verify that your desk surface is sturdy enough to support the weight of the stand and monitors.
5.3 Difficulty Attaching VESA Plate
Ensure you are using the correct VESA screw size and that the monitor's VESA holes are not obstructed.
- Soluţie: Double-check your monitor's VESA pattern (75x75mm or 100x100mm) and use the corresponding screws. Ensure no cables or obstructions are preventing the plate from sitting flush.
If you continue to experience issues, please contact Pixio customer support.
6. Specificații
| Caietul de sarcini | Detaliu |
|---|---|
| Marca | pixio |
| Numărul de model | PSW1DWH |
| Greutatea articolului | 11.11 lire sterline |
| Dimensiunile produsului | 38.2 x 4.5 x 22.2 inci |
| Culoare | Alb |
| Material | Metal |
| Tip de montare | Suport de masă (C-Cl)amp, Inel de siguranță) |
| Tipul de mișcare | Articulând |
| Dimensiunea maximă compatibilă a ecranului | 32 inchi |
| Dimensiunea minimă compatibilă a ecranului | 17 inchi |
| Load Capacity (per arm) | Până la 19.8 lbs |
| Compatibilitate VESA | 75x75mm, 100x100mm |
| Unghi maxim de înclinare | 45 de grade |
| UPC | 810166730075 |
7. Garanție și asistență
7.1 Garanția produsului
For detailed information regarding the product warranty, please refer to the warranty card included with your purchase or visit the official Pixio webTermenii și condițiile de garanție pot varia în funcție de regiune și de comerciant.
7.2 Asistență pentru clienți
If you require further assistance, have questions about installation, operation, or troubleshooting that are not covered in this manual, please contact Pixio customer support:
- Website: Visit the official Pixio website pentru resurse de asistență, întrebări frecvente și informații de contact.
- E-mail: Refer to your product packaging or the Pixio website pentru adresele de e-mail ale serviciului clienți.
- Telefon: Check the Pixio website pentru numerele de telefon de asistență disponibile.
Please have your product model number (PSW1DWH) and purchase information ready when contacting support.


