1. Introducere
This manual provides comprehensive instructions for the installation, operation, and maintenance of your Anpviz U Series 4K 8-Channel Power over Ethernet (PoE) Network Video Recorder (NVR), model NVR301-08S3-2TB. This NVR is designed for reliable 24/7 video surveillance recording, supporting up to 8MP/4K resolution IP cameras and featuring a pre-installed 2TB hard drive.
The Anpviz NVR301-08S3-2TB is compatible with all Anpviz U Series PoE Cameras, including models IPC-240/250/260/280, IPC-3150G/3150W, IPC-340/350/360/380/382, IPC-840/850/880, AZ-IPZ46520, and AZ-IPZ45820. While it also supports Anpviz H Series cameras and third-party PoE cameras, these may require manual configuration for proper operation.

Image 1.1: Anpviz 8-Channel PoE NVR with a 2TB hard drive shown separately.
2. Ce se află în cutie
Vă rugăm să verificați dacă toate articolele enumerate mai jos sunt incluse în pachetul dumneavoastră:
- 1 x Anpviz 4 Channel Network Video Recorder (NVR301-08S3-2TB)
- 1 x Adaptor de alimentare NVR
- 1 x mouse USB
- 1 x Ghid rapid
- 1 x cablu HDMI
- 1 x Cablu de rețea
- 1 x 2TB Hard Drive (pre-installed)

Image 2.1: Visual representation of the items included in the Anpviz NVR package.
3. Caracteristicile produsului
3.1. 4K Ultra HD Resolution Support
This 8-channel Anpviz NVR supports recording, playback, and live view in up to 8MP/4K resolution. It is compatible with 8MP, 6MP, 5MP, 4MP, 3MP, and 1080P IP PoE cameras. The NVR supports 4K TV or monitor HDMI or VGA interface connection output for high-definition display.
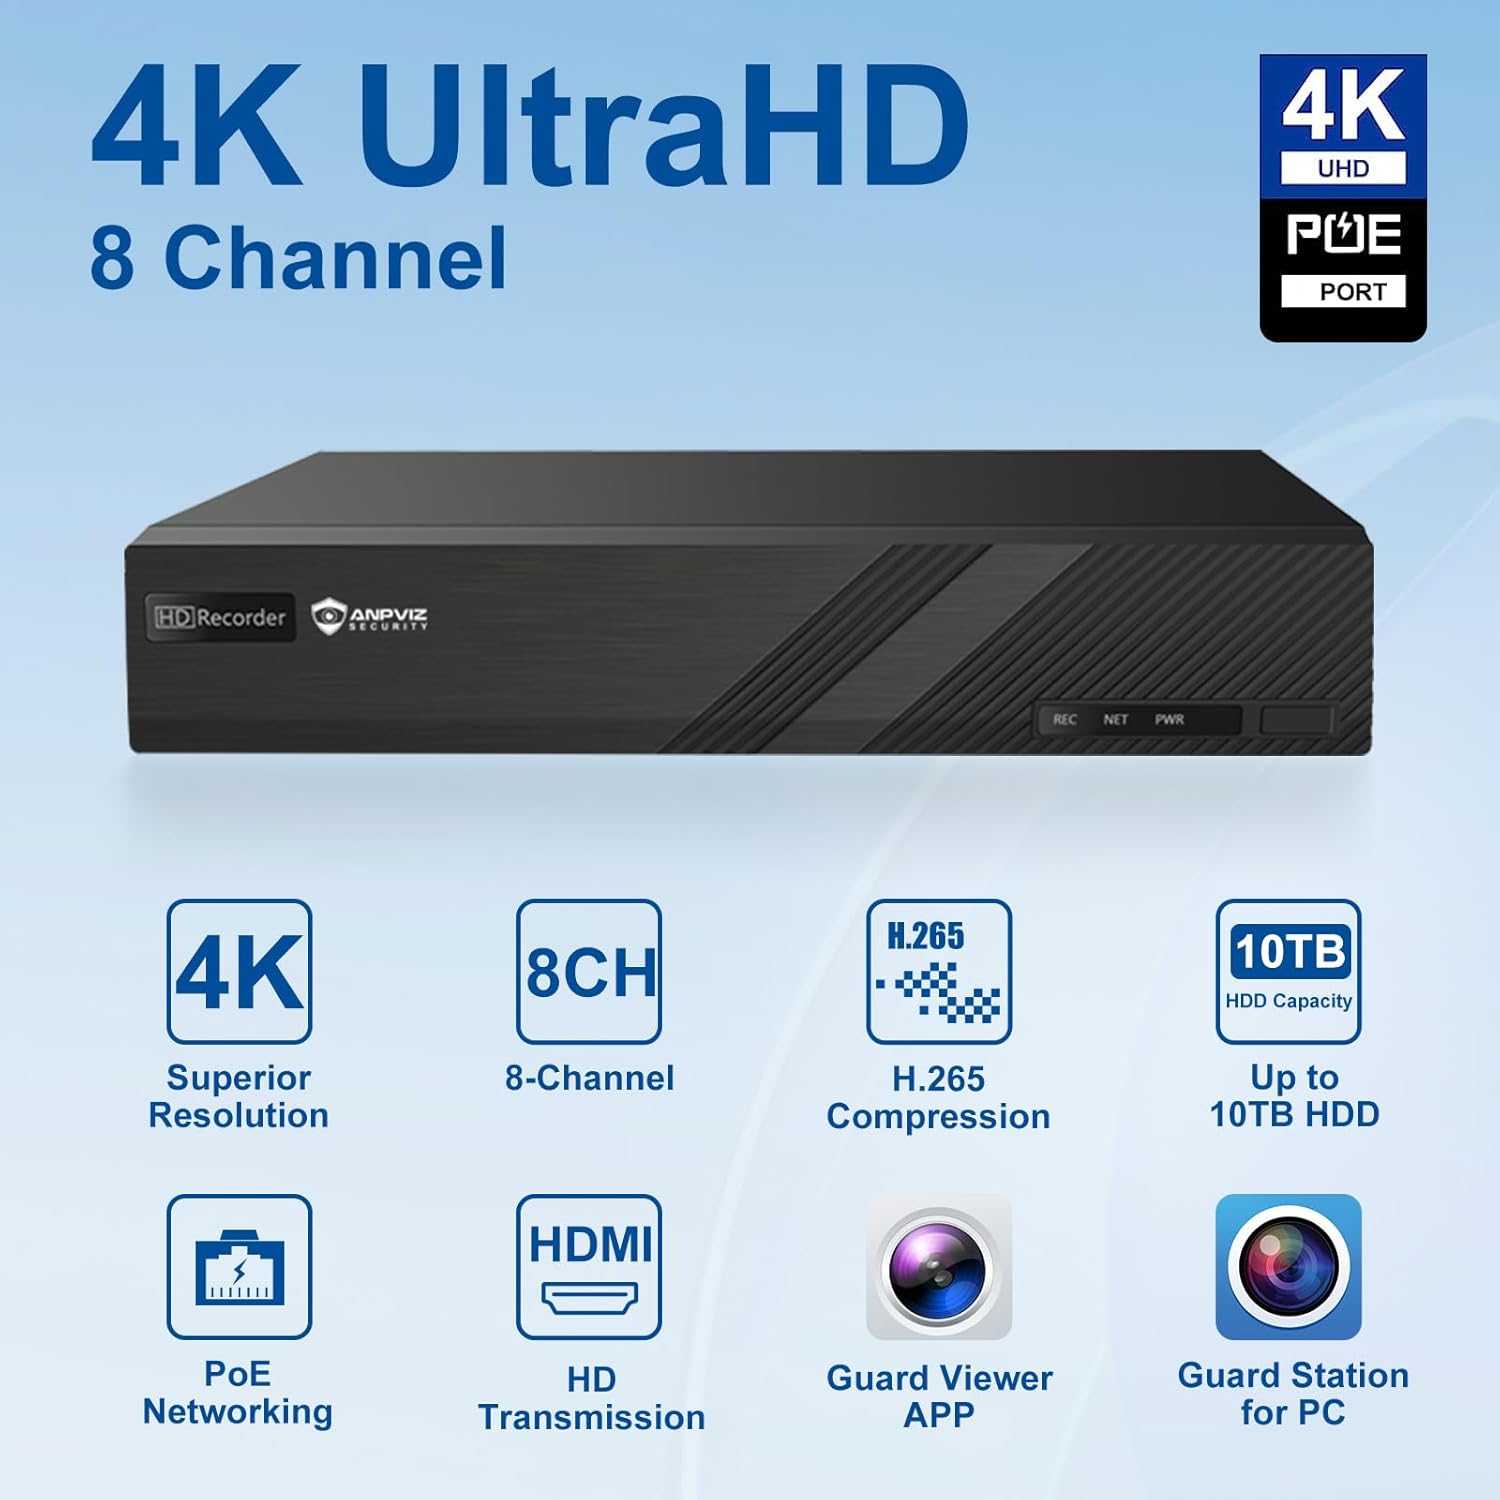
Imaginea 3.1: Pesteview of key features including 4K resolution and 8-channel support.
3.2. H.265 Compression Technology and Storage
The NVR supports H.265/H.264 video formats. H.265 compression significantly reduces storage space and costs by up to 50% compared to H.264, allowing for more video footage to be stored. The NVR comes with a pre-installed 2TB hard drive and supports expansion up to 10TB.

Image 3.2: Visual comparison of H.264 and H.265 video compression efficiency.
3.3. 24/7 Video Recording and Software Access
The NVR provides continuous 24/7 recording capabilities. If a camera is equipped with an SD card and connected to the NVR, video will be stored on both the SD card and the NVR. Access the NVR locally via the 'Guard Station' PC client or remotely using the 'Guard Viewer' mobile application.
3.4. Smart Motion Detection and Alerts
The NVR allows for scheduled motion detection and recording. Real-time motion alerts can be sent via email or app push notifications to your mobile phone. Motion sensitivity is adjustable to minimize false alarms. Smart PoE IP cameras can identify people and vehicles, further reducing unwanted alerts from animals or shadows.
3.5. Plug and Play with Anpviz U Series Cameras
This NVR offers plug-and-play functionality specifically with Anpviz U Series PoE Cameras, simplifying the setup process. For Anpviz H Series cameras and third-party PoE cameras, manual configuration is required.

Image 3.3: Plug and Play setup diagram for Anpviz U Series cameras.
4. Ghid de instalare
4.1. Conexiuni fizice
- Conectare alimentare: Connect the NVR power adapter to the DC 12V input port on the NVR and then plug it into a power outlet.
- Conectați monitorul: Connect a monitor or TV to the NVR using an HDMI or VGA cable.
- Conectați mouse-ul: Plug the included USB mouse into one of the USB 2.0 ports on the NVR.
- Conectare rețea: Conectați NVR-ul la router folosind cablul Ethernet furnizat pentru acces la rețea și control de la distanță. viewing.
- Conectarea camerelor PoE: Connect your Anpviz U Series PoE cameras to the PoE ports on the back of the NVR using Ethernet cables. The NVR provides power and data through these ports.

Image 4.1: Rear panel connections of the Anpviz NVR.
4.2. Pornirea inițială și configurarea
After connecting all necessary cables, power on the NVR. Follow the on-screen instructions to complete the initial setup wizard, which typically includes setting up a password, time zone, and network settings. For Anpviz U Series cameras, they should be automatically detected and configured. For other cameras, you may need to manually add them through the NVR's interface.
5. Instrucțiuni de utilizare
5.1. Accessing the NVR
- Acces local: Use the connected monitor and mouse to navigate the NVR's graphical user interface (GUI).
- Client PC: Install the 'Guard Station' software on your computer to access and manage the NVR over the local network.
- Aplicație mobilă: Download the 'Guard Viewer' app on your smartphone (iOS/Android) for remote viewing și control.

Image 5.1: Software applications for PC and mobile phone access.
5.2. în direct View și Redare
From the NVR's interface, PC client, or mobile app, you can view live feeds from all connected cameras. To review inregistrat footage, select the playback option, choose the desired camera and time frame, and initiate playback. The NVR supports continuous recording, ensuring comprehensive coverage.

Image 5.2: NVR supporting 24/7 recording with multiple camera inputs.
5.3. Configuring Motion Detection
Access the NVR's menu to configure motion detection settings for each camera. You can define detection zones, adjust sensitivity levels, and set up schedules for when motion detection should be active. Configure alert actions such as email notifications or push notifications to your mobile device.
6. Întreținere
6.1. Gestionarea hard disk-ului
The NVR automatically manages the 2TB pre-installed hard drive, overwriting the oldest footage when the drive is full. Regularly check the hard drive status through the NVR's system settings to ensure optimal performance. If you wish to expand storage, the NVR supports up to 10TB hard drives.
6.2. Actualizări de firmware
Periodically check the Anpviz official website for firmware updates. Keeping your NVR's firmware up-to-date ensures access to the latest features, security enhancements, and bug fixes. Follow the instructions provided with the firmware update package carefully.
6.3. Curatenie
Ensure the NVR unit is kept in a clean, dust-free environment. Use a soft, dry cloth to clean the exterior of the NVR. Do not use liquid cleaners or aerosols directly on the device.
7. Depanare
7.1. No Video Display on Monitor
- Check the HDMI/VGA cable connection between the NVR and the monitor.
- Asigurați-vă că monitorul este pornit și setat la sursa de intrare corectă.
- Verify the NVR is powered on and its power indicator light is active.
7.2. Cameras Not Displaying Video
- Ensure PoE cameras are properly connected to the NVR's PoE ports.
- Check the network cables for damage or loose connections.
- For non-Anpviz U Series cameras, verify manual configuration settings are correct.
- Reporniți NVR-ul și camerele.
7.3. Probleme de acces la distanță
- Ensure the NVR is connected to the internet via your router.
- Verify network settings on the NVR are correct (e.g., IP address, gateway, DNS).
- Check your router's firewall settings; port forwarding may be required for direct access, though P2P services often bypass this.
- Ensure the 'Guard Viewer' app is updated to the latest version.
7.4. Motion Detection Not Triggering
- Review motion detection settings, including detection zones and sensitivity.
- Check the recording schedule to ensure motion detection is active during the desired times.
- Verify alert notification settings (email, push notifications) are correctly configured.
8. Specificații
| Caracteristică | Caietul de sarcini |
|---|---|
| Numărul de model | NVR301-08S3-2TB |
| Canale | 8 canale |
| Suport pentru rezoluție maximă | 8MP / 4K |
| Compresie video | H.265 / H.264 |
| Pre-installed HDD | 2TB |
| Capacitate maximă HDD | 10TB |
| Conectivitate | Ethernet (PoE ports for cameras) |
| Ieșire video | hdmi, vga |
| Interfață USB | USB 2.0 |
| Dimensiunile produsului | 10.2 x 9.4 x 1.9 inchi (25.9 x 23.9 x 4.8 cm) |
| Greutatea articolului | 5.09 lire (2.31 kg) |
| Dispozitive compatibile | Anpviz U Series PoE Cameras, Anpviz H Series Cameras, Third-party PoE Cameras |
9. Garanție și asistență
9.1. Garanția produsului
Anpviz products typically come with a limited warranty covering defects in materials and workmanship. Please refer to the warranty card included with your product or visit the official Anpviz webpentru termenii și condițiile detaliate de garanție specifice regiunii dumneavoastră.
9.2. Suport tehnic
For technical assistance, troubleshooting, or any questions regarding your Anpviz NVR, please contact Anpviz customer support. Support contact information can usually be found on the Anpviz official website or in the quick guide provided with your product.
De asemenea, puteți vizita Anpviz Store on Amazon pentru informații și resurse suplimentare despre produse.


