1. Introducere
This manual provides detailed instructions for the installation, operation, and maintenance of your JOVISION HD 4K Power Outlet Spy Camera. This device is designed for covert surveillance, offering high-resolution video recording and live streaming capabilities disguised as a standard electrical outlet.
2. Ce se află în cutie
- JOVISION HD 4K Power Outlet Spy Camera (Model XREC)
- Manual de instructiuni
- AC/DC Wires
3. Caracteristicile produsului
- Streams live 4K HD Video and records in 4K resolution.
- WiFi IP Camera for live viewing and playback via mobile devices.
- True 4K HD Resolution at 30 Frames Per Second (FPS) for clear picture and excellent video quality.
- Features Time/Date Stamping on recordings.
- Supports Motion Detection recordings, Scheduled recording, and Continuous recording modes.
- AC/DC Powered, designed to wire into your existing 110V AC wiring, replacing a standard receptacle.
4. Configurare și instalare
Notă importantă de siguranță: Before beginning installation, ensure the power to the electrical circuit you will be working on is turned off at the circuit breaker. Failure to do so may result in electrical shock or injury.
- Pregătiți zona de instalare: Turn off the power to the existing outlet at your home's circuit breaker. Confirm power is off using a voltage tester.
- Remove Existing Receptacle: Carefully unscrew and remove the faceplate and the existing electrical outlet from the wall box. Disconnect the wires from the old outlet.
- Connect the Camera Outlet: Connect the AC/DC wires from the JOVISION camera outlet to your home's electrical wiring. Typically, this involves connecting the black wire to the hot wire, the white wire to the neutral wire, and the bare copper or green wire to the ground wire. Ensure all connections are secure.
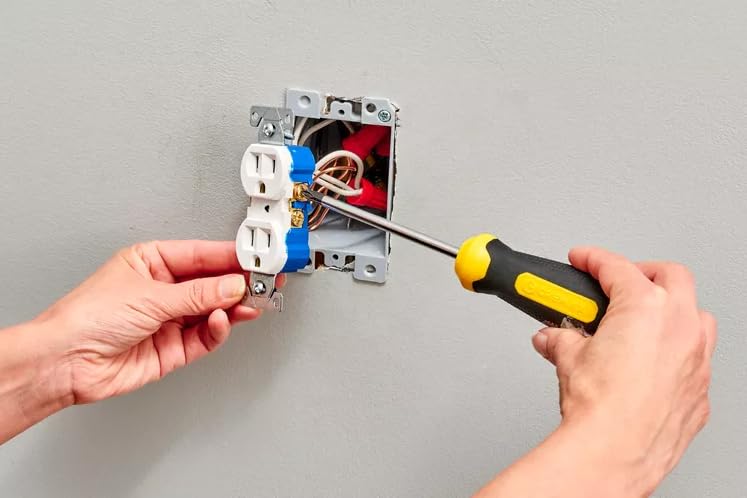
Image: Hands connecting the camera outlet to household wiring.
- Insert into Wall Box: Carefully push the wired camera outlet into the wall box, ensuring wires are not pinched.
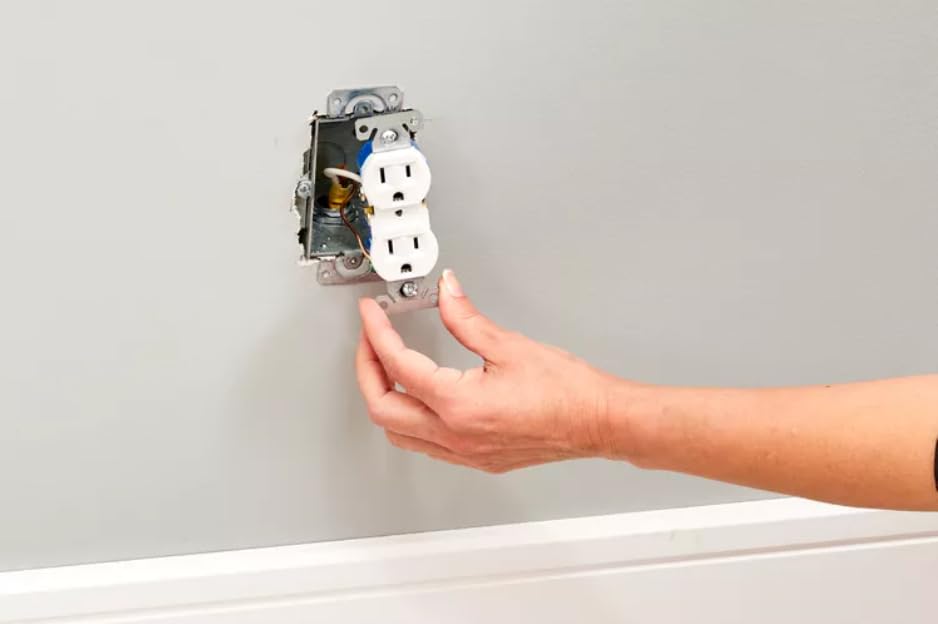
Image: Inserting the camera outlet into the wall box.
- Secure and Attach Faceplate: Screw the camera outlet securely into the wall box. Then, attach the provided faceplate.
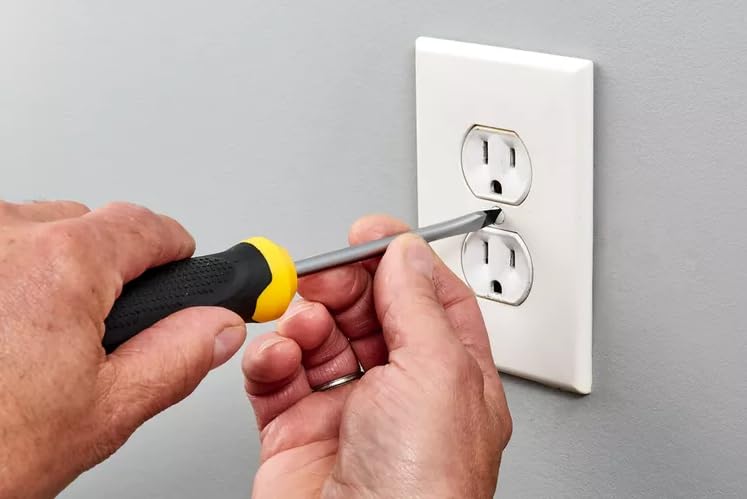
Image: Securing the faceplate after installation.
- Restabiliți puterea: După finalizarea instalării, reporniți alimentarea cu energie electrică de la întrerupătorul de circuit.
- Initial Setup and Wi-Fi Connection: Refer to the separate quick start guide for instructions on downloading the companion mobile application and connecting your camera to your Wi-Fi network. This step is essential for live viewing and remote access.

Imagine: Pesteview of the camera's features and installation concept.
5. Funcționare
5.1 În direct Viewing și Redare
Once connected to your Wi-Fi network, you can access live video streams and review inregistrat footage directly from your mobile device (iOS or Android) using the dedicated application.

Image: Live video and playback on mobile devices.

Imagine: Example of 4K Ultra HD video quality.
5.2 Moduri de înregistrare
- Detectarea mișcării: The camera will automatically begin recording when motion is detected within its field of view.
- Înregistrare programată: Set specific times for the camera to record automatically.
- Înregistrare continuă: The camera records continuously, overwriting the oldest footage când cardul de stocare este plin.
5.3 Depozitare
All videos are stored locally on a Micro SD card (32GB card typically included). Ensure the SD card is properly inserted before operation. Regularly back up important footage and manage storage space as needed.
6. Întreținere
- curatenie: Gently wipe the camera lens and the outlet surface with a soft, dry cloth. Avoid using harsh chemicals or abrasive materials.
- Managementul cardului SD: Periodically check the SD card for storage capacity. Format the card through the app if necessary to maintain optimal recording performance.
- Actualizări firmware: Check the mobile application periodically for any available firmware updates to ensure your camera operates with the latest features and security enhancements.
7. Depanare
- Nu Live View/Offline: Ensure the camera is properly installed and receiving power. Check your Wi-Fi connection and router settings. Restart the camera by briefly turning off and on the circuit breaker for the outlet.
- Calitate video slabă: Ensure adequate lighting in the surveillance area. Check the camera lens for any obstructions or smudges. Verify that the camera is set to 4K resolution in the app settings.
- Probleme de înregistrare: Check if the SD card is properly inserted and has sufficient free space. Ensure the recording mode (motion detection, scheduled, continuous) is correctly configured in the app.
- Probleme de conectare la aplicație: Ensure your mobile device has a stable internet connection. Try restarting the app or reinstalling it if issues persist.
8. Specificații
| Caracteristică | Detaliu |
|---|---|
| Dimensiunile produsului | 4 x 1 x 0.1 inci |
| Greutate | 7.37 uncii |
| Numărul de model al articolului | XREC |
| Producător | Jovision |
| Marca | JOVISION |
| Numele modelului | White X Power Receptacle |
| Tehnologia de conectivitate | Wireless (Wi-Fi) |
| Caracteristici speciale | Frame Rate, Motion Sensor |
| Utilizări recomandate | Supraveghere |
9. Garanție și asistență
For warranty information and technical support, please contact JOVISION directly through their official website-ul web sau canalele de asistență pentru clienți. Păstrați bonul fiscal pentru orice reclamații în garanție.


