1. Introducere
This manual provides detailed instructions for the setup, operation, and maintenance of your visiPower H885 8MP Trail Camera. Please read this manual thoroughly before using the camera to ensure optimal performance and longevity.
The visiPower H885 is a high-performance trail camera designed for capturing wildlife images and videos. It features an 8-megapixel sensor, 2.4-inch TFT LCD, infrared flash for night vision, and three PIR sensors for motion detection. Its waterproof design ensures reliable operation in various outdoor conditions.
2. Conținutul pachetului
Verificați dacă toate articolele sunt prezente în colet:
- visiPower H885 Trail Camera
- Cablu USB
- Cablu AV
- Curea de montare
- Wall Mount Bracket and Screws
- Manual de utilizare (acest document)

Image: Contents of the visiPower H885 Trail Camera package.
3. Camera terminatăview

Imagine: față view of the visiPower H885 Trail Camera.

Imagine: Laterală view of the visiPower H885 Trail Camera.
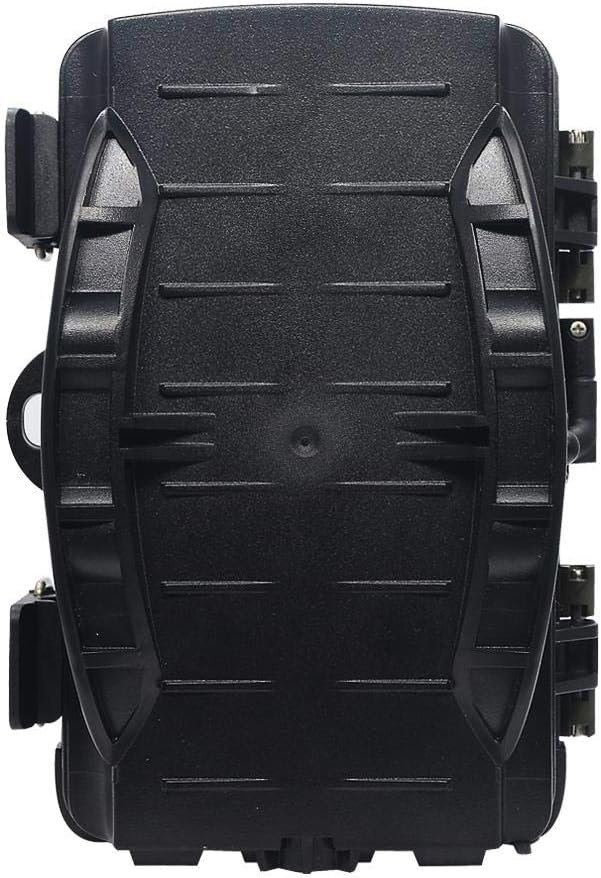
Imagine: Spate view of the visiPower H885 Trail Camera.
4. Configurare
4.1. Instalarea bateriei
- Open the camera's housing by releasinzăvoarele laterale.
- Localizați compartimentul bateriei.
- Introduceți 8 baterii AA, asigurând polaritatea corectă (+/-).
- Închideți bine compartimentul bateriei.
Nota: The camera also supports an external 6V/1.5A power source and is compatible with solar batteries (sold separately).
4.2. Instalarea cardului SD
- With the camera powered off, locate the SD card slot.
- Insert a TF (Micro SD) card (up to 32GB) into the slot until it clicks into place.
- Pentru a scoate cardul, apăsați ușor până când acesta iese.
Important: Format the SD card using the camera's menu settings before first use to ensure compatibility.
4.3. Montarea camerei
The camera can be mounted using the included strap or wall mount bracket.
- Montarea curelei: Thread the mounting strap through the slots on the back of the camera and secure it around a tree or pole.
- Montare pe perete: Use the provided screws and wall anchors to attach the bracket to a flat surface. Then, attach the camera to the bracket.
Position the camera to cover the desired area, ensuring no obstructions block the PIR sensors or lens.
5. Operarea camerei
5.1. Pornire/Oprire
Locate the power switch inside the camera housing. Switch it to the "ON" position to power on the camera. Switch to "OFF" to power off.
5.2. Moduri de operare
The camera typically operates in three modes:
- OPRIT: Camera este oprită.
- ÎNFIINȚAT: Allows access to the menu for configuring settings, viewing images/videos, and manually taking photos/videos.
- ON (Active): The camera is armed and will capture images or videos based on motion detection and configured settings. The LCD screen will turn off after a few seconds to conserve power.
5.3. Setări meniu
In SETUP mode, use the navigation buttons to access and adjust settings on the 2.4-inch TFT LCD. Common settings include:
- Mod: Photo, Video, or Photo + Video.
- Rezoluție foto: 16MP, 12MP, 8MP, 5MP.
- Rezoluție video: 1080p (25fps), 720p (30fps).
- Sensibilitate PIR: Ridicat, Mediu, Scăzut.
- Interval de declanșare: Time delay between detections.
- Time Lapse: For capturing images at set intervals.
- Data/Ora: Setați data și ora curente.
- Formatează cardul SD: Erase all data on the SD card.
- Captură fără sfârșit: On/Off (Loop recording).

Image: Camera displaying captured content on its LCD screen.
5.4. Capturarea de imagini și videoclipuri
Once settings are configured, switch the camera to the "ON" position. The camera will enter active mode and begin monitoring for motion. When motion is detected by the PIR sensors, the camera will trigger and capture photos or videos according to your settings.

Image: Illustration of the camera's 20-meter detection range.
6. Întreținere
- curatenie: Use a soft, dry cloth to clean the camera lens and PIR sensors. Avoid abrasive materials or harsh chemicals.
- Înlocuire baterie: Replace all batteries when the low battery indicator appears or when performance degrades.
- Managementul cardului SD: Regularly check the SD card capacity and transfer important files to a computer. Format the card periodically.
- Depozitare: Când nu este utilizată pentru perioade lungi de timp, scoateți bateriile și depozitați camera într-un loc răcoros și uscat.
7. Depanare
- Camera nu pornește:
- Asigurați-vă că bateriile sunt introduse corect, respectând polaritatea.
- Check if batteries are fully charged or replace them.
- Verify the power switch is in the "ON" or "SETUP" position.
- Camera not capturing images/videos:
- Check if the SD card is inserted correctly and has sufficient free space.
- Formatați cardul SD.
- Adjust PIR sensitivity settings.
- Ensure the camera is in "ON" mode, not "SETUP".
- Calitate slabă a imaginii/videoului:
- Curățați obiectivul camerei.
- Check resolution settings in the menu.
- Ensure adequate lighting for daytime shots; for night shots, ensure objects are within IR flash range.
- Declanșatori falși:
- Reduce PIR sensitivity.
- Avoid placing the camera near heat sources or moving branches that could trigger the sensor.
8. Specificații
| Caracteristică | Detaliu |
|---|---|
| Rezoluția imaginii statice | 8MP (Effective), 16MP/12MP/5MP selectable |
| Rezoluție video | 1080p @ 25fps, 720p @ 30fps |
| Afişa | LCD TFT de 2.4 inci |
| Senzori PIR | 3 PIR sensors (Main PIR 60°, Side PIRs for 120° total sensing angle) |
| Distanța blițului IR | Până la 20 metri (65 picioare) |
| Viteză de declanșare | 0.6 seconds (Pre-boot 0.2 seconds) |
| Rezistenta la apa | IP56 rezistent la apa |
| Memorie | Acceptă carduri TF (Micro SD) de până la 32 GB |
| Sursa de alimentare | 8x AA batteries; External 6V/1.5A DC; Supports solar battery (optional) |
| Timp de așteptare | Până la 12 luni |
| Audio | Microfon și difuzor încorporate |
| Unghiul lentilei | 108 de grade |
| Format de captură video | MPEG-4 |
| UPC | 614024391237 |
9. Garanție și asistență
For warranty information and technical support, please refer to the documentation provided at the time of purchase or contact visiPower customer service. Keep your purchase receipt as proof of purchase.
For further assistance, visit the official visiPower website-ul sau contactați direct echipa lor de asistență.

