1. Introducere
This manual provides detailed instructions for the installation, operation, maintenance, and troubleshooting of your TENVIS T3875D WiFi IP Camera. Please read this manual thoroughly before using the product to ensure proper setup and optimal performance. Keep this manual for future reference.
The TENVIS T3875D is a Full HD 1080P outdoor motorized IP camera featuring 5X optical zoom, speaker, microphone, and MicroSD card support, compatible with ONVIF protocols.
2. Produs terminatview
2.1 Conținutul pachetului
- TENVIS T3875D WiFi IP Camera
- Power Adapter (AC 220V with Italian socket, output DC 12V 1A)
- Șuruburi și dopuri de montare
- Ethernet Cable (for initial setup or wired connection)
- Manual de utilizare (acest document)
2.2 Componentele camerei
Familiarize yourself with the main components of your TENVIS T3875D camera:

Shows the camera lens, infrared LEDs, and light sensor. The camera is mounted on a wall bracket with an antenna visible at the top.

Another perspective of the front, highlighting the dome shape and the array of infrared lights around the central lens.

Displays the back of the camera, revealing the speaker grille and the covered MicroSD card slot at the bottom.

Shows the camera from a side angle, emphasizing the wall mount arm and the antenna connection point.
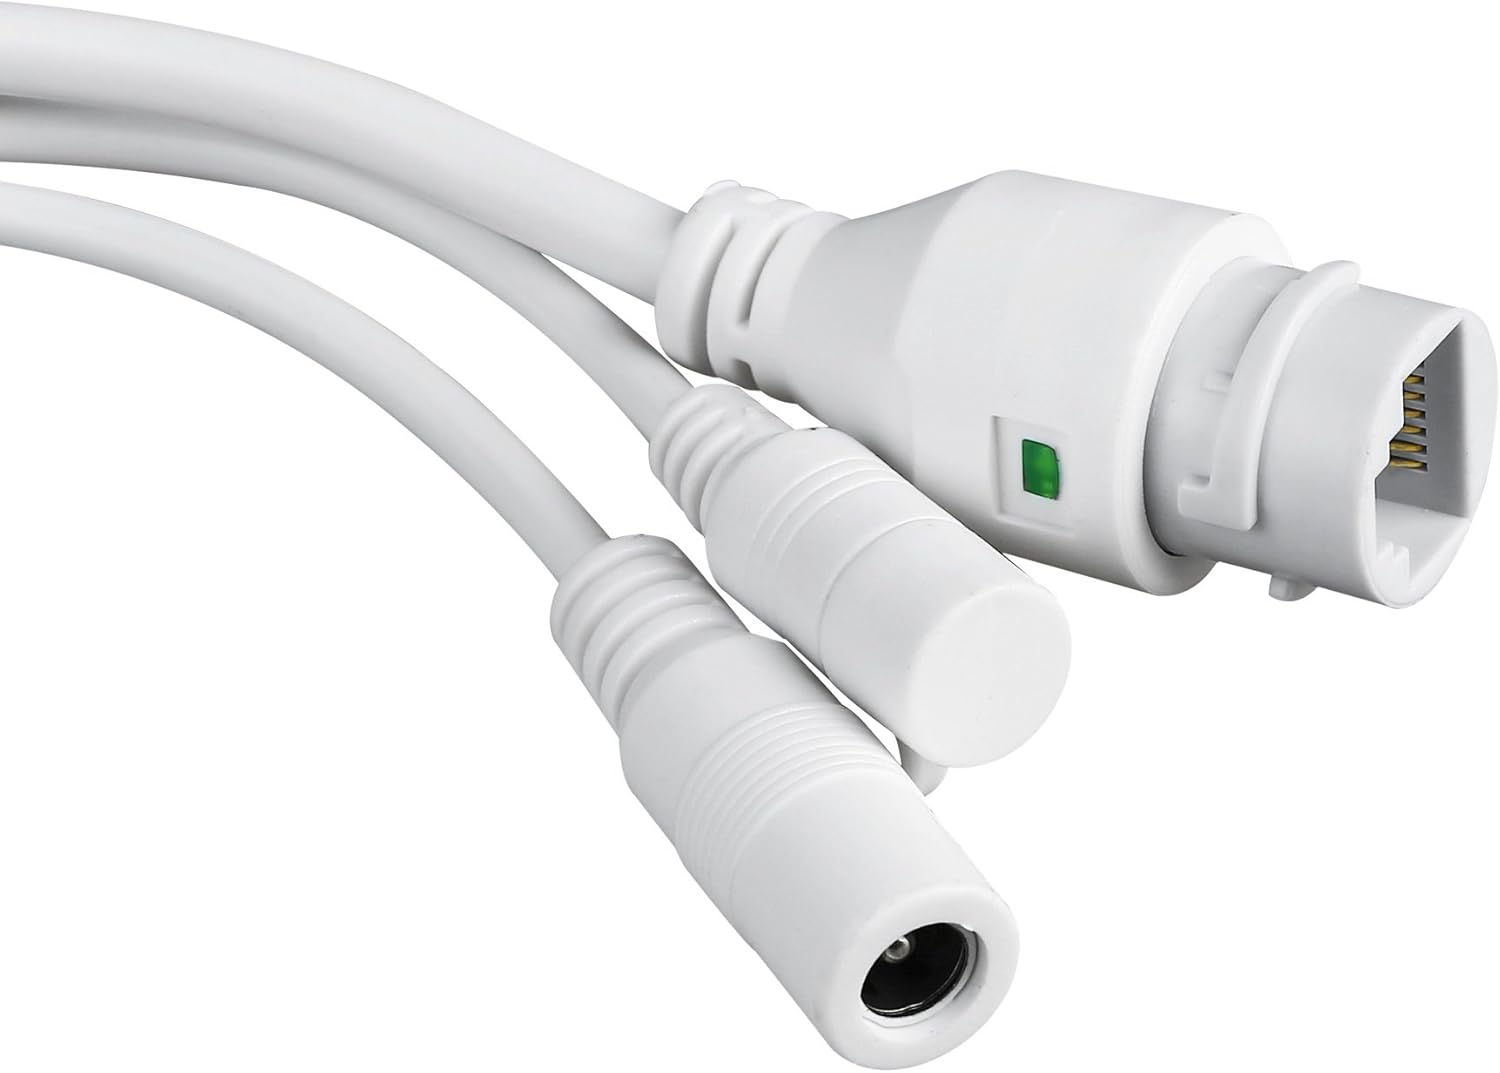
Close-up of the camera's power input and Ethernet port, essential for connectivity.
3. Configurare și instalare
3.1 Montarea camerei
The TENVIS T3875D is designed for outdoor use and is IP66 weatherproof. Choose a suitable location for mounting, ensuring a clear field of view and access to a power source.
- Marcați punctele de găurire pe perete folosind suportul de montare ca șablon.
- Dați găuri și introduceți diblurile de perete furnizate.
- Fixați suportul de montare pe perete folosind șuruburile.
- Atașați camera la suportul de montare.
- Adjust the camera's angle as needed after initial setup.
3.2 Pornire
Connect the provided power adapter to the camera's power input and then plug it into a suitable electrical outlet. The camera will initiate its self-test sequence.
3.3 Conexiune de rețea
The camera supports both Wi-Fi (802.11n, WPA, WPA2) and Ethernet (10/100M) connections.
3.3.1 Wired Connection (Recommended for initial setup)
- Connect one end of an Ethernet cable to the camera's Ethernet port.
- Connect the other end of the Ethernet cable to your router or network switch.
- Ensure your router has DHCP enabled for automatic IP address assignment.
3.3.2 Conexiune wireless
Wireless setup is typically done via the mobile application after the camera is initially connected to the network (either wired or via P2P QR code setup).
- P2P (Plug & Play) Setup: Download the "TENVISTY" app (available for Android and iOS). Scan the QR code on the product to quickly connect the camera to your smartphone/tablet. This method simplifies network configuration.
- Manual Wi-Fi Configuration: Dacă utilizați web interface or a different app, you may need to manually select your Wi-Fi network (SSID) and enter the password.
3.4 Instalarea cardului MicroSD
The camera supports MicroSD cards up to 128GB for local storage of recordings.
- Locate the MicroSD card slot on the camera (refer to Figure 2.2.3). It is usually protected by a cover.
- Deschideți cu grijă capacul.
- Insert the MicroSD card into the slot with the contacts facing down until it clicks into place.
- Close the cover securely to maintain the camera's weather resistance.
- Format the MicroSD card via the camera's settings in the app or web interfață pentru performanțe optime.
4. Operarea camerei
4.1 Accessing the Camera
You can access and control your camera using the official TENVISTY app or a web browser.
4.1.1 Using the TENVISTY App
- Download "TENVISTY" from the App Store (iOS) or Google Play Store (Android).
- Înregistrează un cont sau autentifică-te.
- Add your camera by scanning the QR code or manually entering its ID.
- Odată adăugat, puteți view live feed, control pan/tilt/zoom, access recordings, and configure settings.
4.1.2 Utilizarea a Web Browser
The camera supports Internet Explorer 11. Other browsers may have limited functionality.
- Asigurați-vă că computerul este conectat la aceeași rețea ca și camera.
- Find the camera's IP address (can be found via your router's connected devices list or a network scanner tool).
- Open Internet Explorer 11 and enter the camera's IP address in the address bar.
- Enter the default username and password (refer to the camera's label or initial setup guide for defaults).
4.2 Controlul Panoramic, Tilt și Zoom (PTZ)
The T3875D features motorized pan (355° horizontal), tilt (90° vertical), and 5x optical autofocus zoom.
- In the TENVISTY app or web interface, use the directional controls to move the camera's view.
- Use the zoom controls to optically zoom in or out. The camera will automatically focus.
4.3 Detectarea mișcării și alarme
Configure motion detection settings to receive alerts and record events.
- Navigate to "Alarm Settings" or "Motion Detection" in the app/web interfata.
- Enable motion detection.
- Adjust sensitivity levels and define detection regions to minimize false alarms.
- Configure alarm actions:
- Notificări push: Receive real-time alerts on your smartphone/tablet via the TENVISTY app.
- Alertă prin e-mail: Send emails with attached captured images to specified recipients.
- Înregistrare video: Automatically record video to the MicroSD card, NVR, or FTP server upon motion detection.
4.4 Înregistrare și redare
The camera supports continuous, scheduled, or alarm-triggered recording.
- Înregistrare locală: Recordings are saved to the installed MicroSD card (up to 128GB).
- NVR/FTP Recording: Compatible with ONVIF 2.1 NVRs or FTP servers (NAS, hard drive connected to router).
- Redare: Acces înregistrat footage through the TENVISTY app or web interface. Select the date and time to review evenimentelor.
5. Întreținere
5.1 Curățarea camerei
Regularly clean the camera lens and housing to ensure clear image quality and proper operation.
- Folosiți un moale, damp lavetă pentru a șterge corpul camerei.
- For the lens, use a lens cleaning cloth and solution designed for optical surfaces. Avoid abrasive materials.
- Nu folosiți detergenți sau solvenți puternici.
5.2 de actualizări de firmware
Periodically check for firmware updates to improve camera performance, add new features, and enhance security. Firmware updates are typically available through the TENVISTY app or the manufacturer's website-ul.
- Follow the instructions provided with the firmware update carefully.
- Ensure the camera remains powered during the entire update process to prevent damage.
5.3 Gestionarea cardului MicroSD
To maintain recording efficiency, it is recommended to format the MicroSD card periodically (e.g., every few months) through the camera's settings. Back up any important footage înainte de formatare.
6. Depanare
| Problemă | Cauza posibila | Soluţie |
|---|---|---|
| Camera nu pornește. | No power, faulty adapter, loose connection. | Check power outlet, ensure adapter is securely connected to camera and power source. Try a different outlet. |
| Nu se poate conecta la Wi-Fi. | Incorrect Wi-Fi password, camera too far from router, Wi-Fi interference. | Double-check Wi-Fi password. Move camera closer to router or use a Wi-Fi extender. Reduce interference from other devices. Try wired connection for initial setup. |
| Calitate slabă a imaginii. | Dirty lens, low network bandwidth, incorrect resolution settings. | Clean the camera lens. Ensure stable internet connection. Adjust video resolution settings in the app/web interfata. |
| Detectarea mișcării nu funcționează. | Motion detection disabled, sensitivity too low, incorrect detection area. | Enable motion detection in settings. Increase sensitivity. Adjust detection regions. |
| Cardul MicroSD nu înregistrează. | Card not inserted correctly, card full, card not formatted, faulty card. | Reinsert card. Check storage space. Format the card via camera settings. Try a different MicroSD card. |
| Camera offline frequently. | Unstable Wi-Fi signal, power interruptions, network issues. | Improve Wi-Fi signal strength. Ensure stable power supply. Check router and internet connection. |
If the problem persists, please contact TENVIS customer support.
7. Specificații
| Caracteristică | Detaliu |
|---|---|
| Numărul de model | T3875D |
| Senzor | CMOS with IR Cut Filter |
| Obiectiv | f:2.7-13.5 mm F:2.0 |
| Viewunghiul ing | 25° până la 96° |
| Rezoluţie | Up to 1920 x 1080p (2.0 megapixels) |
| Codare video | H.264 |
| Frame Rate | Până la 25 fps |
| Tehnologia WDR | Da |
| Rezistență la intemperii | Standard IP66 |
| Pan & Tilt | Orizontală 355°, verticală 90° |
| Zoom | 5x optical Auto Focus |
| LED-uri cu infraroșu | 6 powerful IR LED flashlights |
| Gama de vedere nocturnă | Până la 60 metri |
| Filtru IR-Cut | Da |
| Slot Micro SD | Până la 128 GB |
| Wifi | 802.11n (WPA, WPA2) |
| LAN | Ethernet 10/100M |
| P2P | Yes (QR code setup) |
| Flux video | Two streams (main for local, sub for remote) |
| Detectarea mișcării | Customizable sensitivity and ranges |
| Notificare de alarmă | TENVISTY app (push), Email with attachments |
| Înregistrare | On alarms, continuous, programmable (MicroSD, NVR, FTP) |
| Browsere acceptate | Internet Explorer 11 |
| App | TENVISTY (Android, iOS), TinyCam Monitor (Android), LiveCams (iOS) |
| Protocoale acceptate | ONVIF 2.1, RTSP, RTMP |
| Temperatura de operare | -10 ℃ ~ 50 ℃ |
| Umiditate | 10% ~ 80% (fără condensare) |
| Dimensiuni (L x l x H) | 18 x 17 x 10 cm |
| Greutate | 1.28 kg |
| Alimentare electrică | AC 220V input, DC 12V 1A output |
| Consumul de energie | 5W (day), 12W (night) |
8. Garanție și asistență
8.1 Informații despre garanție
Specific warranty details may vary by region and retailer. Please refer to your purchase documentation or the TENVIS official website-ul pentru cea mai precisă și actualizată politică de garanție.
8.2 Asistență pentru clienți
For technical assistance, troubleshooting beyond this manual, or warranty inquiries, please contact TENVIS customer support:
- E-mail: support@tenvis.com
- Website: www.tenvis.com
- For support in Italy, you may also contact DM Soluzioni ICT s.r.l. at info@dm-ict.it sau vizita www.dm-ict.it.
When contacting support, please have your product model (T3875D) and purchase information ready.


