1. Introducere
This user manual provides comprehensive instructions for the installation, operation, and maintenance of your Audio System CO-600.5 High-Performance 5-Channel Class A/B AmpPentru a asigura performanțe optime și siguranță, vă rugăm să citiți cu atenție acest manual înainte de a utiliza produsul și să îl păstrați pentru referințe ulterioare.
2. Informații de siguranță
General Product Safety according to EU Regulation 2023/2028:
- Observe the manufacturer's instructions and operating instructions for switching off the power supply to the vehicle and in the retrofit products.
- The supply line to the retrofit product must not be longer than 30cm from the operating battery.
- Fasten retrofit devices and accessories properly.
- It is recommended that the retrofit devices/accessories be installed by a specialist workshop. Otherwise, product or vehicle damage and fire can occur.
Always disconnect the vehicle's battery before performing any installation or maintenance work to prevent electrical shock or damage.
3. Produs terminatview
The Audio System CO-600.5 is a high-performance 5-channel Class A/B amplifier designed for car audio systems. It features switchable High-Pass (HP) and Low-Pass (LP) filters, a full active mode, and includes a wired RTC remote control for convenient adjustments. The amplifier supports an input sensitivity range of 0.2V to 6V and includes a high-level RCA input with automatic turn-on capability.
Caracteristici cheie:
- Clasa A/B cu 5 canale Ampmai în viață
- Switchable High-Pass (HP) and Low-Pass (LP) Filters
- Full Active Mode
- Wired RTC Remote Control Included
- Input Sensitivity: 0.2V - 6V
- High-Level RCA Input with Auto-On
- Power Output: 4 x 60W RMS (4 Ohm) / 4 x 85W RMS (2 Ohm) and 1 x 250W RMS (4 Ohm mono) / 1 x 350W RMS (2 Ohm mono)
Produs Views

Figura 3.1: Sus view of the CO-600.5 amplifier, highlighting its sleek design and branding.

Figura 3.2: Față view al amplifier, displaying the cooling fins.
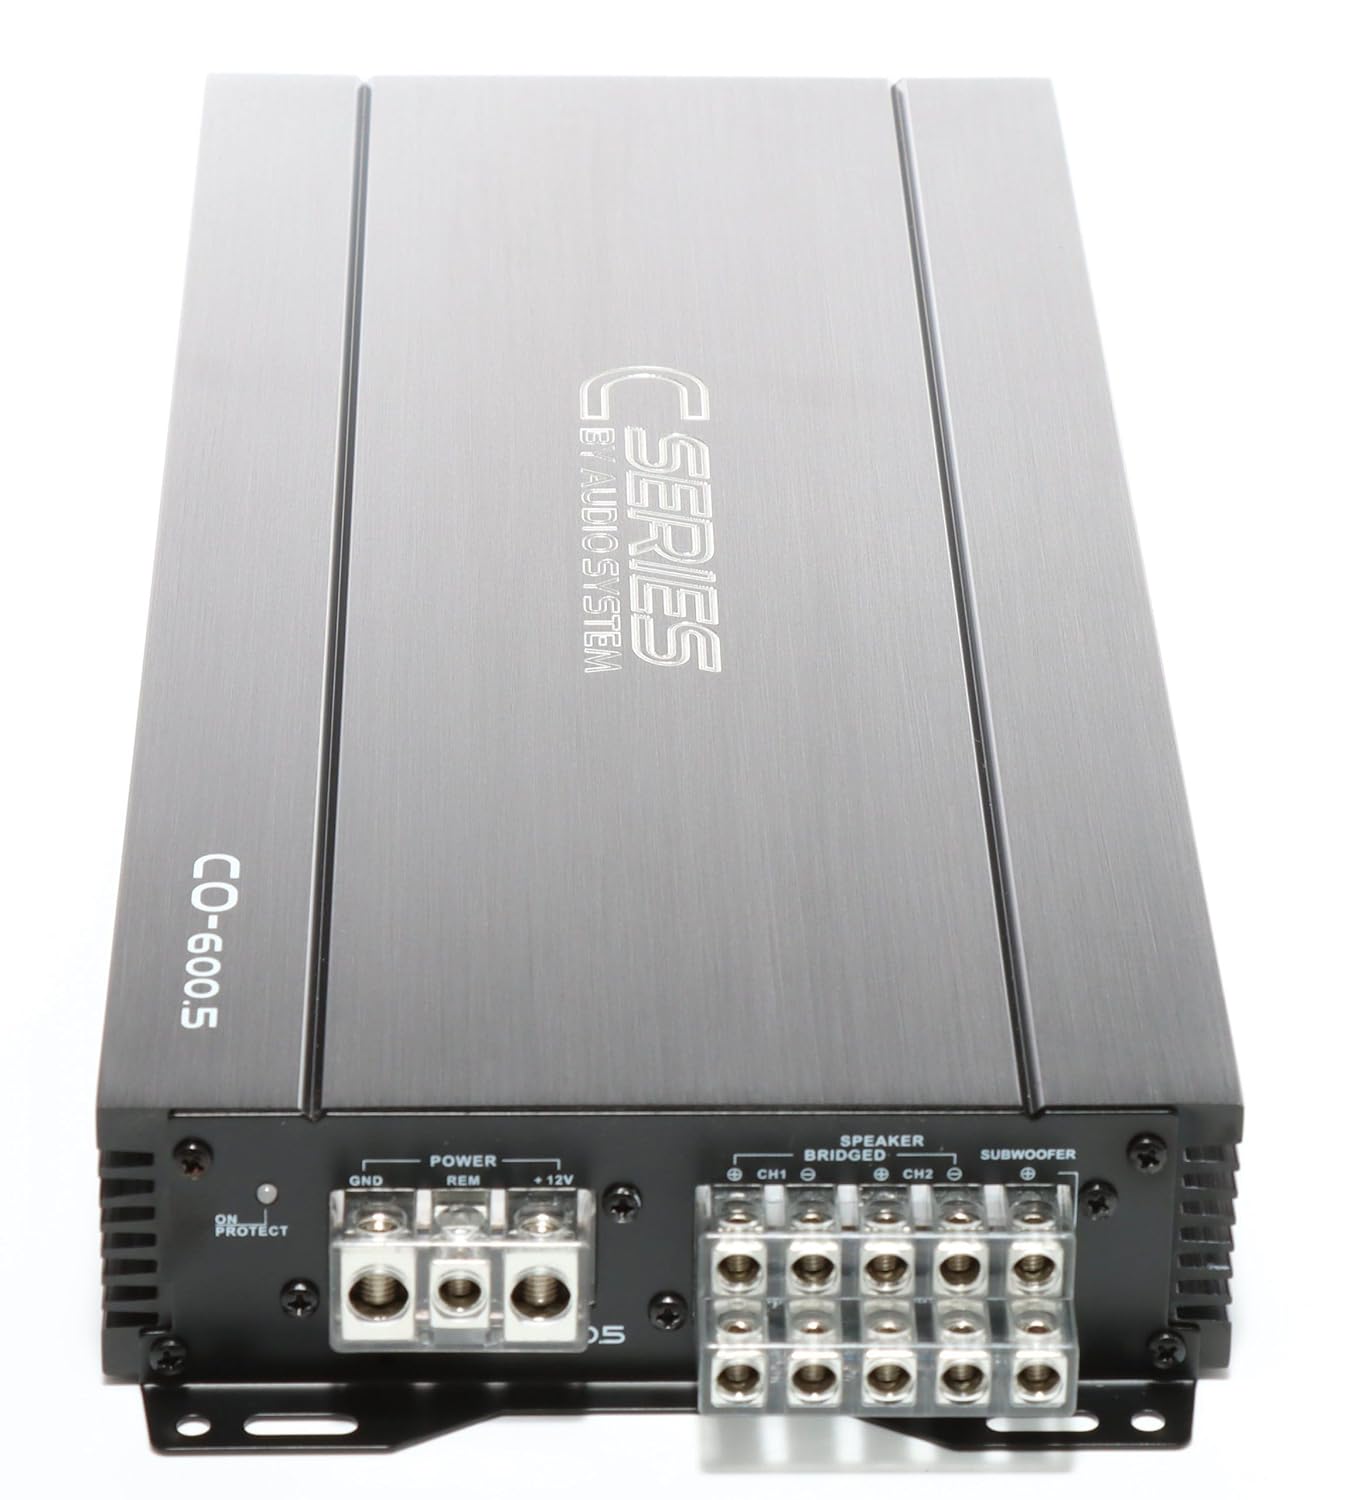
Figura 3.3: Spate view al amplifier, detailing the power input (GND, REM, +12V) and speaker output terminals.

Figure 3.4: Input and control panel, featuring RCA inputs, gain level adjustments, and crossover frequency controls.
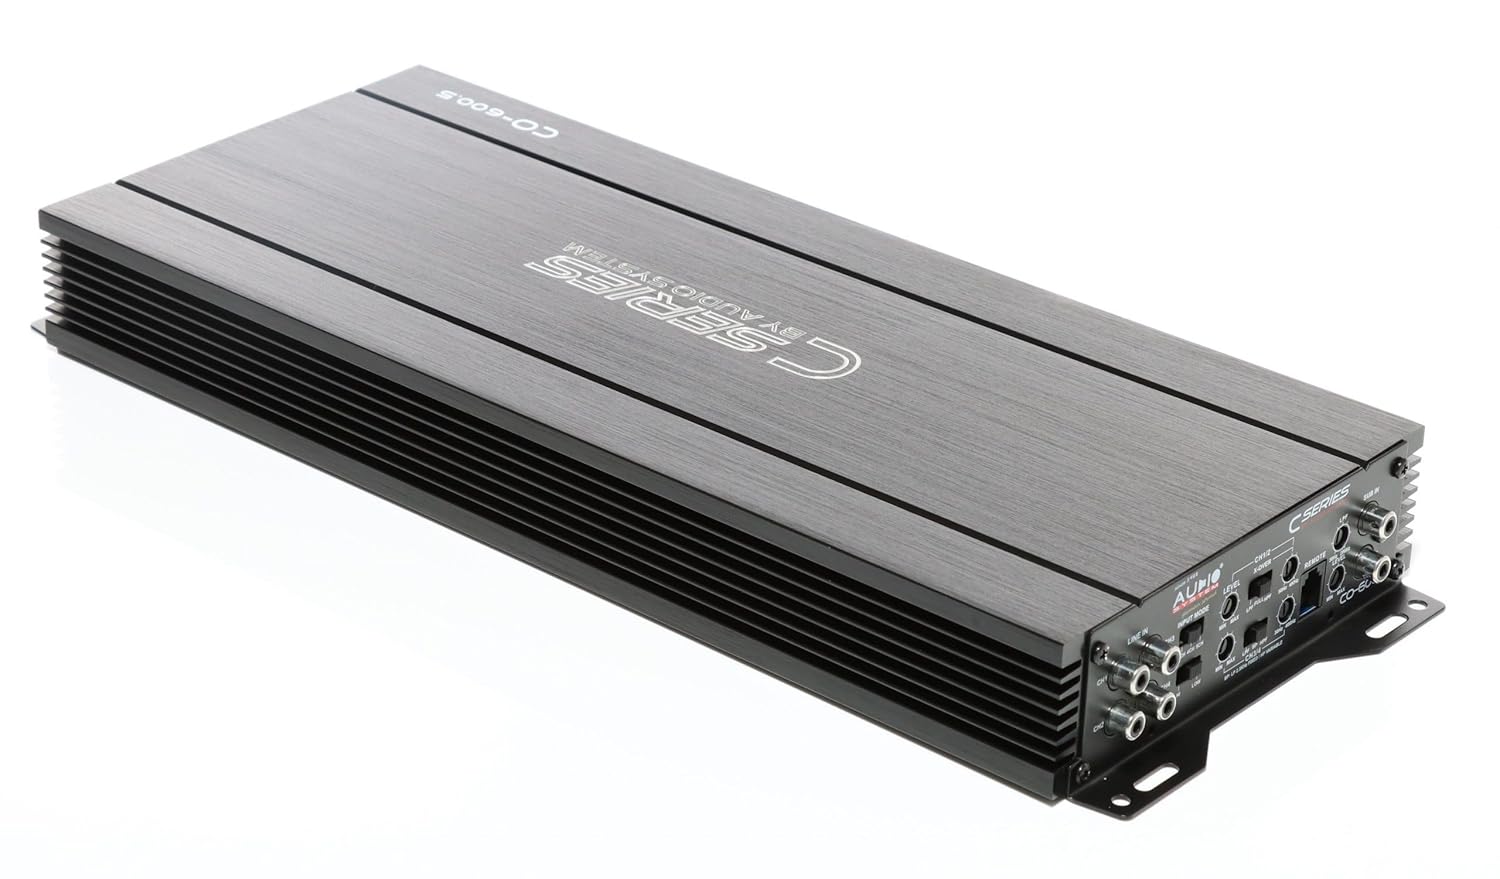
Figura 3.5: Înclinat view providing a comprehensive look at both connection sides of the ampmai în viață.
4. Configurare și instalare
Instalarea corectă este crucială pentru performanța și longevitatea mașinii dumneavoastră amplifier. It is highly recommended that installation be performed by a qualified professional.
4.1 Locul de montare
- Alegeți un loc uscat, bine ventilat, ferit de lumina directă a soarelui și de surse de căldură.
- Ensure sufficient airflow around the amplifier for proper cooling.
- Montați amplifier securely to a solid surface using appropriate hardware to prevent movement during vehicle operation.
4.2 Conexiuni de cablare
Înainte de a efectua orice conexiune, deconectați borna negativă a bateriei vehiculului.
- Putere (BATT+): Connect a fused power cable directly from the vehicle's positive battery terminal to the +12V terminal on the amplifier. Ensure the fuse is located within 30cm of the battery.
- Masa (GND): Connect a ground cable of the same gauge as the power cable to a clean, unpainted metal surface on the vehicle chassis. The connection point must be free of rust and paint.
- La distanță (REM): Conectați un fir de pornire de la distanță de la ieșirea de la distanță a unității principale la terminalul REM de pe amplifier. This will turn the ampporniți și opriți activatorul cu unitatea principală.
- Intrări RCA: Connect your head unit's RCA outputs to the amplifier's RCA inputs (CH1/2, CH3/4, SUB IN).
- Ieșiri difuzoare: Connect your speakers to the corresponding speaker output terminals (CH1, CH2, CH3, CH4, SUBWOOFER). Observe correct polarity (+ to + and - to -).
5. Instrucțiuni de utilizare
Odată ce ampDupă ce instalarea și cablarea corectă a dispozitivului de încălzire, puteți continua configurarea și operarea inițială.
5.1 Pornirea inițială
- Reconectați borna negativă a bateriei vehiculului.
- Porniți unitatea principală. amplifier should power on automatically via the remote wire. The power indicator LED on the amplifier should illuminate.
5.2 Gain Level Adjustment
The gain control (LEVEL) matches the amplifier's input sensitivity to the output of your head unit. This is not a volume control.
- Setați amplifier's gain control to minimum (fully counter-clockwise).
- Setați volumul unității principale la aproximativ 75-80% din volumul maxim.
- Creșteți încet amplifier's gain control until you hear slight distortion, then back it off slightly until the sound is clear.
5.3 Crossover Settings (X-OVER)
The CO-600.5 features switchable HP (High-Pass) and LP (Low-Pass) filters for precise sound tuning.
- HPF (filtru de trecere înaltă): Allows frequencies above the set point to pass through. Use for full-range speakers to prevent low frequencies that can cause distortion.
- LPF (Filtru trece-jos): Allows frequencies below the set point to pass through. Use for subwoofers to prevent high frequencies.
- Adjust the crossover frequencies (e.g., 50Hz-250Hz for HPF, 30Hz-250Hz for LPF) according to your speaker specifications and listening preferences.
5.4 RTC Remote Control
The included wired RTC remote control allows for convenient adjustment of the subwoofer level from the driver's seat.
6. Întreținere
The Audio System CO-600.5 ampLifizer necesită o întreținere minimă.
- Păstrați ampcurățați aparatul de curățat și fără praf. Folosiți o cârpă moale și uscată pentru curățare.
- Asigurați-vă că toate conexiunile rămân fixe. Verificați periodic cablajul pentru a depista orice semne de uzură sau coroziune.
- Nu utilizați substanțe chimice dure sau produse de curățare abrazive pe ampmai în viață.
7. Depanare
Dacă întâmpinați probleme cu dvs amplifier, consultați următoarele probleme și soluții comune:
| Problemă | Cauza posibila | Soluţie |
|---|---|---|
| Fără curent / AmpLifierul nu se aprinde |
|
|
| Fără ieșire de sunet |
|
|
| Sunet distorsionat |
|
|
If the problem persists after attempting these solutions, please contact Audio System customer support or a qualified car audio technician.
8. Specificații
| Caracteristică | Detaliu |
|---|---|
| Numărul de model | 02002CO6005 |
| Canale | 5 (4 full-range + 1 mono/subwoofer) |
| Putere de ieșire (RMS) |
|
| Sensibilitate de intrare | 0.2V - 6V |
| Filtre | Switchable High-Pass (HP) and Low-Pass (LP) |
| Dimensiuni (produs) | Aproximativ 420 x 47 x 171 mm |
| Dimensiuni pachet | 59.99 x 19.99 x 15.01 cm |
| Greutatea pachetului | 1 kilogram |
| Voltage (în funcțiune) | 6 Volts (Note: Typically car audio operates at 12V. Please refer to product labeling for exact operating voltage.) |
| Volumul maxim de alimentaretage | 6 volți |
| Tip de montare | Montare la suprafață |
9. Garanție și asistență
For warranty information, please refer to the documentation provided with your purchase or contact your authorized Audio System dealer. Warranty terms and conditions may vary by region and retailer.
For technical support, service, or inquiries regarding spare parts, please contact Audio System customer service directly or visit their official website. Contact information is typically available on the product packaging or the manufacturer's website-ul.
Producător: Sistem audio
Adresa producatorului: JRS Labs - The Art of Sound, Heinrich-Heine-Straße 13A, 63329 Rödermark


