Introducere
This manual provides comprehensive instructions for the setup, operation, maintenance, and troubleshooting of your DISH DISH211 4-Device Universal Remote. Designed for ease of use, this remote supports DISH TV receivers and can control up to four different devices, including TVs and other entertainment systems. Its ability to learn commands from original remotes makes it a versatile replacement.
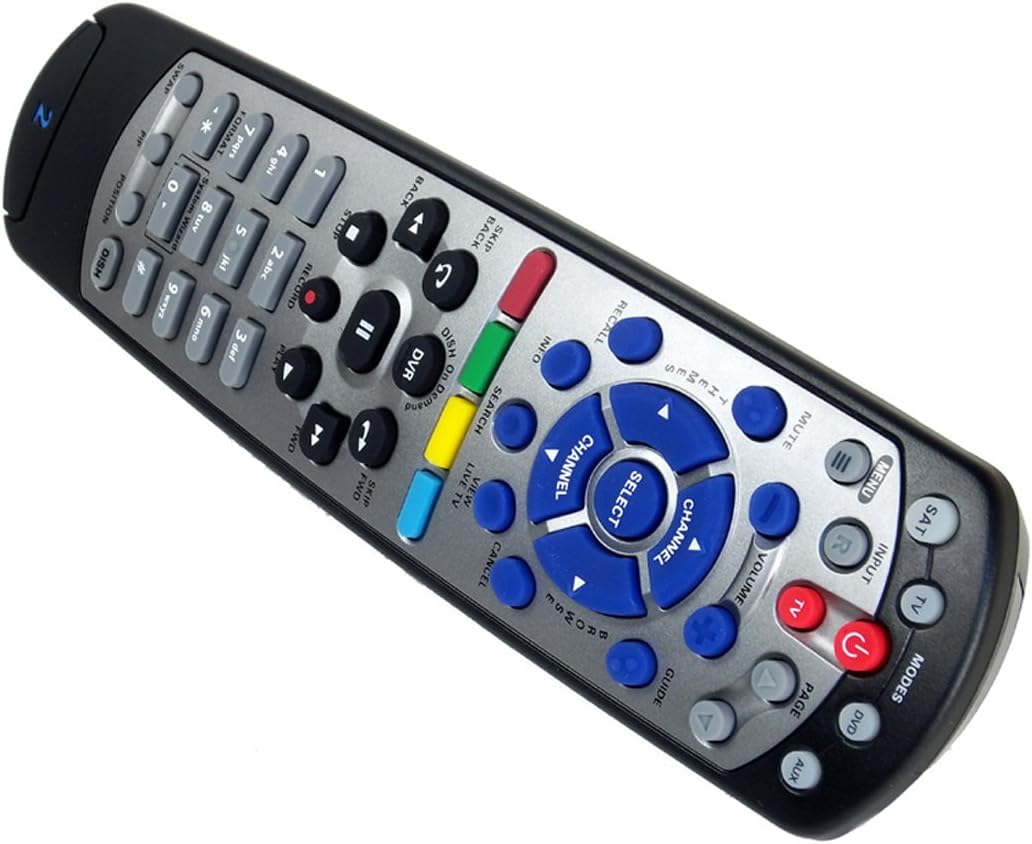
Figure 1: The DISH DISH211 4-Device Universal Remote, showcasindesignul său ergonomic și dispunerea butoanelor.
Înființat
1. Instalarea bateriei
The DISH211 remote requires two (2) AA batteries for operation. To install:
- Localizați compartimentul bateriei de pe spatele telecomenzii.
- Slide the battery cover downwards and lift to open.
- Introduceți două baterii AA, asigurându-vă că bornele pozitive (+) și negative (-) se aliniază cu indicatoarele din interiorul compartimentului.
- Puneți la loc capacul bateriei glisându-l în sus până când se fixează cu un clic.
2. Device Pairing and Programming
The DISH211 remote can be programmed to control your DISH receiver and other devices. It supports both Infrared (IR) and Ultra High Frequency (UHF) communication, depending on your receiver model.

Figure 2: Cover of the official DISH Remote User Guide, which provides detailed programming instructions.
For DISH Receiver Pairing (UHF/IR):
Some DISH receivers may require setting the remote's address and communication type (UHF or IR). A small switch near the battery compartment may allow selection between UHF and IR modes. Ensure this switch is set correctly for your receiver type.
To address the remote to your receiver:
- Apăsați tasta Informații de sistem button on the front of your receiver to access the system information screen.
- Țineți apăsat butonul SAT button on the remote until all mode lights illuminate.
- Enter a number between 1-15 on the remote keypad. This number corresponds to the TV-2 UHF address displayed on your receiver's screen.
- Apăsați tasta # (pound) button once.
- Apăsați tasta Înregistra butonul de trei ori.
- Selecta Făcut on the system info screen and test the remote's functionality.
For Other Devices (TV, DVD, AUX):
The remote has a large code library and can learn commands from your original remotes. Refer to the official DISH remote user guide (often included with the product or available online) for specific programming codes and learning instructions for various brands and device types.

Figure 3: The back of the DISH remote packaging, indicating compatible DISH receiver models for both IR and IR/UHF configurations.
Instrucțiuni de operare
The DISH211 remote is designed for intuitive control of your entertainment system. It features backlit active MODE keys for visibility in low light conditions and dedicated DVR controls.
1. Selectarea modului
Press the desired mode button (e.g., SAT for DISH receiver, TV for television, DVD for DVD player, AUX for auxiliary device) at the top of the remote to select the device you wish to control. The selected mode button will illuminate.
2. Controale de bază
- Putere: Apăsați tasta PUTERE buton pentru a porni sau opri dispozitivul selectat.
- Volum: Utilizați VOLUM SUS/JOS buttons to adjust the audio level of your television.
- Canal: Utilizați CANAL SUS / JOS buttons to change channels on your DISH receiver or television.
- Mut: Apăsați tasta MUTE buton pentru a dezactiva sunetul.
- Intrare: Apăsați tasta INTRARE button to cycle through video inputs on your television.
3. DVR Controls
The remote includes dedicated buttons for DVR functionality:
- Înregistra: Initiates recording of the current program.
- Redare/Pauză: Starts or pauses playback of recorded content or live TV.
- Oprire: Oprește redarea.
- Rewind/Fast Forward: Controls playback speed and direction.
- Skip Forward (DISH Skip Forward): Allows quick skipping through commercials or segments.
- Treci înapoi: Skips backward in recorded content.

Figura 4: Prim-plan view of the DISH DISH211 remote, highlighting the central navigation and DVR control buttons.
Întreţinere
1. Înlocuirea bateriei
When the remote's performance degrades or buttons become unresponsive, it is likely time to replace the batteries. Follow the battery installation steps outlined in the Setup section.
2. Curatenie
To clean your remote, gently wipe the surface with a soft, dry cloth. For stubborn dirt, slightly dampen the cloth with water or a mild, non-abrasive cleaner. Avoid using excessive liquid or harsh chemicals, as these can damage the remote's electronics or finish.
Depanare
Telecomanda nu răspunde
- Verificați bateriile: Asigurați-vă că bateriile sunt instalate corect și au o încărcare suficientă. Înlocuiți-le dacă este necesar.
- Line of Sight (IR): If using IR mode, ensure there is a clear line of sight between the remote and the device's IR receiver. Obstructions can block the signal.
- Selectarea modului: Verify that the correct mode button (e.g., SAT, TV) is selected for the device you are trying to control.
- Remote Address/UHF-IR Switch: For DISH receivers, confirm the remote's address is correctly set and the UHF/IR switch (if present) matches your receiver's configuration. Incorrect settings can prevent communication.
Funcționalitate intermitentă
- Interferență: Other electronic devices or strong light sources (like plasma TV IR interference) can sometimes interfere with IR signals. Try operating the remote from a different angle or location.
- DVR Directory Update: If experiencing lag or unresponsiveness with DVR functions, ensure your DVR's directory is updated. Consult your DISH receiver's manual for instructions on updating its software or directory.
Butoanele nu funcționează
- Curățați telecomanda: Dirt or debris under buttons can cause them to stick or become unresponsive. Clean the remote as described in the Maintenance section.
- Reprogram: If specific buttons for a device are not working, the remote may need to be reprogrammed for that device.
Specificații
| Caracteristică | Detaliu |
|---|---|
| Numărul de model | DISH211 |
| Marca | VASOARE |
| Dimensiunile produsului | 1.75 x 4.81 x 11.38 inci |
| Greutatea articolului | 9.6 uncii |
| Bateriile necesare | 2 baterii AA |
| Numărul maxim de dispozitive acceptate | 4 |
| Dispozitive compatibile | Television, DISH TV receivers (TV1 and TV2 locations) |
| Tehnologia de conectivitate | Infrared (IR), Ultra High Frequency (UHF) |
| Caracteristici speciale | Backlit keys, Universal compatibility, Learning capability |
Garanție și suport
Informații despre garanție
The DISH DISH211 Universal Remote typically comes with a Garanție limitată de 90 de zile. Please refer to the documentation enclosed with your product for specific terms, conditions, and details regarding warranty claims.
Asistență pentru clienți
For further assistance with programming, troubleshooting, or general inquiries, it is recommended to consult the official DISH Network support resources. This may include their website, online user guides, or customer service contact information. The manufacturer of this product is Audiovox Accessories Corporation.


