1. Introducere
This manual provides comprehensive instructions for installing an aftermarket car stereo using the Scosche GM2500B Dash Kit. This kit is designed to facilitate the installation of either a Single DIN or Double DIN radio in various 2004-2021 GM vehicles, ensuring a factory-like fit and finish.
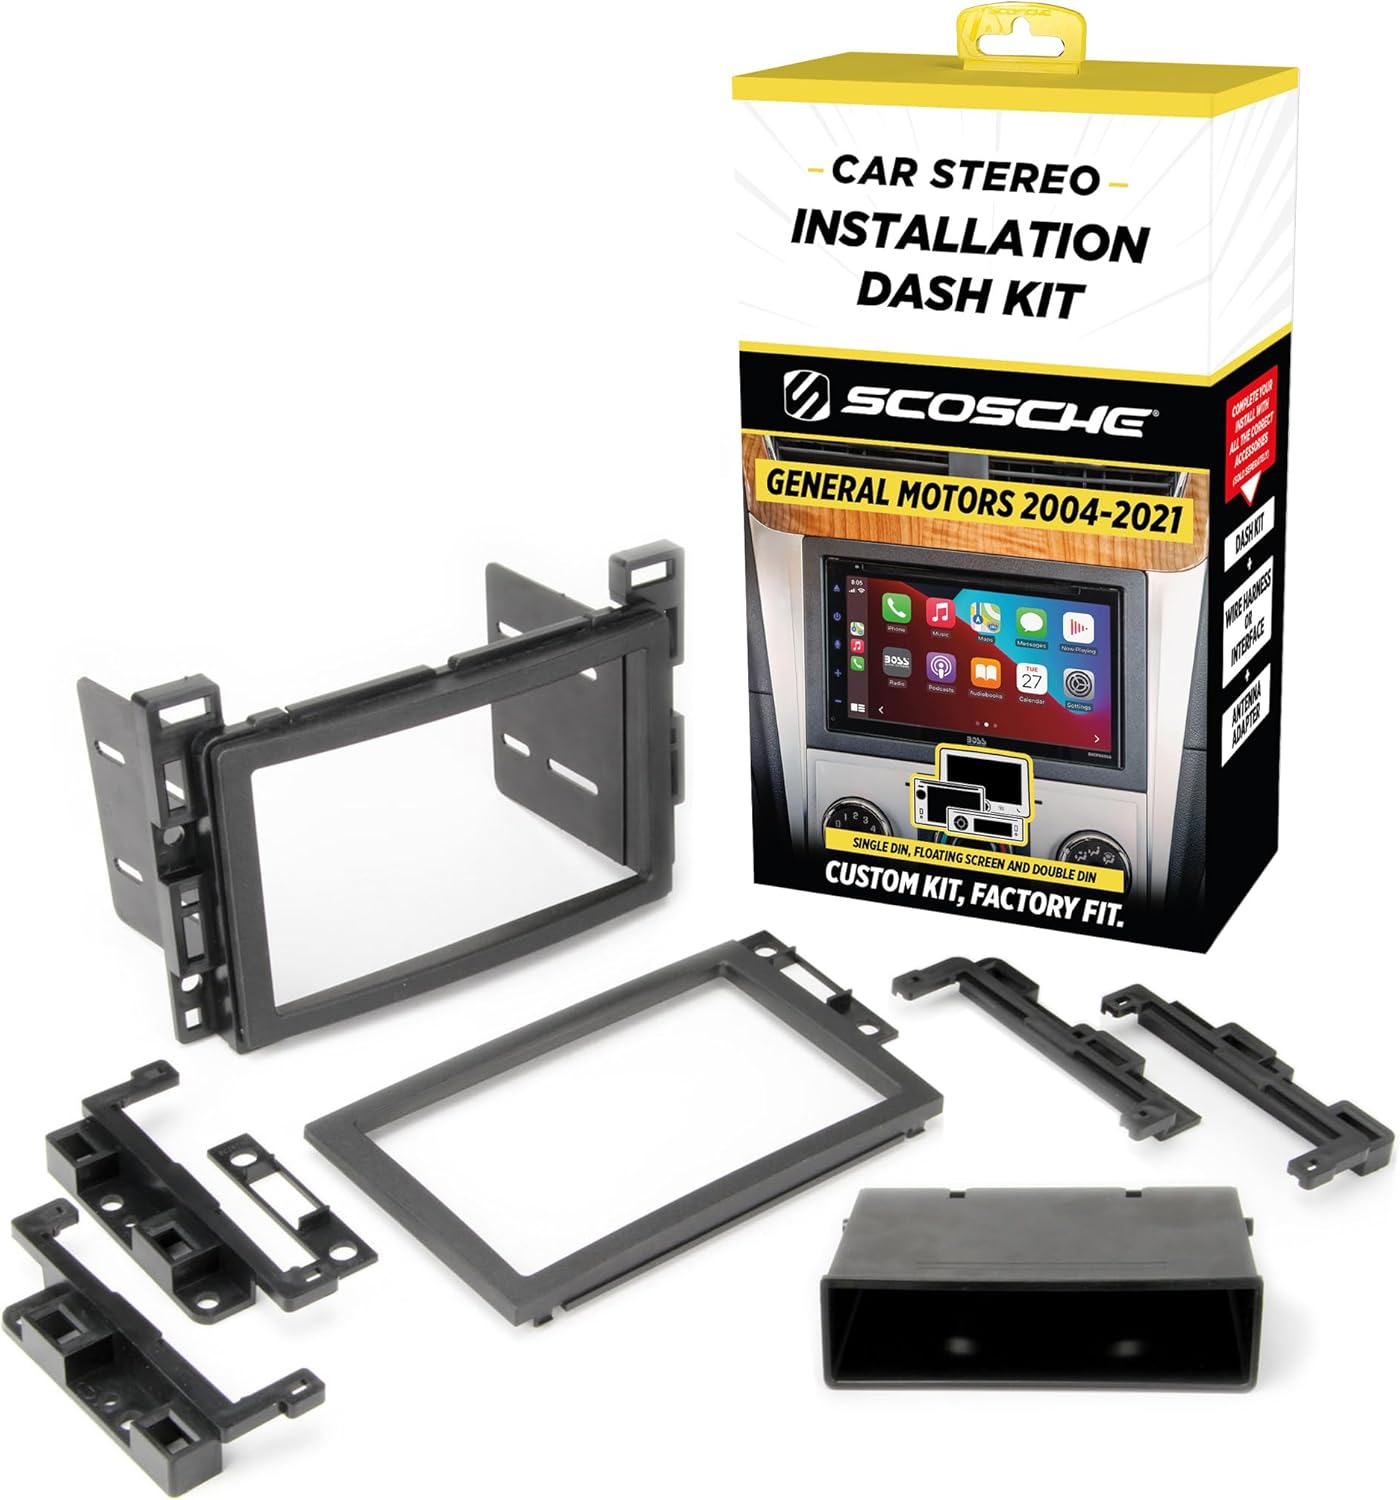
Image 1.1: Scosche GM2500B Dash Kit components and retail packaging.
2. Ce se află în cutie
The Scosche GM2500B Dash Kit includes the following components:
- Manual de instructiuni
- Suporturi de montare
- Radio Bezels (for Double DIN and Single DIN with pocket configurations)
- Storage Pocket (for Single DIN installations)

Image 2.1: All components included in the Scosche GM2500B Dash Kit.
3. Compatibilitatea vehiculului
This dash kit is compatible with select 2004-2021 GM vehicles. It is crucial to verify your vehicle's make, model, and year against the provided fit guide to ensure proper compatibility before beginning installation.

Image 3.1: Fit Guide for Scosche GM2500B, detailing compatible GM vehicle models and years.
The kit accommodates both Single DIN and Double DIN aftermarket stereos. Double DIN dash kits are designed for true Double DIN stereos with a maximum screen opening of 96.8mm x 173mm (3-13/16 inches x 6-13/16 inches). Some radios labeled as Double DIN may be oversized and could require minor trimming of the kit for a proper fit.
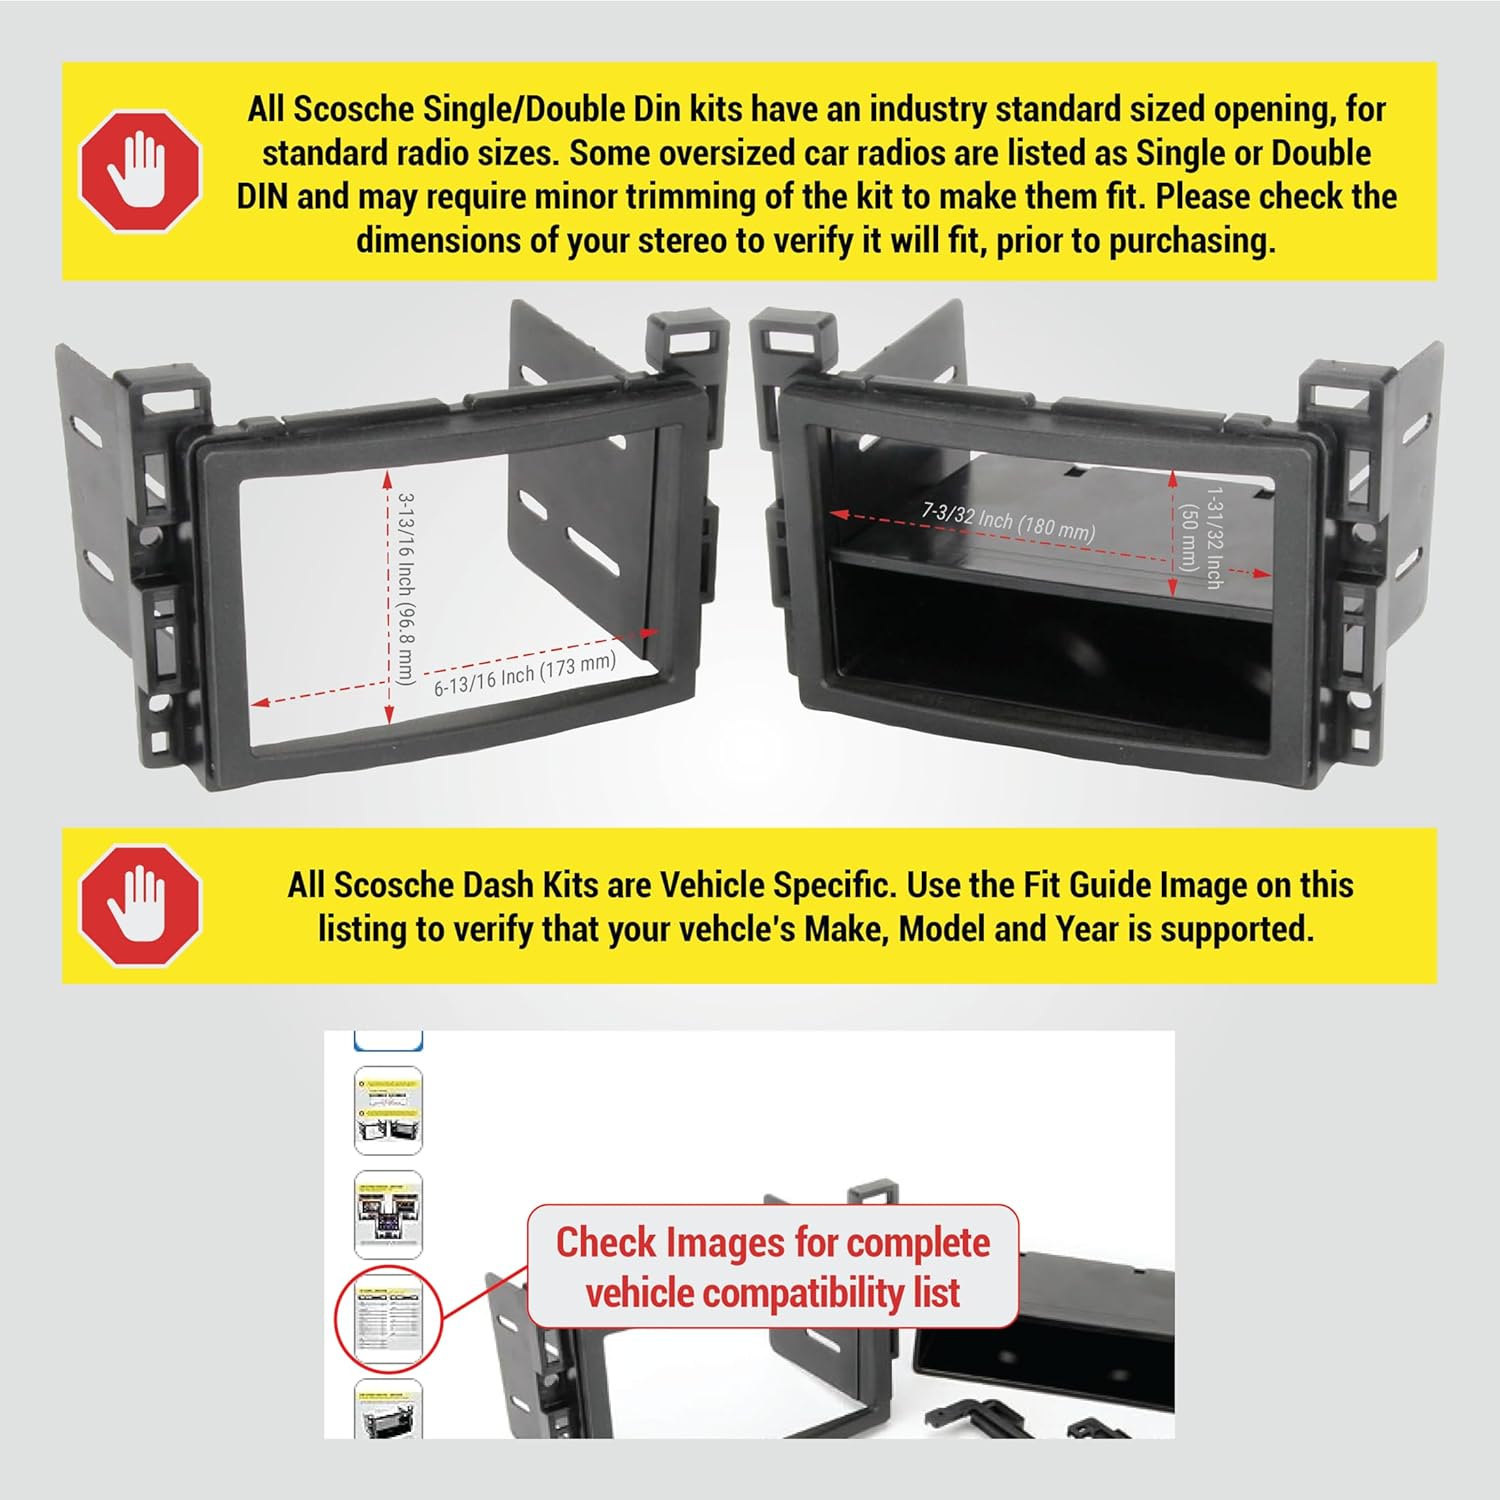
Image 3.2: Dash kit dimensions for Double DIN and Single DIN with pocket installations.
4. Instrucțiuni de instalare
Follow these steps for the proper installation of your Scosche GM2500B Dash Kit and aftermarket stereo. Refer to the video below for a visual guide on the installation process.
4.1. Pregătire
- Deconectați bateria: Înainte de a începe orice lucrare electrică, deconectați borna negativă a bateriei vehiculului pentru a preveni scurtcircuitele sau deteriorarea.
- Review Instrucţiuni: Carefully read the entire instruction manual provided with the dash kit and your new aftermarket stereo.
- Identify Unused Tabs: Based on your specific vehicle and stereo application, identify and remove any tabs on the mounting brackets that will not be used. These tabs are designed to be broken off cleanly.
4.2. Demontarea radioului din fabrică
The process for removing your factory radio varies by vehicle. Consult your vehicle's service manual or the specific radio removal instructions included with your dash kit for detailed steps.
- Îndepărtați panourile de finisare: Use a panel removal tool to carefully pry off any trim panels surrounding the factory radio.
- Deșurubați radioul din fabrică: Locate and remove the screws securing the factory radio in place.
- Deconectați cablajele: Gently pull the factory radio out and disconnect all electrical harnesses and antenna cables from the back.
4.3. Dash Kit Assembly and New Radio Installation
- Asamblați kitul de bord: Attach the appropriate mounting brackets to your new aftermarket stereo using the screws provided with the stereo. Ensure the brackets are securely fastened.
- Conectare cablare: Connect the vehicle's wiring harness to the radio's harness. If an interface module is required (sold separately), connect it according to its instructions.
- Instalați un nou sistem stereo: Slide the assembled stereo and dash kit into the vehicle's dash opening. Secure it with the screws removed earlier.
- Reinstalați panourile de finisare: Carefully reattach all trim panels, ensuring they snap securely into place.

Imaginea 4.1: Example of a Double DIN radio installed with the kit.

Imaginea 4.2: Example of a Single DIN radio with storage pocket installed with the kit.

Image 4.3: Various radio types (Double DIN, Single DIN with pocket, Floating Screen) installed using the dash kit.
4.4. Pasi finali
- Reconectați bateria: Reconectați borna negativă a bateriei.
- Funcționalitate de testare: Turn on your vehicle and test the new stereo to ensure all functions (radio, audio, display, etc.) are working correctly.
4.5. Ghid video de instalare
For a visual walkthrough of the installation process, please refer to the official Scosche installation video below. This video demonstrates key steps for installing an aftermarket stereo.
Video 4.1: Official Scosche Stereo Installation Guide. This video demonstrates the general steps for installing an aftermarket stereo, including factory radio removal, wiring connections, and mounting the new unit with a dash kit.
5. Specificații
- Dimensiuni produs: 7.5 x 2.5 x 15 inci
- Greutatea articolului: 4 uncii
- Număr de model articol: GM2500B
- Culoare: Negru
- Material: Plastic ABS de înaltă calitate
- Compatibilitate: Double DIN or Single DIN with Pocket
- Maximum Double DIN Screen Opening: 96.8mm x 173mm (3-13/16" x 6-13/16")
6. Garanție și asistență
The Scosche GM2500B Dash Kit is backed by Scosche's Limited Lifetime Warranty. For any technical assistance or support, please utilize Scosche's Lifetime Tech Support services.
For further information or to contact support, please visit the official Scosche website-ul web sau consultați datele de contact furnizate pe ambalajul produsului.


