1. Introducere
This manual provides comprehensive instructions for the safe and efficient operation of your JVC DR-MV150 DVD Video Recorder VHS Hi-Fi Stereo. Please read this manual thoroughly before using the unit and retain it for future reference. The DR-MV150 combines a DVD recorder and a VHS VCR into a single unit, offering versatile playback and recording capabilities for various media formats.
2. Informații de siguranță
- Sursa de alimentare: Conectați unitatea numai la sursa de alimentare specificată. Asigurați-vă că volumultage corespunde cerințelor unității.
- Ventilare: Nu blocați orificiile de ventilație. Lăsați suficient spațiu în jurul unității pentru o circulație adecvată a aerului, pentru a preveni supraîncălzirea.
- Umiditate: Do not expose the unit to rain, moisture, or excessive humidity. Avoid placing objects filled with liquids, such as vases, on the unit.
- curatenie: Deconectați cablul de alimentare înainte de curățare. Folosiți o cârpă moale și uscată. Nu utilizați agenți de curățare lichizi sau cu aerosoli.
- Service: Nu încercați să reparați singur această unitate. Apelați la personal de service calificat pentru toate lucrările de service.
- Plasare: Așezați unitatea pe o suprafață stabilă și plană. Evitați să o amplasați lângă surse de căldură sau în lumina directă a soarelui.
3. Conținutul pachetului
Verificați dacă toate articolele sunt prezente în colet:
- JVC DR-MV150 DVD Video Recorder VHS Hi-Fi Stereo Unit
- Telecomanda
- Cablu de alimentare
- Cablu HDMI
- Cabluri audio/video RCA
- Manual de instrucțiuni (acest document)

This image displays the JVC DR-MV150 DVD Video Recorder, its remote control, power cable, HDMI cable, RCA cables, and the included instruction manual, illustrating the complete package contents.
4. Configurare
4.1 Conectarea unității
Follow these steps to connect your DR-MV150 to your television and other audio/video equipment.
- Conexiune de alimentare: Connect the supplied power cable to the AC IN port on the rear of the unit and then to a wall outlet.
- Conexiune video (HDMI): For the best picture quality, connect an HDMI cable from the HDMI OUTPUT port on the rear of the DR-MV150 to an HDMI input on your television. This connection supports 1080p up-conversion.
- Video Connection (RCA): Alternatively, or for older televisions, connect the yellow video cable from the VIDEO OUT port on the DR-MV150 to the VIDEO IN port on your television. Connect the red and white audio cables from the AUDIO OUT (R/L) ports to the corresponding AUDIO IN (R/L) ports on your television or audio receiver.
- Conexiune antenă/cablu: Connect your antenna or cable TV line to the ANTENNA IN port on the rear of the unit.
- External Device Connection (Front A/V Input): For connecting external devices like camcorders, use the front panel DV IN or analog audio/video input ports.
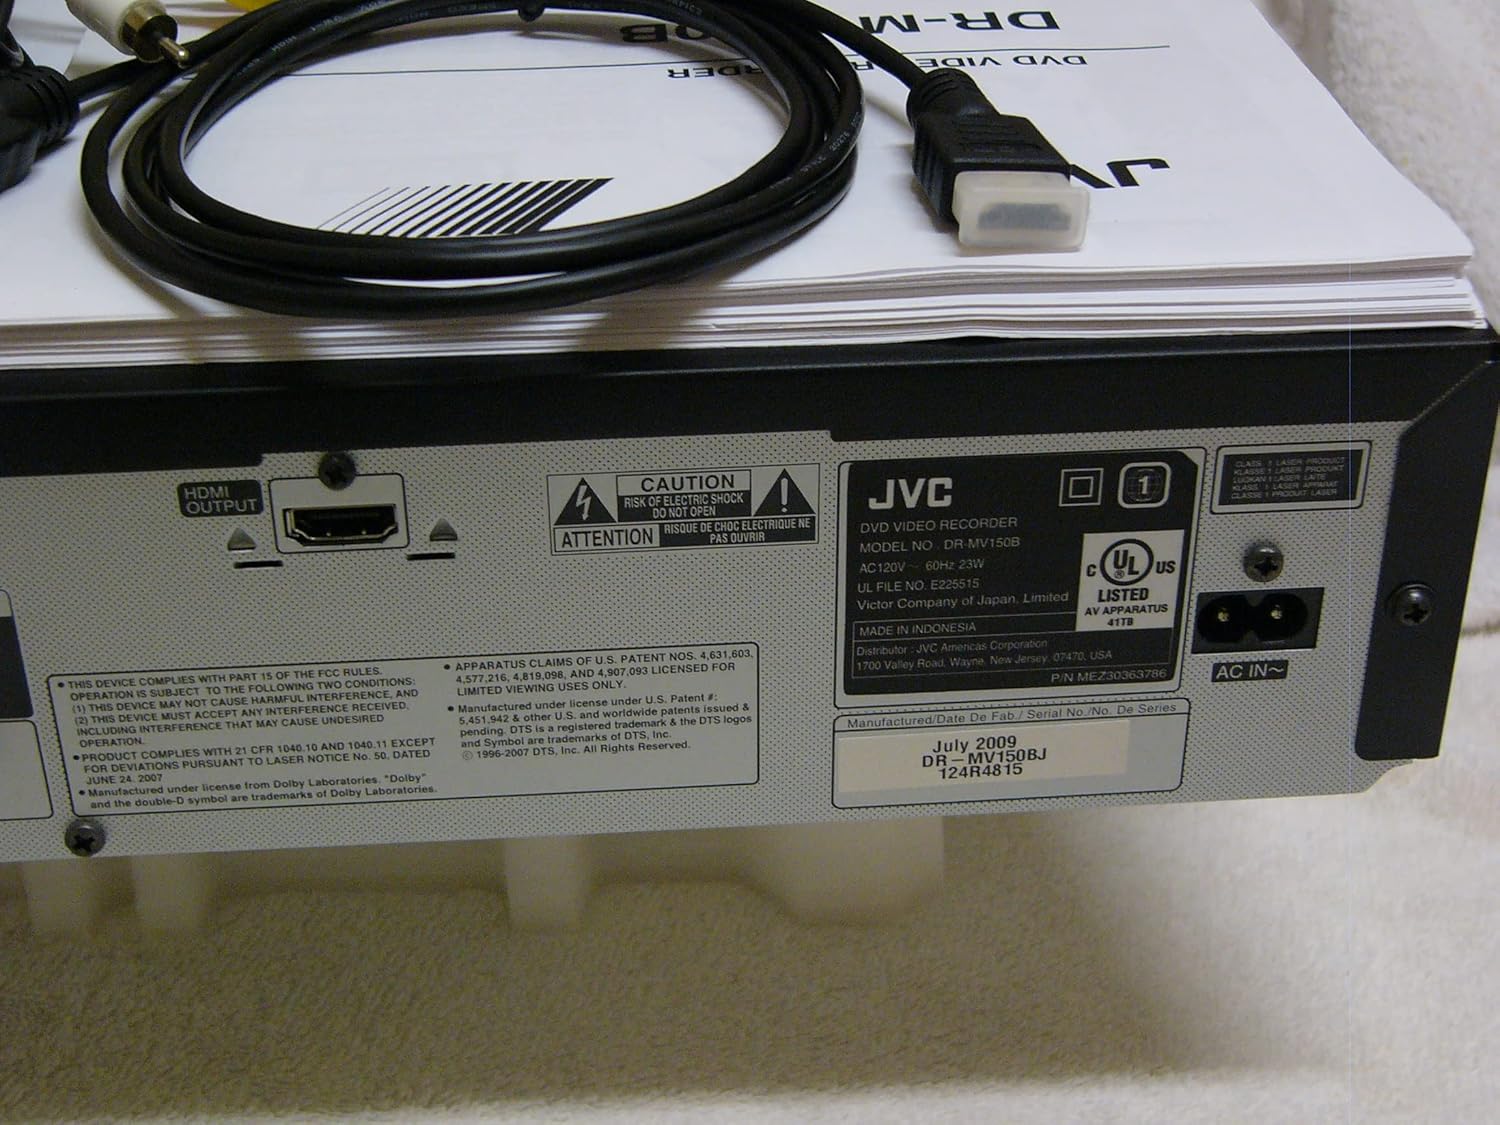
The rear panel of the JVC DR-MV150, displaying the HDMI OUTPUT port for high-definition connection, the AC IN power input, and various regulatory and manufacturing labels.

Un detaliat view of the front panel of the JVC DR-MV150, highlighting the DV IN port and the analog audio (white, red) and video (yellow) input jacks, typically used for connecting external devices like camcorders.
4.2 Instalarea bateriilor telecomenzii
Insert two AAA batteries into the remote control, ensuring correct polarity (+/-). The remote control is essential for accessing all functions of the DR-MV150.

This image features the remote control for the JVC DR-MV150, alongside an HDMI cable and a set of RCA audio/video cables, which are essential for connecting and operating the device.
5. Instrucțiuni de utilizare
Redare de bază 5.1
- Redare DVD: Open the DVD tray, place a DVD disc (DVD-R/RW, CD, SVCD, VCD, CD-R/RW) with the label side up, and close the tray. The unit should automatically begin playback or display a menu.
- Redare VHS: Insert a VHS tape into the VCR slot. The unit will typically begin playback automatically.

This image focuses on the DVD tray section of the JVC DR-MV150, labeled 'Super MULTI' indicating its multi-format compatibility. Below the tray are various control buttons for DVD operation, along with logos for DivX, DTS, Dolby Digital Recording, and DVD Video.
5.2 Înregistrare
The DR-MV150 supports recording to various DVD formats (DVD-RAM, DVD-RW, DVD-R, +RW, +R) and VHS Hi-Fi tapes.
- Înregistrare pe DVD: Insert a recordable DVD disc. Select the input source (e.g., TV tuner, external A/V input). Press the RECORD button on the unit or remote.
- Înregistrare pe VHS: Insert a VHS tape. Select the input source. Press the RECORD button.
- Simultaneous Operation: The unit allows for simultaneous DVD playback while recording to VHS, or vice-versa, depending on the source and destination.
- Finalizing Discs: After recording to a DVD-R, DVD+R, or DVD-RW (VR mode), the disc may need to be finalized to be playable on other DVD players. Refer to the on-screen menu for the finalizing option.
5.3 Caracteristici avansate
- Conversie ascendentă 1080p: When connected via HDMI, the unit can upscale standard definition content to 1080p resolution for improved picture quality on compatible displays.
- Scanare progresivă: Provides a smoother, flicker-free image, especially beneficial for fast-moving scenes.
- ATSC Tuner: The integrated ATSC tuner allows reception of over-the-air digital television broadcasts.
6. Întreținere
6.1 Curăţarea unităţii
- Exterior: Wipe the exterior surfaces with a soft, dry cloth. For stubborn marks, slightly dampen the cloth with water and then wipe dry. Avoid abrasive cleaners or solvents.
- Disc Tray/VCR Slot: Keep the disc tray and VCR slot free of dust and debris. Do not insert foreign objects.
6.2 Îngrijire generală
- Avoid exposing the unit to extreme temperatures or direct sunlight.
- Nu așezați obiecte grele deasupra unității.
- Handle discs and tapes carefully to prevent scratches or damage.
7. Depanare
If you encounter issues with your DR-MV150, refer to the following common troubleshooting steps:
- Fără putere: Asigurați-vă că cablul de alimentare este conectat corect atât la unitate, cât și la o priză de perete funcțională.
- Fără imagine/sunet: Verify all audio and video cables (HDMI, RCA) are correctly connected to the appropriate input/output ports on both the DR-MV150 and your television/receiver. Ensure the correct input source is selected on your television.
- Disc Not Playing/Recording: Check that the disc is clean, free of scratches, and inserted correctly (label side up). Ensure the disc format is supported by the unit. For recording, ensure the disc is recordable and not full or finalized (if applicable).
- VHS Tape Issues: Ensure the tape is inserted correctly and not damaged.
- Telecomanda nu funcționează: Check the batteries in the remote control and ensure there are no obstructions between the remote and the unit's sensor.
- Unitatea nu răspunde: Try unplugging the unit from the power outlet for a few minutes, then plug it back in to reset it.
If problems persist after attempting these steps, contact JVC customer support or a qualified service technician.
8. Specificații
| Caracteristică | Caietul de sarcini |
|---|---|
| Numele modelului | DR-MV150 |
| Dimensiunile produsului | 19 x 15 x 7 inci |
| Greutatea articolului | 12.4 lire sterline |
| Tip media | CD, DVD, SVCD, VCD, VHS |
| Formate înregistrabile | VHS Hi-Fi, DVD-RAM, DVD-RW, DVD-R, +RW, +R |
| Caracteristica specială | Scanare progresivă |
| Rezoluţie | 1920x1080 (HDMI output with 1080p up-conversion) |
| Tip conector | HDMI, RCA (Audio/Video) |
| Tehnologia de conectivitate | HDMI |
| Mod ieșire audio | Stereo |
| Tuner integrat | ATSC/QAM Tuner |
| Baterii (Telecomandă) | Sunt necesare 2 baterii AAA |
| Producător | JVC |
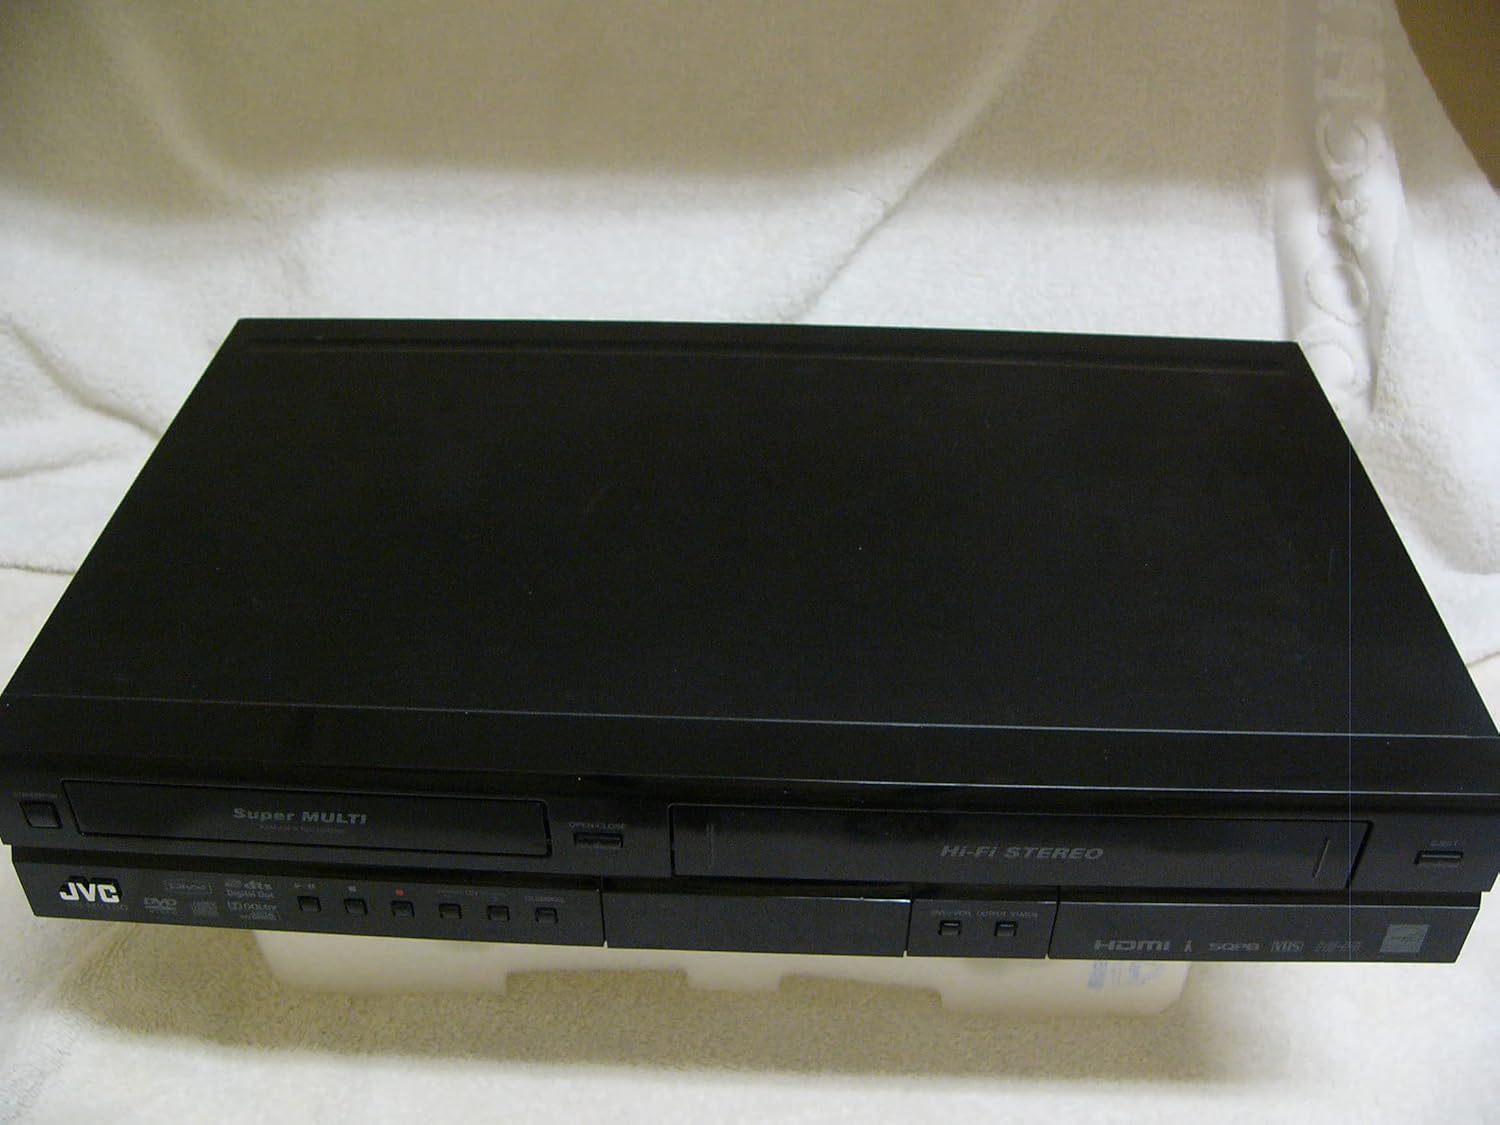
A top-down perspective of the JVC DR-MV150 unit, showcasing its sleek black design and dual-deck configuration for both DVD and VHS media.
9. Garanție și asistență
For warranty information, please refer to the documentation included with your purchase or visit the official JVC website. JVC offers various protection plans for extended coverage. For technical support or service inquiries, please contact JVC customer service.
- Plan de protecție pe 2 ani: Disponibil pentru acoperire extinsă.
- Plan de protecție pe 3 ani: Disponibil pentru acoperire extinsă.
- Protecție completă: Un abonament lunar care acoperă achizițiile trecute și viitoare eligibile.
Please note that protection plans are separate from the manufacturer's warranty and provide additional coverage options.


