1. Introducere
This manual provides essential information for the safe and efficient use of your Lexmark E260D Monochrome Laser Printer. Please read these instructions carefully before operating the device and retain them for future reference. The Lexmark E260D is designed for fast, high-quality black and white document printing, featuring automatic two-sided printing for efficiency.
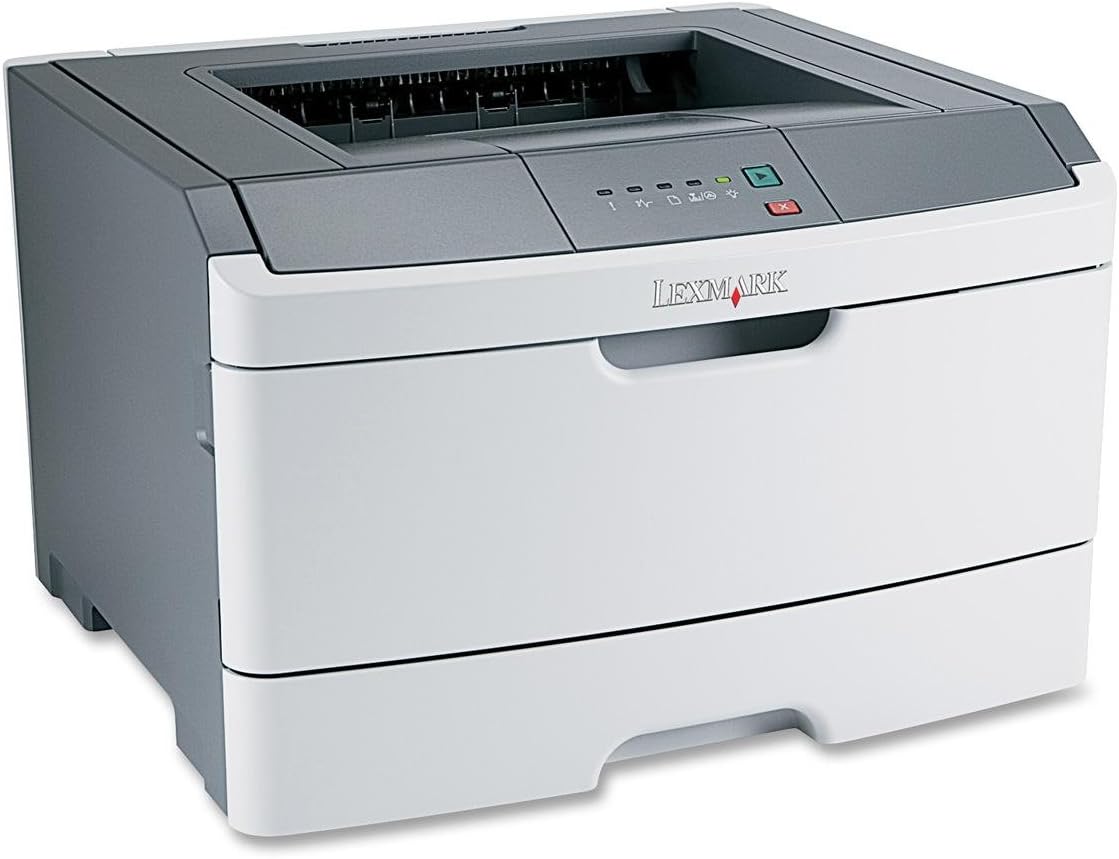
Figura 1: Lexmark E260D Monochrome Laser Printer. This image shows the printer from a front-right angle, highlighting its compact design with a white body and a dark gray top cover. The output tray is visible on top, and the Lexmark logo is displayed on the front panel above the paper input tray.
2. Informații de siguranță
- Conectați întotdeauna imprimanta la o priză de alimentare cu împământare.
- Nu blocați orificiile de ventilație.
- Nu expuneți imprimanta la apă sau umiditate excesivă.
- Folosiți doar cablurile de alimentare și accesoriile specificate.
- Avoid touching the fuser area, as it can be hot.
3. Conținutul pachetului
Verificați dacă toate articolele sunt prezente în colet:
- Lexmark E260D Monochrome Laser Printer
- Cablu de alimentare
- Starter Toner Cartridge (may vary by region)
- Setup Guide or Documentation
- USB Cable (may be sold separately)
4. Configurare
4.1 Despachetarea imprimantei
- Scoateți imprimanta din ambalaj.
- Îndepărtați toate materialele de ambalare, benzile adezive și foliile de protecție de pe exteriorul și interiorul imprimantei.
- Așezați imprimanta pe o suprafață stabilă, plană și cu ventilație adecvată.
4.2 Conectarea imprimantei
- Conectați cablul de alimentare la imprimantă și apoi la o priză electrică cu împământare.
- Conectați un capăt al cablului USB la portul USB al imprimantei și celălalt capăt la computer.
4.3 Instalarea cartușului de toner
- Deschideți ușa de acces frontală a imprimantei.
- Carefully remove the toner cartridge from its packaging and shake it gently to distribute the toner.
- Introduceți cartușul de toner în imprimantă până când se fixează în poziție cu un clic.
- Close the front access door securely.
4.4 Încărcarea hârtiei
- Scoateți tava de hârtie.
- Ajustați ghidajele pentru hârtie pentru a se potrivi cu dimensiunea hârtiei pe care o încărcați.
- Încărcați hârtia în tavă, asigurându-vă că este plată și nu depășește linia de umplere maximă.
- Împingeți tava de hârtie înapoi în imprimantă până când se blochează.
4.5 Instalarea driverului
After connecting the printer, your operating system may automatically detect and install the necessary drivers. If not, follow these steps:
- Insert the driver CD (if included) into your computer's CD/DVD drive, or download the latest drivers from the official Lexmark support website-ul.
- Urmați instrucțiunile de pe ecran pentru a finaliza instalarea driverului.
- Reporniți computerul dacă vi se solicită.
5. Operarea imprimantei
5.1 Imprimare de bază
- Asigurați-vă că imprimanta este pornită și conectată la computer.
- Deschideți documentul pe care doriți să îl imprimați pe computer.
- Selecta File > Imprimați (sau comanda echivalentă din aplicația dumneavoastră).
- Choose the Lexmark E260D from the list of available printers.
- Adjust print settings as needed (e.g., number of copies, page range).
- Clic Imprimare.
5.2 Duplex Printing (Two-Sided)
The Lexmark E260D supports automatic two-sided printing.
- When sending a print job, access the printer properties or preferences.
- Look for an option related to Imprimare duplex or Imprimați pe ambele părți.
- Selectați opțiunea de imprimare duplex dorită (de exemplu, legare pe muchia lungă, legare pe muchia scurtă).
- Confirmați setările și faceți clic pe Imprimare.
6. Întreținere
6.1 Curăţarea imprimantei
- Exterior: Ștergeți suprafețele exterioare cu un material moale, damp, lavetă fără scame. Nu utilizați agenți de curățare abrazivi sau solvenți.
- Interior: Periodically open the front access door and gently remove any loose toner dust with a dry, lint-free cloth. Avoid touching sensitive components.
6.2 Înlocuirea cartușului de toner
When the toner level is low, the printer's control panel will indicate it. Replace the toner cartridge as follows:
- Asigurați-vă că imprimanta este pornită.
- Deschideți ușa de acces frontală.
- Carefully remove the old toner cartridge by pulling it straight out.
- Unpack the new Lexmark E260D compatible toner cartridge and shake it gently.
- Introduceți noul cartuș în imprimantă până când se blochează în poziție.
- Închideți ușa de acces frontală.
7. Depanare
7.1 Blocaje de hârtie
If a paper jam occurs, the printer's control panel will display an error. Follow these general steps:
- Opriți imprimanta și deconectați-o de la priză.
- Open all accessible covers (front door, rear door, etc.).
- Carefully remove any jammed paper, pulling it in the direction of the paper path to avoid tearing.
- Închideți toate capacele în siguranță.
- Conectați și porniți imprimanta.
7.2 Probleme de calitate a imprimării
- Imprimeuri decolorate sau deschise la culoare: The toner cartridge may be low. Try shaking the cartridge gently or replace it.
- Dungi sau pete: Clean the interior of the printer, especially around the toner cartridge area. Ensure the paper type setting matches the loaded paper.
- Pagini goale: Ensure the toner cartridge is properly installed and has toner. Check printer drivers and print settings.
7.3 Probleme de conectivitate
- Imprimantă nedetectată: Ensure the USB cable is securely connected to both the printer and the computer. Try a different USB port or cable. Reinstall printer drivers if necessary.
- Print Jobs Stuck: Clear the print queue on your computer. Restart both the printer and the computer.
7.4 Envelope Printing on Mac
Users printing envelopes on macOS may encounter issues with incorrect print orientation or partial printing. To resolve this:
- In the print dialogue box, locate the menu that initially reads 'Layout'.
- Select 'Paper Feed' from this menu.
- Change the 'Auto Select' option to 'Manual Envelope'.
- Continuați cu imprimarea.
8. Specificații
| Caracteristică | Caietul de sarcini |
|---|---|
| Numele modelului | E260D |
| Tehnologia de imprimare | Laser |
| Ieșire imprimantă | Monocrom |
| Viteză maximă de imprimare (monocrom) | 35 ppm |
| Rezoluție maximă de imprimare (alb-negru) | 1200 dpi |
| Imprimare duplex | Automat |
| Tehnologia de conectivitate | USB 2.0 |
| Capacitate maximă de intrare a foii | 250 de coli |
| Supported Print Media | Envelopes, Labels, Paper (plain), Transparencies |
| Capacitate de stocare a memoriei | 32 MB |
| Dimensiunile produsului | 16.5 x 18.1 x 14 inci |
| Greutatea articolului | 29.8 lire (13.53 kg) |
| Consum de energie (mod pornit) | 16 wați |
9. Informații despre garanție
The Lexmark E260D Monochrome Laser Printer comes with an Exchange Warranty. For specific terms, conditions, and duration of your warranty, please refer to the warranty documentation included with your product or visit the official Lexmark support website-ul.
10. Asistență pentru clienți
For further assistance, technical support, or to order replacement parts and supplies, please contact Lexmark Customer Support. You can find contact information and additional resources on the official Lexmark website:
- Asistență Lexmark Website: www.lexmark.com/support (Vă rugăm să rețineți: Acesta este un substituent) URL. Refer to your product documentation for the exact support link.)


