
1. Introducere
The Daitsu Velar ceiling fan combines design, technology, and sustainability to provide comfort throughout the year. Its natural FSC-certified wooden blades, sourced from responsibly managed forests, add warmth to any room while committing to the protection of the planet's forest resources.
This manual provides detailed instructions for the safe installation, operation, and maintenance of your Daitsu Velar ceiling fan. Please read it thoroughly before installation and keep it for future reference.
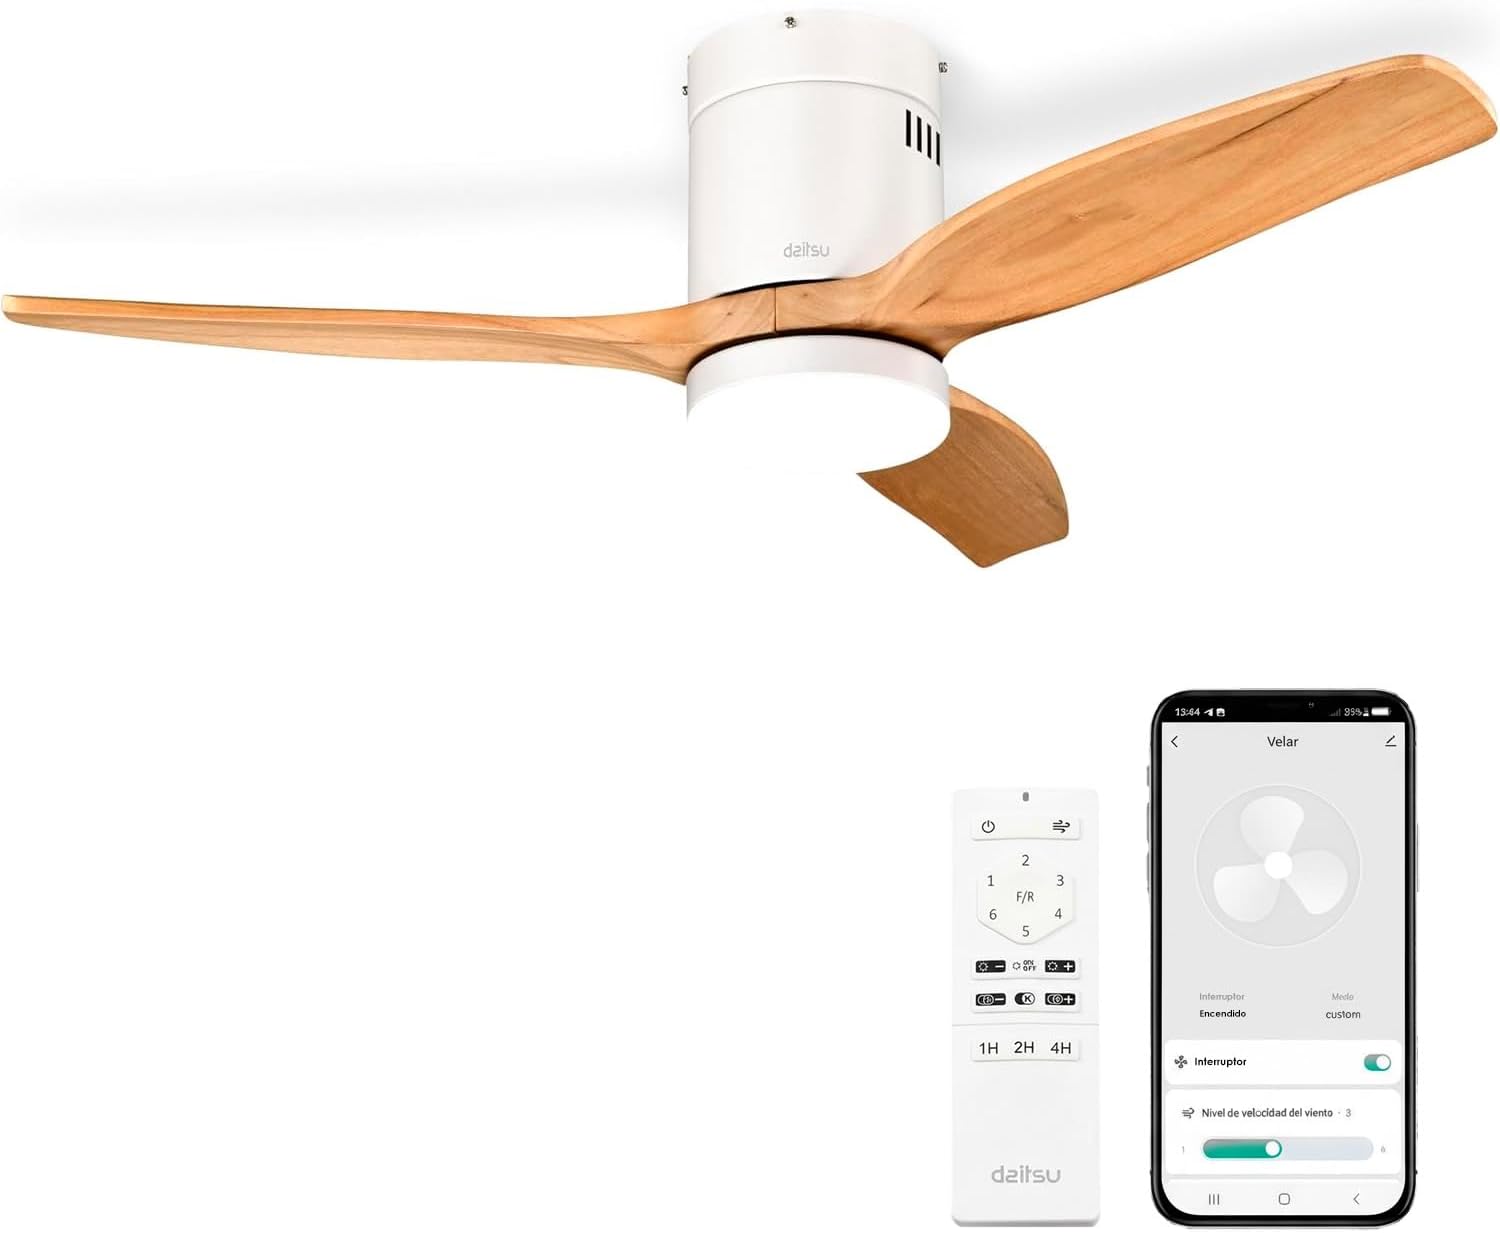
Image 1.1: Daitsu Velar Ceiling Fan in a living room setting.
2. Informații de siguranță
Instrucțiuni importante de siguranță:
- Citiți cu atenție toate instrucțiunile înainte de instalare și utilizare.
- Asigurați-vă că alimentarea cu energie electrică este deconectată de la întrerupătorul principal înainte de instalare sau întreținere.
- Instalarea trebuie efectuată de către un electrician calificat, în conformitate cu codurile electrice locale.
- Structura de montare trebuie să fie capabilă să susțină greutatea ventilatorului (aproximativ 4.6 kg).
- Ensure the fan blades are at least 2.3 meters (7.5 feet) from the floor and have at least 0.5 meters (1.6 feet) clearance from walls or other obstructions.
- Nu introduceți obiecte în traiectoria lamelor rotative.
- Nu încercați să reparați sau să modificați ventilatorul singur. Contactați personalul de service calificat.
- Acest aparat este destinat exclusiv utilizării în interior.
3. Conținutul pachetului
Înainte de a începe instalarea, verificați dacă toate componentele sunt prezente și nedeteriorate:
- Palete ventilator (3x)
- Motor and Ceiling Mount Bracket
- LED Light Kit (plate + diffuser)
- Wireless Remote Control and Wall Mount Holder
- Mounting Screws (for ceiling and blades)
- Manual de instrucțiuni (acest document)

Imaginea 3.1: Example of product packaging, indicating included components.
4. Configurare și instalare
Instrumente necesare: Screwdriver, wire strippers, electrical tape, ladder, drill (if necessary).
- Deconectare de la curent: Opriți alimentarea cu energie de la întrerupătorul principal pentru a preveni electrocutarea.
- Instalare suport de montare: Securely attach the ceiling mount bracket to a ceiling joist or a suitable electrical junction box capable of supporting the fan's weight. Use the provided mounting screws.
- Cablaj: Connect the fan's electrical wires to the household wiring according to the wiring diagram in the full installation guide (not provided here, but typically included with the product). Ensure all connections are secure and insulated.
- Ansamblu motor: Carefully lift the fan motor assembly and hang it onto the mounting bracket.
- Atașarea lamei: Attach the three wooden blades to the motor housing using the provided screws. Ensure they are securely fastened.
- LED Light Kit Installation: Connect the LED light kit wiring and attach the light plate and diffuser to the bottom of the fan motor housing.
- Instalare baldachin: Glisați baldachinul până la tavan și fixați-l pentru a acoperi cablajul și suportul de montare.
- Restaurarea energiei: Restabiliți alimentarea cu energie la întrerupătorul principal.
- Configurarea telecomenzii: Insert batteries into the remote control. The fan should be ready for operation.
- Wi-Fi App Setup (Daitsu Connect):
- Download the "Daitsu Connect" app from your smartphone's app store.
- Follow the in-app instructions to pair your fan with your mobile device. This typically involves putting the fan into pairing mode (refer to the full app manual for specific steps).
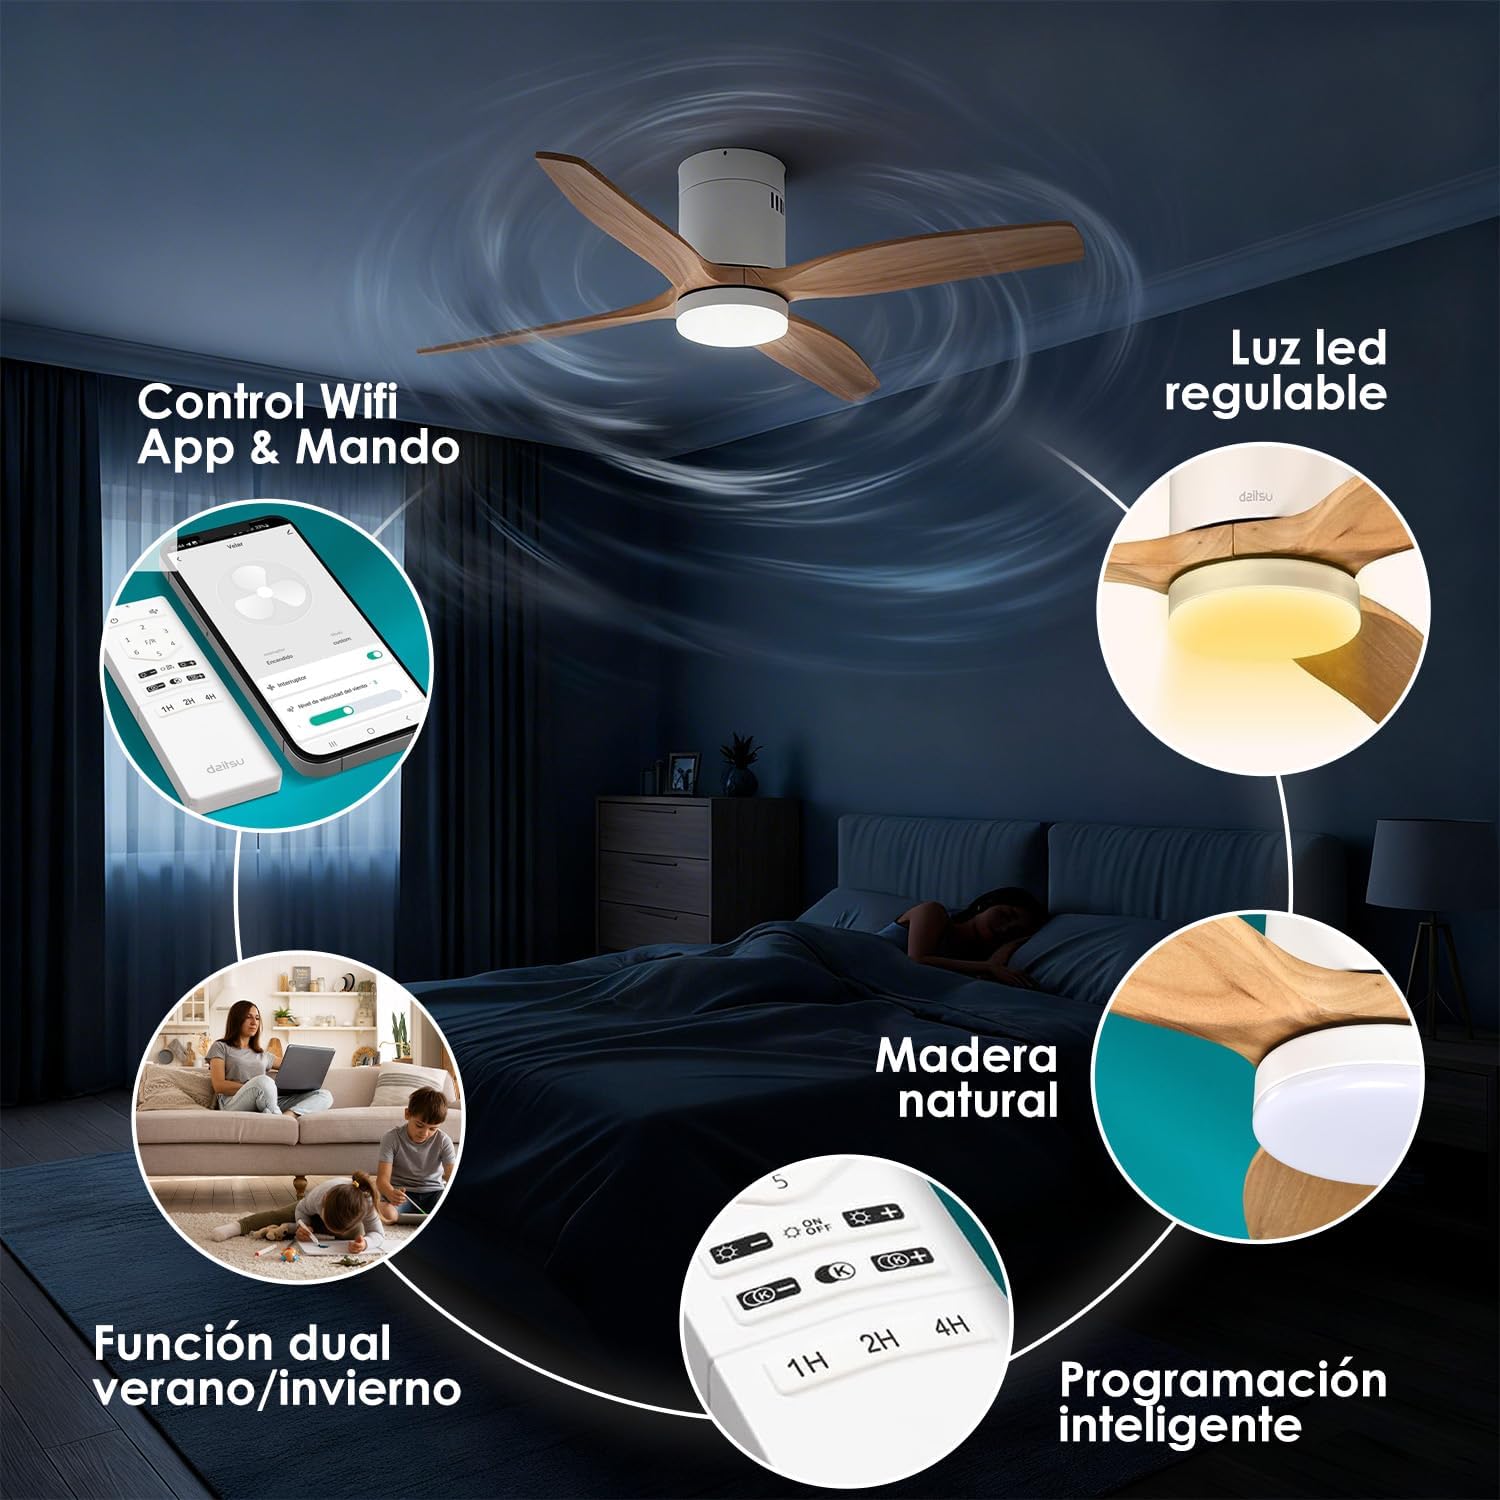
Imaginea 4.1: Pesteview of fan features, including Wi-Fi App & Remote Control.
5. Instrucțiuni de utilizare
Your Daitsu Velar ceiling fan can be controlled using the included wireless remote control or the Daitsu Connect mobile application.
5.1. Funcții de control de la distanță

Image 5.1: Remote control and Daitsu Connect App interface.
- Pornire/Oprire: Apăsați tasta Putere butonul pentru a porni sau stinge ventilatorul și lumina.
- Viteza ventilatorului: Use the speed buttons (1-6) to select one of the six available fan speeds. There is also a variable mode that alternates between low levels for a more natural air sensation.
- Summer/Winter Function (F/R): Apăsați tasta F/R button to switch between summer and winter modes.
- Mod vară: Lamele se rotesc în sens invers acelor de ceasornic, împingând aerul în jos pentru a crea o briză răcoritoare.
- Modul de iarnă: Blades rotate clockwise, drawing cool air up and pushing warm air down from the ceiling, optimizing heating efficiency.
- Controlul luminii:
- Lumina Pornită / Oprită: Apăsați butonul de iluminare pentru a aprinde sau a stinge lumina LED.
- Reglarea luminozității: Utilizați + şi - buttons to adjust the light intensity (9 levels).
- Reglarea temperaturii culorii: Utilizați K+ şi K- buttons to change the color temperature from cool to warm (9 levels).
- Funcția de cronometru: Set the fan to automatically turn off after 1, 2, or 4 hours using the respective timer buttons (1H, 2H, 4H).

Image 5.2: Summer/Winter function diagram for optimal air circulation.

Image 5.3: LED light adjustability with 9 intensity and color temperature levels.
5.2. Daitsu Connect App Control
The Daitsu Connect app provides full control over all fan functions, including speed, light, mode, and timer, directly from your mobile device. It also allows for personalized hourly programming to automate operation based on your daily or weekly routines.
- Functionalitate completa: Access all remote control features and more.
- Programare avansată: Program specific on/off times and settings for different days.
- Funcția de memorie: The fan automatically remembers its last state (speed, light, color temperature, and mode) if power is interrupted or turned off from the switch. Upon power restoration, it will resume the last settings.

Image 5.4: Key features including 6 speeds, programming, light levels, and dual control.
6. Întreținere
Întreținerea regulată asigură o performanță optimă și prelungește durata de viață a ventilatorului dumneavoastră.
- curatenie:
- Deconectați întotdeauna alimentarea înainte de curățare.
- Ștergeți carcasa ventilatorului și palele cu o lavetă moale șiamp pânză. Nu utilizați agenți de curățare abrazivi sau solvenți.
- Dust the blades regularly to maintain balance and efficiency.
- Inspecția lamei: Verificați periodic dacă toate șuruburile lamei sunt strânse. Șuruburile slăbite pot provoca oscilații și zgomot.
- Sursa de lumina: The integrated LED light is designed for long life. If it requires replacement, contact customer support.
7. Depanare
Dacă întâmpinați probleme cu ventilatorul, consultați următoarele probleme și soluții frecvente:
| Problemă | Cauza posibila | Soluţie |
|---|---|---|
| Ventilatorul nu pornește. | Fără curent, cablaj slăbit, bateria telecomenzii descărcată. | Check circuit breaker. Ensure wiring is secure. Replace remote control batteries. |
| Fanii se clatină. | Loose blade screws, unbalanced blades, improper mounting. | Tighten all blade screws. Ensure blades are balanced (a balancing kit may be required). Recheck mounting bracket security. |
| Lumina nu funcționează. | Loose wiring, LED module failure. | Check light kit wiring connections. If issue persists, contact customer support for LED module replacement. |
| Telecomanda nu răspunde. | Dead batteries, interference, remote not paired. | Replace batteries. Ensure no obstructions. Re-pair remote if necessary (refer to full manual). |
| Wi-Fi app connection issues. | Incorrect Wi-Fi password, poor signal, fan not in pairing mode. | Verify Wi-Fi password. Ensure fan is within Wi-Fi range. Follow app instructions to put fan in pairing mode. |
If the problem persists after attempting these solutions, please contact Daitsu customer support.
8. Specificații
| Caracteristică | Detaliu |
|---|---|
| Marca | Daitsu |
| Numărul de model | VELAR |
| Dimensiune | Ø122cm (suitable for rooms up to 25m²) |
| Dimensiuni (D x W x H) | 106.5 cm x 106.5 cm x 31.5 cm (Note: The Ø122cm refers to the blade span, while 106.5cm might be the housing dimensions or a different measurement.) |
| Greutate | 4.6 kilograme |
| Culoare | White with Wooden Blades |
| Numărul de lame | 3 |
| Sursa de alimentare | Electric cu fir |
| Voltage | 240 volți |
| Consumul de energie | 30 wați |
| Capacitatea fluxului de aer | 121 de metri cubi pe minut |
| Numărul de viteze | 6 |
| Nivel de zgomot | 34 Decibels (Ultra-silent DC motor) |
| Caracteristici speciale | Natural wooden blades, Remote control, App control (Wi-Fi), Dimmable LED light (18W, 9 intensity levels, 9 color temperatures), Summer/Winter function, Smart memory function, Programmable auto-off. |
| Utilizare recomandată | Air circulation, Ventilation (Indoor use only) |

Image 8.1: Dimensions for the Ø122cm model.
9. Garanție și asistență
Garantie: Acest produs vine cu o garanție de 3 an de la producător.
Asistență clienți: For technical assistance, warranty claims, or any questions regarding your Daitsu Velar ceiling fan, please contact Daitsu customer service through their official website-ul sau informațiile de contact furnizate împreună cu documentația de achiziție.
Please have your model number (VELAR) and proof of purchase ready when contacting support.