
1. Introducere
This manual provides detailed instructions for the installation, operation, and maintenance of your FTes RFKits 2-Wire Tuya 1080P Video Intercom System. Please read this manual thoroughly before installation and use to ensure proper functionality and safety. Keep this manual for future reference.
2. Caracteristicile produsului
- 7-inch Color Monitor: High-resolution TFT LCD screen for clear viewing and simple operation. Supports two-way communication between the indoor monitor and the outdoor camera.
- Conectivitate Wi-Fi: Compatible with Wi-Fi router connection via the TUYA app. Receive notifications on your phone when a visitor rings the doorbell, enabling remote home monitoring.
- Automatic Recording and Capture: The outdoor camera automatically takes a photo and a short video when a visitor rings the doorbell. Photos and videos are saved to a 32GB microSD card (included) or can be viewed pe telefon.
- Infrared Night Vision and IP54 Waterproofing: Outdoor doorbell features a waterproof casing, integrated infrared sensor, 1080p camera, and a 90° wide viewing angle. Provides clear night vision and is resistant to rain, dust, and vandalism.
- Conexiune prin cablu: The indoor monitor and doorbell are wired for reliable communication. The maximum distance between the indoor monitor and the outdoor unit is 100 meters, with an optimal distance of approximately 30 meters.
3. Conținutul pachetului
Vă rugăm să verificați pachetul pentru următoarele articole:
- 1 x Outdoor Camera Unit
- 1 x Unitate de monitorizare interioară
- RFID Key Fobs (quantity may vary)
- Șuruburi și ancore de montare
- Adaptor de alimentare
- Cabluri de cablare
- Manual de utilizare
- 32GB MicroSD Card (pre-installed or included separately)
4. Specificații
| Caracteristică | Caietul de sarcini |
|---|---|
| Dimensiunea monitorului | LCD TFT de 7 inci |
| Rezoluție video | 1080P (Outdoor Camera), 1024p (Recording) |
| Viewunghiul ing | 90° (Outdoor Camera) |
| Vedere de noapte | Infraroşu |
| Evaluare rezistentă la apă | IP54 (Unitate exterioară) |
| Conectivitate | Wired (Indoor to Outdoor), Wi-Fi (Monitor to Router) |
| Compatibilitatea aplicațiilor | TUYA Smart, SmartThings |
| Depozitare | Card MicroSD (32 GB inclus) |
| Sursa de alimentare | Electric Cable (12-24V Power) |
| Tip de instalare | Screw-in, Wall Mount |
| Dimensiuni articol (L x l x H) | 18 x 5 x 25 cm (aproximativ) |
| Greutatea produsului | 1.01 kg (aproximativ) |
For detailed dimensions of the indoor and outdoor units, refer to the diagram below:

Figura 4.1: Dimensions and Key Features Overview. This image illustrates the physical dimensions of both the indoor monitor (175mm x 115mm x 20mm) and the outdoor unit (90mm x 145mm x 45mm), alongside a visual summary of features including Tuya Wi-Fi, 1024*600 resolution, AHD, 1080P camera, 120° viewing angle, night vision, rain-proof design, RFID card support, unlock function, and TF card support.
5. Ghid de instalare
This system uses a 2-wire connection between the indoor monitor and the outdoor doorbell unit. Ensure all power is disconnected before beginning installation.
5.1 Instalarea unității exterioare
- Choose a suitable location near your door or gate, ensuring it is within the optimal 30-meter wired distance from the indoor monitor.
- Mount the outdoor unit securely to a wall using the provided screws and anchors. Ensure it is at an appropriate height for visitors to easily reach the doorbell button and for the camera to capture faces clearly.
- Connect the 2-wire cable from the outdoor unit to the designated terminals.
5.2 Instalarea monitorului de interior
- Select a convenient indoor location for the monitor, such as a wall in your living area or kitchen.
- Mount the indoor monitor bracket to the wall using screws.
- Conectați cablul cu 2 fire de la unitatea exterioară la monitorul interior.
- Conectați adaptorul de alimentare la monitorul de interior și introduceți-l într-o priză.
5.3 Connecting to Electric Locks
The system can control up to two electric locks (e.g., a door lock and a gate lock). Refer to the wiring diagram below for connection details. Ensure correct polarity and voltage for your specific locks.

Figura 5.1: 2-Wire Video Intercom Doorbell System Wiring. This diagram illustrates how the indoor monitor connects to a 12-24V power source and the outdoor unit via a 2-wire cable. It also shows the connections for controlling two electric locks: a door lock and a gate lock.
6. Instrucțiuni de utilizare
6.1 Indoor Monitor Overview
The 7-inch touch screen monitor provides an intuitive interface for managing your intercom system. The main screen displays time, date, and various function icons.

Figura 6.1: 7-inch AHD IPS Touch Screen Interface. This image shows the main menu of the indoor monitor, featuring touch icons for various functions such as viewing the door, talking to visitors, muting, opening two different doors, replaying recordings, accessing recordings, changing ringtones, system settings, and navigating back.
6.2 Two-Way Intercom Communication
When a visitor presses the doorbell button on the outdoor unit, the indoor monitor will ring and display the visitor's image. You can then initiate two-way communication.
- When the doorbell rings, tap the 'Talk' icon on the monitor to speak with the visitor.
- To end the conversation, tap the 'End Call' icon.
- You can also communicate with visitors via your mobile phone using the Tuya app (see Section 7).
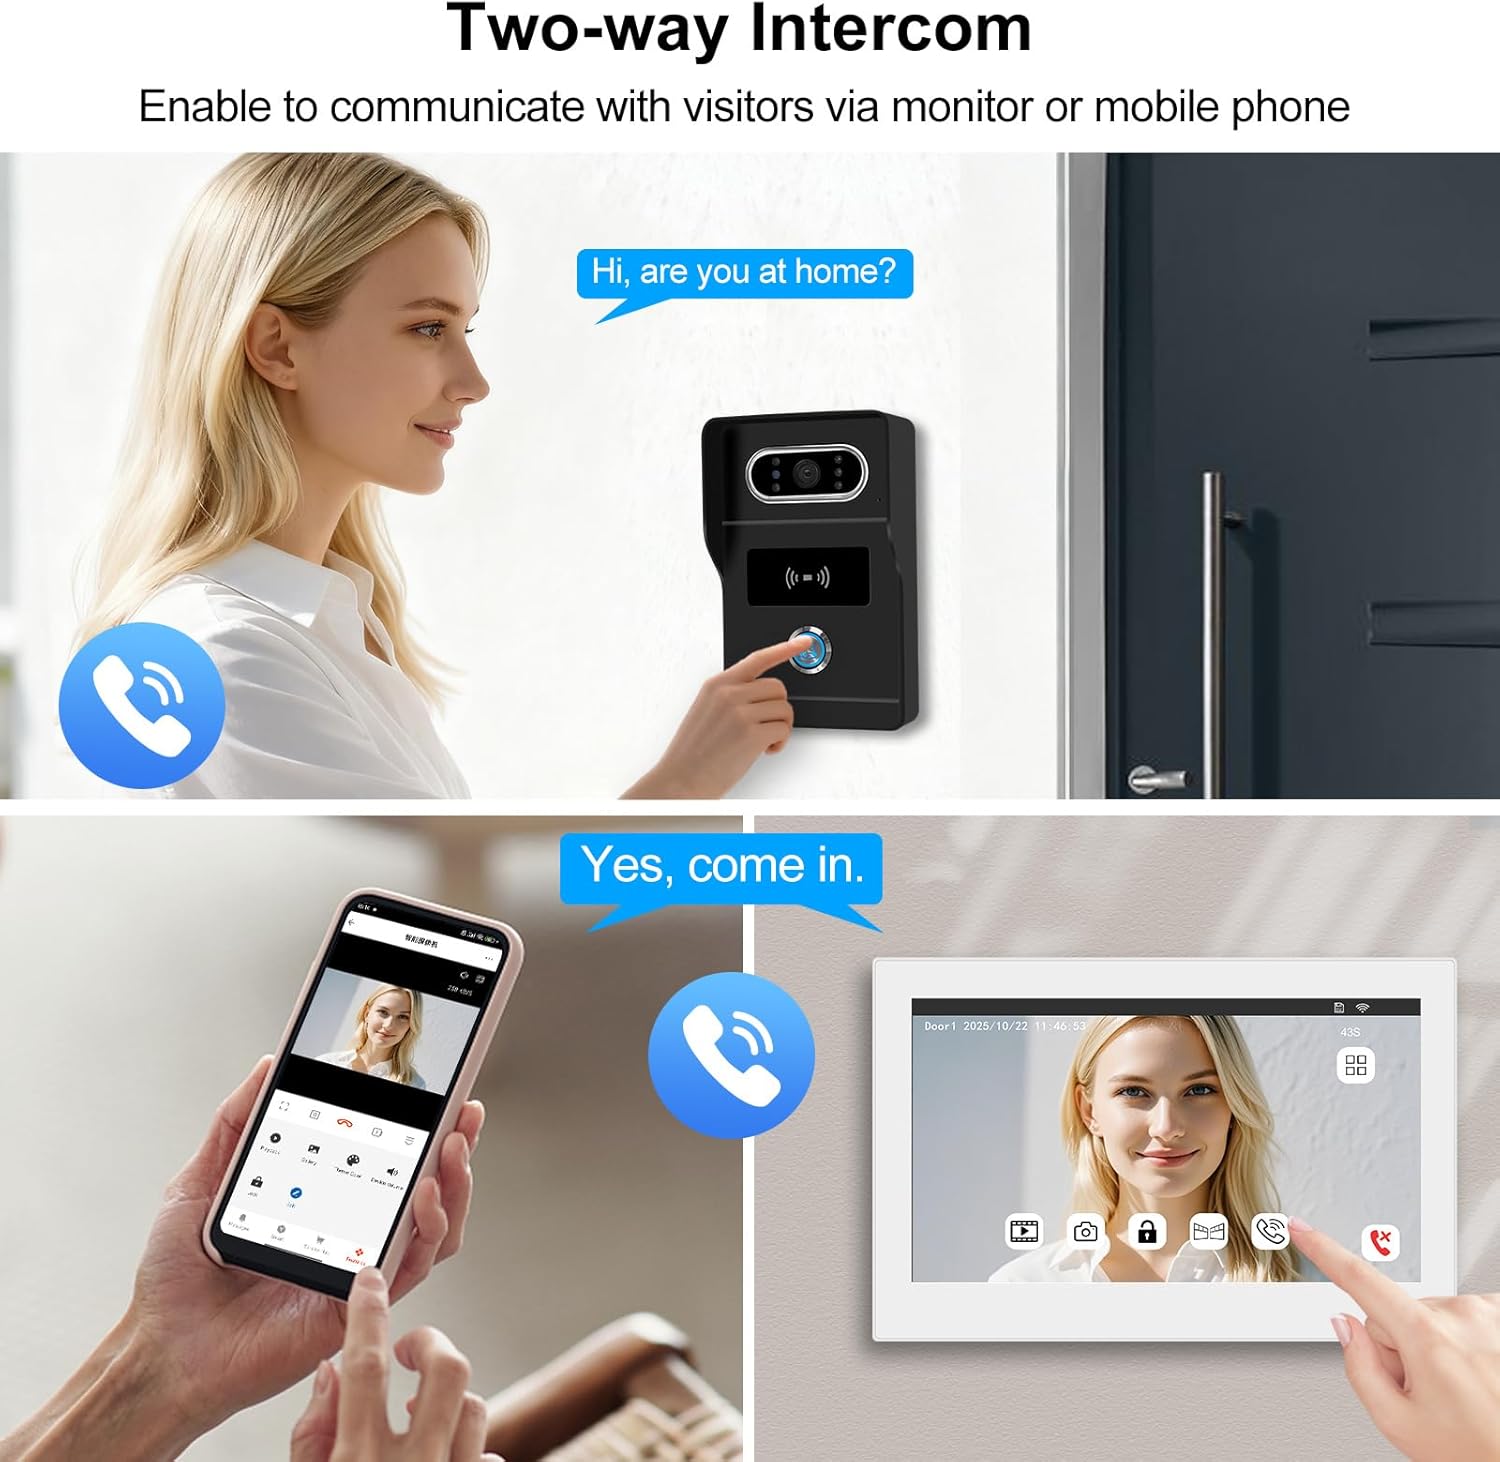
Figura 6.2: Two-Way Intercom Functionality. This image demonstrates the two-way communication feature, where a visitor at the outdoor unit can speak to a resident who can respond either through the indoor monitor or remotely via the mobile application.
6.3 Automatic Recording and Playback
The system automatically records events for security and review.
- When a visitor rings the doorbell, the outdoor camera automatically captures a photo and a short video.
- These recordings are saved to the included 32GB microSD card.
- La view recordings, tap the 'Recording' or 'Replay' icon on the indoor monitor. You can also access them via the Tuya app.
- The system also supports motion detection recording, capturing events when motion is detected near the outdoor unit.

Figura 6.3: Photo/Video Recording and Playback. This image highlights the system's ability to record photos and videos, storing them on the included 32GB TF card. It also shows how these recordings and detection events can be reviewed on a smartphone application.
6.4 Metode de deblocare
The system offers multiple ways to unlock connected doors or gates.
- Indoor Unit Unlock: Tap the 'Open the door 1' or 'Open the door 2' icon on the indoor monitor to unlock the corresponding electric lock.
- Deblocare card RFID: Present an authorized RFID key fob to the outdoor unit's RFID reader to unlock the door/gate.
- Deblocare aplicație: Use the Tuya Smart app on your smartphone to remotely unlock doors or gates.

Figura 6.4: 3-in-1 Unlocking Methods. This image demonstrates the three convenient ways to unlock your door or gate: directly from the indoor monitor, using an RFID card on the outdoor unit, or remotely through the Tuya Smart mobile application.
7. Wi-Fi Connection and Tuya App
To utilize remote monitoring and control features, connect your indoor monitor to your home Wi-Fi network and set up the Tuya Smart app.
7.1 Conectarea la Wi-Fi
- On the indoor monitor, navigate to 'Settings' and then 'Network' or 'Wi-Fi'.
- Selectați rețeaua Wi-Fi din listă și introduceți parola.
- Once connected, the Wi-Fi icon on the monitor should indicate a successful connection.
7.2 Tuya Smart App Setup
- Descărcați aplicația „Tuya Smart” din magazinul de aplicații al smartphone-ului dvs. (iOS sau Android).
- Înregistrează-te pentru un cont nou sau autentifică-te dacă ai deja unul.
- In the app, tap '+' to add a new device. Follow the on-screen instructions to pair your video intercom system. This typically involves scanning a QR code displayed on the monitor or selecting the device type manually.
- Once paired, you will receive notifications, view live video, communicate with visitors, and unlock doors remotely through the app.
8. Întreținere
Întreținerea regulată asigură longevitatea și performanța optimă a sistemului dumneavoastră de interfonie.
- curatenie: Use a soft, dry cloth to clean the indoor monitor and outdoor unit. For stubborn dirt, a slightly damp Se poate folosi o lavetă, dar evitați umiditatea excesivă. Nu utilizați produse de curățare abrazive sau solvenți.
- Unitate exterioară: Periodically check the outdoor camera lens for dirt, dust, or spiderwebs that might obstruct the view. Clean gently if necessary.
- Cablaj: Ensure all wired connections remain secure and free from damage.
- Actualizări de software: Check the Tuya Smart app or the monitor's settings for available firmware updates to ensure your system has the latest features and security enhancements.
9. Depanare
Dacă întâmpinați probleme cu sistemul dvs., consultați următoarele probleme și soluții comune:
- Fără putere: Ensure the power adapter is securely plugged into both the monitor and a working electrical outlet. Check circuit breakers.
- Fără video/audio: Verify that the 2-wire cable between the indoor and outdoor units is correctly connected and not damaged. Restart both units.
- Probleme de conexiune Wi-Fi: Ensure your Wi-Fi router is working and the signal strength is adequate. Re-enter the Wi-Fi password on the monitor. Restart your router and the monitor.
- Notificări ale aplicației neprimite: Check your phone's notification settings for the Tuya Smart app. Ensure the app is running in the background and the monitor is connected to Wi-Fi.
- Door/Gate Not Unlocking: Verify that the electric lock is correctly wired to the system and receiving power. Check the lock's functionality independently. Ensure RFID key fobs are correctly programmed.
- Vedere nocturnă slabă: Asigurați-vă că obiectivul camerei de exterior este curat și fără obstrucții.
Dacă problemele persistă, contactați asistența pentru clienți pentru asistență suplimentară.
10. Garanție și asistență
Your FTes RFKits 2-Wire Tuya 1080P Video Intercom System comes with a standard manufacturer's warranty. Please refer to the warranty card included in your package or visit the official FTes RFKits website-ul pentru termenii și condițiile detaliate ale garanției.
For technical support, troubleshooting assistance, or spare parts inquiries, please contact FTes RFKits customer service through the contact information provided on their official website-ul sau platforma dvs. de cumpărare.