
1. Introducere
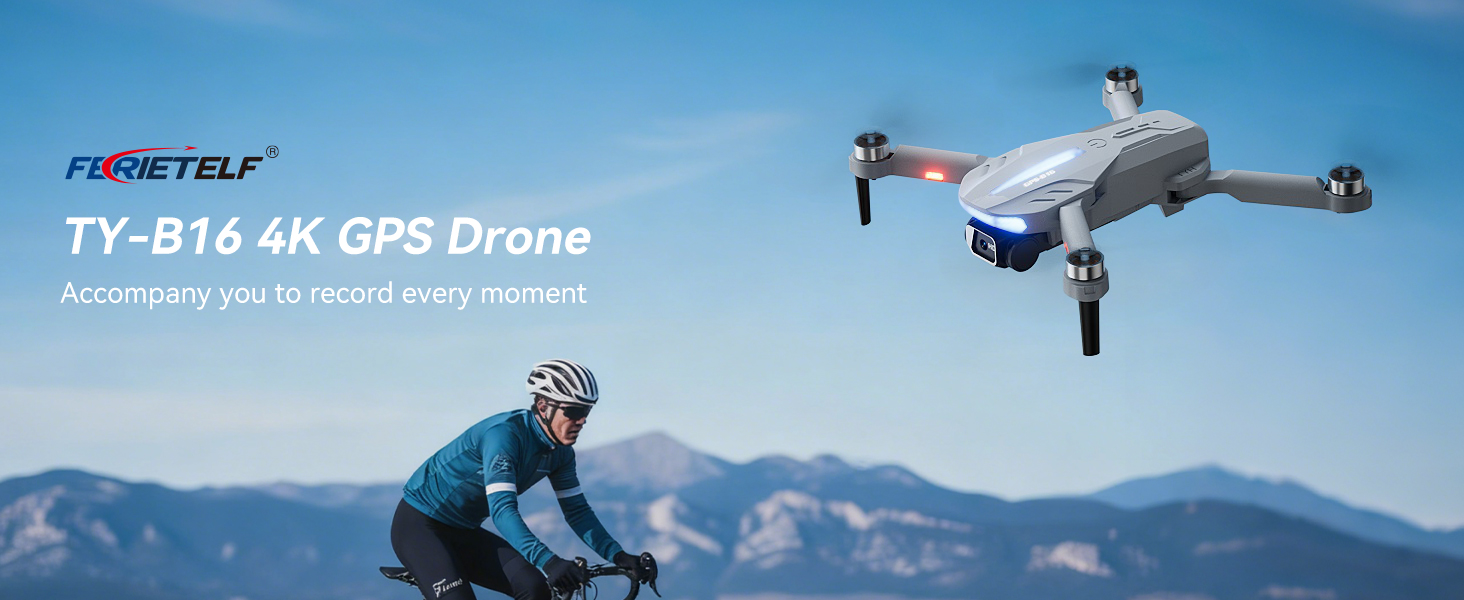
This manual provides essential instructions for the safe operation and maintenance of your FERIETELF B16 GPS Drone with Camera 4K. Please read this guide thoroughly before first use to ensure proper setup and optimal flight experience. The B16 drone is designed for ease of use, featuring a lightweight, foldable design and advanced flight capabilities.
2. Conținutul pachetului
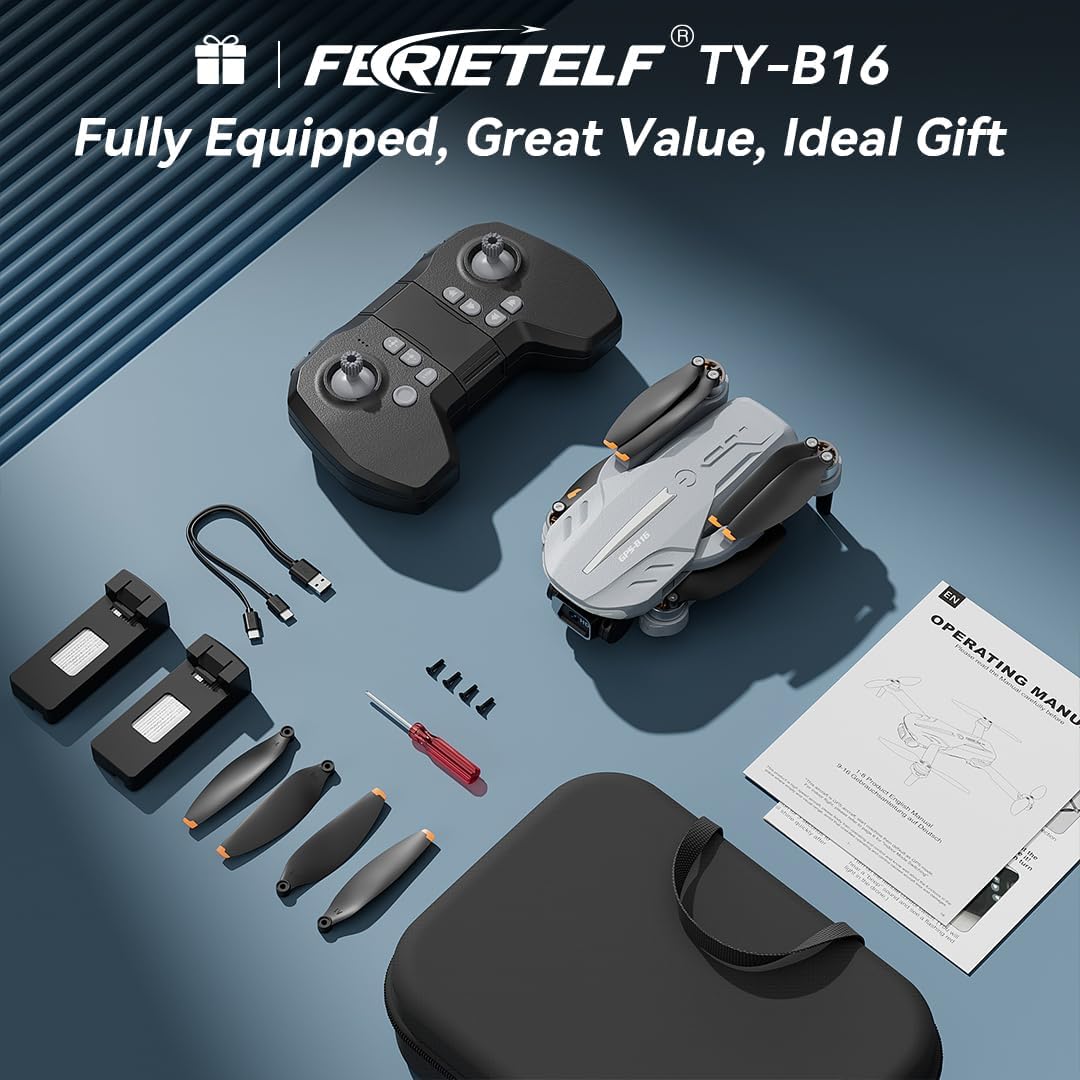
Verificați dacă toate articolele enumerate mai jos sunt incluse în colet. Dacă lipsesc sau sunt deteriorate articole, vă rugăm să contactați serviciul de asistență pentru clienți.
- FERIETELF B16 Drone x 1
- Telecomandă x 1
- Baterie x 2
- Geantă portabilă de depozitare x 1
- Cablu USB x 1
- Propeller x 4 (spare)
- Șurubelniță x 1
- Manual de utilizare x 1
- App Manual x 1
- Șuruburi de rezervă x 4

3. Configurare
3.1. Pregătirea dronei
- Desfaceți drona: Carefully unfold the front arms of the drone, followed by the rear arms, until they lock into position.
- Îndepărtați filmul de protecție: Gently peel off any protective film from the camera lens.
- Introduceți bateria: Introduceți o baterie complet încărcată în compartimentul bateriei dronei până când se fixează în siguranță cu un clic.
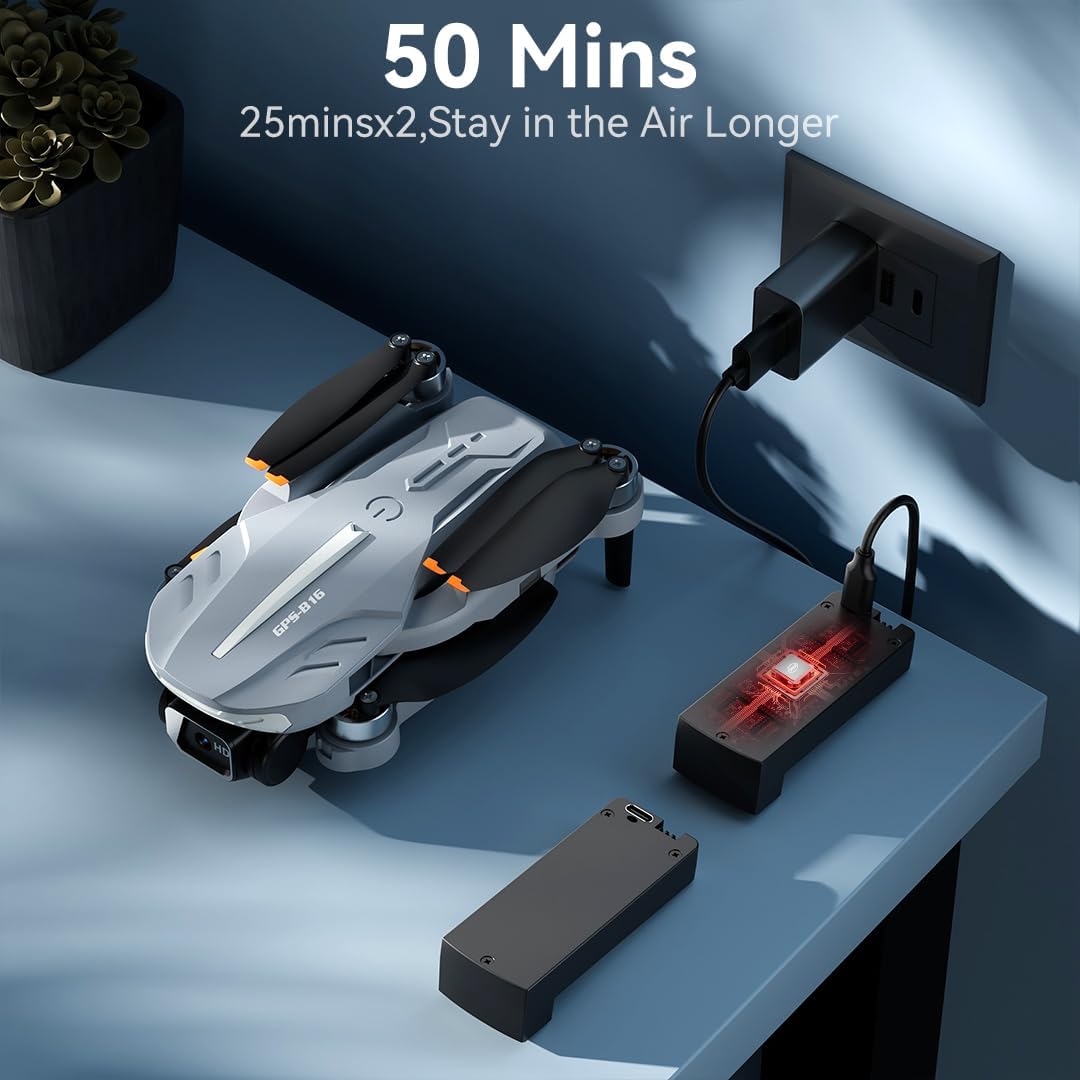
- Încărcați bateria: Use the provided USB charging cable to charge the drone batteries. The cable connects to a 5V/2A plug. The indicator light on the drone changes from red (below 30%) to green (30% or more) and solid green when fully charged.
- Introduceți cardul de memorie: Insert a compatible memory card (FAT32 or EXFAT format, up to 128GB, purchased separately) into the memory card slot on the drone.
3.2. Remote Controller Preparation
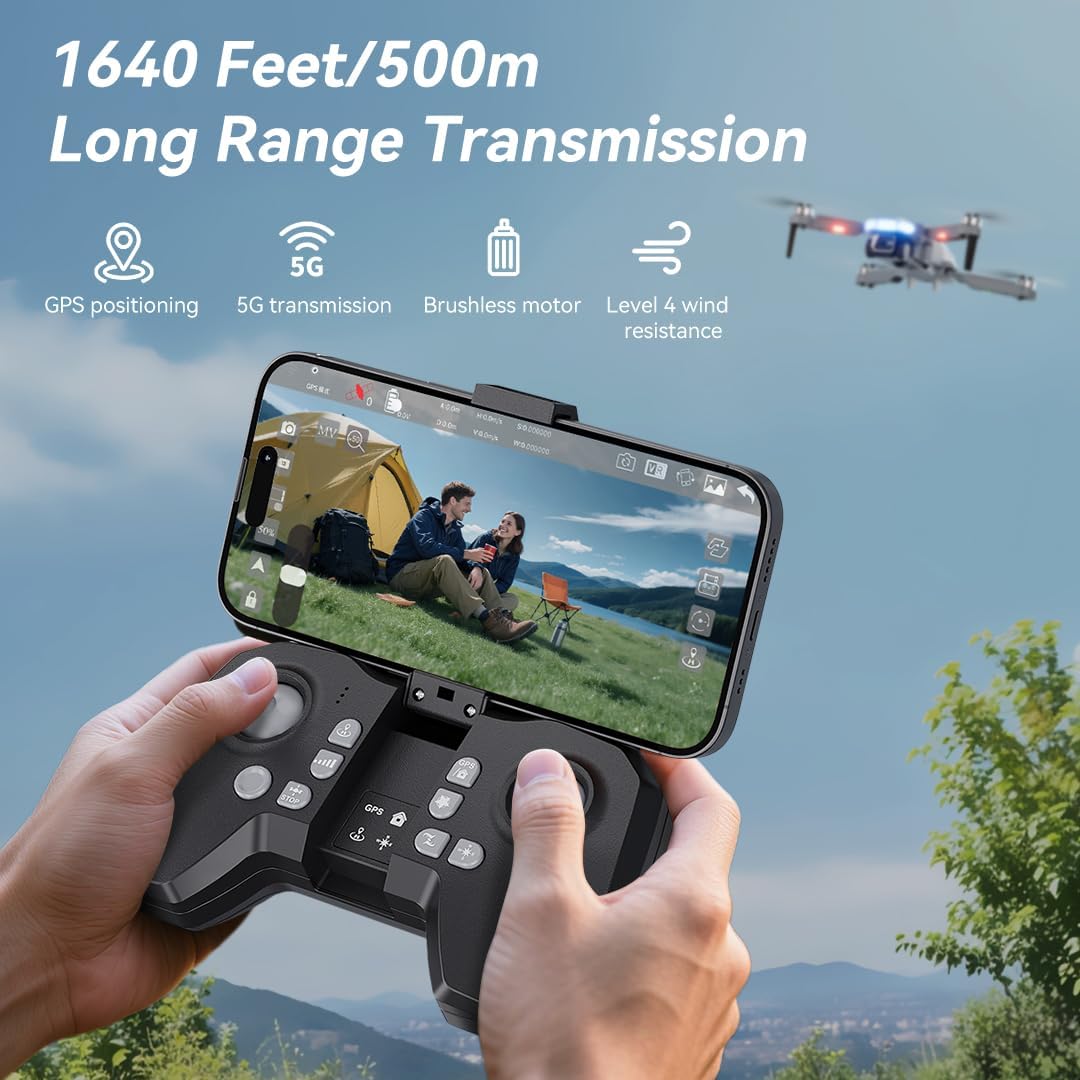
- Instalați bateriile: Use a screwdriver to open the battery compartment on the remote controller. Insert three AAA batteries (not included, purchased separately), ensuring correct polarity. Close the compartment and tighten the screw.
- Unfold Phone Holder: Unfold the phone holder and handles on the remote controller.
- Mount Mobile Phone: Mount your mobile phone onto the phone holder. The holder accommodates smartphones up to 80.01 mm (3.15 inches) wide.
3.3. Power On & Pairing
- Pornirea dronei: Place the drone on a flat, level surface. Press and hold the power button on the drone for 2 seconds to power it on.
- Pornire telecomandă: Press and hold the power button on the remote controller for 2 seconds to power it on. The drone and remote will automatically attempt to pair.
- Pairing Indication: During pairing, the status indicators on the drone's arms will flash red rapidly. Once successfully paired, the indicators will show two quick green flashes in a loop.
3.4. Descărcarea aplicației și conectarea
- Descărcați aplicația: Download and install the "AMETA Drone" app from your mobile phone's app store (Google Play or App Store).
- Conectați Wi-Fi: Navigate to your mobile phone's Wi-Fi settings. Caută and connect to the Wi-Fi network named "Ameta S20-XXXXXX" (where XXXXXX is a unique identifier).
- Lansați aplicația: Launch the "AMETA Drone" app and tap "Start" to enter the main interface and view fluxul live al camerei.

4. Calibrare
For the first-time use, it is recommended to calibrate the drone for stable flight.
4.1. Calibrare busola
- Utilizarea telecomenzii: Press and hold the Compass Calibration button on the remote for 3 seconds.
- Using App: Launch the app, go to "Control" and tap "Calibrate Compass." Follow the on-screen instructions to perform horizontal and vertical rotations of the drone. Ensure you are away from metal or electric objects during calibration.
4.2. Calibrarea giroscopului
- Utilizarea telecomenzii: Simultaneously push the left control stick to the lower-left corner and the right control stick to the upper-right corner.
- Using App: Tap "Gyroscope Calibration" in the app and follow the on-screen instructions.
5. Achiziția semnalului GPS
For optimal performance and intelligent flight features, ensure the drone acquires a strong GPS signal before takeoff. This function cannot be activated indoors.
- Utilizare în exterior: Always operate the drone outdoors in an open area with a clear view a cerului.
- Wait for GPS Lock: After powering on and pairing, wait for the drone to search for GPS signals. The drone will enter GPS mode once a sufficient number of satellites are detected. The app will indicate "GPS located, ready for flight."
6. Operarea dronei
6.1. Decolare
Ensure the drone is on a level surface before attempting takeoff.
- Manual Takeoff: Push both control sticks inward at a 45-degree angle to unlock the motors. Then, push the left control stick forward to ascend.
- Pornire cu o singură cheie: Press and hold the One-Key Takeoff button on the remote for 1 second. The drone will automatically ascend and hover at a height of approximately 1.2 meters.
6.2. Indicații de zbor
- Stick de control din stânga: Adjusts flight altitude (up/down) and nose direction (rotate left/right).
- Stick de control din dreapta: Controlează mișcarea înainte, înapoi, stânga și dreapta.

6.3. Reglarea vitezei
Toggle the speed switch on the remote controller to select between two speed levels (Speed I for slower, Speed II for faster) to match your flying skill and environmental conditions.
7. Funcționarea camerei
The FERIETELF B16 is equipped with a 4K HD camera for capturing high-quality photos and videos.
7.1. Realizarea de fotografii și videoclipuri
- Buton foto: Press the photo button on the top-left of the remote controller, or tap the camera icon in the app, to take a photo.
- Butonul video: Press the video button on the top-left of the remote controller, or tap the video icon in the app, to start recording. Press again to stop.
- Moduri de fotografiere: Tap the left shooting menu in the app to choose from multiple smart shooting modes, or swipe the shooting menu on the right to explore more options.

7.2. Reglarea unghiului camerei
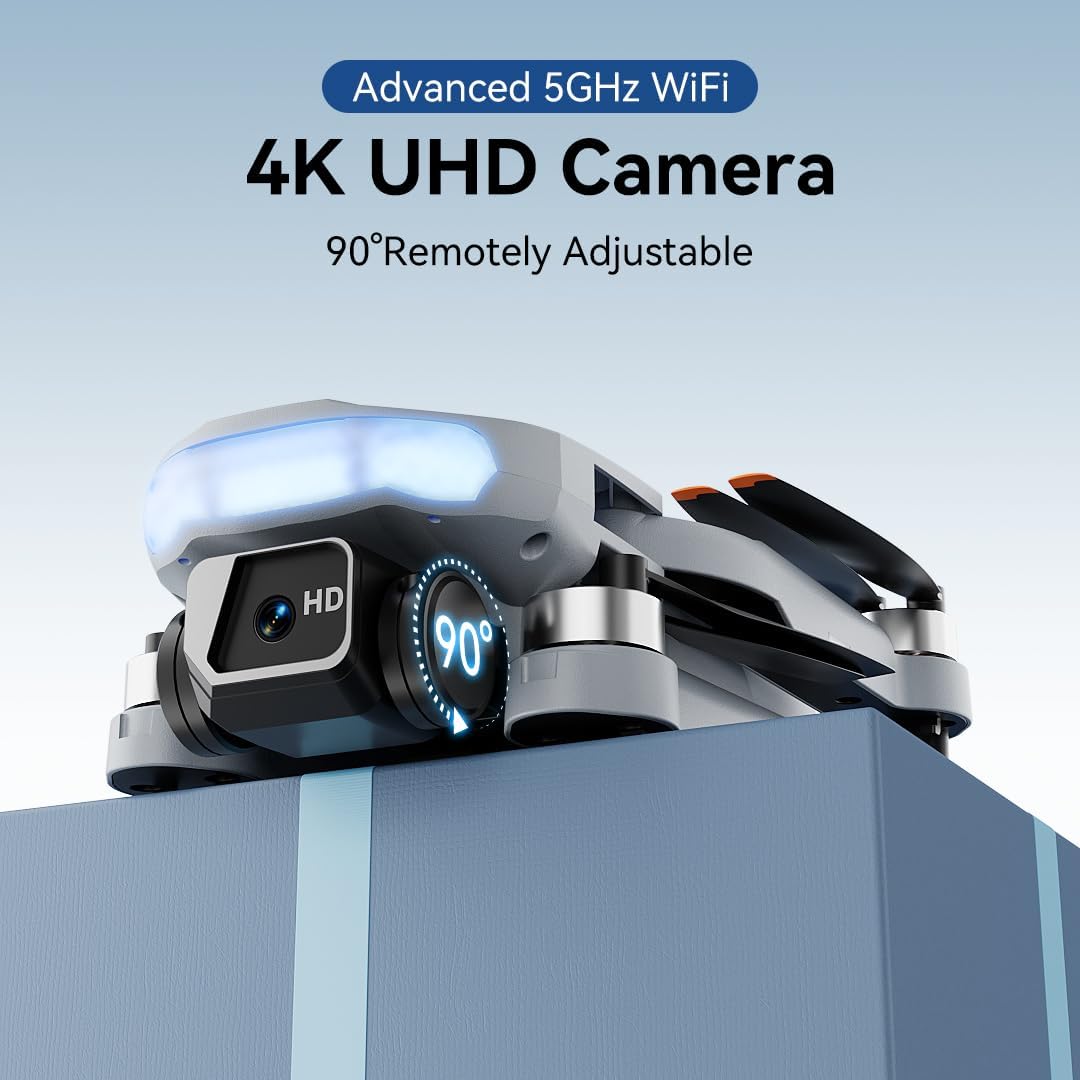
Use the camera up/down buttons located at the top-right corner of the remote controller to tilt the camera between 0 and 90 degrees during flight.
7.3. Viewing Media
Tap the album icon in the app to view your captured photos and videos. Media will be saved on both your mobile phone and the inserted memory card.
8. Moduri de zbor inteligente
The B16 drone offers several intelligent flight modes for enhanced user experience and creative possibilities.
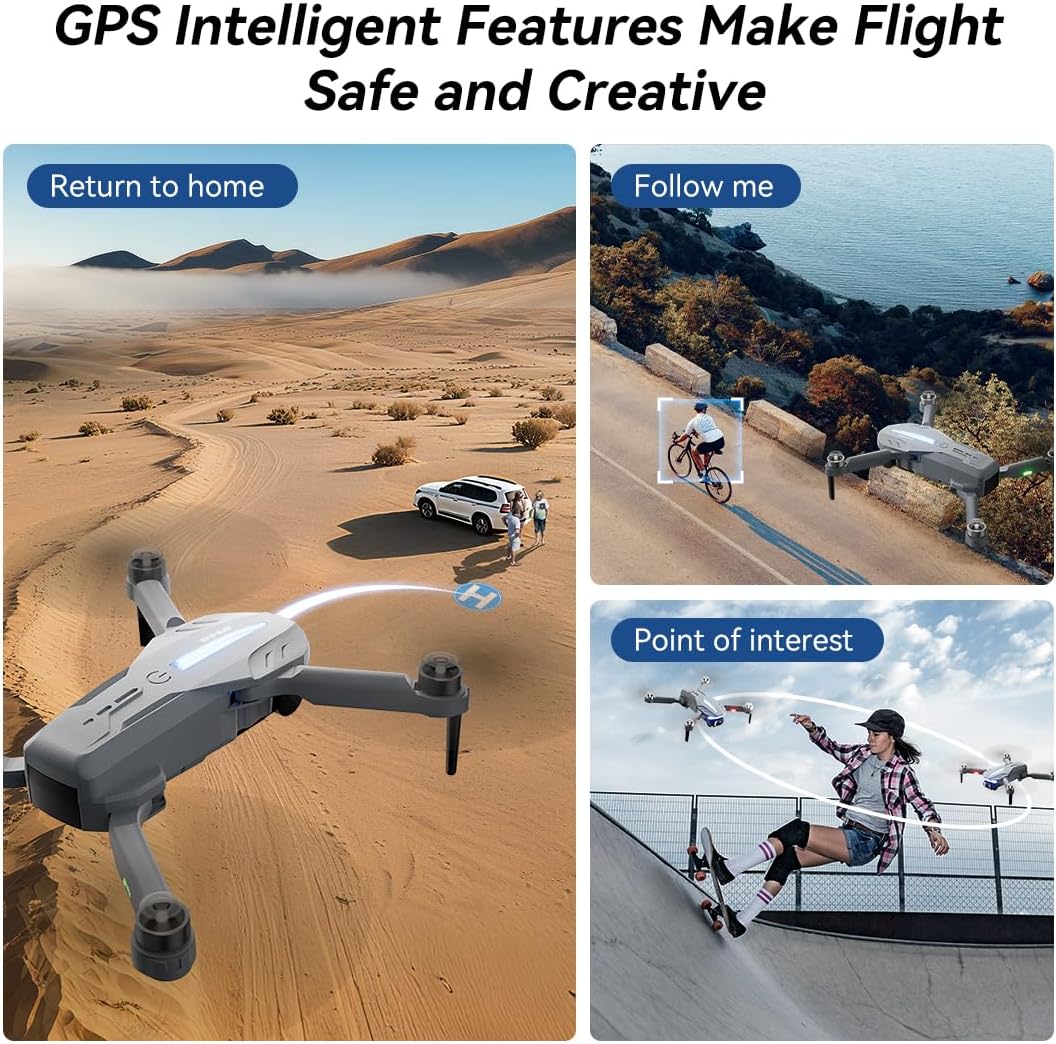
- Revenire automată GPS: In GPS mode, the drone automatically returns to its takeoff point if the signal is lost, battery is low, or the "One-Key Return" button is pressed.
- Urmați-mă: Engage Follow Me mode to have the drone automatically track and follow you, freeing your hands for other activities.
- Punct de interes: Set a point of interest, and the drone will orbit around it, capturing dynamic footage.
- Triple-Stable Hover: Built with GPS, barometric pressure, and optical flow systems, the drone ensures steady hovering for stable shots.


9. Aterizare
Ensure the landing area is clear of obstacles.
- Aterizare manuală: Push the left control stick backward to make the drone descend and land.
- Aterizare cu o singură tastă: Press and hold the Landing button on the remote for 1 second. The drone will automatically descend and land until the propellers stop rotating.
10. Depozitare
Proper storage helps maintain the drone's longevity.
- Oprire: Press and hold the power button on both the drone and the remote controller to turn them off.
- Scoateți bateria: Remove the drone battery for better storage and to prevent discharge.
- Îndoiți brațele: Fold the drone arms inward to their compact position.
- Împachetați: Place the drone and remote controller into the portable storage bag.
11. Specificații
| Caracteristică | Caietul de sarcini |
|---|---|
| Marca | FERIETELF |
| Model | B16 |
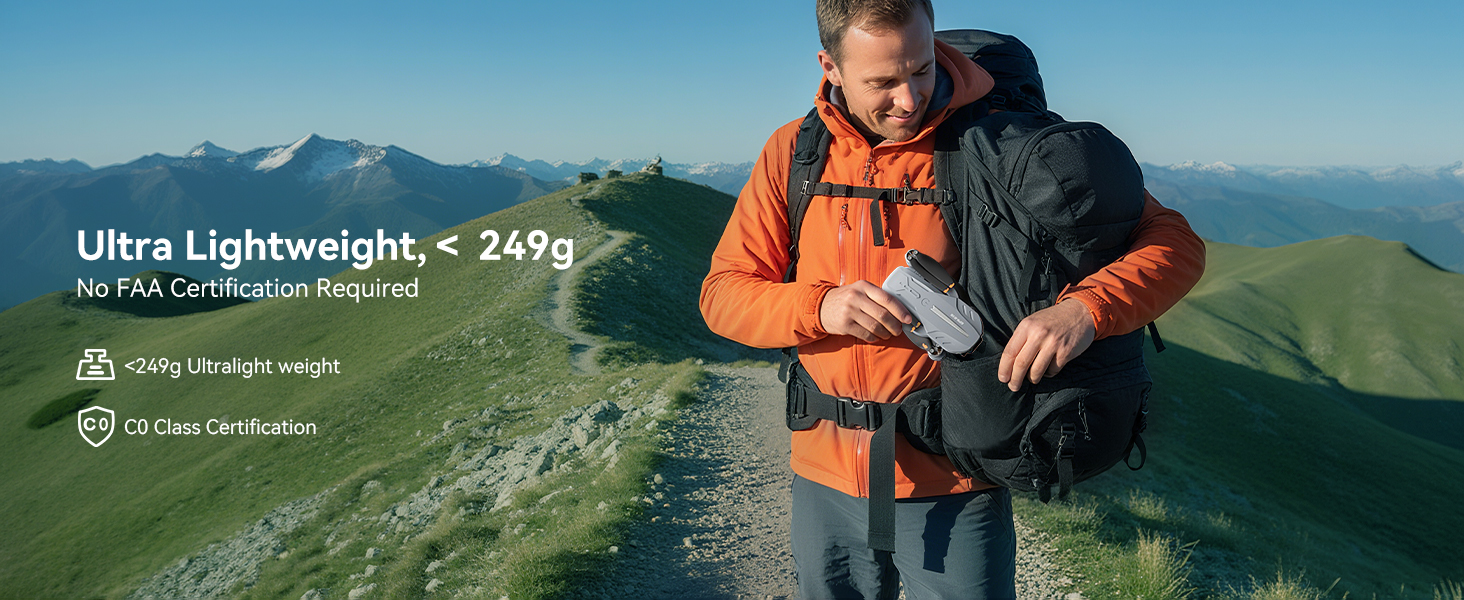
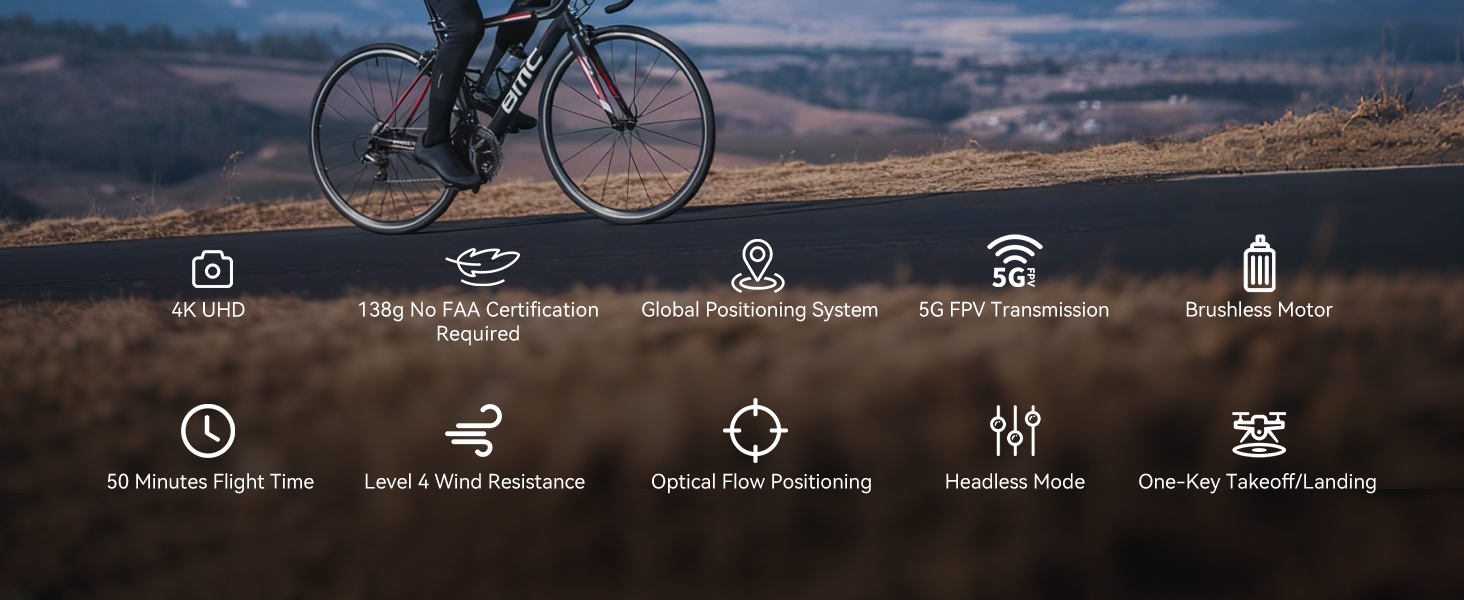
| Greutate | 150 g (Under 249g) |
| Dimensiuni | 19.5 x 18.8 x 5 cm |
| Camera foto | 4K HD, 120° Wide-Angle, 90° Motorized Adjustment |
| Transmitere | 5GHz FPV Real-Time Transmission (up to 1640 feet/500m) |
| Tip motor | Motor fără perii |
| Timp de zbor | Up to 50 minutes (with 2 batteries, 20-25 mins each) |
| Sistem de pozitionare | GPS & Optical Flow Dual Positioning |
| Rezistenta la vant | Nivelul 4 |
| Moduri de control | Button Control, App Control, Gravity Control, Voice Control |


12. Depanare
- Dronă nu pornește: Asigurați-vă că bateria este complet încărcată și introdusă corect.
- Telecomanda nu se conectează: Ensure both the drone and remote are powered on and within range. Re-attempt the pairing process.
- Fără semnal GPS: Fly the drone outdoors in an open area with a clear view of the sky. GPS function cannot be activated indoors.
- Zbor instabil: Perform compass and gyroscope calibration as described in Section 4. Ensure propellers are correctly installed and undamaged.
- Probleme de conectare la aplicație: Ensure your phone is connected to the drone's Wi-Fi network and the app is updated to the latest version.
- Timp de zbor scurt: Ensure batteries are fully charged. Flight time can be affected by wind conditions and aggressive flying.
13. Ghid de siguranță
- Always fly in open areas, away from people, animals, buildings, and trees.
- Nu zburați pe vânturi puternice sau în condiții meteorologice nefavorabile.
- Maintain a safe distance from high-voltagfire și alte obstacole.
- Ensure the drone is always within your line of sight.
- Regularly check the drone and its components for any damage before and after each flight.
- Do not operate the drone under the influence of drugs or alcohol.
- Respectați toate reglementările și legile locale privind operarea dronelor.
14. Videoclipuri oficiale ale produselor
Watch the official first-use guide for the Ameta S20 drone, which shares similar operational principles with the FERIETELF B16, to assist with initial setup and flight.
