
Instrucțiuni importante de siguranță
- Citiți cu atenție toate instrucțiunile înainte de utilizare.
- This appliance is for indoor aquarium use only.
- Asigurați-vă că sursa de alimentare voltage matches the rating label on the filter.
- Always unplug the filter from the power outlet before performing any maintenance, cleaning, or when not in use.
- Do not operate the filter if it has a damaged cord or plug, or if it malfunctions or has been dropped or damaged in any manner.
- To avoid electric shock, do not immerse the power plug or cord in water or other liquids.
- A nu se lăsa la îndemâna copiilor.
- Ensure the filter is securely attached to the aquarium before operation.
- Not suitable for framed aquariums. Please check your aquarium type before installation.
Conținutul pachetului
Vă rugăm să verificați dacă toate componentele sunt prezente și nedeteriorate la deschiderea ambalajului.
- Filter Unit (Main body with motor)
- Ansamblu conductă de admisie
- Duză de ieșire
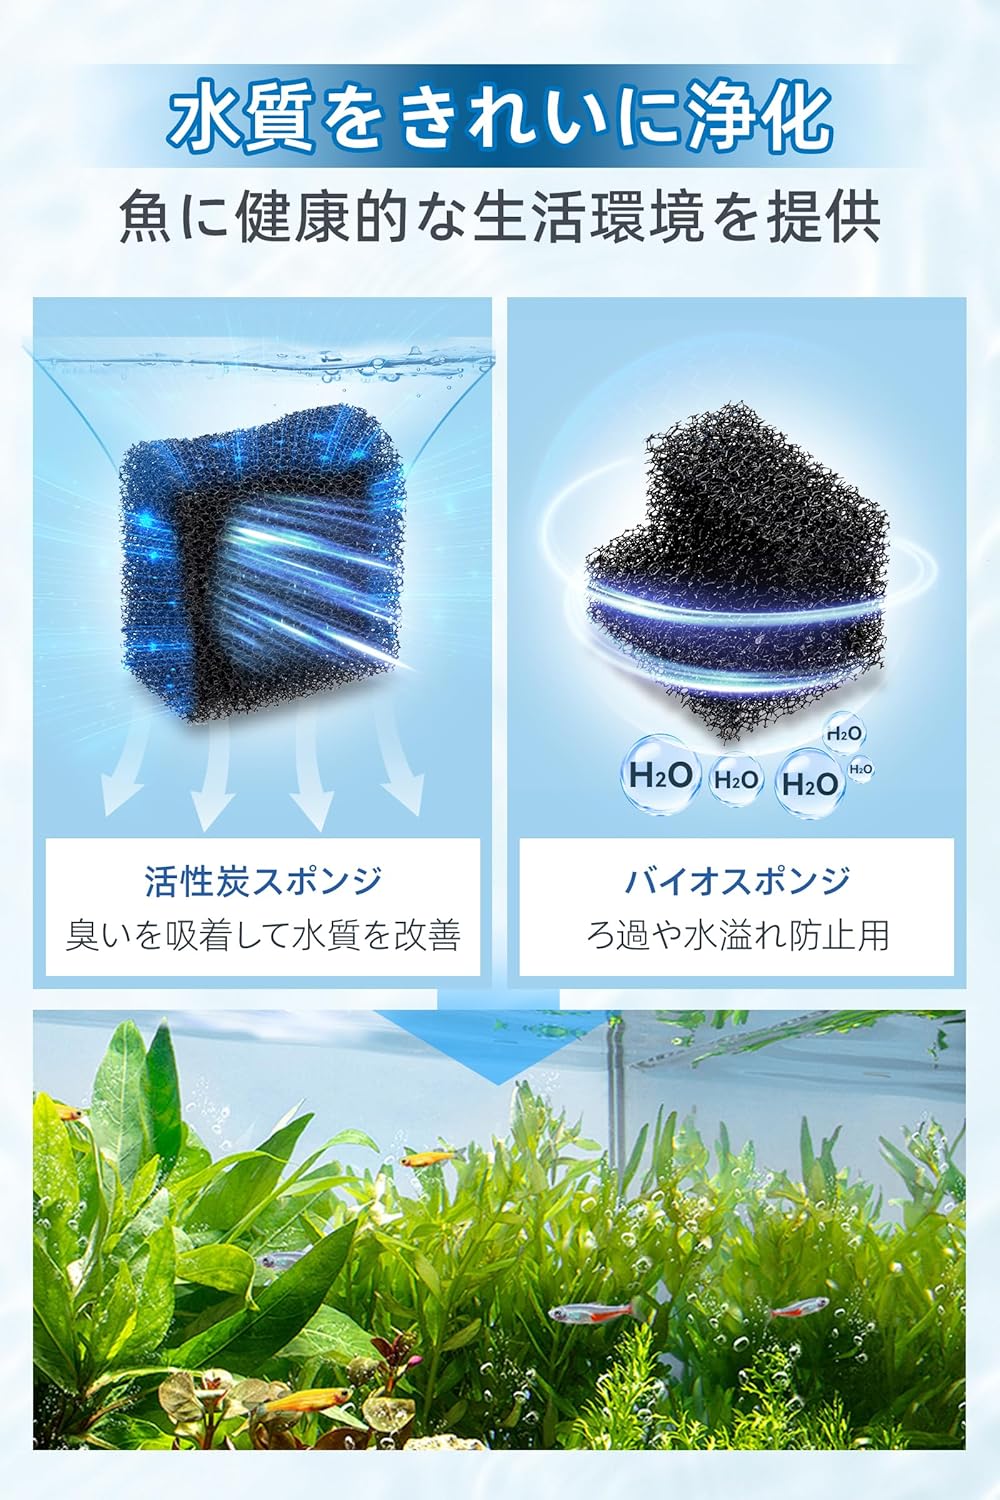
- Filtru de cărbune activ din bumbac
- Overflow Prevention Cotton
- Sponge Protection Cover for Inlet
- Adjustable Hanging Hook (5-15mm)

Ghid de instalare
- Assemble the Inlet Pipe: Connect the various sections of the inlet pipe and attach the sponge protection cover to the bottom.

Figure 2: Illustration of assembling the inlet pipe components. - Instalați mediul filtrant: Place the activated carbon filter cotton and overflow prevention cotton into the filter compartment. Ensure they are correctly seated.

Figure 3: Diagram showing the placement of filter media within the unit. - Atașați la acvariu: Securely hang the filter unit onto the edge of your aquarium using the adjustable hanging hook. The hook is designed for tank glass thickness between 5-15mm. Note: This filter is not compatible with aquariums that have a frame around the edge.
Figure 4: The filter unit securely attached to the aquarium rim, showing the adjustable hook. - Amorsați filtrul: Before plugging in, add water to the filter compartment until it is full. This will initiate the self-priming process.

Figure 5: Adding water to the filter compartment to prime it before starting. - Conectare alimentare: Plug the filter into a suitable power outlet. The filter should start operating automatically.
Video 1: Demonstrates the setup and initial operation of a hygger aquarium filter, including connecting the power. This video shows the filter starting and circulating water.
Instrucțiuni de operare
Reglarea debitului de apă
The filter features an adjustable knob on the top, allowing you to control the water flow rate up to a maximum of 400L/H. This is beneficial for aquariums with fish that prefer gentler currents, such as Medaka, Betta, or Ryukin goldfish.

Oil Film Removal Function
The filter is equipped with an oil film removal function to maintain a clear water surface, enhancing the viewing experience of your aquarium inhabitants.

Oxygen Supply (Aeration)
The design of the filter, where water is drawn up and then falls back into the tank, also provides aeration, effectively circulating oxygen throughout the aquarium. This creates an ideal environment for fish and shrimp.

Întreţinere
Regular maintenance is crucial for optimal filter performance and water quality. Always unplug the filter before performing any maintenance.
Curățarea mediilor filtrante
- The filter utilizes multiple media types, including activated carbon filter cotton and overflow prevention cotton.
- These media can be replaced individually as needed.
- Rinse the filter media with old aquarium water during water changes to preserve beneficial bacteria. Avoid using tap water directly, as chlorine can harm bacteria.
Cleaning the Filter Unit
- Periodically disassemble the filter unit to clean the impeller and internal components.
- Use a soft brush to remove any accumulated debris or algae.
- Ensure all parts are reassembled correctly before restarting the filter.
Depanare
| Problemă | Cauza posibila | Soluţie |
|---|---|---|
| Filter not starting/no water flow |
|
|
| Debit redus de apă |
|
|
| Zgomot excesiv |
|
|
Specificații
| Caracteristică | Detaliu |
|---|---|
| Numărul de model | HG238-JP |
| Dimensiune | M |
| Debit maxim | 400 L/H |
| Applicable Tank Volume | Aproximativ. 20-38 L |
| Applicable Tank Length | Până la 50 cm |
| Applicable Tank Edge Thickness | 5-15 mm (unframed tanks only) |
| Nivel de zgomot | Sub 25 dB |
| Tip de apă | Freshwater and Saltwater |
| Caracteristici | Adjustable Water Flow, Oil Film Removal, Multi-stage Filtration, Oxygen Supply, Anti-suction Sponge Cover |

Garanție și suport
For warranty information and customer support, please refer to the contact details provided with your purchase or visit the official hygger website-ul.
Păstrați bonul fiscal ca dovadă a achiziției pentru reclamațiile în garanție.