
1. Introducere
This manual provides detailed instructions for the installation, operation, and maintenance of your GAMEMAX N90 BG ATX PC Case. The N90 BG features a modular dual-chamber design, a 512-LED matrix display, and panoramic curved glass. It is designed for BTF motherboards, offering a cable-free interior, efficient 270° cooling, and includes six ARGB PWM fans. Please read this manual thoroughly before beginning assembly to ensure proper setup and optimal performance.

Figura 1: Partea frontală view of the GAMEMAX N90 BG ATX PC Case, showcasing its panoramic curved glass, internal components, and the integrated LED display.
2. Conținutul pachetului
Verify that all components are present before proceeding with the installation:
- GAMEMAX N90 BG ATX PC Case
- Accessory box (screws, standoffs, cable ties)
- Six pre-installed ARGB PWM fans
- Manual de utilizare (acest document)
3. Configurare și instalare
Follow these steps for proper assembly of your PC components within the GAMEMAX N90 BG case.
3.1. Pregătirea cazului
- Despachetarea: Scoateți cu grijă carcasa din ambalaj.
- Îndepărtarea panoului: The panoramic curved glass and side panels can be removed for easier access. Refer to Figure 2 for an interior view.

Figura 2: Interior view of the GAMEMAX N90 BG case, highlighting the spacious motherboard tray and fan mounting locations.

Figura 3: lateral view of the case with the panel removed, providing access to the internal structure for component installation.
3.2. Instalarea plăcii de bază
The N90 BG supports ATX motherboards, including BTF (Back-To-the-Future) motherboards for a cable-free aesthetic. Install the necessary standoffs for your motherboard size, then carefully place the motherboard and secure it with screws.

Figura 4: Intern view demonstrating potential component placement and cable routing paths.
3.3. Instalarea sursei de alimentare
The case features a bottom mount for the power supply. Install your power supply unit (PSU) into the designated compartment at the bottom of the case and secure it with screws from the rear.

Figura 5: Spate view of the case, illustrating the power supply mounting area and expansion slots.
3.4. Instalarea unității de stocare
Utilize the available drive bays for 2.5-inch SSDs or 3.5-inch HDDs. Refer to the accessory box for specific mounting hardware.
3.5. Instalare ventilator și radiator
The case comes with six pre-installed ARGB PWM fans for efficient 270° cooling. Additional fans or radiators can be mounted in various positions (top, side, rear) as needed. Ensure proper airflow direction for optimal cooling.

Figure 6: Top-down interior view, showing available mounting points for additional fans or liquid cooling radiators.
3.6. Gestionarea cablurilor
The dual-chamber design and BTF motherboard compatibility facilitate excellent cable management, allowing for a clean, cable-free interior. Route all cables through the designated cutouts and secure them using the provided cable ties in the rear chamber.
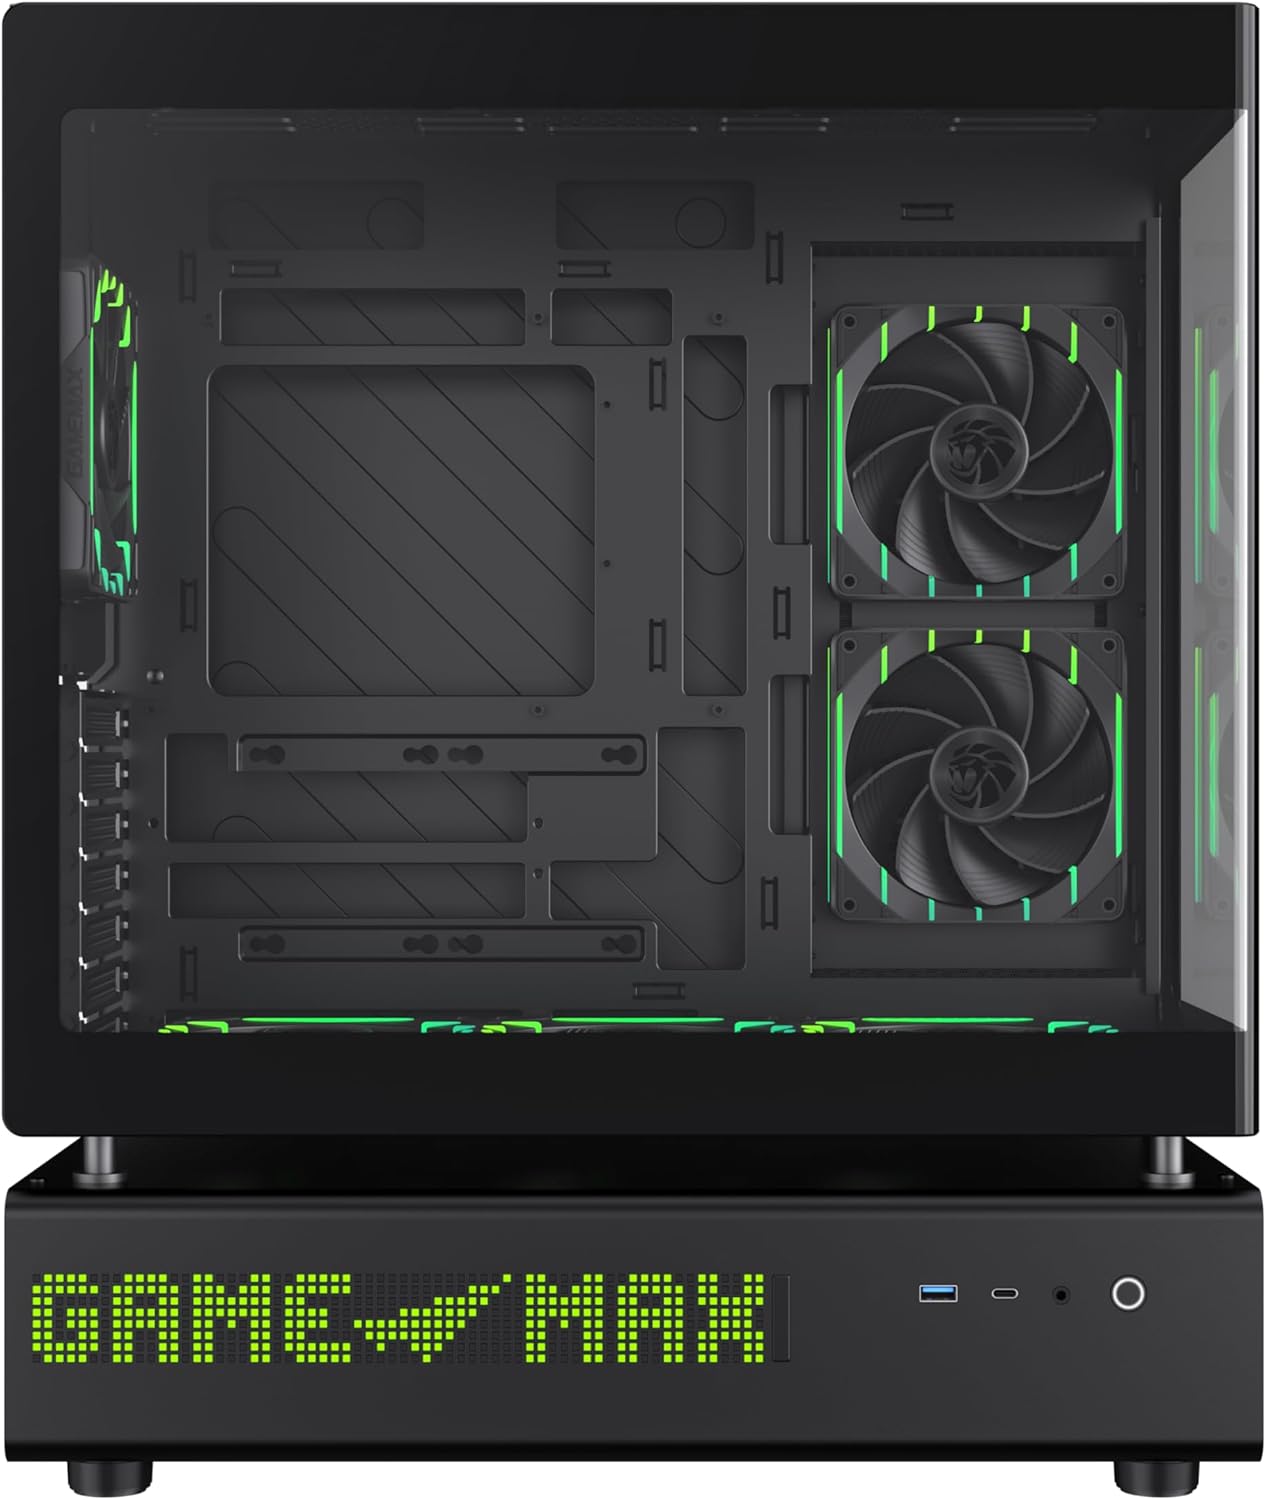
Figura 7: lateral view of the case, illustrating the solid panel that conceals the cable management area.
4. Instrucțiuni de utilizare
4.1. Pornire
After all components are installed and cables are connected, close all panels. Connect the power cable to your PSU and press the power button located on the front panel of the case.
4.2. 512-LED Matrix Display
The integrated 512-LED matrix display on the front panel can be customized to show various information or patterns. Refer to your motherboard's software or the GAMEMAX utility (if applicable) for configuration options.
4.3. ARGB PWM Fans
The six pre-installed ARGB PWM fans are connected to a controller or directly to your motherboard. Fan speed and RGB lighting can typically be controlled via motherboard software (e.g., ASUS Aura Sync, MSI Mystic Light, Gigabyte RGB Fusion) or a dedicated fan controller.
5. Întreținere
Regular maintenance ensures the longevity and optimal performance of your PC case.
- Filtre de praf: Periodically clean the dust filters located on the intake areas of the case. Gently remove them and clean with compressed air or water (ensure they are completely dry before reinstallation).
- Curatenie exterioara: Wipe the exterior surfaces, including the panoramic curved glass, with a soft, damp pânză. Evitați curățarea abrazivă.
- Curatenie interioara: Folosiți aer comprimat pentru a îndepărta praful de pe componentele interne și ventilatoare. Asigurați-vă că sistemul este oprit și deconectat de la priză înainte de curățare.
6. Depanare
Dacă întâmpinați probleme, consultați următorii pași comuni de depanare:
- Fără putere:
- Asigurați-vă că sursa de alimentare este pornită și conectată corect la priza de perete.
- Verificați dacă toate cablurile de alimentare (ATX cu 24 de pini, CPU, GPU) sunt conectate în siguranță la placa de bază și la componente.
- Verificați conexiunea întrerupătorului de alimentare de pe panoul frontal la placa de bază.
- Fans Not Spinning / LEDs Not Lighting Up:
- Confirm fan and ARGB cables are correctly connected to the motherboard headers or fan controller.
- Check motherboard BIOS/UEFI settings or software for fan and RGB control.
- Probleme de afișare:
- Ensure your monitor is connected to the graphics card, not the motherboard's integrated graphics (unless using integrated graphics).
- Verify the graphics card is properly seated in its PCIe slot and has adequate power.
For further assistance, consult your motherboard manual or the GAMEMAX support resources.
7. Specificații
| Caracteristică | Caietul de sarcini |
|---|---|
| Marca | GAMEMAX |
| Numele modelului | GAMEMAX N90 BG |
| Numărul de model al articolului | N90 BG |
| Compatibilitate cu placa de baza | ATX |
| Tipul cazului | Mid Tower |
| Culoare | Negru |
| Material | Sticlă, Plastic ABS |
| Dimensiunile produsului (Lxlxh) | 17.28 x 9.65 x 20.87 inci |
| Greutatea articolului | 28.5 lire sterline (12.95 kilograme) |
| Număr de porturi USB 3.0 | 1 |
| Tip de montare a sursei de alimentare | Montare de jos |
| Metoda de răcire | Air (with 6 pre-installed ARGB PWM fans) |
| Utilizări recomandate | Jocuri |
8. Garanție și asistență
GAMEMAX stands behind the quality of its products. While specific warranty details may vary by region, GAMEMAX products are designed for reliability and performance.
For technical support, warranty claims, or further inquiries, please visit the official GAMEMAX store or contact their customer service. You can find more information and support resources at the GAMEMAX Store on Amazon.