
Introducere
This manual provides detailed instructions for the setup, operation, and maintenance of your Geeni Vision 2K Quad HD Smart Indoor Camera. Please read this manual thoroughly before using the product to ensure proper functionality and safety. The Geeni Vision camera offers advanced features such as 2K resolution, two-way audio, motion detection, night vision, and compatibility with Alexa and Google Home for enhanced indoor security.
Caracteristici cheie
- Sharp 2K Resolution: Captures video in stunning 2K clarity.
- Complet reglabil View: Camera tilts up and down for flexible viewunghiuri de ing.
- Instant Mobile Alerts: Receives notifications on your smartphone for detected motion.
- Discuție în două sensuri: Enables communication through the camera via your smartphone.
- Vedere de noapte: Oferă foo clartage in low-light conditions up to 25 feet.
- Control vocal: Integrates with Amazon Alexa and Google Home for hands-free operation.

Imagine: Pesteview of the Geeni Vision 2K Camera's key features, including 2K resolution, motion sensor, 2-way audio, person detection, night vision, built-in siren, share access, notification, microSD slot, and multiview.
Ce este în cutie
The Geeni Vision 2K Quad HD Smart Indoor Camera package includes:
- Geeni Vision 2K Quad HD Smart Indoor Camera
- Adaptor de alimentare și cablu
- Elemente de montare (șuruburi, ancore de perete)
- Manual de utilizare (acest document)
Înființat
1. Descărcați aplicația Geeni
Caută "Geeni" in the Apple App Store or Google Play Store and download the application. Create an account or log in if you already have one.
2. Porniți camera
Connect the provided power cable to the camera and plug the adapter into a power outlet. The camera will power on and indicate its status with an LED light.
3. Add Device in the Geeni App
- Open the Geeni app and tap "+" in the top right corner to add a new device.
- Select "Video Camera" and then choose your Geeni Vision 2K camera model.
- Follow the on-screen instructions to connect the camera to your Wi-Fi network. Ensure your phone is connected to a 2.4GHz Wi-Fi network.
- Scan the QR code displayed on your phone screen with the camera lens. You will hear a confirmation sound once scanned successfully.
- Complete the pairing process in the app.
4. Amplasarea și montarea camerei
The Geeni Vision camera features a flexible stem, allowing for versatile placement. You can place it on a flat surface or mount it to a wall or ceiling using the included hardware. Ensure the camera is positioned to cover your desired monitoring area.

Image: The Geeni Vision 2K camera with its flexible stem, demonstrating its ability to tilt up and down for adjustable viewing angles, allowing setup anywhere.
Operarea camerei
Trăi View și Înregistrare
După conectare, deschideți aplicația Geeni și selectați camera pentru a view the live feed. From the live view screen, you can manually record video, take screenshots, and access other features.

Image: A smartphone displaying the live feed from the Geeni Vision 2K camera, illustrating how users can check back at home from anywhere.
Detectarea mișcării și alerte
The camera features advanced motion detection. To enable or adjust settings:
- În aplicația Geeni, selectați camera foto.
- Tap the settings icon (gear) in the top right corner.
- Navigate to "Motion Detection Settings" to adjust sensitivity, set activity zones, and enable/disable alerts.
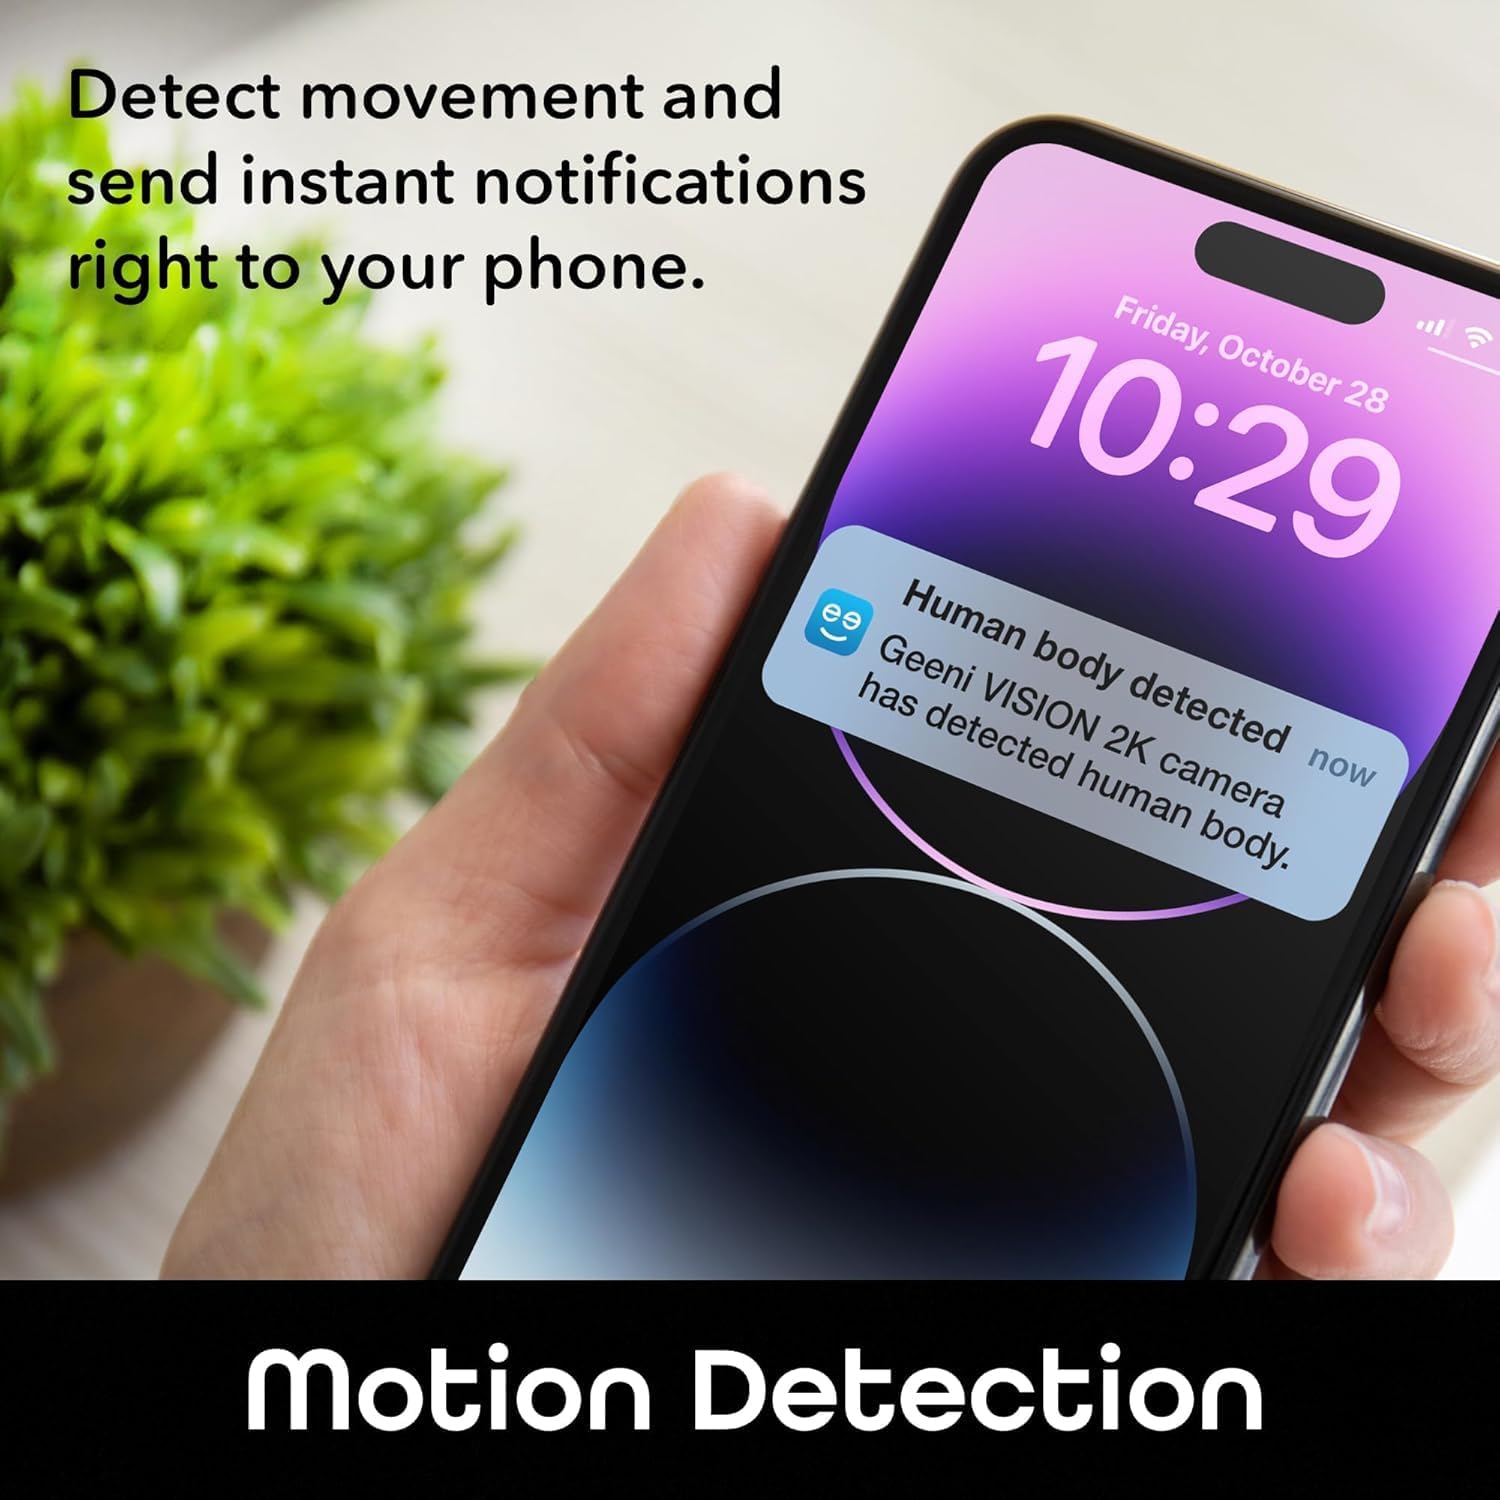
Image: A smartphone displaying an instant notification for human body detection from the Geeni Vision 2K camera, demonstrating the motion detection feature.
Audio bidirecțional
Use the two-way audio feature to communicate with individuals near the camera. On the live view screen, tap the microphone icon to speak and the speaker icon to listen.

Image: The Geeni Vision 2K camera with a speech bubble indicating "Honey, dinner is ready," illustrating the two-way audio communication feature.
Vedere de noapte
Camera comută automat la modul de vedere nocturnă în condiții de lumină slabă, oferind imagini clare alb-negru.tage up to 25 feet. This feature ensures continuous monitoring even in the dark.

Image: A smartphone displaying a crisp and clear surveillance image of a home interior at night, demonstrating the camera's night vision capabilities.
Integrare cu control vocal
The Geeni Vision camera is compatible with Amazon Alexa and Google Home. To enable voice control:
- Link your Geeni account in the Alexa or Google Home app.
- Descoperiți dispozitivele.
- Use commands such as "Alexa, show me the baby room camera" or "Hey Google, show me the living room camera" on compatible smart displays.

Image: A smart display showing a baby in a crib, with text indicating "Alexa, show me the baby room camera" and logos for "works with Alexa" and "works with Hey Google," demonstrating voice control functionality.
Stocare card MicroSD
Insert a MicroSD card (up to 128GB, not included) into the camera's slot for local video storage. The camera will automatically record events or continuous video based on your settings in the Geeni app. Ensure the card is formatted correctly within the app.
Întreţinere
Curățarea camerei
To maintain optimal performance, periodically clean the camera lens and body. Use a soft, dry cloth. Do not use liquid cleaners or abrasive materials, as they may damage the lens or casing.
Actualizări de software
The Geeni app will notify you of any available firmware updates for your camera. It is recommended to keep your camera's firmware updated to ensure the latest features and security enhancements.
Gestionarea cardului MicroSD
If using a MicroSD card, regularly check its storage capacity through the Geeni app. You may need to format the card periodically or replace it if it becomes full or corrupted.
Depanare
- Camera nu se conectează la Wi-Fi: Ensure your Wi-Fi network is 2.4GHz. Check that the Wi-Fi password is correct. Move the camera closer to your router. Reset the camera and try pairing again.
- Fără live view: Verificați conexiunea la internet. Asigurați-vă că este pornită camera. Reporniți aplicația Geeni.
- Alertele de mișcare nu au fost primite: Verify motion detection is enabled in the app settings. Check your phone's notification settings for the Geeni app. Adjust motion sensitivity.
- Sunetul bidirecțional nu funcționează: Ensure microphone and speaker permissions are granted to the Geeni app on your phone. Check volume settings on your phone and within the app.
- MicroSD card not recording: Ensure the MicroSD card is inserted correctly and formatted within the Geeni app. Check if the card is full.
- Camera LED status: Refer to the Geeni app or manufacturer's website for a detailed explanation of LED indicators. A blinking light usually indicates pairing mode or a connection issue.
If issues persist, contact Geeni customer support for further assistance.
Specificații
| Caracteristică | Caietul de sarcini |
|---|---|
| Numele modelului | Geeni Vision 2K Quad HD Smart Indoor Camera |
| Numărul de model | GNC-CW067-199 |
| Rezoluție video | 2K Quad HD (1440p) |
| Conectivitate | Wi-Fi (2.4 GHz) |
| Gama de vedere nocturnă | Up to 25 feet (Night Color) |
| Audio bidirecțional | Da |
| Detectarea mișcării | Yes (with instant alerts) |
| Control vocal | Amazon Alexa, Google Home |
| Depozitare | Card MicroSD (până la 128 GB) |
| Utilizare în interior/exterior | De interior |
| Sursa de alimentare | Electric cu fir |
| Dimensiunile articolului | 2.24 x 2.68 x 3.35 inci |
| Greutatea articolului | 0.13 lire sterline |
| Viewunghiul ing | 100 de grade |
Garanție și suport
Informații despre garanție
Geeni products typically come with a limited manufacturer's warranty. For specific details regarding your product's warranty period and terms, please refer to the warranty card included in your product packaging or visit the official Geeni website-ul.
Asistență pentru clienți
If you encounter any issues or have questions about your Geeni Vision 2K Quad HD Smart Indoor Camera, please contact Geeni customer support:
- Website: Visit the official Geeni support page for FAQs, troubleshooting guides, and contact options.
- E-mail/Telefon: Refer to the contact information provided on the Geeni webpe site sau în ambalajul produsului.