1. Introducere
This manual provides essential information for the installation, operation, and maintenance of the replacement Ignition Coil Module. This module is designed for use with Pramac Lifer 9500 Watts Generators, specifically model S10000 SVEP. Please note that this is a replacement part and not a genuine OEM component. Always compare the appearance and size of this module with your original part before installation to ensure compatibility.
2. Informații de siguranță
- Always disconnect the generator's spark plug wire and battery (if applicable) before performing any maintenance or installation.
- Ensure the generator is completely cool before handling any components.
- Purtați echipament individual de protecție (EIP) adecvat, cum ar fi mănuși și ochelari de protecție, în timpul instalării.
- Dacă nu sunteți sigur de vreun pas, consultați un tehnician calificat.
- Țineți copiii și animalele de companie departe de zona de lucru.
3. Conținutul pachetului
Verificați dacă toate articolele enumerate mai jos sunt prezente în colet:
- 1 x Ignition Coil Module (as pictured)
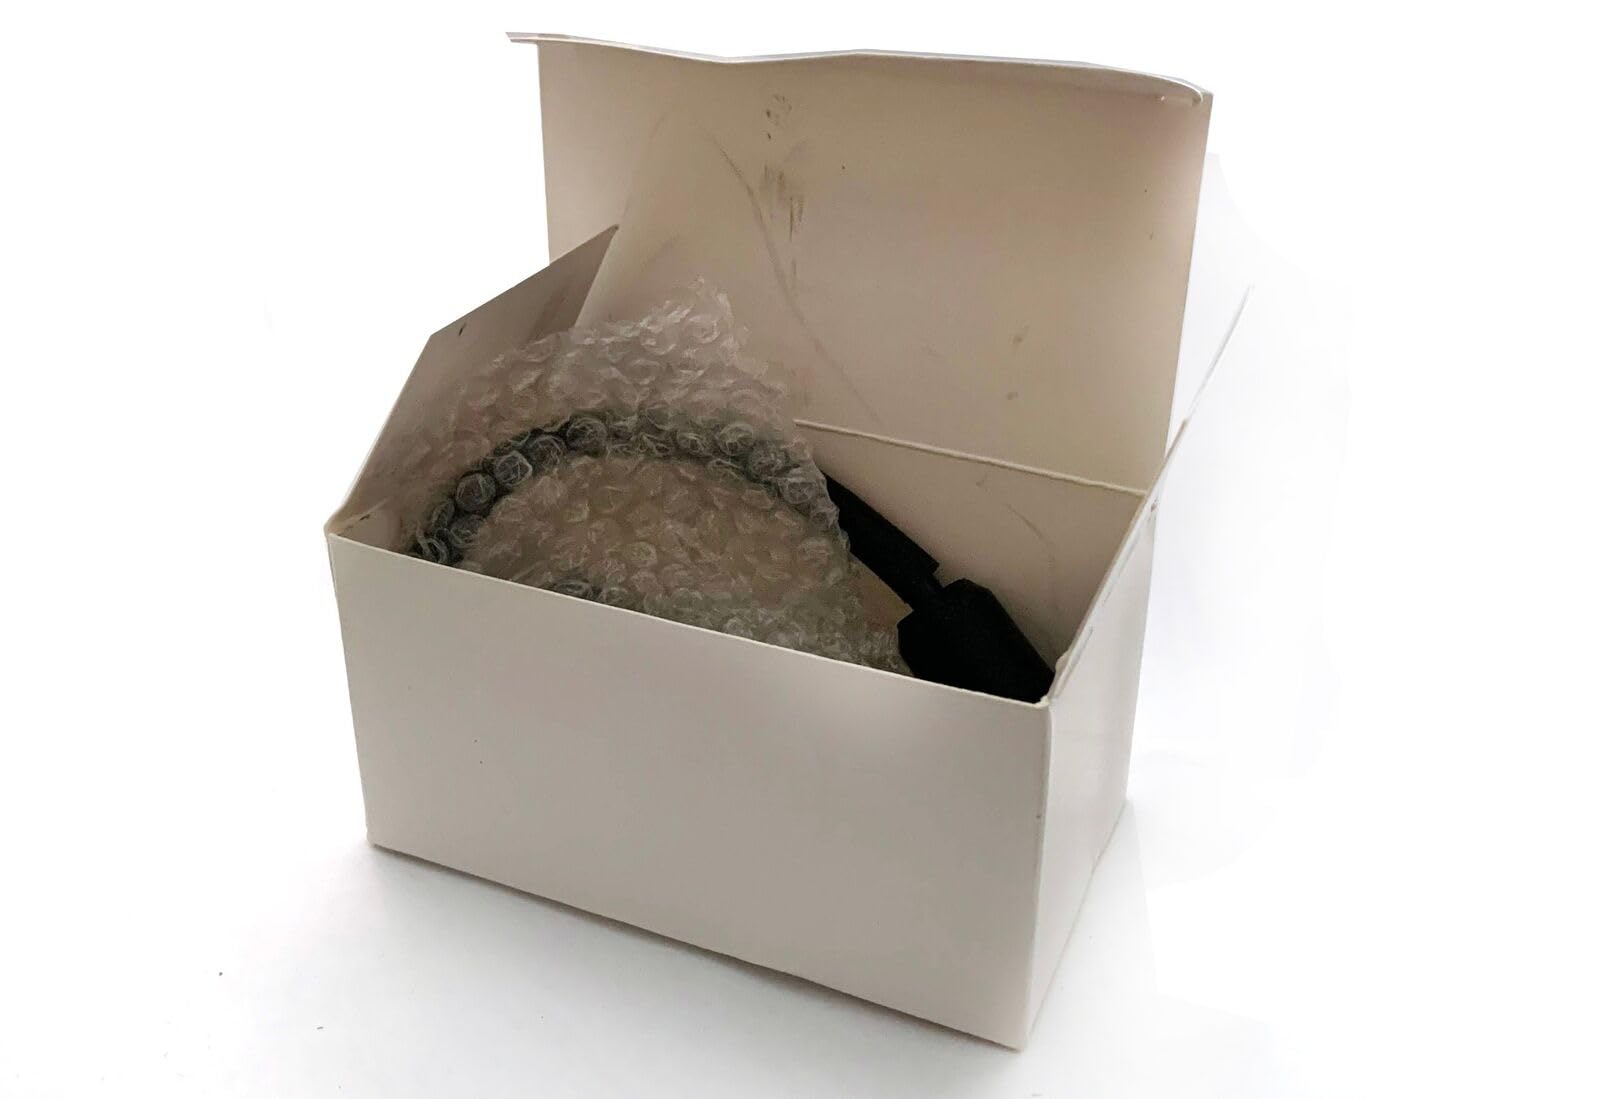
Image 1: The Ignition Coil Module as received in its protective packaging. The module is partially visible, wrapped in bubble wrap inside a white cardboard box.
4. Configurare și instalare
This section outlines the general steps for replacing an existing ignition coil module. Specific procedures may vary slightly depending on your generator's exact configuration. Always refer to your generator's original service manual for detailed instructions.
- Preparare:
- Ensure the generator is turned off and has cooled down completely.
- Deconectați firul bujiei de la bujie.
- If your generator has a battery, disconnect the negative terminal.
- Locate the existing ignition coil module on your generator. It is typically mounted near the flywheel.
- Îndepărtarea modulului vechi:
- Carefully disconnect any wires or connectors attached to the old ignition coil module.
- Unscrew the mounting bolts or fasteners that secure the old module to the engine block.
- Gently remove the old ignition coil module.
- Instalarea noului modul:
- Compare the new ignition coil module with the old one to confirm they are visually similar in size and mounting points.
- Position the new ignition coil module in the same location as the old one.
- Secure the module using the original mounting bolts or fasteners. Ensure it is firmly attached.
- Connect all wires and connectors to the new module, ensuring they are properly seated and secure.
- Important: Some installations may require minor adjustments for proper fitment. Ensure there is a correct air gap between the coil and the flywheel magnets as specified by your generator's service manual. This often involves using a feeler gauge.
- Pasi finali:
- Reconnect the spark plug wire to the spark plug.
- If disconnected, reconnect the generator's battery.
- Attempt to start the generator to verify proper operation.
5. Principii de funcționare
The ignition coil module is a critical component of a generator's ignition system. Its primary function is to transform the low voltage from the generator's charging system into the high voltage required to create a spark at the spark plug. This spark ignites the fuel-air mixture in the engine's cylinder, initiating combustion and allowing the generator to run.
A properly functioning ignition coil module ensures consistent and strong spark delivery, which is essential for efficient engine performance, reliable starting, and reduced emissions. This replacement module is designed for high precision, low noise operation, and high temperature resistance, contributing to the overall durability and performance of your generator's ignition system.
6. Întreținere
The ignition coil module itself typically requires minimal maintenance. However, regular inspection of related components can help ensure its longevity and proper function:
- Bujie: Regularly inspect and replace the spark plug according to your generator's maintenance schedule. A worn or fouled spark plug can put undue stress on the ignition coil.
- Cablaj: Check all wiring connected to the ignition coil module for signs of wear, fraying, or corrosion. Ensure all connections are clean and secure.
- Curăţenie: Keep the area around the ignition coil module clean and free of debris, oil, and dirt, which can interfere with its operation or cause overheating.
- Decalaj de aer: Periodically verify the air gap between the ignition coil and the flywheel magnets, especially if you experience starting issues.
7. Depanare
If you encounter issues after installing the new ignition coil module, consider the following common troubleshooting steps:
| Problemă | Cauza posibila | Soluţie |
|---|---|---|
| Generator does not start or has weak spark. | Incorrect air gap between coil and flywheel. | Adjust the air gap according to generator specifications (typically 0.010-0.014 inches or 0.25-0.35 mm). |
| Generator starts but runs rough or misfires. | Conexiuni electrice slăbite sau corodate. | Check all electrical connections to the module and spark plug. Clean and secure as needed. |
| Nicio scânteie la bujie. | Faulty spark plug or spark plug wire. | Test the spark plug and wire. Replace if defective. |
| Module does not fit correctly. | Incorrect part for your specific generator model. | Double-check the model number and compare the physical appearance of the new module with your original part. Adjustments may be needed for some models. |
If troubleshooting steps do not resolve the issue, it is recommended to consult a professional generator technician.
8. Specificații
| Atribut | Detaliu |
|---|---|
| Tip de produs | Ignition Coil Module (Replacement Part) |
| Compatibilitate | Pramac Lifer 9500 Watts Generator model# S10000 SVEP |
| Numărul de model | nvduq2803-19245 |
| Numărul piesei producătorului | DUA-PARTS-CSP-PL-29032025-19245 |
| Calitatea materialului | High quality, durable |
| Caracteristici | High precision, low noise, high temperature-resistance |
9. Garanție și asistență
As this is a replacement part, warranty terms may vary. Please refer to the seller's return policy or contact the seller directly for information regarding warranty coverage and support for this product. Keep your purchase receipt as proof of purchase.