
1. Introducere
The SRNE Shiner2440 is an advanced Maximum Power Point Tracking (MPPT) solar charge controller designed for off-grid photovoltaic systems. It efficiently manages power flow from solar panels to batteries and loads, ensuring optimal charging and discharge protection. This manual provides essential information for the safe and effective installation, operation, and maintenance of your Shiner2440 controller.
2. Instrucțiuni de siguranță
- Citiți cu atenție toate instrucțiunile înainte de instalare și utilizare.
- Ensure all wiring is correctly polarized and securely connected to prevent damage to the controller or other components.
- Deconectați întotdeauna panoul solar și bateria înainte de a instala sau regla controlerul.
- Install the controller in a well-ventilated area, away from flammable gases, moisture, and direct sunlight.
- Nu dezasamblați și nu încercați să reparați singur controlerul. Contactați personal calificat pentru service.
- Use appropriate circuit breakers or fuses for the solar panel, battery, and load circuits.
- Purtați ochelari de protecție atunci când lucrați cu baterii.
3. Produs terminatview
3.1 Caracteristici cheie
- Designed for off-grid applications, connecting to PV, battery, and load.
- Multiple load operating modes to meet diverse energy needs.
- Supports various battery types for versatile use.
- Highly integrated design for space and wire saving.
- MPPT efficiency up to 99.9% for optimal power harvest.
- Complete charge and discharge protection mechanisms.
- Natural cooling for quiet operation.
- Supports TTL RS485 and CAN (RV-C protocol) communication.
- Bluetooth connectivity with mobile application for monitoring and control.
3.2 Componentele controlerului
The SRNE Shiner2440 controller features a compact design with an integrated display and control buttons for easy operation.
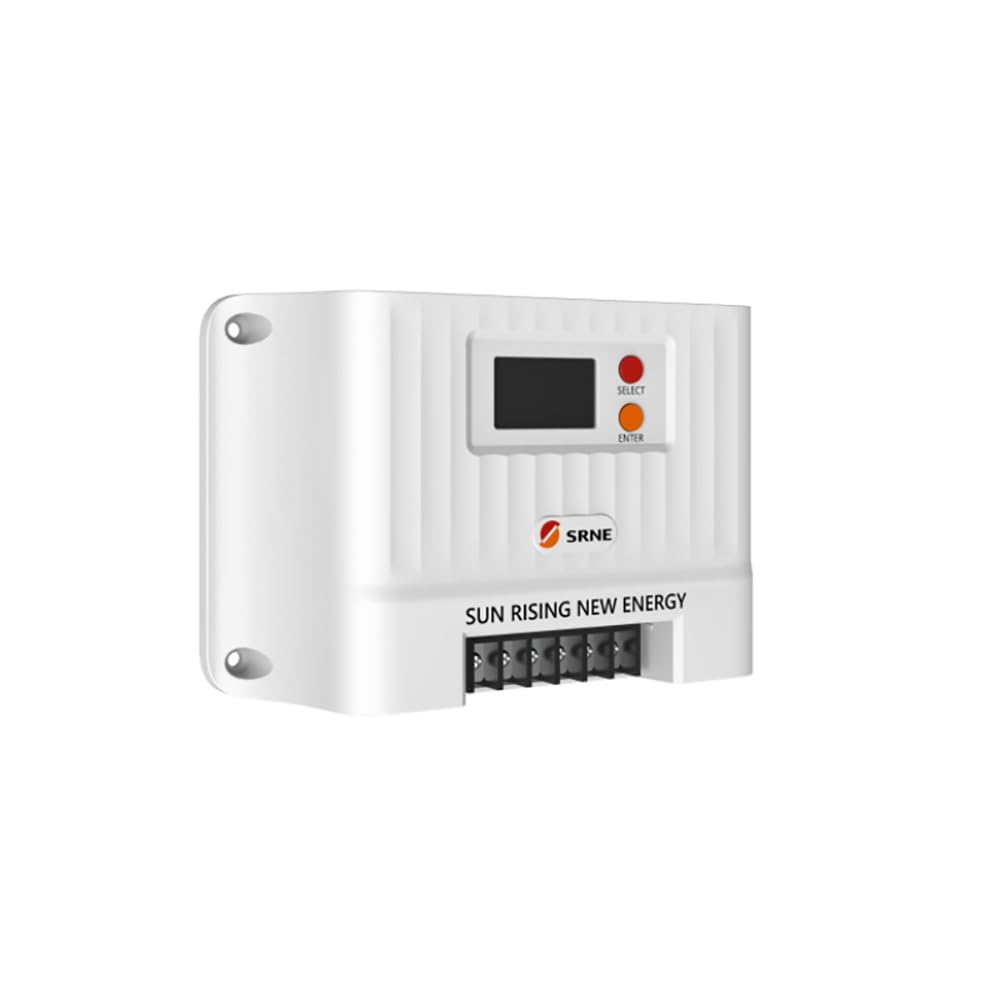
Figura 1: Faţă view of the SRNE Shiner2440 MPPT Solar Charge Controller, showing the LCD display and control buttons.
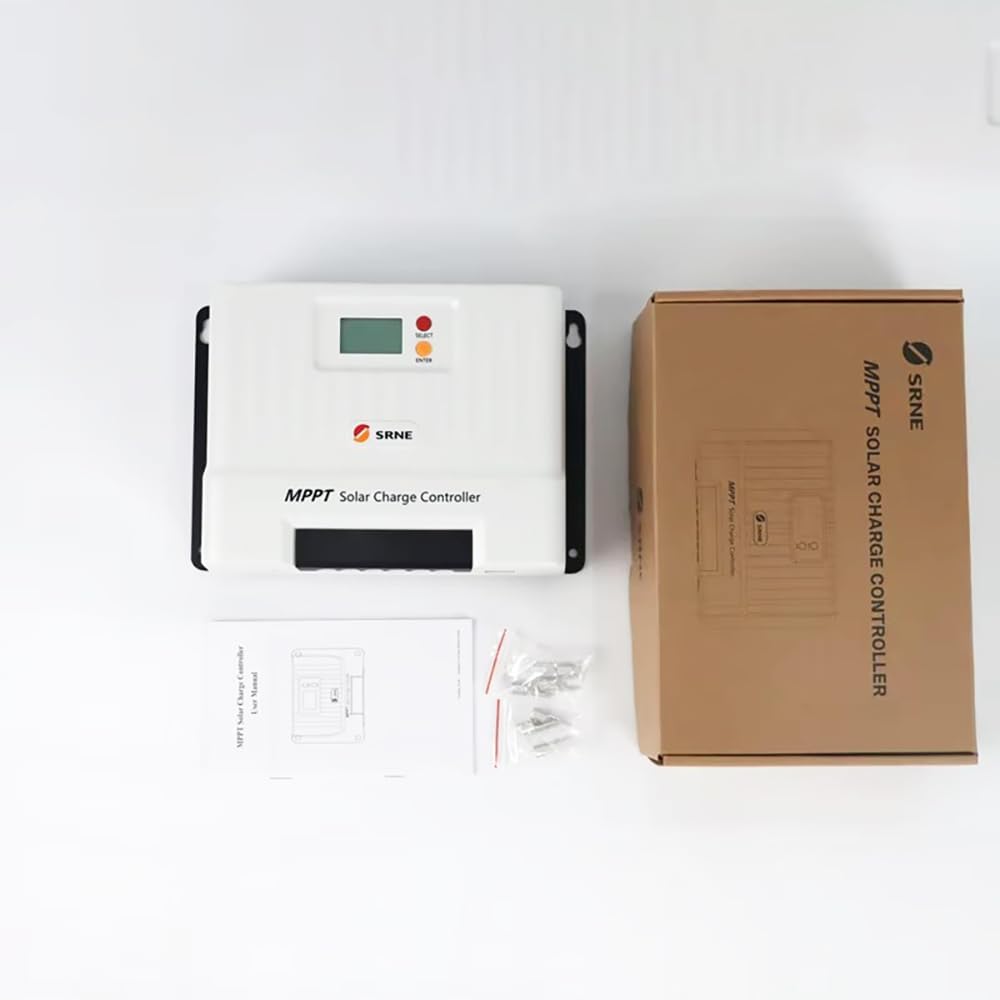
Figura 2: The SRNE Shiner2440 controller alongside its retail packaging and included accessories, such as mounting screws and a user manual.

Figura 3: A summary of key features for the SRNE Shiner series solar charge controllers, highlighting off-grid application, user-friendliness, safety, all-in-one design, efficiency, and intelligent functions.
4. Specificații
The following table details the technical specifications of the SRNE Shiner2440 MPPT Solar Charge Controller:
| Parametru | Valoare |
|---|---|
| Model | Shiner2440 |
| Volumul nominal al baterieitage | 12V/24V (recunoaștere automată) |
| Curent nominal de încărcare | 40A |
| Curent nominal de încărcare | 20A |
| Max. Circuit deschis PV Voltage | 100Vcc |
| Eficiență de urmărire MPPT | >99% |
| Max. PV Input Power (12V Battery) | 520W |
| Max. PV Input Power (24V Battery) | 1040W |
| Tipuri de baterie suportate | Lead-acid, Li-ion, User Defined |
| Comunicare | TTL RS485 (default), CAN (optional), Bluetooth (optional via external module) |
| Dimensiuni (L*L*H) | 228 mm * 160 mm * 72 mm (8.98 in * 6.30 in * 2.83 in) |
| Greutate | 1.75 kg (3.86 lbs) |
| Grad de protectie | IP32 |
| Interval de temperatură de funcționare | -35°C până la 65°C (-31°F până la 149°F) |

Figura 4: Comprehensive technical specifications for the Shiner series, including the Shiner2440, and a general connection diagram for the MPPT controller in an off-grid system.
5. Configurare și instalare
5.1 Montarea controlerului
- Mount the controller vertically on a non-flammable surface in a dry, well-ventilated indoor location.
- Ensure adequate clearance around the controller for natural cooling. Avoid enclosed spaces.
- Use appropriate screws to secure the controller to the mounting surface.
5.2 Conexiuni de cablare
Follow the wiring sequence below to ensure safe and correct installation. Refer to Figure 4 for a visual representation of the connection diagram.
- Conectați bateria: Conectați bateria la bornele bateriei controlerului. Asigurați polaritatea corectă (+ la + și - la -). Controlerul va detecta automat volumul bateriei.tage (12V sau 24V).
- Conectați panoul solar: Connect the solar panel array to the controller's PV terminals. Ensure correct polarity. Do not exceed the maximum open circuit voltage (100Vdc) or maximum input power (520W for 12V battery, 1040W for 24V battery).
- Conectați sarcina de curent continuu: Connect the DC load to the controller's load terminals. Ensure correct polarity. Do not exceed the rated load current (20A).
Important: Always connect the battery first, then the solar panel, and finally the load. Disconnect in the reverse order: load, then solar panel, then battery.
6. Instrucțiuni de utilizare
6.1 Display and Button Functions
The controller features an LCD display and two buttons: "SELECT" and "ENTER".
- Buton SELECT: Used to navigate through different display screens and menu options.
- Buton ENTER: Used to confirm selections or enter a menu for parameter settings.
6.2 Setări parametri
To adjust parameters such as battery type or load operating mode:
- Press the "ENTER" button to enter the main menu.
- Use the "SELECT" button to scroll through the menu options.
- Press "ENTER" to select a parameter for adjustment.
- Use "SELECT" to change the value or option.
- Press "ENTER" again to confirm and save the setting.
6.3 Load Operating Modes
The controller supports multiple load operating modes, which can be configured via the menu:
- Normal Open: Load is always on when battery voltage este suficient.
- Controlul luminii: Sarcina se pornește automat la amurg și se oprește în zori.
- Controlul timpului: Sarcina se pornește la amurg și rămâne pornită pentru o durată setată.
- Light Control + Time Control: Load turns on at dusk and stays on for a set duration, then turns off.
- Debugging Mode: În scopuri de testare.
6.4 Selectarea tipului de baterie
The controller supports various battery types. Select the correct battery type in the settings to ensure proper charging algorithms and protection:
- Lead-acid (e.g., Sealed, Gel, Flooded)
- Litiu-ion
- User Defined (for custom battery parameters)
6.5 Conectivitate Bluetooth
The Shiner2440 supports Bluetooth connectivity via an optional external module. Once connected, you can monitor system status and adjust parameters using a mobile application.
7. Întreținere
- Verificați periodic toate conexiunile cablurilor pentru a vă asigura că sunt strânse și fără coroziune.
- Păstrați controlerul curat și fără praf și resturi. Folosiți o cârpă uscată pentru curățare.
- Ensure the ventilation openings are not obstructed to maintain proper cooling.
- Monitor the system's performance regularly through the display or mobile app.
8. Depanare
If you encounter issues with your SRNE Shiner2440 controller, refer to the following common troubleshooting steps:
- Fără afișaj/Fără alimentare: Verificați conexiunile bateriei și asigurați-vă că volumul baterieitage is within the operating range. Verify that the battery fuse or circuit breaker is not tripped.
- Fără încărcare: Check solar panel connections and ensure they are receiving sunlight. Verify that the solar panel fuse or circuit breaker is not tripped. Ensure the PV open circuit voltage is within the controller's limits.
- Încărcarea nu funcționează: Check load connections and ensure the load fuse or circuit breaker is not tripped. Verify the load operating mode settings. Ensure battery voltage este deasupra volumului scăzuttage disconnect threshold.
- Citiri incorecte: Ensure all parameters, especially battery type, are correctly set in the controller's menu.
For persistent issues or error codes not listed, please consult the manufacturer's support or a qualified technician.
9. Garanție și asistență
Warranty information for the SRNE Shiner2440 MPPT Solar Charge Controller is typically provided with the product packaging or can be obtained directly from the manufacturer, YXSMPS, or your authorized dealer. Please retain your proof of purchase for warranty claims.
For technical support, product inquiries, or service, please contact the manufacturer or your local distributor.