1. Introducere
This manual provides essential information for the safe and effective installation, operation, and maintenance of your new Generic 2-inch Faux Wood Cordless Venetian Blinds. Please read these instructions thoroughly before beginning installation or use, and retain them for future reference.
2. Informații de siguranță
Always exercise caution when installing and operating window blinds. Ensure all mounting hardware is securely fastened to prevent accidental detachment. Keep children and pets away from the blinds during installation and operation to avoid injury. This product features a cordless design for enhanced safety, eliminating the risk of entanglement associated with traditional corded blinds.
3. Conținutul pachetului
Verificați dacă toate componentele sunt prezente înainte de a începe instalarea:
- Wooden blinds (1 set)
- Complete installation accessories (brackets, screws, etc.)
4. Specificații
| Caracteristică | Detaliu |
|---|---|
| Material | Lemn |
| Lățimea lamelei | 2 inchi (50 mm) |
| Culoare | Alb |
| Opacitate | Semi-transparent |
| Modul de operare | Manual, fără fir |
| Caracteristica specială | Protectie UV |
| Tip de montare | Muntele din interior |
| Nivel de rezistență la apă | Impermeabil |
5. Instalare
Proper installation ensures optimal performance and longevity of your blinds. Follow these steps carefully:
- Măsurați-vă fereastra: Determine whether you need an inside mount or outside mount. For inside mount, measure the exact width and height of the window opening. The manufacturer will typically deduct a small amount (e.g., 0.4 inches) from the width for a proper fit. For outside mount, measure the desired width and height to cover the window frame, often adding 6 inches to both dimensions.
- Locate and Mark Installation Points: Hold the headrail of the blind in the desired position. Use a pencil to mark the locations for the mounting brackets. Ensure marks are level and evenly spaced.
- Găuriți găuri pilot: Using an electric drill, create pilot holes at the marked locations. The drill bit size should be appropriate for the screws provided.
- Fix Installation Brackets: Securely attach the mounting brackets to the window frame or wall using the provided screws. Ensure they are firm and stable.
- Attach the Blind: Carefully snap the headrail of the blind into the installed brackets. Ensure it clicks securely into place.
- Install Valance (if applicable): Attach the decorative valance to the front of the headrail, typically using clips or magnets.

Ghid video de instalare
Video 5.1: METRO GALAXY 2" Faux Wood Venetian Horizontal Blinds. This video demonstrates the installation and basic operation of 2-inch faux wood Venetian horizontal blinds, providing a visual aid for users.
Video 5.2: METRO GALAXY 2" Faux Wood Cordless Window Blinds. O scurtă prezentare videoasing the features and ease of use of 2-inch faux wood cordless window blinds, including their installation process.
6. Funcționare
These cordless blinds offer effortless control for light and privacy:
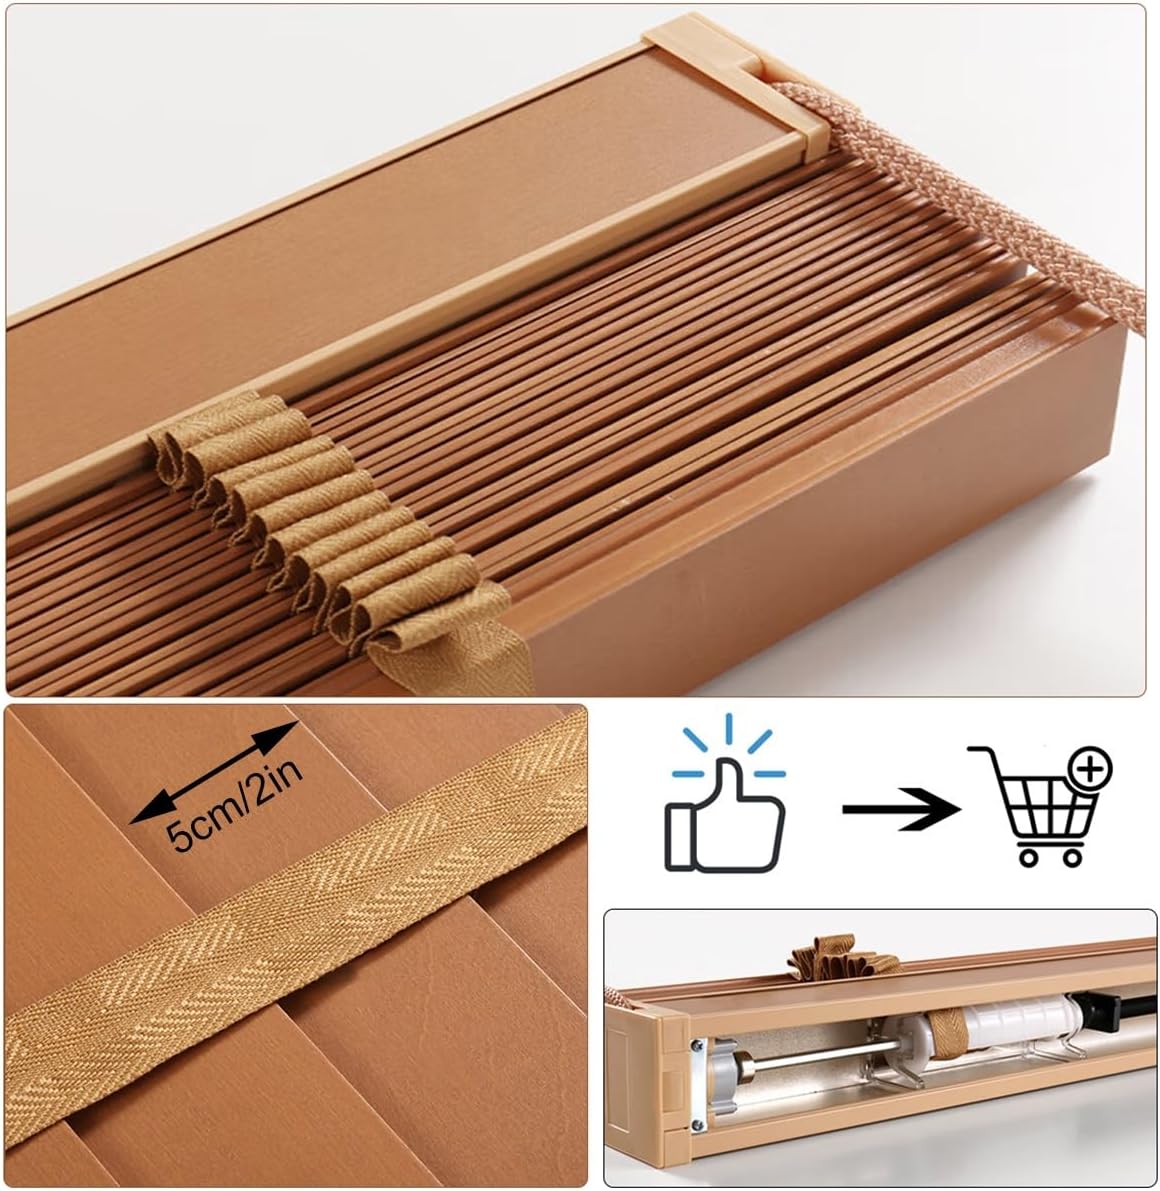
- Raising and Lowering: To raise the blinds, gently push the bottom rail upwards. To lower, pull the bottom rail downwards. The blinds will hold their position once released.
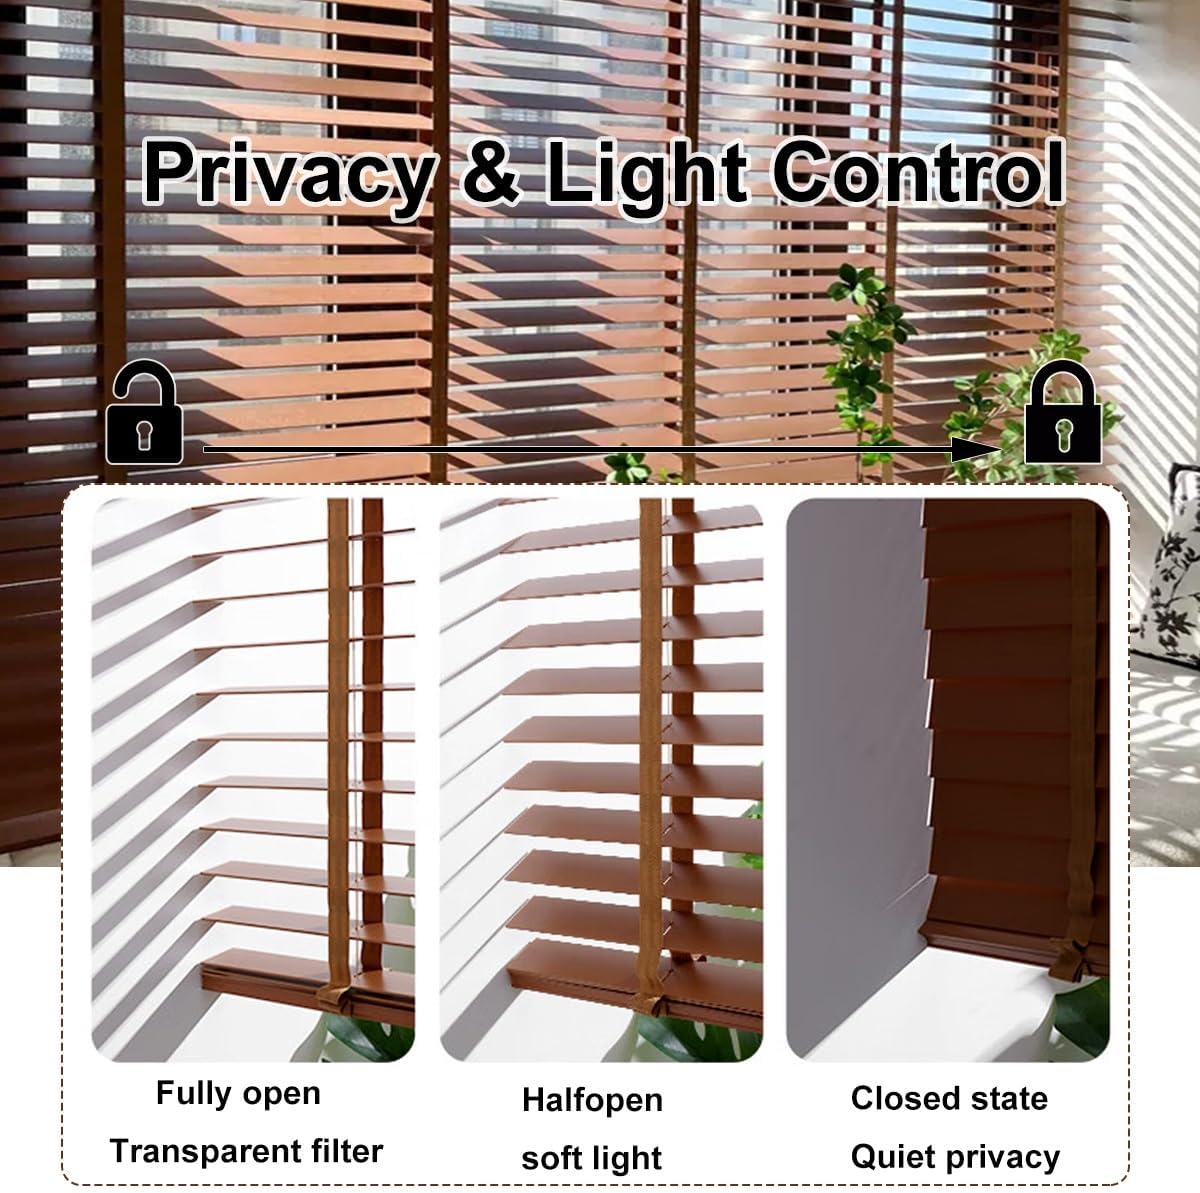
- Tilting Slats: Use the tilt wand, typically located on the left side, to adjust the angle of the slats. Rotate the wand to open or close the slats, controlling the amount of light entering the room and your level of privacy.
7. Întreținere
To keep your blinds in excellent condition:
- Curățare regulată: Dust the slats regularly with a soft cloth or a duster. For deeper cleaning, wipe with a damp cloth using mild soap and water. Avoid harsh chemicals.
- Curățarea punctelor: For stubborn spots, use a gentle cleaner specifically designed for faux wood or vinyl surfaces. Test on an inconspicuous area first.
- Evitați forța excesivă: Do not pull or push the slats or bottom rail with excessive force, as this may damage the internal mechanism.
8. Depanare
If you encounter issues with your blinds, consider the following:
- Blinds Not Raising/Lowering Smoothly: Check for any obstructions along the sides of the window frame or between the slats. Ensure the bottom rail is level when attempting to adjust.
- Slats Not Tilting: Verify that the tilt wand is properly connected and not damaged. Ensure no foreign objects are impeding the slat movement.
- Uneven Blinds: If the blinds appear uneven, gently adjust the bottom rail to re-level them. If the issue persists, re-check the installation brackets for proper alignment.
Pentru probleme persistente, vă rugăm să contactați serviciul de asistență pentru clienți.
9. Garanție și asistență
This product comes with a standard manufacturer's warranty against defects in materials and workmanship. For specific warranty details, claims, or technical support, please refer to the documentation included with your purchase or contact the retailer. Keep your proof of purchase for warranty purposes.