
Introducere
Welcome to the ULTRICS Digital Multimeter D2 user manual. This device is designed for precise and reliable electrical measurements, suitable for professionals and DIY enthusiasts. It accurately measures AC/DC voltage, DC current, resistance, continuity, and diodes. This manual provides essential information for safe and effective operation, helping you to maximize the utility of your new multimeter.
Informații de siguranță
AVERTIZARE: Always exercise extreme caution when working with electrical circuits. Improper use of this multimeter can result in electric shock, personal injury, or damage to the device.
- Nu depășiți valorile maxime de intrare pentru niciun interval.
- Do not use the multimeter if it or the test leads appear damaged. Inspect them before each use.
- Ensure the function switch is in the correct position before making measurements. Changing ranges while connected to a live circuit can cause damage.
- Disconnect power to the circuit before measuring resistance, continuity, or diodes.
- Aveți grijă când lucrați cu voltagpeste 30V AC RMS, 42V peak sau 60V DC. Aceste voltajetages pose a significant shock hazard.
- Always connect the common (COM) test lead first, then the live lead. Disconnect the live lead first, then the common lead.
- Replace the battery when the low battery indicator appears to ensure accurate readings and proper device function.
This multimeter is rated CAT II 600V, indicating its suitability for measurements on circuits directly connected to the low-voltage instalatie.
Conținutul pachetului
Verificați dacă toate articolele sunt prezente în colet:
- 1 x ULTRICS Digital Multimeter D2
- 2 x cabluri de testare (roșu și negru)
- 1 x baterie de 9V
- 1 x Manual de utilizare (acest document)
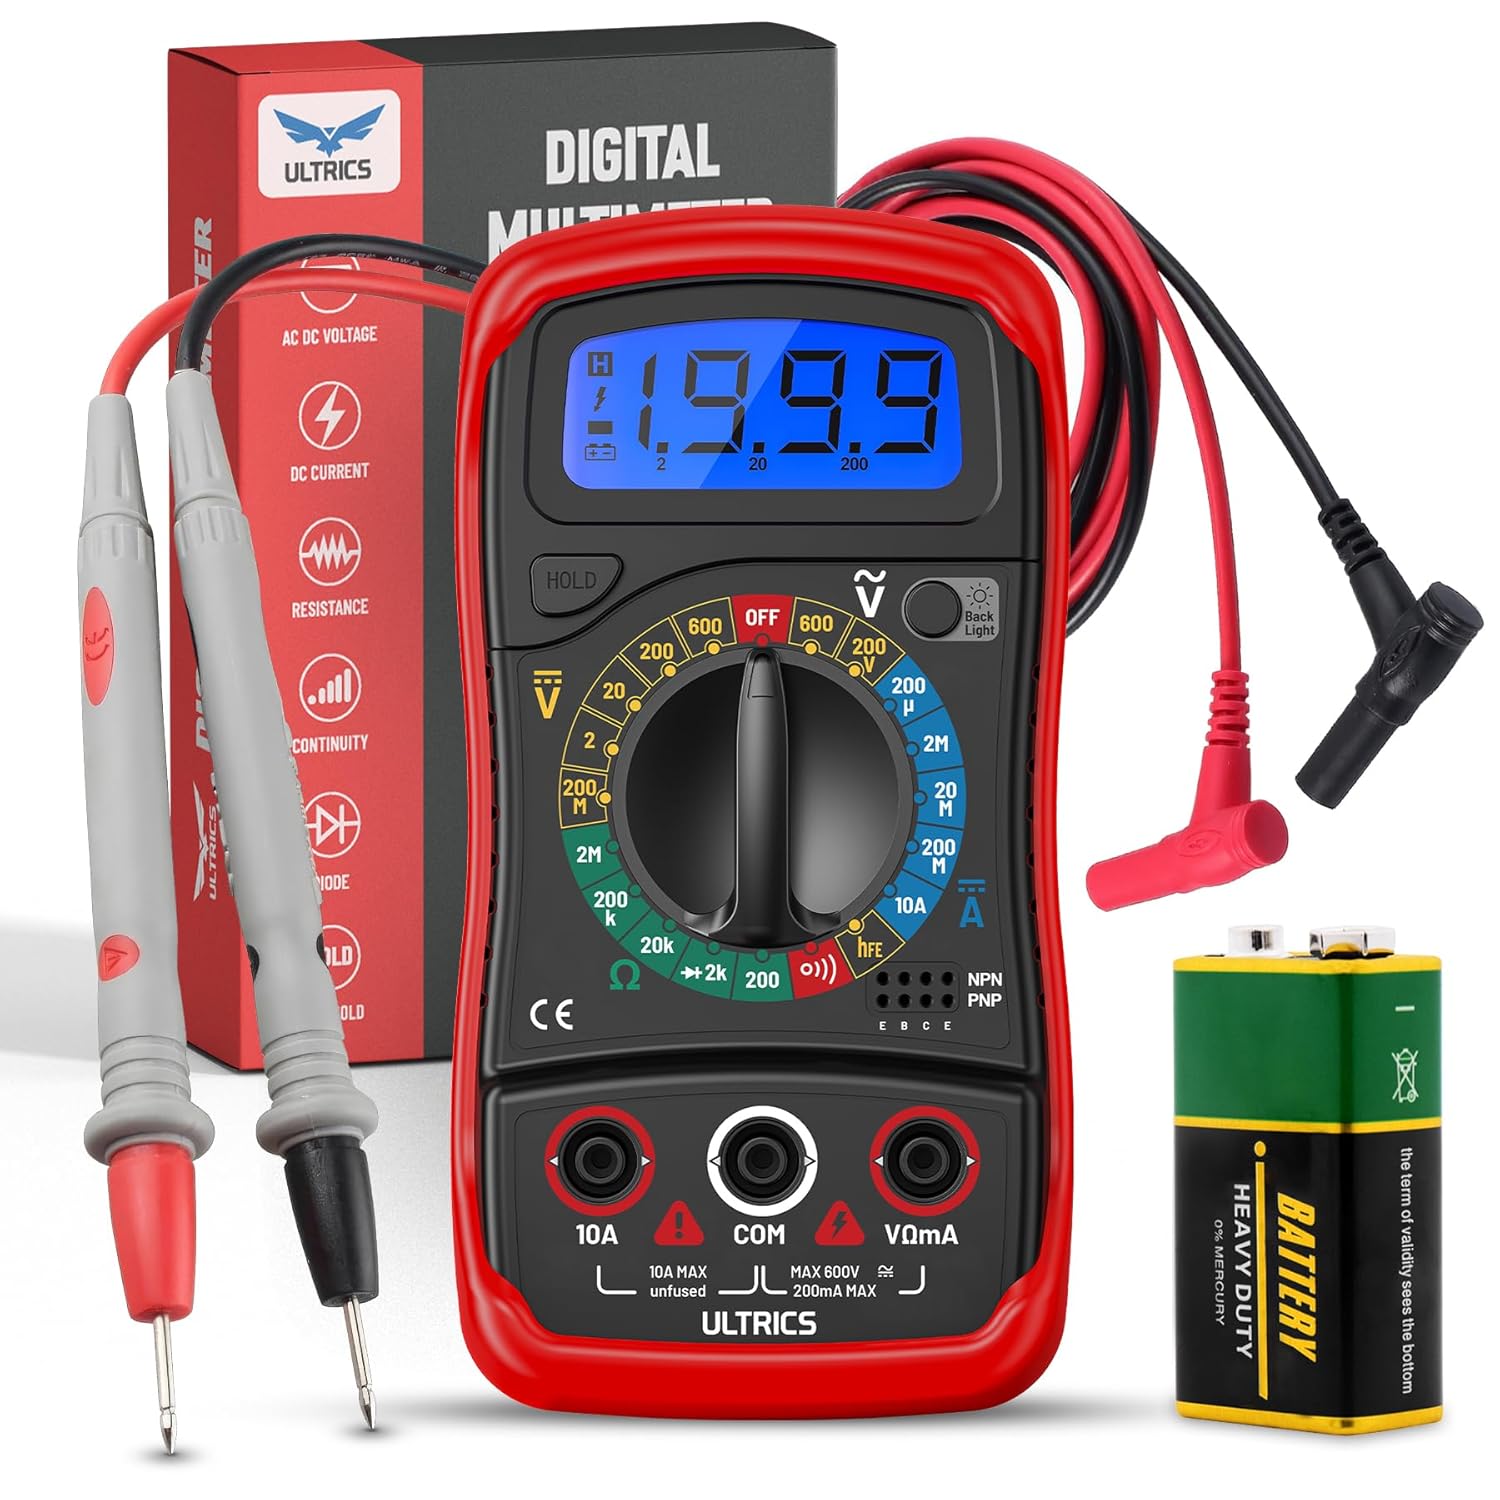
Image: Contents of the ULTRICS Digital Multimeter D2 package, including the multimeter, red and black test leads, and a 9V battery.
Produs terminatview
Familiarize yourself with the components of your ULTRICS Digital Multimeter D2.

Image: Detailed diagram of the ULTRICS Digital Multimeter D2, highlighting its key components such as the LCD display, data hold button, backlight button, function switch, test lead jacks, and protective rubber shell.
- Display LCD: Shows measurement readings, units, and polarity. Features a bright backlight for low-light conditions.
- Buton de reținere a datelor: Freezes the current reading on the display for easier recording.
- Buton pentru iluminare de fundal: Activează sau dezactivează iluminarea de fundal a afișajului.
- Function Switch (Rotary Dial): Selectează funcția și intervalul de măsurare dorite.
- 10A Input Jack: Used for measuring DC current up to 10 Amperes.
- COM (Common) Input Jack: The negative (-) input for all measurements. Always connect the black test lead here.
- VΩmA Input Jack: The positive (+) input for voltage, rezistență și miliampere current measurements. Connect the red test lead here.
- Transistor Test Jacks (hFE): Used for testing NPN and PNP transistors.
- Protective Rubber Shell: Provides durability and protection against minor impacts and splashes.
- Suport pliabil: Allows for hands-free operation and easy viewunghiul de ing.
Înființat
Instalarea bateriei
The ULTRICS Digital Multimeter D2 requires one 9V battery (included).
- Localizați compartimentul bateriei pe spatele multimetrului.
- Folosiți o șurubelniță pentru a scoate șurubul care fixează capacul bateriei.
- Scoateți ușor capacul bateriei.
- Connect the 9V battery to the battery clips, ensuring correct polarity (+ to + and - to -).
- Place the battery inside the compartment.
- Puneți la loc capacul bateriei și fixați-l cu șurubul.
Conectarea cablurilor de testare
Always ensure test leads are securely connected before taking measurements.
- Insert the black test lead's banana plug into the COM Mufă de intrare (comună).
- Pentru majoritatea măsurătorilor (vol.tage, resistance, continuity, diode, small current), insert the red test lead's banana plug into the VΩmA mufă de intrare.
- For high current measurements (up to 10A DC), insert the red test lead's banana plug into the 10A mufă de intrare.
Instrucțiuni de operare
This section details how to perform various measurements using your multimeter.
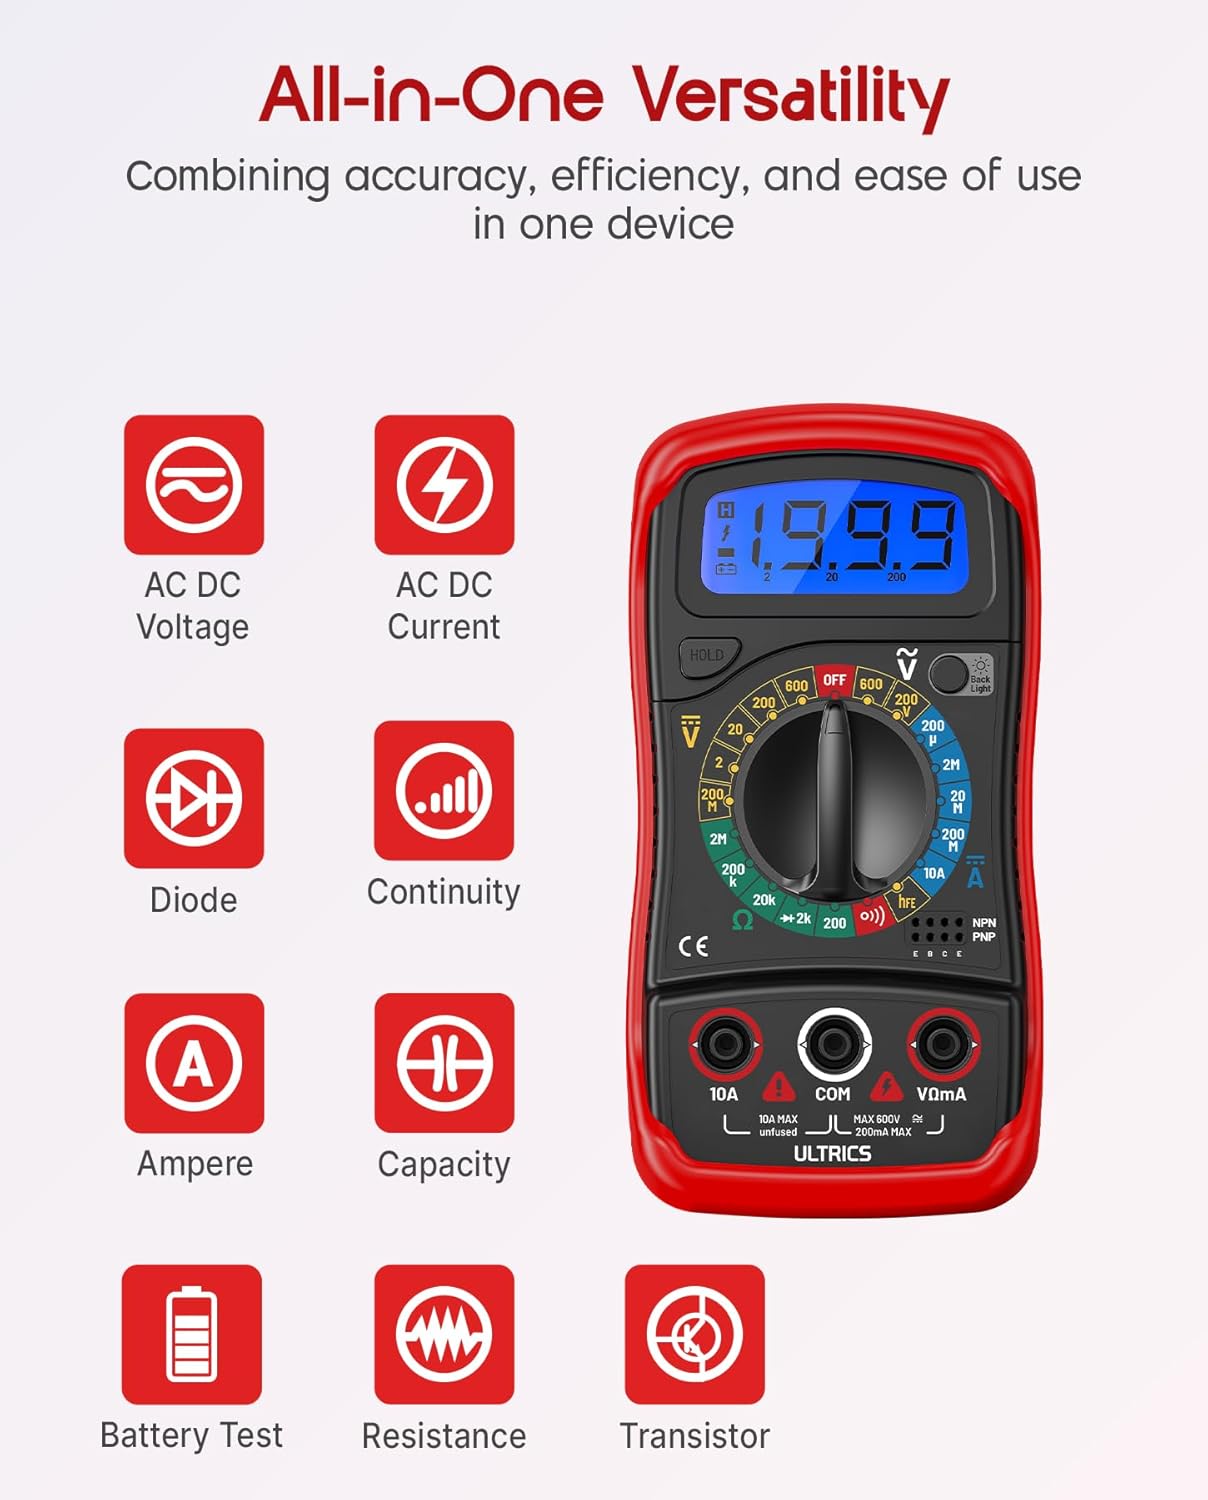
Image: Visual representation of the multimeter's versatile functions, including AC/DC Voltage, AC/DC Current, Diode, Continuity, Ampere, Capacity, Battery Test, Resistance, and Transistor measurements.
Măsurarea DC Voltage (VDC)
- Conectați cablul de testare negru la COM mufa și cablul de testare roșu la VΩmA jack.
- Turn the function switch to the desired VDC range (e.g., 200mV, 2V, 20V, 200V, 600V). If unsure, start with the highest range and decrease as needed.
- Conectați sondele de testare în paralel pe componenta sau circuitul care urmează să fie măsurat.
- Citiți voltagValoarea de pe ecranul LCD.
Măsurarea AC Voltage (VAC)
- Conectați cablul de testare negru la COM mufa și cablul de testare roșu la VΩmA jack.
- Turn the function switch to the desired VAC range (e.g., 200V, 600V).
- Conectați sondele de testare în paralel la tensiunea de curent alternativtage sursa.
- Citiți voltagValoarea de pe ecranul LCD.
Measuring DC Current (ADC)
ATENŢIE: Never connect the multimeter in parallel when measuring current. Always connect it in series with the circuit. Improper connection can damage the multimeter or the circuit.
- Opriți alimentarea circuitului.
- For currents up to 200mA, connect the black test lead to the COM mufa și cablul de testare roșu la VΩmA jack.
- For currents up to 10A, connect the black test lead to the COM mufa și cablul de testare roșu la 10A jack.
- Turn the function switch to the desired ADC range (e.g., 200µA, 2mA, 20mA, 200mA, 10A).
- Întrerupeți circuitul și conectați multimetrul în serie cu circuitul.
- Turn on power to the circuit.
- Citiți valoarea curentă pe afișajul LCD.
- Turn off power to the circuit before disconnecting the multimeter.
Measuring Resistance (Ω)
ATENŢIE: Ensure the circuit is completely de-energized before measuring resistance. Measuring resistance on a live circuit can damage the multimeter.
- Conectați cablul de testare negru la COM mufa și cablul de testare roșu la VΩmA jack.
- Turn the function switch to the desired Ω range (e.g., 200Ω, 2kΩ, 20kΩ, 200kΩ, 2MΩ, 20MΩ).
- Conectați sondele de testare la componenta a cărei rezistență doriți să o măsurați.
- Citiți valoarea rezistenței pe afișajul LCD.
Test de continuitate
The continuity test checks for a complete circuit path. An audible buzzer will sound if continuity is detected.
- Conectați cablul de testare negru la COM mufa și cablul de testare roșu la VΩmA jack.
- Rotiți comutatorul de funcție la Continuitate (buzzer) position.
- Conectați sondele de testare la circuit sau la componentă.
- Dacă rezistența este sub aproximativ 50 Ω, va suna un buzer, indicând continuitatea.
Testul diodei
Testul cu diode măsoară volumul directtagcăderea de tensiune a unei diode.
- Conectați cablul de testare negru la COM mufa și cablul de testare roșu la VΩmA jack.
- Rotiți comutatorul de funcție la Dioda poziţie.
- Connect the red test lead to the anode (+) and the black test lead to the cathode (-) of the diode.
- Citiți voltage drop on the LCD display. Reverse the leads; the display should show "OL" (Overload) for a good diode.
Testul tranzistorului hFE
This function tests the DC current gain (hFE) of NPN and PNP transistors.
- Rotiți comutatorul de funcție la hFE poziţie.
- Identify the Emitter (E), Base (B), and Collector (C) leads of the transistor.
- Insert the transistor leads into the corresponding holes in the hFE socket on the multimeter, ensuring correct NPN or PNP type.
- Citiți valoarea hFE pe afișajul LCD.
Funcția de păstrare a datelor
Apăsați tasta ȚINE pentru a îngheța citirea curentă pe afișaj. Apăsați din nou butonul pentru a elibera mențiunea de blocare și a relua citirile în timp real.
Funcția de iluminare din spate
Apăsați tasta Iluminare de fundal button to turn the LCD backlight on or off, improving visibility in dim environments.

Imagine: Un prim-plan view of the multimeter's LCD display, demonstrating its bright backlight feature for enhanced readability in various lighting conditions.
Întreţinere
Curatenie
Pentru a curăța multimetrul, ștergeți carcasa cu un detergent de vată.amp cloth and a mild detergent. Do not use abrasives or solvents, as these may damage the casing sau afișaj.
Înlocuirea bateriei
When the low battery indicator appears on the display, replace the 9V battery as described in the "Installing the Battery" section to ensure continued accurate readings.
Înlocuirea siguranței
If the current measurement function stops working, the fuse may need replacement. This multimeter is equipped with internal fuses for protection.
- Asigurați-vă că multimetrul este oprit și că toate sondele de testare sunt deconectate.
- Scoateți capacul bateriei și bateria.
- Carefully open the main casing (this may require removing additional screws, typically located under the rubber shell).
- Locate the fuse(s) on the circuit board. This model typically uses a 200mA/250V fuse for the mA range and a 10A/250V fuse for the 10A range.
- Replace the blown fuse with a fuse of the same type and rating. Never use a fuse with a different rating.
- Reassemble the multimeter, ensuring all screws are tightened and the casing is properly sealed.
Depozitare
If the multimeter is not used for a long period, remove the battery to prevent leakage and store the device in a cool, dry place, away from direct sunlight and extreme temperatures.
Depanare
| Problemă | Cauza posibila | Soluţie |
|---|---|---|
| Fără afișaj sau afișaj slab iluminat | Baterie descărcată sau descărcată | Înlocuiți bateria de 9V. |
| Se afișează „OL” (Suprasarcină) | Input value exceeds selected range; open circuit (for resistance/continuity) | Select a higher range; check for breaks in the circuit or component. |
| Citiri incorecte | Funcție/interval selectat incorect; conexiune slabă a cablurilor de testare; baterie descărcată | Verify function switch position and range; ensure leads are firmly connected; replace battery. |
| Măsurarea curentului nu funcționează | Siguranță arsă | Înlocuiți siguranța corespunzătoare (consultați secțiunea Întreținere). |
| No continuity buzzer | Circuit deschis; rezistență prea mare | Ensure circuit is closed; check resistance value (buzzer typically activates below 50Ω). |
Specificații
| Caracteristică | Detaliu |
|---|---|
| Model | Digital Multimeter D2 |
| Afişa | 3 ½ digit LCD, 1999 counts, with backlight |
| DC Voltage | 200mV / 2V / 20V / 200V / 600V |
| AC Voltage | 200V / 600V |
| Curent DC | 200µA / 2mA / 20mA / 200mA / 10A |
| Rezistenţă | 200Ω / 2kΩ / 20kΩ / 200kΩ / 2MΩ / 20MΩ |
| Testul diodei | Da |
| Continuitate Buzzer | Da |
| Testul tranzistorului hFE | Da |
| Reținere de date | Da |
| Sursa de alimentare | Baterie 9V |
| Evaluare de siguranță | IEC CAT II 600V, CE, RoHS compliant |
| Dimensiuni (L x l x H) | 14.6 x 10 x 5 cm (5.75 x 3.94 x 1.97 țoli) |
| Greutate | 240 grame (0.53 lbs) |
Garanție și suport
ULTRICS provides a 12-month warranty for this product, covering manufacturing defects from the date of purchase. Please retain your proof of purchase for warranty claims.
For technical support, warranty claims, or any questions regarding your ULTRICS Digital Multimeter D2, please contact ULTRICS customer service through the retailer's platform or the official ULTRICS website. Vă rugăm să aveți la îndemână detaliile achiziției și numărul modelului atunci când contactați serviciul de asistență.
Producător: ULTRICA
Număr de model: Digital Multimeter D2
ASIN: B0DYP62MW7