Introducere
This manual provides detailed instructions for the setup, programming, and operation of your RESTMO Sprinkler Timer, Model O-HT-1AW. Please read this manual thoroughly before use to ensure proper function and longevity of the device.
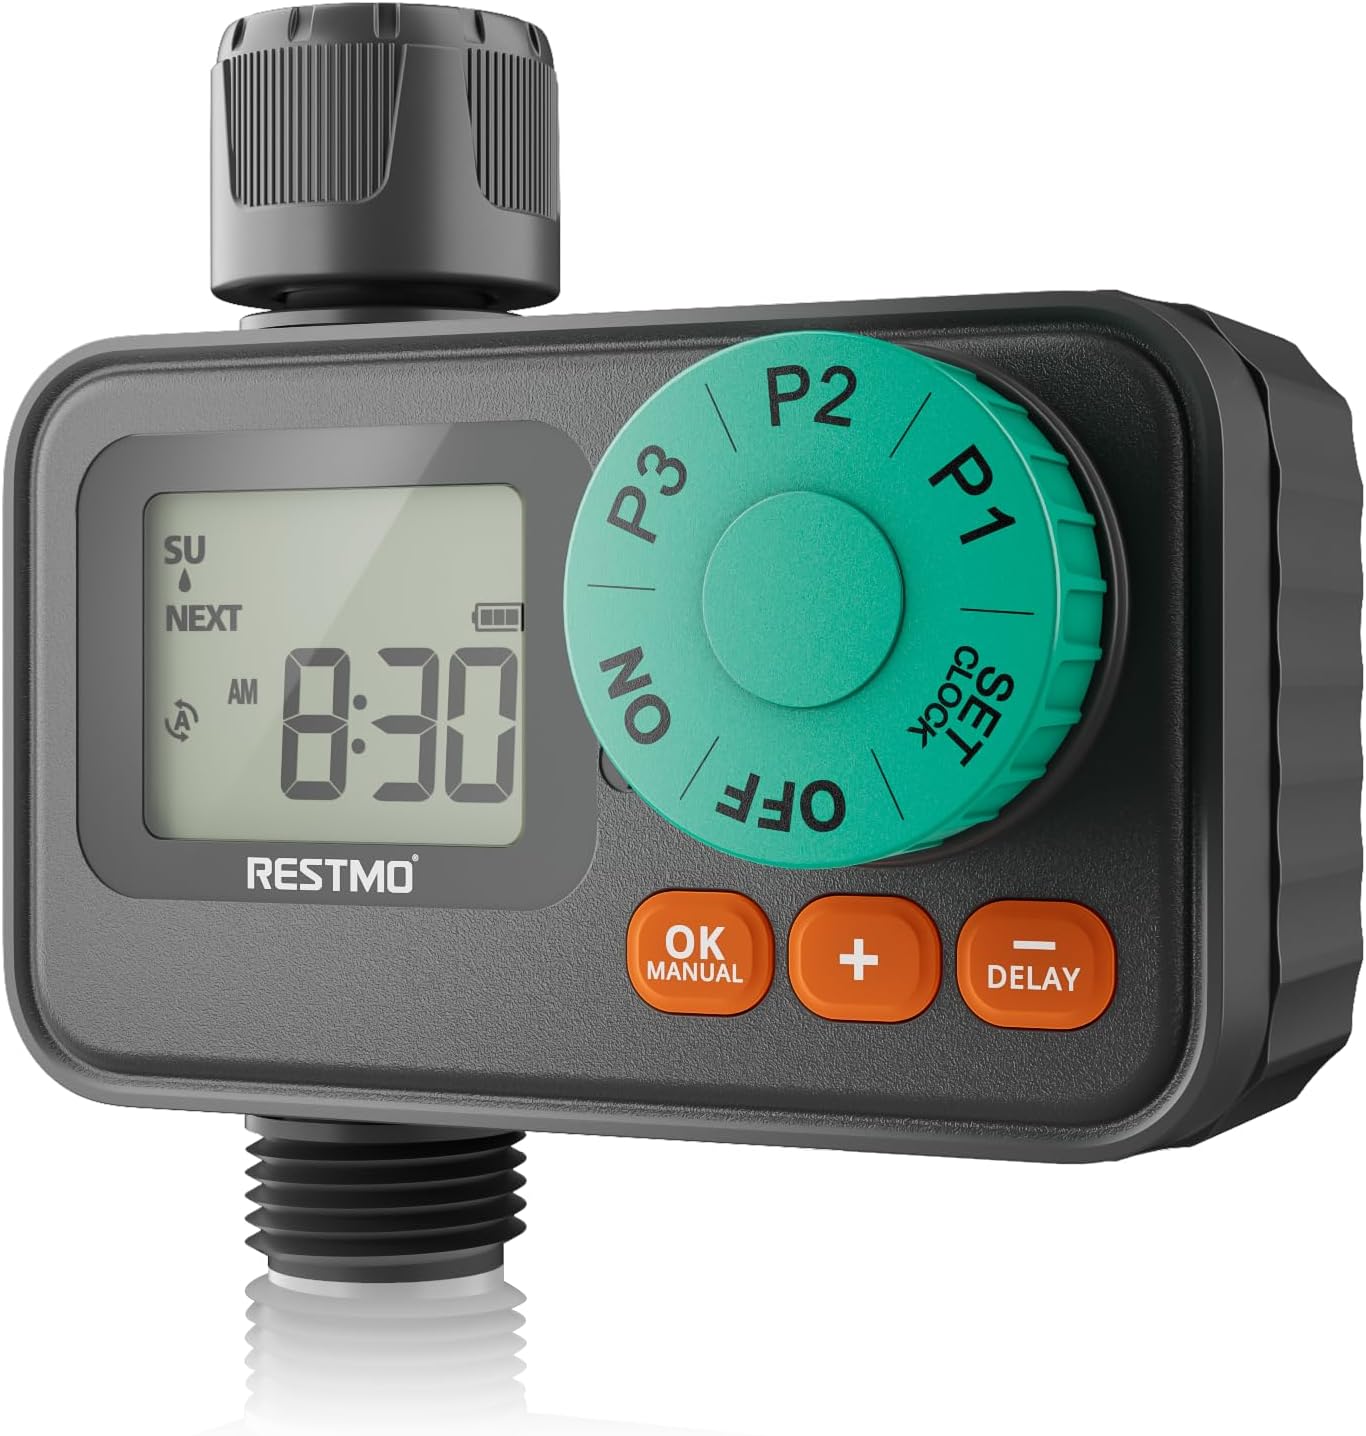
Image: RESTMO Sprinkler Timer, Model O-HT-1AW, connected to a garden faucet and hose, ready for use.
Caracteristici cheie
- 3 Independent Programs: Customize start times, durations (1 min - 4 hrs 59 mins), and frequencies (specific days) for diverse watering needs.
- Weekly Schedule Mode: Set exact days and times for irrigation, ideal for specific plant care or local watering regulations.
- Upgraded Waterproof & Durability: Seamless embedded screen prevents water ingress, and a rugged textured panel ensures longevity. IP55 waterproof protection.
- Mod de întârziere din cauza ploii: Suspend watering for 24, 48, or 72 hours without losing programmed settings.
- Modul de udare manuală: Initiate immediate watering from 1 minute to 299 minutes.
- Configurare ușoară: Oversized dial and large LCD screen for intuitive programming and monitoring.
- Compatibilitate: Single outlet with solenoid valve, fitting for 3/4" hose and faucet. Operates with 8-120 psi water pressure.

Image: Visual representation of the timer's main features, including timed watering, manual control, rain delay, and waterproof design.
Ghid de instalare
1. Instalarea bateriei
The timer requires 2 x AAA Alkaline Batteries (not included). Ensure your hands are dry when handling batteries and the battery compartment to prevent moisture ingress.
- Open the waterproof battery compartment cover located on the back of the timer.
- Insert two fresh AAA alkaline batteries, observing the correct polarity (+/-).
- Securely close the battery compartment cover to maintain its waterproof seal.
Video: Official guide demonstrating battery installation and initial setup steps for the RESTMO Sprinkler Timer.
2. Connecting the Timer
Connect the timer to your outdoor faucet and garden hose.
- Screw the timer's inlet (top connection) onto a standard 3/4" outdoor faucet. Ensure the built-in metal filter is in place to prevent debris from entering the timer.
- Screw your garden hose onto the timer's outlet (bottom connection).
- Tighten all connections by hand to prevent leaks. Do not overtighten.

Image: The sprinkler timer installed on a faucet with hoses attached, illustrating proper connection.
3. Setarea ceasului
- Rotiți selectorul la SETĂ CEA.
- Utilizați + / - buttons to set the current time (hour and minute).
- Apăsați tasta OK pentru a comuta între setarea orei și a minutelor.
- Rotiți butonul în altă poziție (de exemplu, ON) to save the changes.
Programarea programelor de udare
The timer features three independent programs (P1, P2, P3). Each program can be set with a unique start time, duration, and watering days.
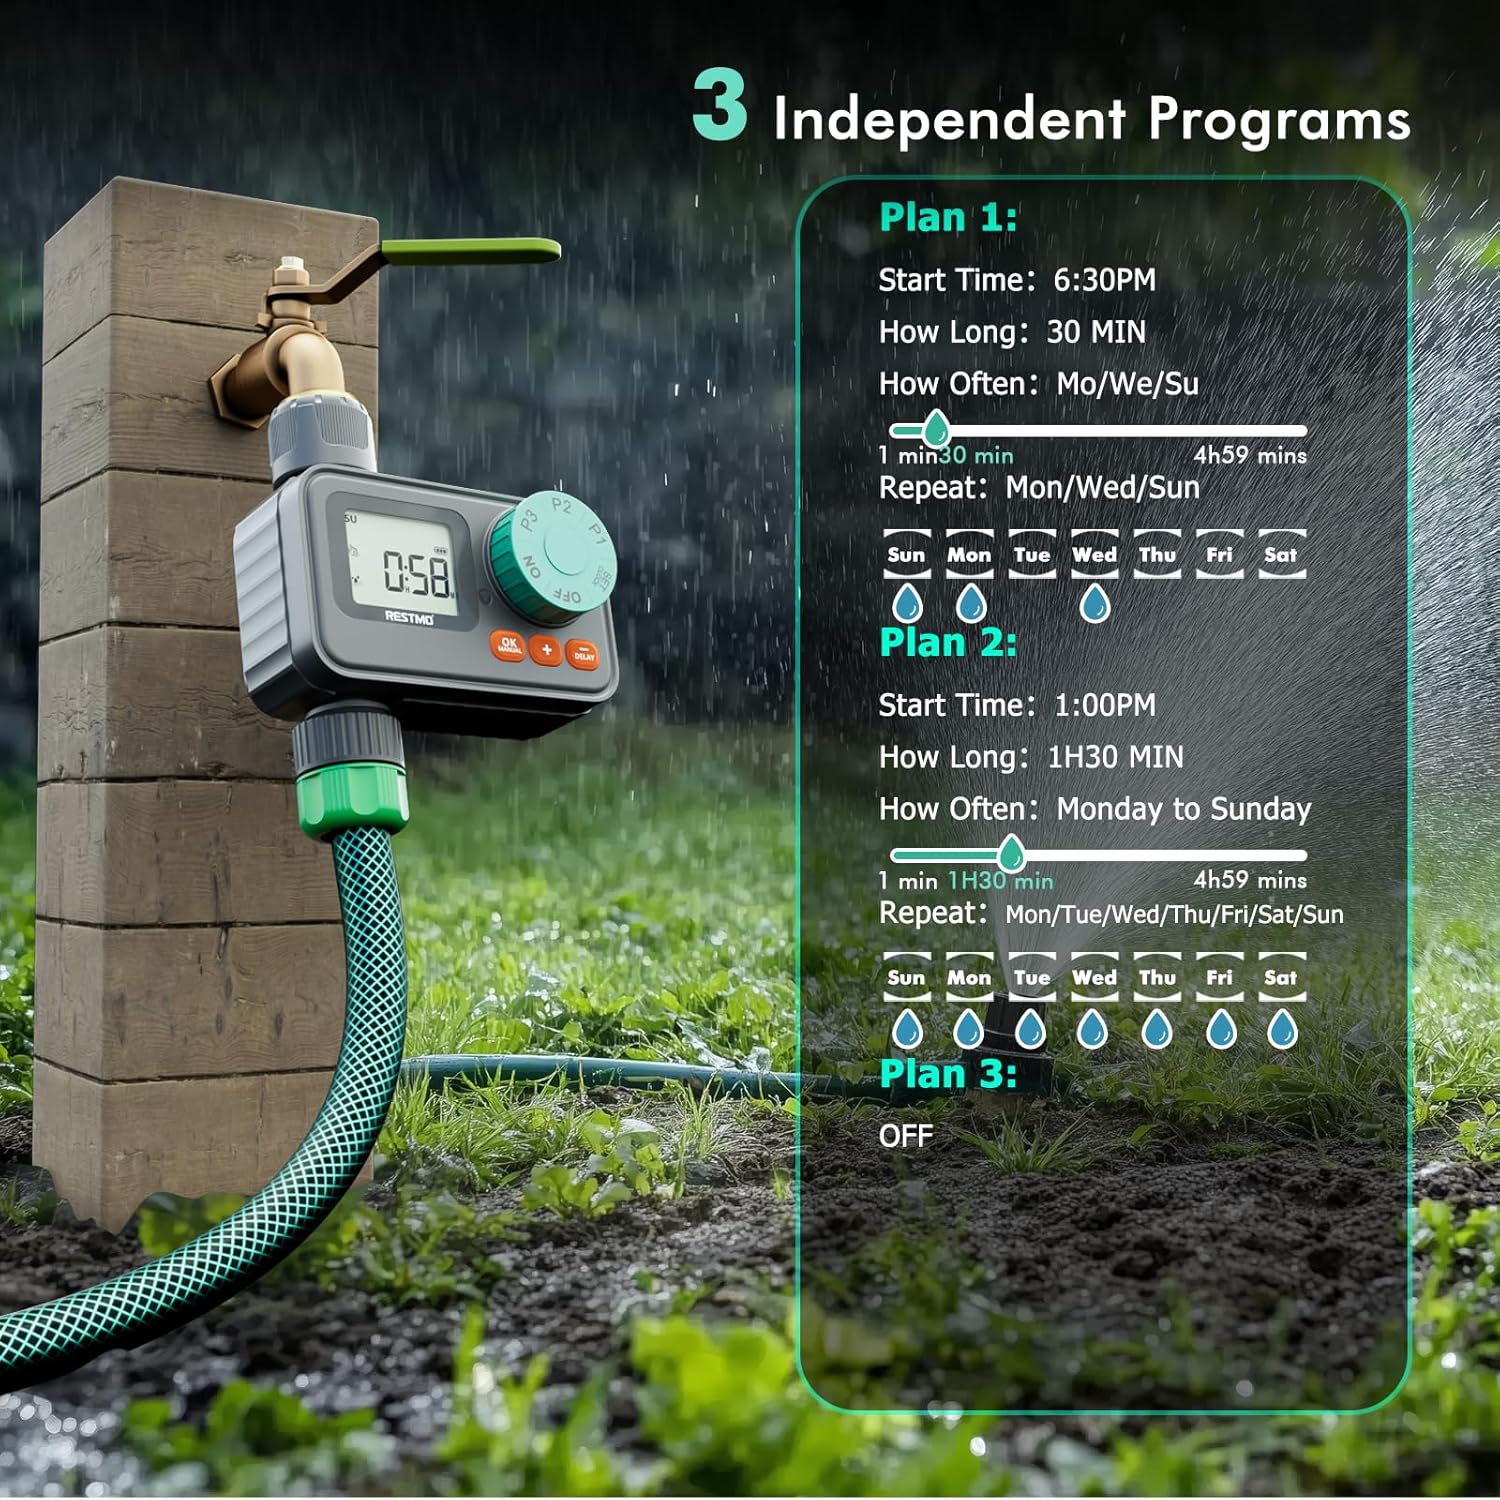
Imagine: Un pesteview of the three independent programming options (P1, P2, P3) and their customizable settings.
Setting Program 1 (P1)
- Rotiți selectorul la P1.
- Utilizați + / - butoane pentru a seta ORA DE ÎNCEPERE. Presa OK to confirm and move to CÂT TIMP.
- Utilizați + / - buttons to set the watering CÂT TIMP (duration). Press OK to confirm and move to WATER DAY.
- Utilizați + button to select desired watering days and the - button to unselect days.
- Rotiți butonul în altă poziție (de exemplu, ON) to save the changes.
Setting Program 2 (P2)
Follow the same steps as Program 1, but turn the dial to P2 to set its independent schedule.
Setting Program 3 (P3)
Follow the same steps as Program 1, but turn the dial to P3 to set its independent schedule. To turn P3 off, keep pressing the - button until 'OFF' is displayed for the watering days.
Moduri de operare
Udare automată
Once programs are set, turn the dial to ON to activate automatic watering. The LCD screen will flash between the next watering start time and the current time when watering is OFF. When watering is ON, the LCD screen displays the remaining time of the current watering program.
Udare manuală
Pentru a iniția udarea manuală:
- With the dial at ON and the timer not actively watering, long press the OK MANUAL butonul pentru 3 secunde.
- Utilizați + / - buttons to select the desired watering duration (1 min to 299 mins).
- Apăsați tasta OK button to start manual watering.
- To cancel manual watering, turn the dial to OFF iar apoi înapoi la ON.
Udarea cu întârziere a ploii
To temporarily pause scheduled watering due to rain:
- With the dial at ON and the timer not actively watering, long press the ÎNTÂRZIERE butonul pentru 3 secunde.
- Utilizați + / - buttons to select a delay of 24, 48, or 72 hours.
- Apăsați tasta OK button or wait for 3 seconds for the rain delay to start automatically.
- To cancel rain delay, turn the dial to OFF iar apoi înapoi la ON.

Image: The timer's display showing the rain delay function, allowing selection of 24, 48, or 72-hour delays.
Întreţinere
Cleaning the Filter Washer
The timer includes a built-in metal filter to prevent debris from entering the system. Periodically check and clean this filter to ensure optimal water flow and prevent blockages.
- Opriți alimentarea cu apă a robinetului.
- Unscrew the timer from the faucet.
- Remove the filter washer from the inlet.
- Clătiți filtrul sub jet de apă pentru a îndepărta orice reziduuri acumulate.
- Reinsert the clean filter washer and reattach the timer to the faucet.
Depozitare de iarnă
During freezing temperatures, remove the timer from the faucet and store it indoors to prevent damage from ice expansion.
Depanare
- Fără flux de apă: Check if the faucet is fully open. Ensure the filter washer is clean and not blocked. Verify that the timer is set to ON and a program is active or manual watering is engaged.
- Timer not turning on/off: Check battery levels and replace if necessary. Ensure the battery compartment is securely closed. Verify that programs are correctly set and the dial is on ON.
- Scurgeri de la conexiuni: Ensure all connections are hand-tightened. Check if rubber washers are properly seated and not damaged. Replace washers if worn.
- Probleme de afișare: If the LCD screen is dim or unresponsive, replace batteries. If water intrusion is suspected, ensure the battery compartment is sealed and the screen is not damaged.
Specificații
| Numărul de model | O-HT-1AW |
| Marca | Restmo |
| Material | Plastic |
| Dimensiunile produsului | 5" D x 3" L x 5" H |
| Greutatea articolului | 0.27 kilograme |
| Durata udarii | 1-299 minute |
| Frecvența de udare | Monday to Sunday (7-day programmable) |
| Evaluare rezistentă la apă | IP55 |
| Presiune de lucru | 8-120 PSI (0.5-8.0 bar) |
| Filet de intrare | 3/4" NH |
| Max. Debit | 10 GPM (35 L/Min) |
| Interval de temperatură | 38 până la 120 °F (3 până la 50 °C) |

Image: Detailed diagram illustrating the timer's dimensions and key technical specifications.
Garanție și suport
For warranty information or technical support, please refer to the contact details provided with your product packaging or visit the official Restmo website-ul. Păstrați chitanța de achiziție pentru cererile de garanție.