
1. Introducere
This manual provides instructions for the Strex SP324 LED Bicycle Light Set, designed to enhance visibility and safety during cycling. The set includes a powerful 1600 lumen front light and a reliable rear light, both USB rechargeable. Please read this manual thoroughly before use to ensure proper operation and maintenance.
2. Instrucțiuni de siguranță
- Always ensure both the front and rear lights are securely mounted before each ride.
- Do not look directly into the front light beam to avoid potential eye damage.
- Nu lăsați produsul la îndemâna copiilor.
- Folosiți doar cablul USB-C furnizat sau un echivalent certificat pentru încărcare.
- Do not attempt to disassemble, modify, or repair the lights yourself. Contact support if issues arise.
- Ensure the USB port cover is properly sealed after charging to maintain the IP65 water resistance.
- Adhere to local traffic laws and regulations regarding bicycle lighting.
3. Conținutul pachetului
Verificați dacă toate articolele sunt prezente în colet:
- 1x Strex LED Front Bicycle Light
- 1x Strex LED Rear Bicycle Light
- 1x cablu de încărcare USB-C
- 1x 360° Mounting Bracket (for front light)
- 1x Manual de utilizare
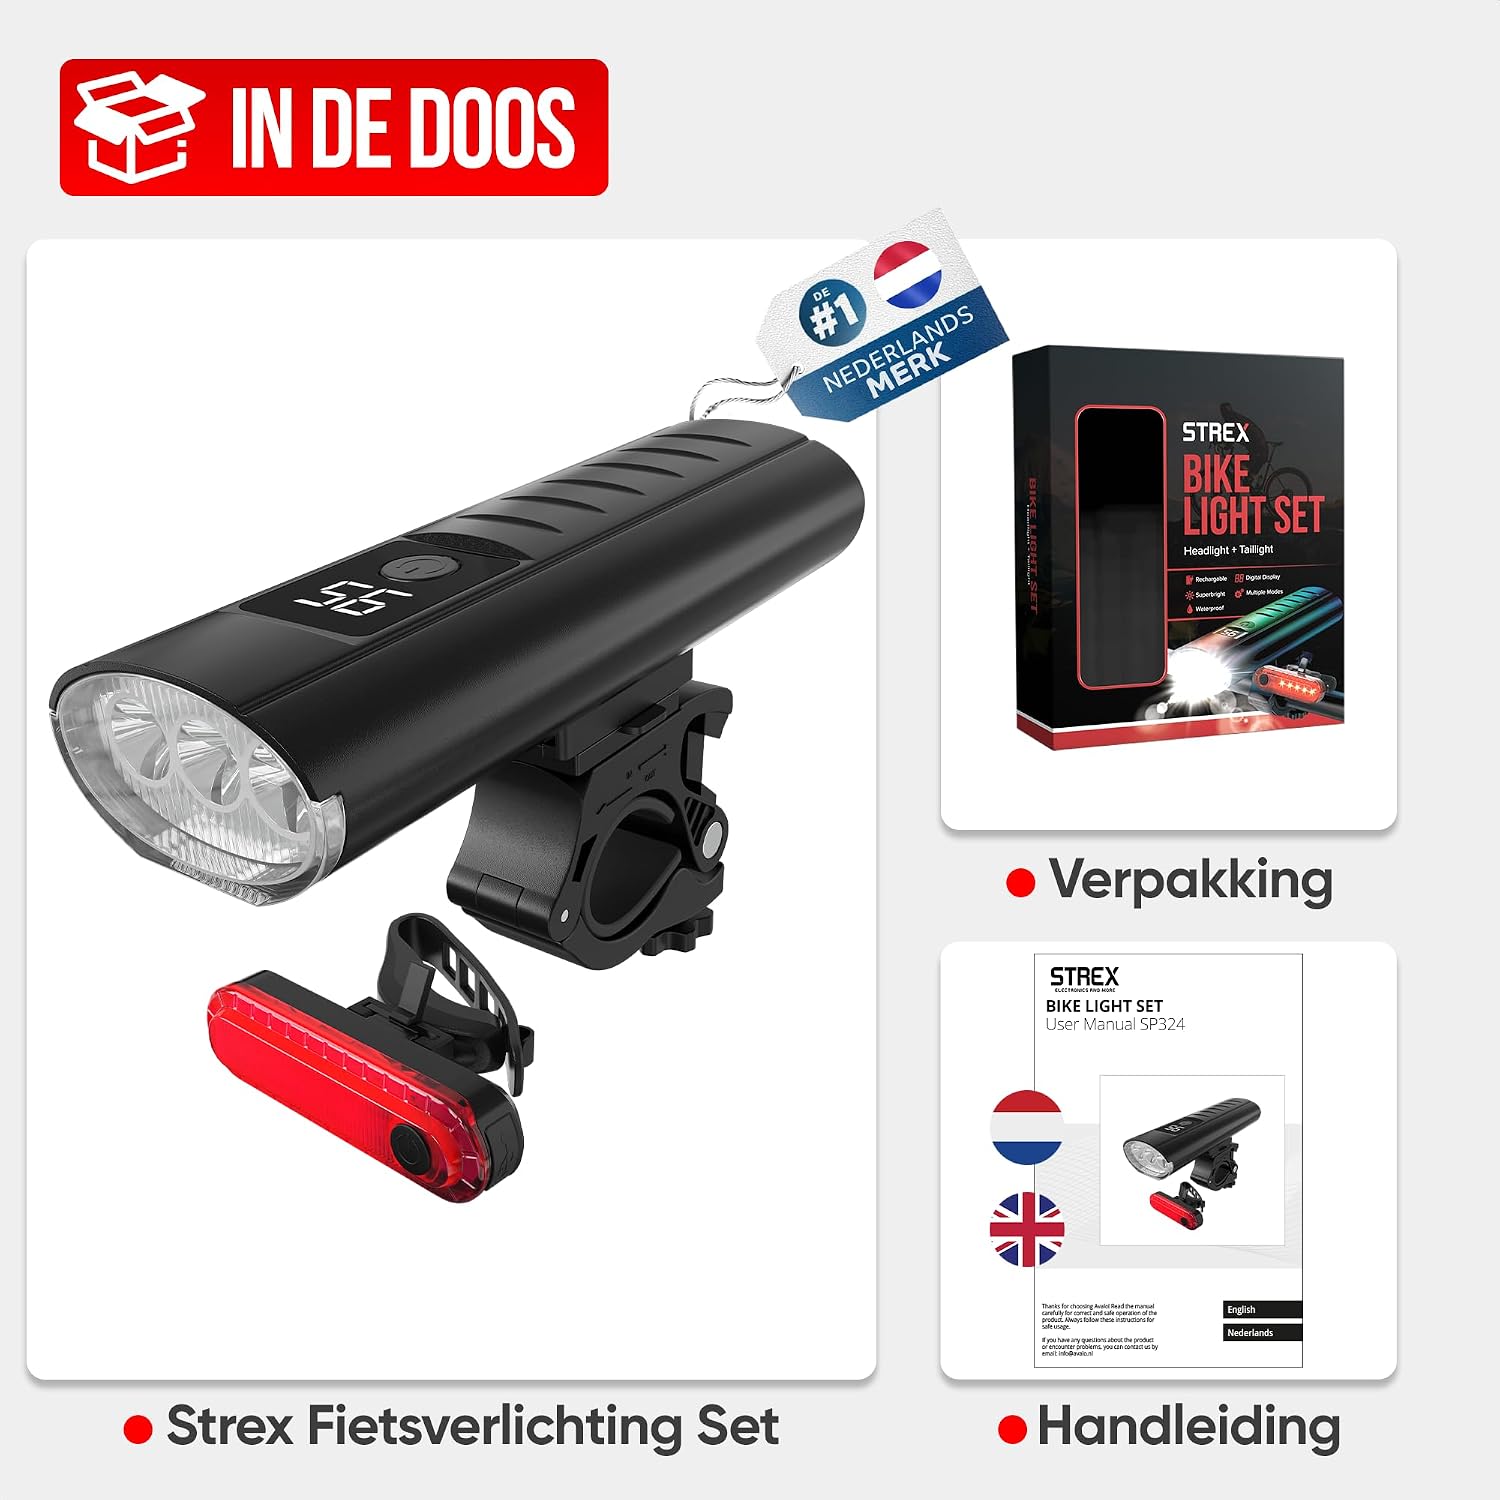
Image: Package contents including front light, rear light, USB-C cable, and user manual.
4. Configurare
4.1. Front Light Installation
- Attach the 360° mounting bracket to your bicycle handlebar. Ensure it is tightened securely.
- Slide the front light onto the bracket until it clicks into place.
- Adjust the angle of the light to illuminate the path ahead without blinding oncoming traffic. The 360° rotation allows for precise positioning.
4.2. Rear Light Installation
- Wrap the integrated strap of the rear light around your bicycle's seat post or another suitable location.
- Secure the strap firmly to prevent movement during your ride.
- Ensure the rear light is clearly visible to traffic approaching from behind.

Image: Front and rear lights mounted on a bicycle, illustrating ease of installation.
5. Instrucțiuni de utilizare
5.1. Front Light Operation
The front light features 3 T6 LEDs and offers 6 lighting modes:
- Pentru a porni/dezactiva: Apăsați și mențineți apăsat butonul de pornire timp de aproximativ 2 secunde.
- Pentru a schimba modurile: Briefly press the power button to cycle through the modes: Ridicat (1600 lumens), Mediu (800 lumens), Scăzut (400 lumens), Flash, SOS, și Far.

Image: Front light modes (High, Medium, Low, Fast Flash, SOS, Beacon).

Image: Front light battery duration for High, Medium, and Low modes.
5.2. Rear Light Operation
The rear light provides enhanced visibility with its red LED and 4 lighting modes:
- Pentru a porni/dezactiva: Apăsați și mențineți apăsat butonul de pornire timp de aproximativ 2 secunde.
- Pentru a schimba modurile: Briefly press the power button to cycle through the modes: Luminozitate completă, Flowing Effect, Flashing Effect, și Chasing Effect.

Image: Rear light modes (Full Brightness, Flowing Effect, Flashing Effect, Chasing Effect).
6. Încărcare
6.1. Front Light Charging & Power Bank Function
The front light is equipped with a 5400mAh rechargeable battery and a USB-C port.
- Locate the USB-C charging port on the front light, usually covered by a rubber flap.
- Open the flap and connect the provided USB-C cable to the port.
- Connect the other end of the USB-C cable to a suitable USB power source (e.g., wall adapter, computer USB port, power bank).
- The battery indicator on the light will show the charging status. A full charge can provide up to 23 hours of illumination in the lowest mode.
- Funcția Power Bank: The front light can also be used to charge other devices (e.g., smartphones) via its USB-C port. Connect your device to the front light using a compatible USB-C cable.
- After charging, ensure the USB port cover is securely closed to maintain water resistance.
6.2. Rear Light Charging
The rear light is also USB rechargeable.
- Locate the USB charging port on the rear light, typically under a protective cover.
- Connect the USB-C cable to the port and to a USB power source.
- The indicator light on the rear light will show charging status.
- After charging, ensure the USB port cover is securely closed.
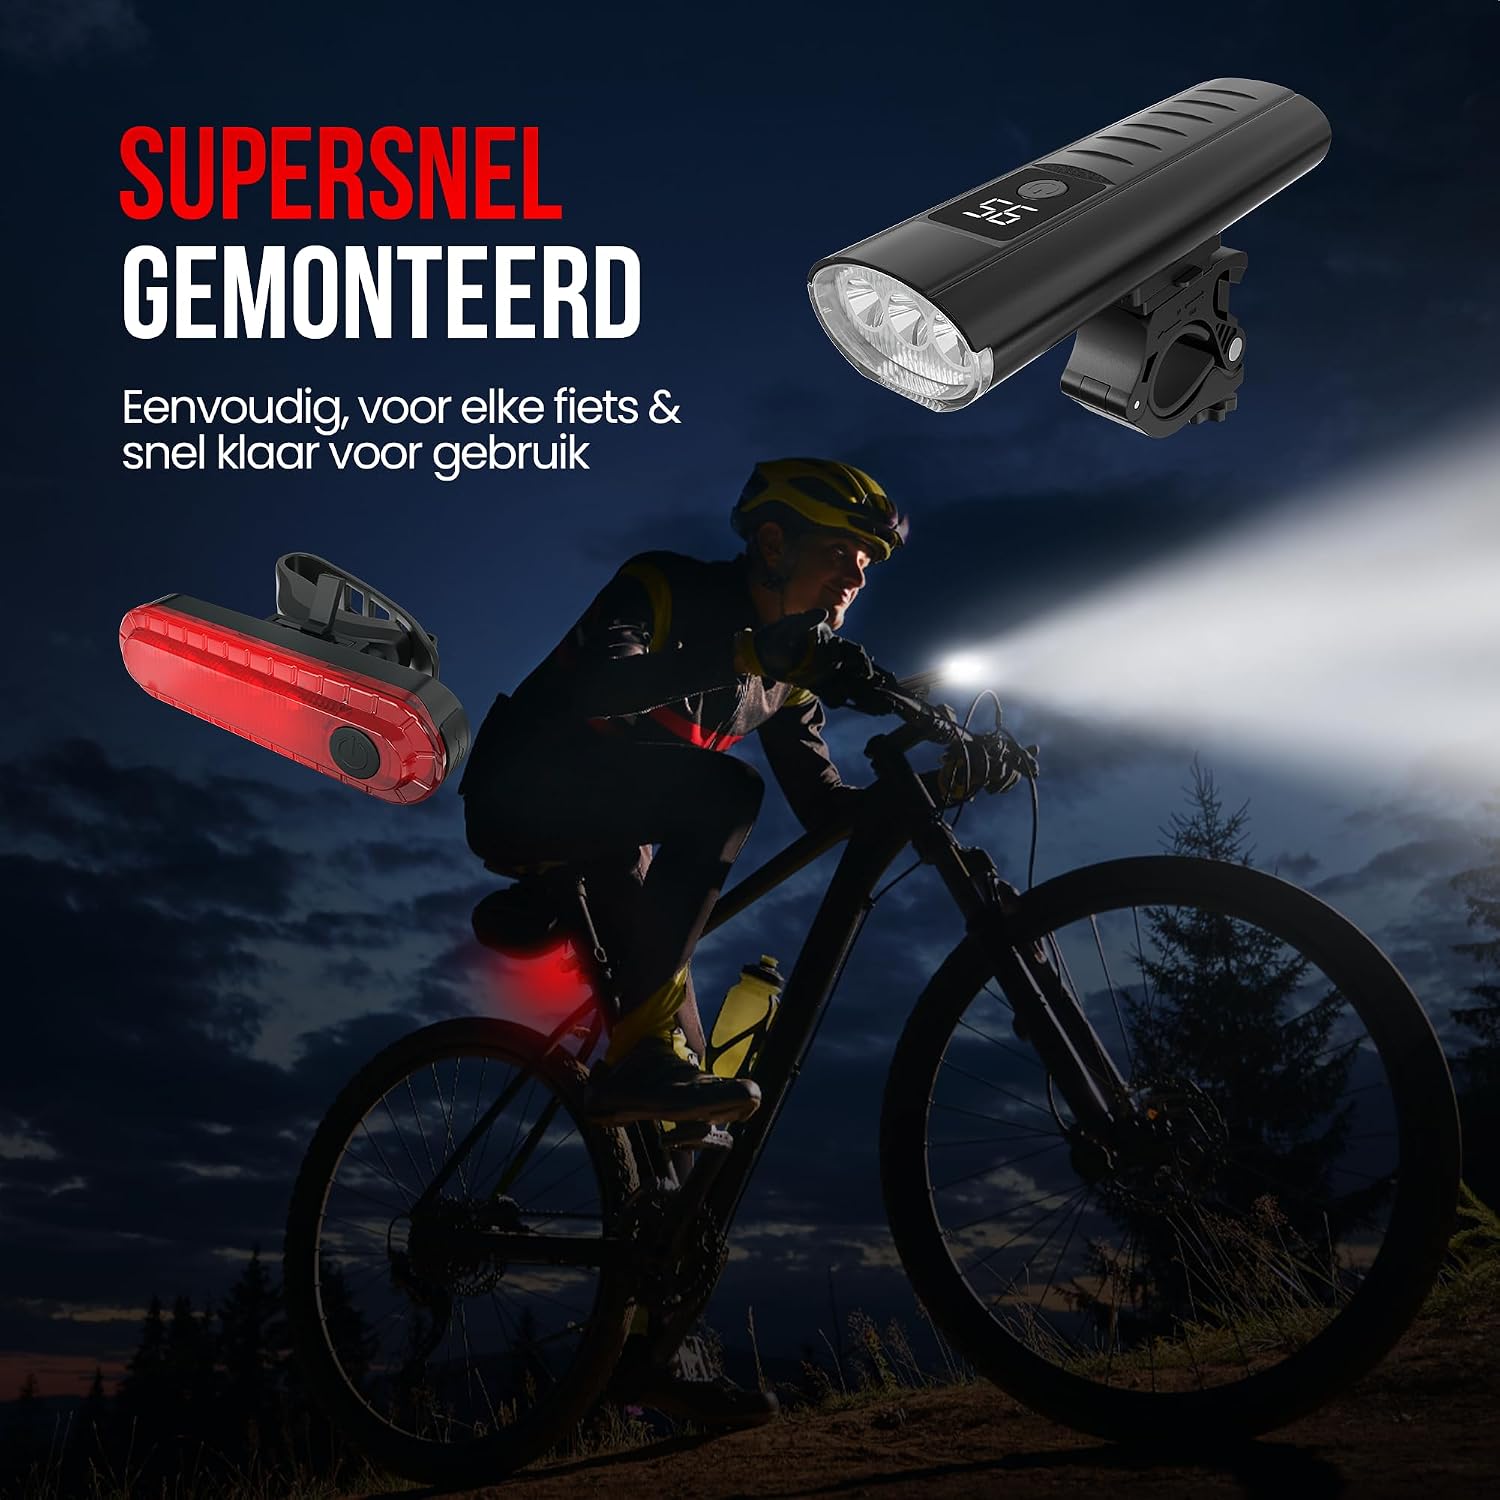
Image: Front light charging via USB-C and functioning as a power bank.
7. Întreținere
- curatenie: Curățați luminile cu un moale, damp cloth. Do not use abrasive cleaners, solvents, or harsh chemicals, as these can damage the housing or lens.
- Rezistenta la apa: The lights are IP65 water-resistant, meaning they are protected against dust and low-pressure water jets. They are suitable for use in rainy weather but should not be submerged in water. Always ensure the USB port covers are properly sealed.
- Depozitare: When not in use for extended periods, store the lights in a cool, dry place. It is recommended to charge the batteries every 3-6 months to maintain battery health.

Image: Front light demonstrating IP65 water resistance.
8. Depanare
- Lumina nu se aprinde: Check the battery level. If low, recharge the light using the provided USB-C cable.
- Lumina nu se încarcă: Ensure the USB-C cable is properly connected to both the light and the power source. Try a different USB port or charger. Verify the charging port is clean and free of debris.
- Lumină pâlpâitoare sau slabă: This usually indicates a low battery. Recharge the light fully.
- Mounting bracket loose: Re-tighten the mounting bracket on the handlebar. Ensure the light is securely clicked into the bracket.
- Intrarea apei: If water enters the light, immediately turn it off and allow it to dry completely. Ensure the USB port cover is always sealed when not charging.
9. Specificații
| Caracteristică | Caietul de sarcini |
|---|---|
| Numărul de model | SP324 |
| Front Light Source | 3 T6 LEDs |
| Luminozitate maximă | 1600 lumeni |
| Front Light Battery | 5400mAh, USB-C rechargeable |
| Moduri de lumină frontală | 6 (High, Medium, Low, Flash, SOS, Beacon) |
| Rear Light Modes | 4 (Full Brightness, Flowing Effect, Flashing Effect, Chasing Effect) |
| Material | Aluminiu |
| Nivel de rezistență la apă | IP65 (impermeabil) |
| Tip de montare | Handlebar mount (front), Strap mount (rear) |
| Product Dimensions (Front Light) | 12.5L x 4.5W x 2.8H cm |
| Greutatea articolului | 225 grame |
| Țara de origine | China |
10. Garantie
This Strex product is covered by a manufacturer's warranty for 1 an de la data achiziției. Această garanție acoperă defectele de materiale și de fabricație în condiții normale de utilizare. Nu acoperă daunele cauzate de utilizarea necorespunzătoare, accidente, modificări neautorizate sau uzură normală. Vă rugăm să păstrați dovada achiziției pentru reclamațiile în garanție.
11. Suport
For technical support, warranty claims, or any other inquiries regarding your Strex SP324 LED Bicycle Light Set, please contact Strex customer service through the retailer where you purchased the product or visit the official Strex website pentru informații de contact.