
1. Informații importante privind siguranța
Vă rugăm să citiți și să înțelegeți toate instrucțiunile înainte de a începe instalarea. Nerespectarea acestor instrucțiuni poate duce la electrocutare, incendiu sau vătămări corporale.
- Asigurați-vă că alimentarea este oprită de la întrerupătorul de circuit înainte de instalare sau întreținere.
- Toate instalațiile electrice trebuie să fie în conformitate cu codurile electrice naționale și locale.
- The ceiling fan must be mounted to a structure capable of supporting a minimum of 35 lbs (15.9 kg).
- Nu utilizați ventilatorul cu palele sau carcasa deteriorate.
- Nu lăsați mâinile, hainele și alte obiecte să ajungă la palele ventilatorului atunci când acesta este în funcțiune.
- Acest ventilator este conceput numai pentru utilizare în interior.
2. Conținutul pachetului
Verify that all components listed below are included in your package. If any parts are missing or damaged, contact LEDLUX customer support before proceeding with installation.
- Ansamblu Carcasa Motorului
- Pale de ventilator (8 bucăți)
- Downrods (4.5", 12", 24" options)
- Suport de fixare
- Telecomanda si receptor
- Pachet de accesorii (șuruburi, șaibe, piulițe de sârmă)
- Manual de instructiuni
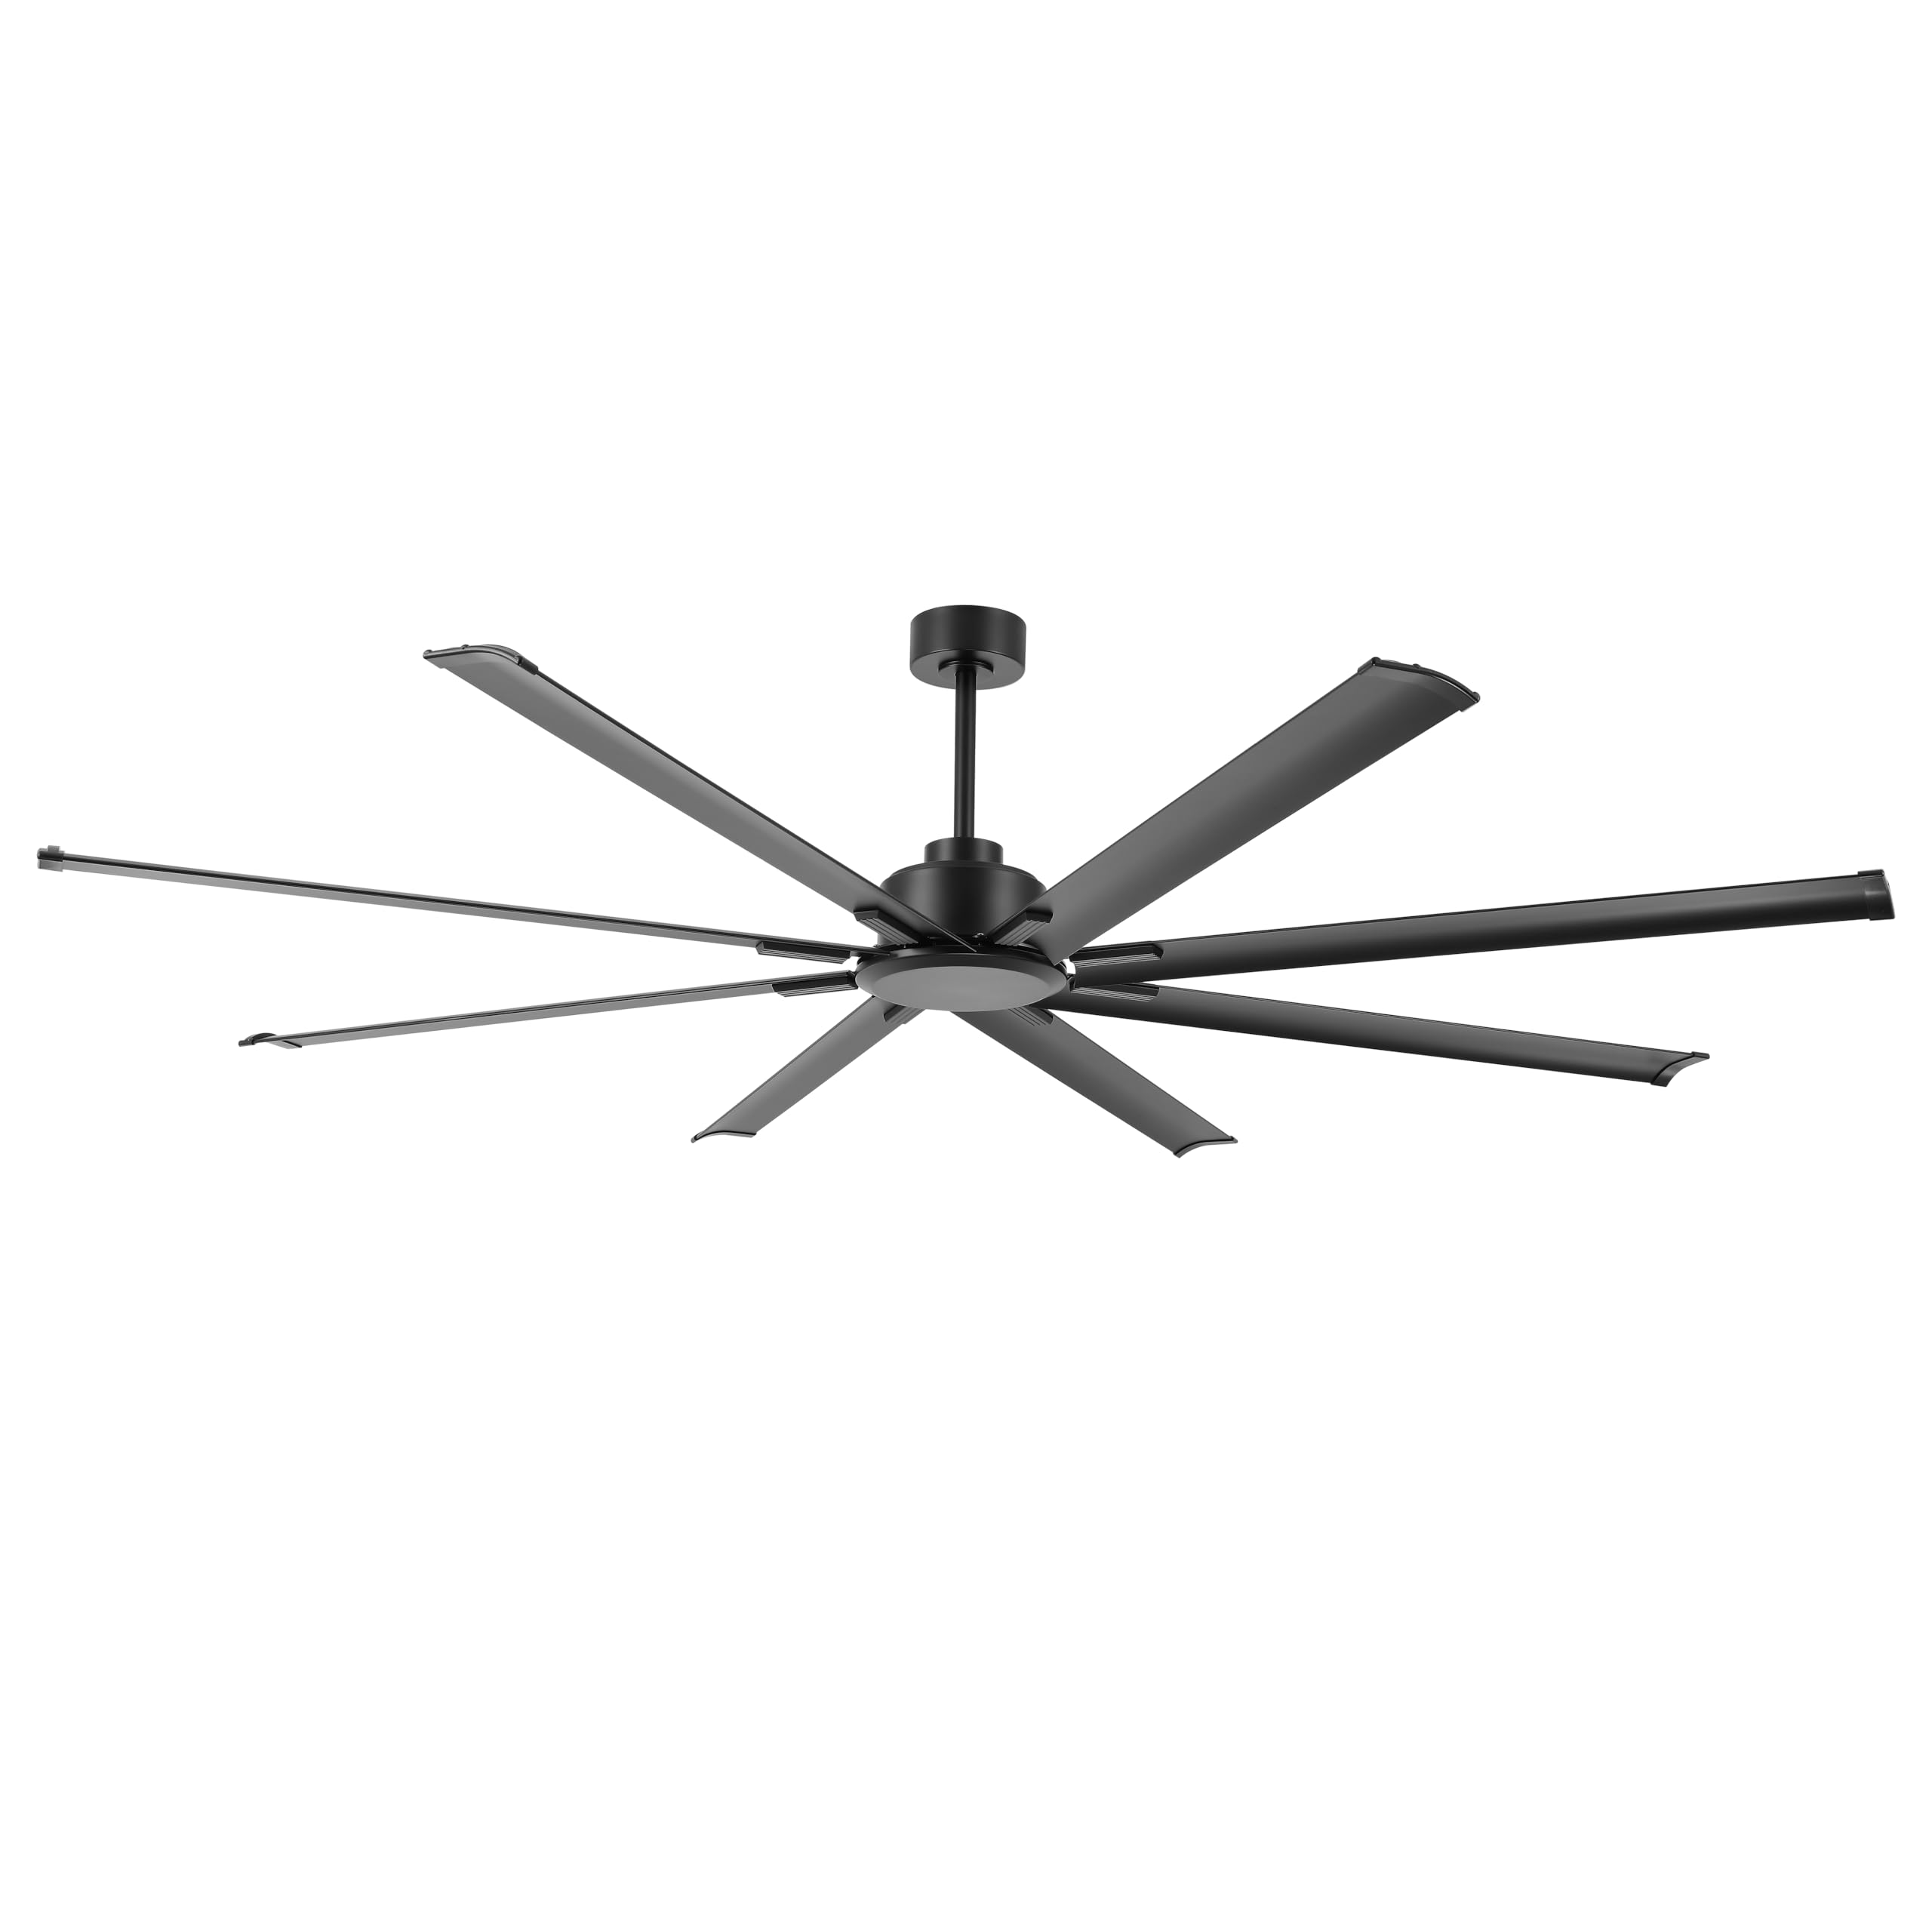
Image: The LEDLUX 96-inch ceiling fan, showcasing its eight black aluminum blades, central motor housing, and the included remote control. This image provides an overview of the main product components.
3. Configurare și instalare
Follow these steps carefully for proper installation of your LEDLUX ceiling fan.
3.1 Lista de verificare înainte de instalare
- Opriți alimentarea cu energie la întrerupătorul principal.
- Asigurați-vă că locația de montare poate susține greutatea ventilatorului.
- Adunați uneltele necesare (șurubelniță, dezizolator de sârmă, scară etc.).
3.2 Montarea ventilatorului
- Attach the mounting bracket to the ceiling junction box. Ensure it is securely fastened to a structural beam.
- Select the appropriate downrod (4.5", 12", or 24") for your ceiling height.
- Feed the fan wires through the chosen downrod.
- Secure the downrod to the motor housing.
- Ridicați cu grijă ansamblul ventilatorului și agățați-l de suportul de montare.

Image: A diagram illustrating the overall dimensions of the 96-inch ceiling fan, including its width and height with different downrod lengths (12.7", 20.3", 32.5"). It also shows how the fan can be mounted on both flat and sloped ceilings, along with the three included downrod sizes (4.5", 12", 24").

Image: This image displays the LEDLUX ceiling fan installed in three different room settings: a high ceiling, a low ceiling, and a slanted ceiling, demonstrating its versatility for various architectural styles.
3.3 Conexiuni de cablare
- Connect the fan's wires to the household wiring according to the wiring diagram provided in the full manual. Use wire nuts to secure connections.
- Install the remote receiver into the mounting bracket canopy.
- Connect the receiver wires to the fan and household wires as instructed.
3.4 Atașarea lamelor
- Attach each of the 8 fan blades to the motor housing using the provided screws and washers. Ensure all screws are tightened securely.
4. Instrucțiuni de utilizare
Your LEDLUX ceiling fan is controlled by the included remote control. Ensure batteries are installed correctly in the remote.
4.1 Funcții de control de la distanță

Imagine: O imagine detaliată view of the remote control for the LEDLUX ceiling fan, highlighting buttons for speed adjustment (1-6), fan on/off, forward/reverse function, natural wind mode, and timer settings (1H/2H/4H/8H).
- Buton Pornit/Oprit: Pornește sau oprește ventilatorul.
- Butoane de viteză (1-6): Adjusts fan speed from low (1) to high (6).
- Buton înainte/înapoi: Schimbă direcția de rotație a lamei.
- Timer Buttons (1H/2H/4H/8H): Sets the fan to turn off automatically after the selected duration.
- Natural Wind Button: Simulates a natural breeze by cycling through various speeds.
4.2 Funcție reversibilă (mod vară/iarnă)
The fan features a reversible DC motor, allowing for year-round use to optimize air circulation.
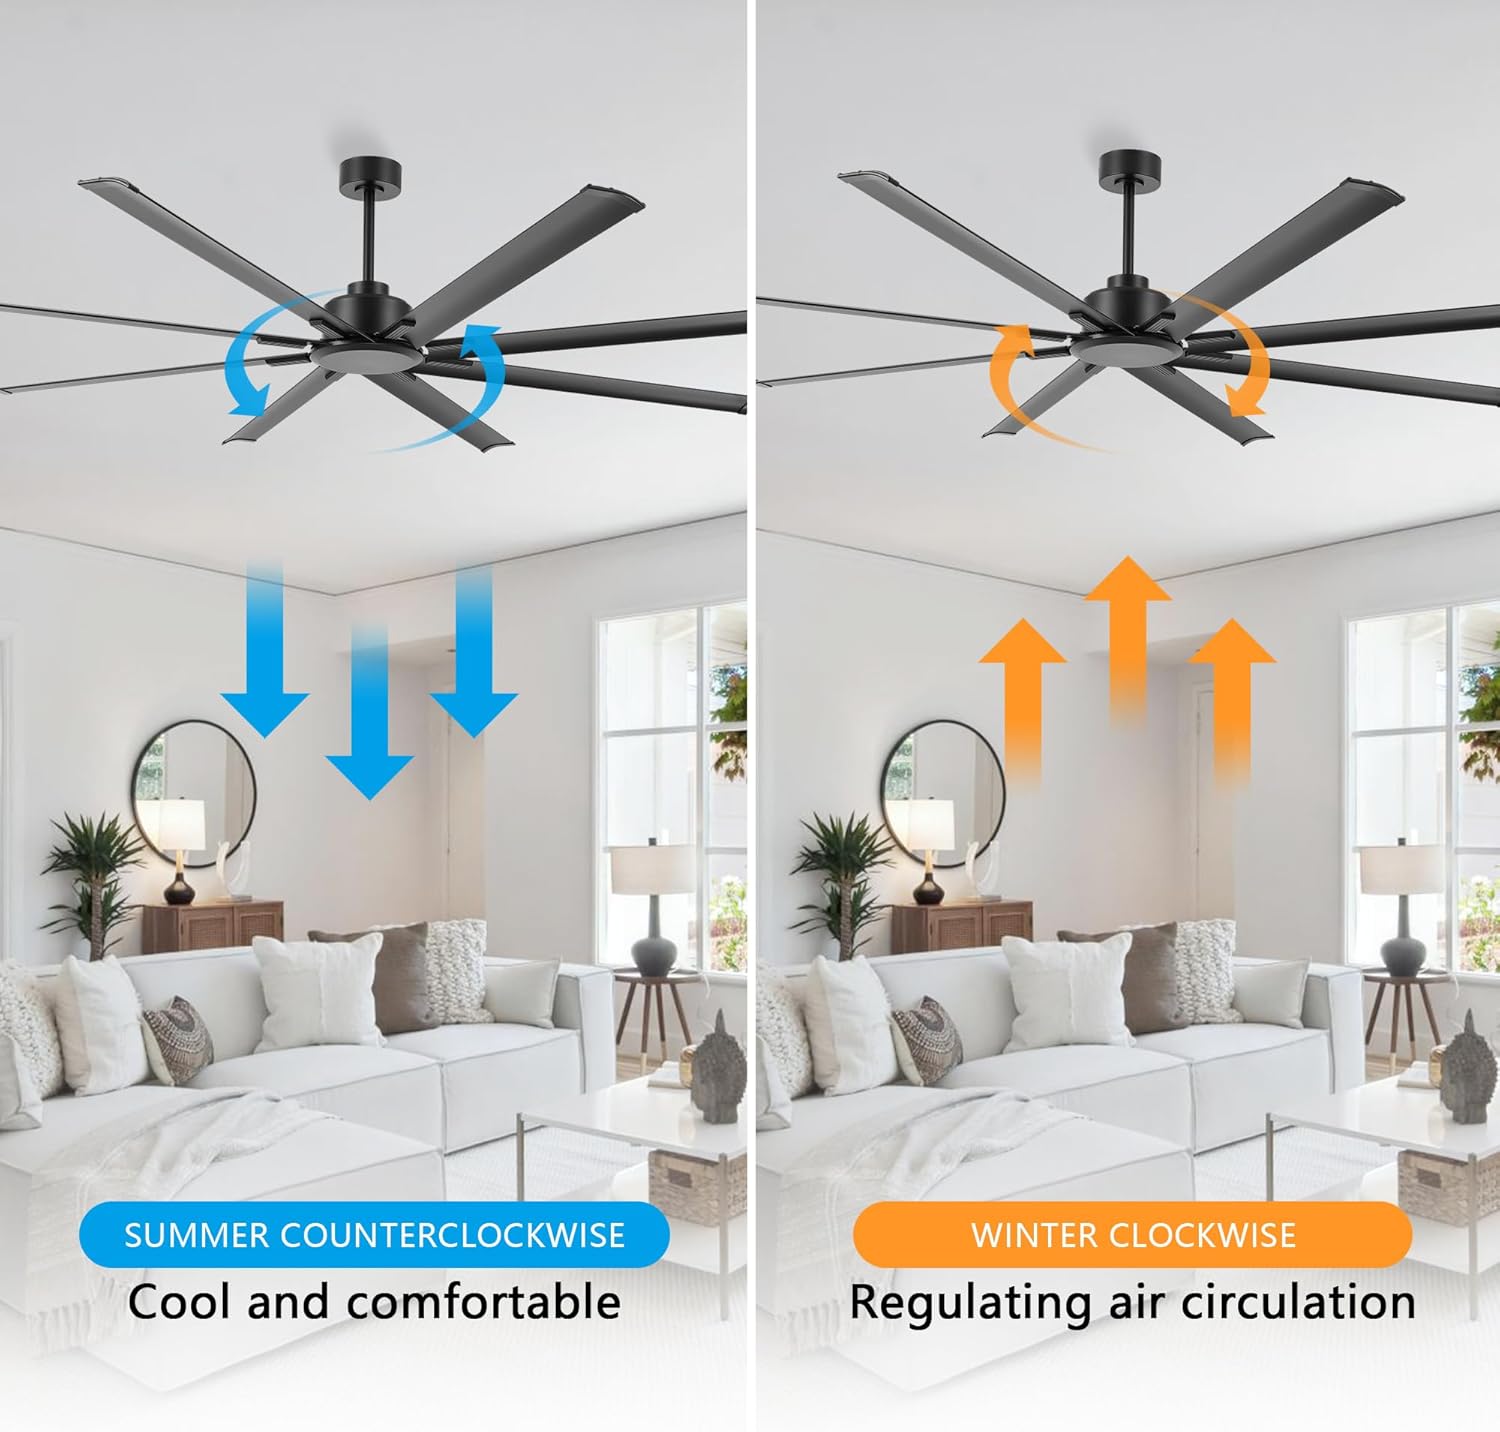
Image: This image illustrates the reversible function of the ceiling fan. On the left, blue arrows indicate counter-clockwise rotation for a cooling downdraft in summer. On the right, orange arrows show clockwise rotation for an updraft to circulate warm air in winter.
- Mod Vară (În sens invers acelor de ceasornic): Press the reverse button to make the blades rotate counter-clockwise, creating a downward airflow that produces a cooling effect.
- Mod de iarnă (în sensul acelor de ceasornic): Press the reverse button again to make the blades rotate clockwise, creating an upward airflow that helps circulate warm air trapped near the ceiling.
4.3 Funcția de cronometru
Use the timer buttons on the remote control to set the fan to operate for a specific duration before automatically turning off.

Image: This graphic highlights the silent operation of the fan, stating sound is less than 35dB, and illustrates the available timer settings: 1 hour, 2 hours, 4 hours, and 8 hours.
- Press the 1H, 2H, 4H, or 8H button to activate the timer. The fan will run for the selected time and then shut off.
- To cancel the timer, press the fan On/Off button or select a different timer setting.
5. Întreținere
Întreținerea regulată asigură performanța optimă și durata de viață a ventilatorului de tavan.
- curatenie: Ștergeți periodic palele ventilatorului și carcasa motorului cu o lavetă moale și drăguță.amp pânză. Nu utilizați agenți de curățare abrazivi sau solvenți.
- Șuruburi de strângere: Check all screws on the fan blades and mounting hardware annually to ensure they are secure.
- Echilibrul lamei: Dacă ventilatorul se clatină, asigurați-vă că toate palele sunt fixate în siguranță și luați în considerare utilizarea unui kit de echilibrare a palelor (nu este inclus), dacă este necesar.
6. Depanare
Dacă întâmpinați probleme cu ventilatorul, consultați următoarele probleme și soluții frecvente:
| Problemă | Cauza posibila | Soluţie |
|---|---|---|
| Ventilatorul nu pornește | Fără alimentare la ventilator | Verificați întrerupătorul de circuit și întrerupătorul de perete. Asigurați-vă că toate conexiunile cablurilor sunt fixate. |
| Telecomanda nu funcționează | Dead batteries or incorrect pairing | Înlocuiți bateriile telecomenzii. Consultați manualul complet pentru instrucțiuni de asociere a telecomenzii. |
| Ventilatorul se clatină excesiv | Loose blades or unbalanced blades | Ensure all blade screws are tight. Check for bent blades. Use a blade balancing kit if needed. |
| Funcționare zgomotoasă | Loose screws or motor issues | Strângeți toate șuruburile. Dacă zgomotul persistă, contactați serviciul de asistență pentru clienți. |
7. Specificații
| Caracteristică | Detaliu |
|---|---|
| Marca | LEDLUX |
| Numărul de model | SYCF9605 |
| Culoare | Negru |
| Tip de montare | Montare pe tavan |
| Numărul de viteze | 6 |
| Voltage | 12 volți (DC) |
| Utilizare în interior/exterior | De interior |
| Metoda de control | Telecomanda |
| Eficienţă | Eficiență ridicată |
| Numărul de lame | 8 |
| Materialul lamei | Aluminiu |
8. Garanție și asistență
LEDLUX stands behind the quality of its products.

Image: A graphic detailing the LEDLUX "Worry-Free Promise," which includes a 3-Year Full Warranty on all parts and a 10-Year Motor Warranty.
- Garanția motorului: The DC motor is covered by a 10-year free replacement warranty.
- Piese de garantie: All other parts of the fan are covered by a full 3-year warranty.
For warranty claims, technical assistance, or missing parts, please contact LEDLUX customer support through the retailer where the product was purchased or visit the official LEDLUX website-ul.