
1. Introducere
Mulțumesc pentru achizițieasing the sainlogic S-M-1 Video Baby Monitor. This device is designed to provide a secure and reliable way to monitor your baby. Featuring a 1080P FHD 5-inch display, two-way audio, night vision, and temperature monitoring, it offers comprehensive surveillance for your peace of mind. Please read this manual thoroughly before use to ensure proper operation and safety.
2. Informații de siguranță
- Pericol de strangulare: Keep all cables out of reach of children (at least 1 meter / 3 feet away). Never place the camera or monitor within reach of the baby's crib or playpen.
- Pericol de sufocare: Acest produs conține piese mici. A nu se lăsa la îndemâna copiilor.
- Sursa de alimentare: Folosiți doar adaptoarele de alimentare furnizate. Utilizarea adaptoarelor neautorizate poate deteriora dispozitivul și anula garanția.
- Apă și umiditate: Do not expose the product to water or moisture. Do not use near bathtubs, sinks, or other wet areas.
- Surse de caldura: Keep the product away from heat sources such as radiators, heat registers, stoves, or other heat-producing appliances.
- Ventilare: Asigurați o ventilație corespunzătoare. Nu blocați nicio deschidere de ventilație.
- Interferență: This product operates on 2.4 GHz FHSS technology. Avoid placing it near other 2.4 GHz devices (e.g., Wi-Fi routers, microwaves) to prevent interference.
- Supravegherea adulților: This product is intended to assist in monitoring your baby and should not replace proper adult supervision.
3. Conținutul pachetului
Please check the package contents. If any items are missing or damaged, contact your retailer.
- Baby Monitor Unit (Parent Unit)
- Baby Camera Unit (Baby Unit)
- Adaptor de alimentare pentru monitor
- Power Adapter for Camera
- Manual de utilizare
- Wall Mount Kit (optional, if included)
4. Produs terminatview
4.1 Unitatea parentală (monitor)
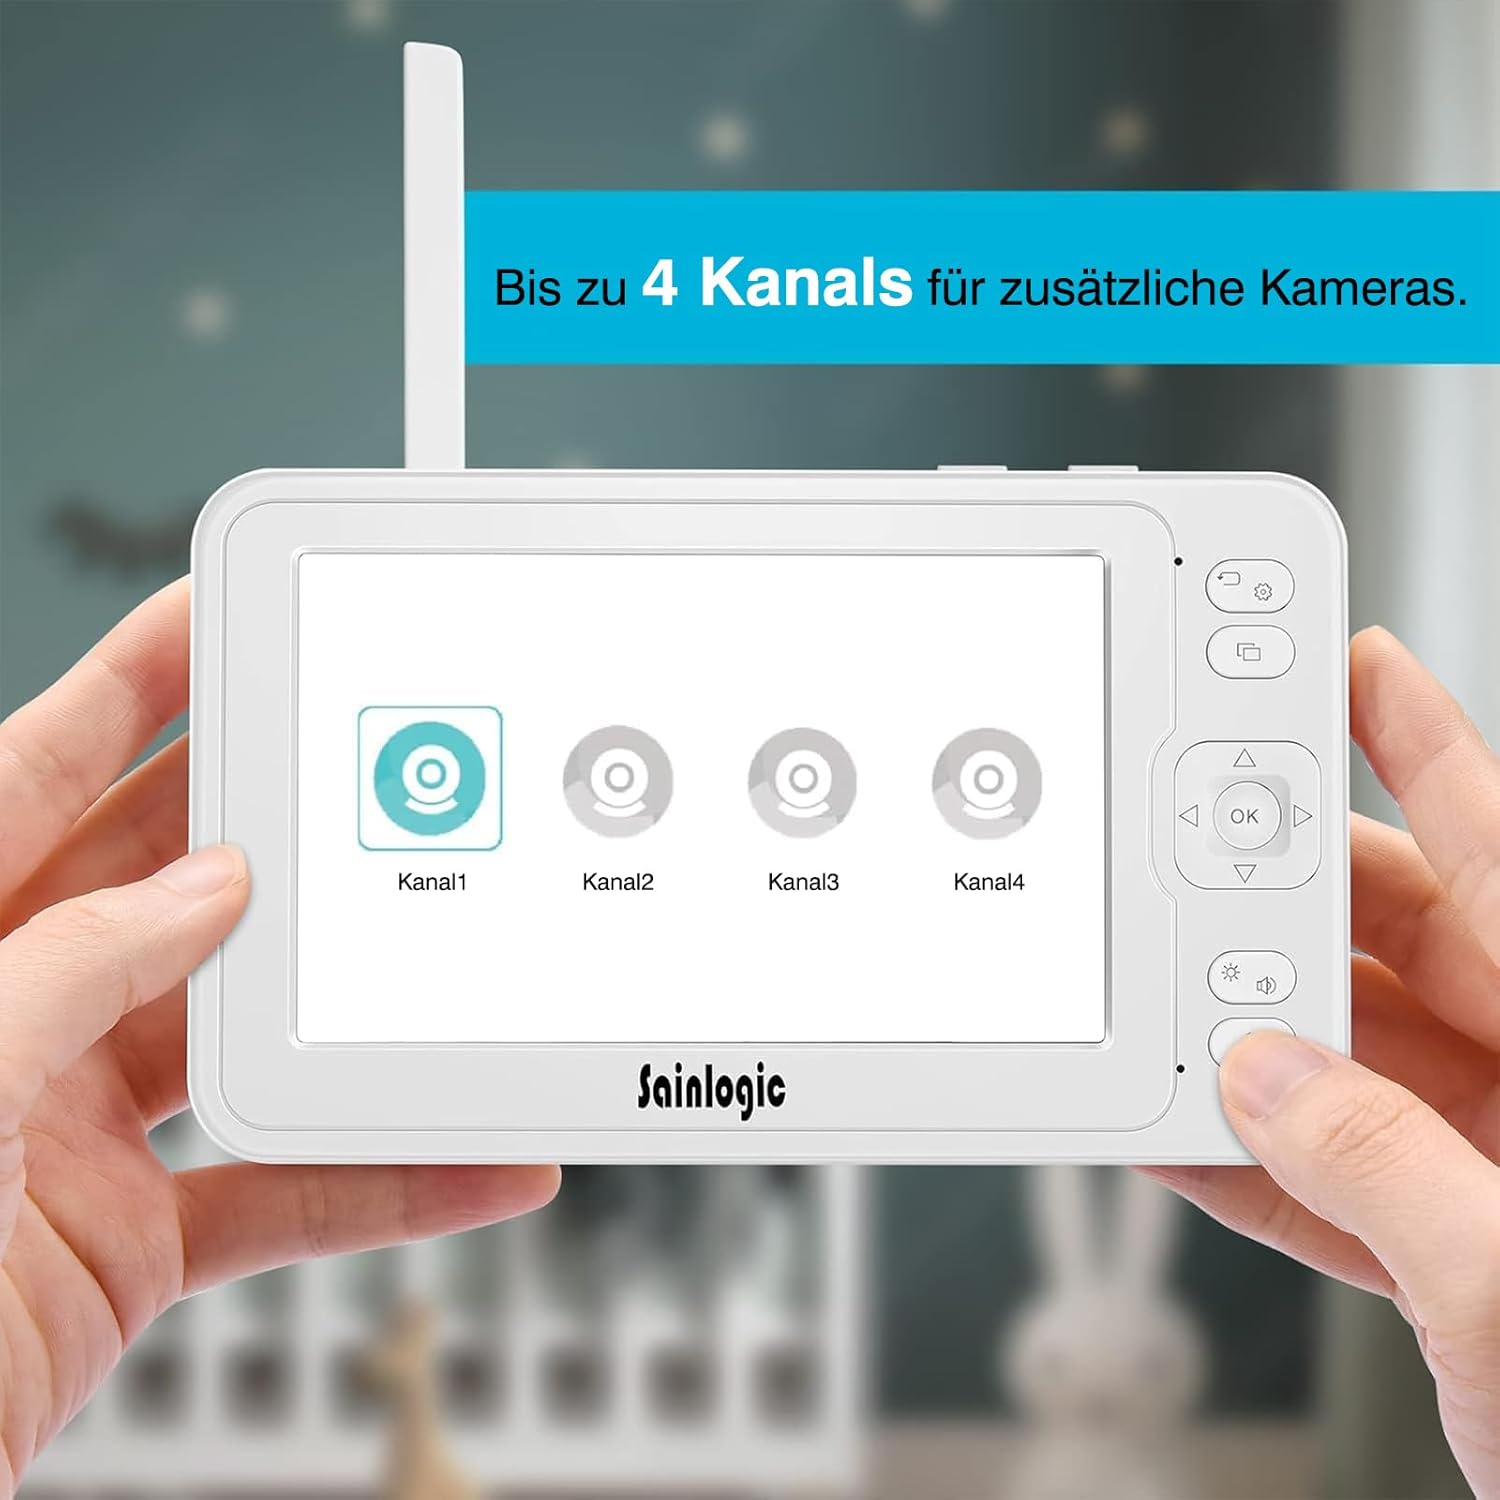
Figura 4.1: The parent unit (monitor) displaying options for connecting up to four camera channels.
- Ecran LCD HD de 5 inci: Afișează fluxul video în direct de la cameră.
- Antenă: Pentru recepția semnalului wireless.
- Buton de alimentare: Turns the monitor ON/OFF.
- Buton de meniu: Accesses monitor settings and features.
- Butoane de navigare (Sus/Jos/Stânga/Dreapta): For menu navigation and camera pan/tilt control.
- Buton OK: Confirmă selecțiile.
- Butonul de vorbire: Activates two-way intercom.
- Butoane de volum: Adjusts monitor speaker volume.
- Microfon: Pentru comunicare bidirecțională.
- Vorbitor: Outputs audio from the baby unit.
- Putere de intrare: Se conectează la adaptorul de alimentare.
- Slot pentru card MicroSD: For video recording storage (MicroSD card not included).
4.2 Unitate pentru bebeluși (camera foto)

Figura 4.2: The baby unit (camera) providing a clear 1080P Full HD view of a baby, demonstrating high-quality image capture.
- Obiectivul camerei: Captează video.
- LED-uri cu infraroșu: Pentru vedere nocturnă.
- Senzor de lumină: Detectează lumina ambientală pentru activarea automată a vederii nocturne.
- Microfon: Picks up sounds from the baby's room.
- Vorbitor: Outputs audio from the parent unit (lullabies, two-way talk).
- Senzor de temperatura: Monitorizează temperatura camerei.
- Buton pereche: For pairing the camera with the monitor.
- Putere de intrare: Se conectează la adaptorul de alimentare.
- Orificiu de montare: Pentru montare pe perete.
5. Configurare
5.1 Alimentarea unității pentru bebeluși (camera foto)
- Așezați unitatea pentru bebeluș într-un loc care oferă vizibilitate clară. view of your baby. Ensure it is at least 1 meter (3 feet) away from the baby's crib or playpen to prevent strangulation hazards from the power cable.
- Connect the small plug of the camera power adapter to the camera's power input.
- Conectați celălalt capăt al adaptorului de alimentare la o priză electrică adecvată.
- The camera will automatically power on.
5.2 Alimentarea unității părinte (monitor)
- Connect the small plug of the monitor power adapter to the monitor's power input.
- Conectați celălalt capăt al adaptorului de alimentare la o priză electrică adecvată.
- Press and hold the Power button on the monitor for a few seconds to turn it on.
- The monitor has a built-in rechargeable battery for portable use. Charge it fully before initial use.
5.3 Pairing the Camera and Monitor
The baby unit and parent unit are pre-paired at the factory. If you lose connection or add additional cameras, follow these steps:
- Ensure both the camera and monitor are powered on.
- Pe monitor, apăsați tasta Meniu buton.
- Navigați la Camera foto or Adăugați o cameră option and select it.
- Choose an available channel (e.g., Camera 1, Camera 2).
- The monitor will display a message indicating it is searching for a camera.
- În 10 secunde, țineți apăsat butonul Pereche button on the back of the baby unit until the monitor displays the video feed.
- Once paired, the video feed will appear on the monitor.

Figura 5.3: The monitor interface illustrating the capability to connect and switch between up to four camera channels for expanded monitoring.
6. Instrucțiuni de utilizare
6.1 Monitorizare de bază
Once the camera and monitor are powered on and paired, the monitor will automatically display the live video feed from the camera. Adjust the volume using the Volum buttons on the side of the monitor.
6.2 Camera Control (Pan/Tilt/Zoom)
- Utilizați Navigare buttons (Up/Down/Left/Right) on the monitor to remotely pan (355° horizontally) and tilt (90° vertically) the camera lens to get the desired view.
- To zoom in/out, press the Zoom button (often integrated with a navigation button or a dedicated button, refer to monitor button layout).
6.3 Interfon bidirecțional
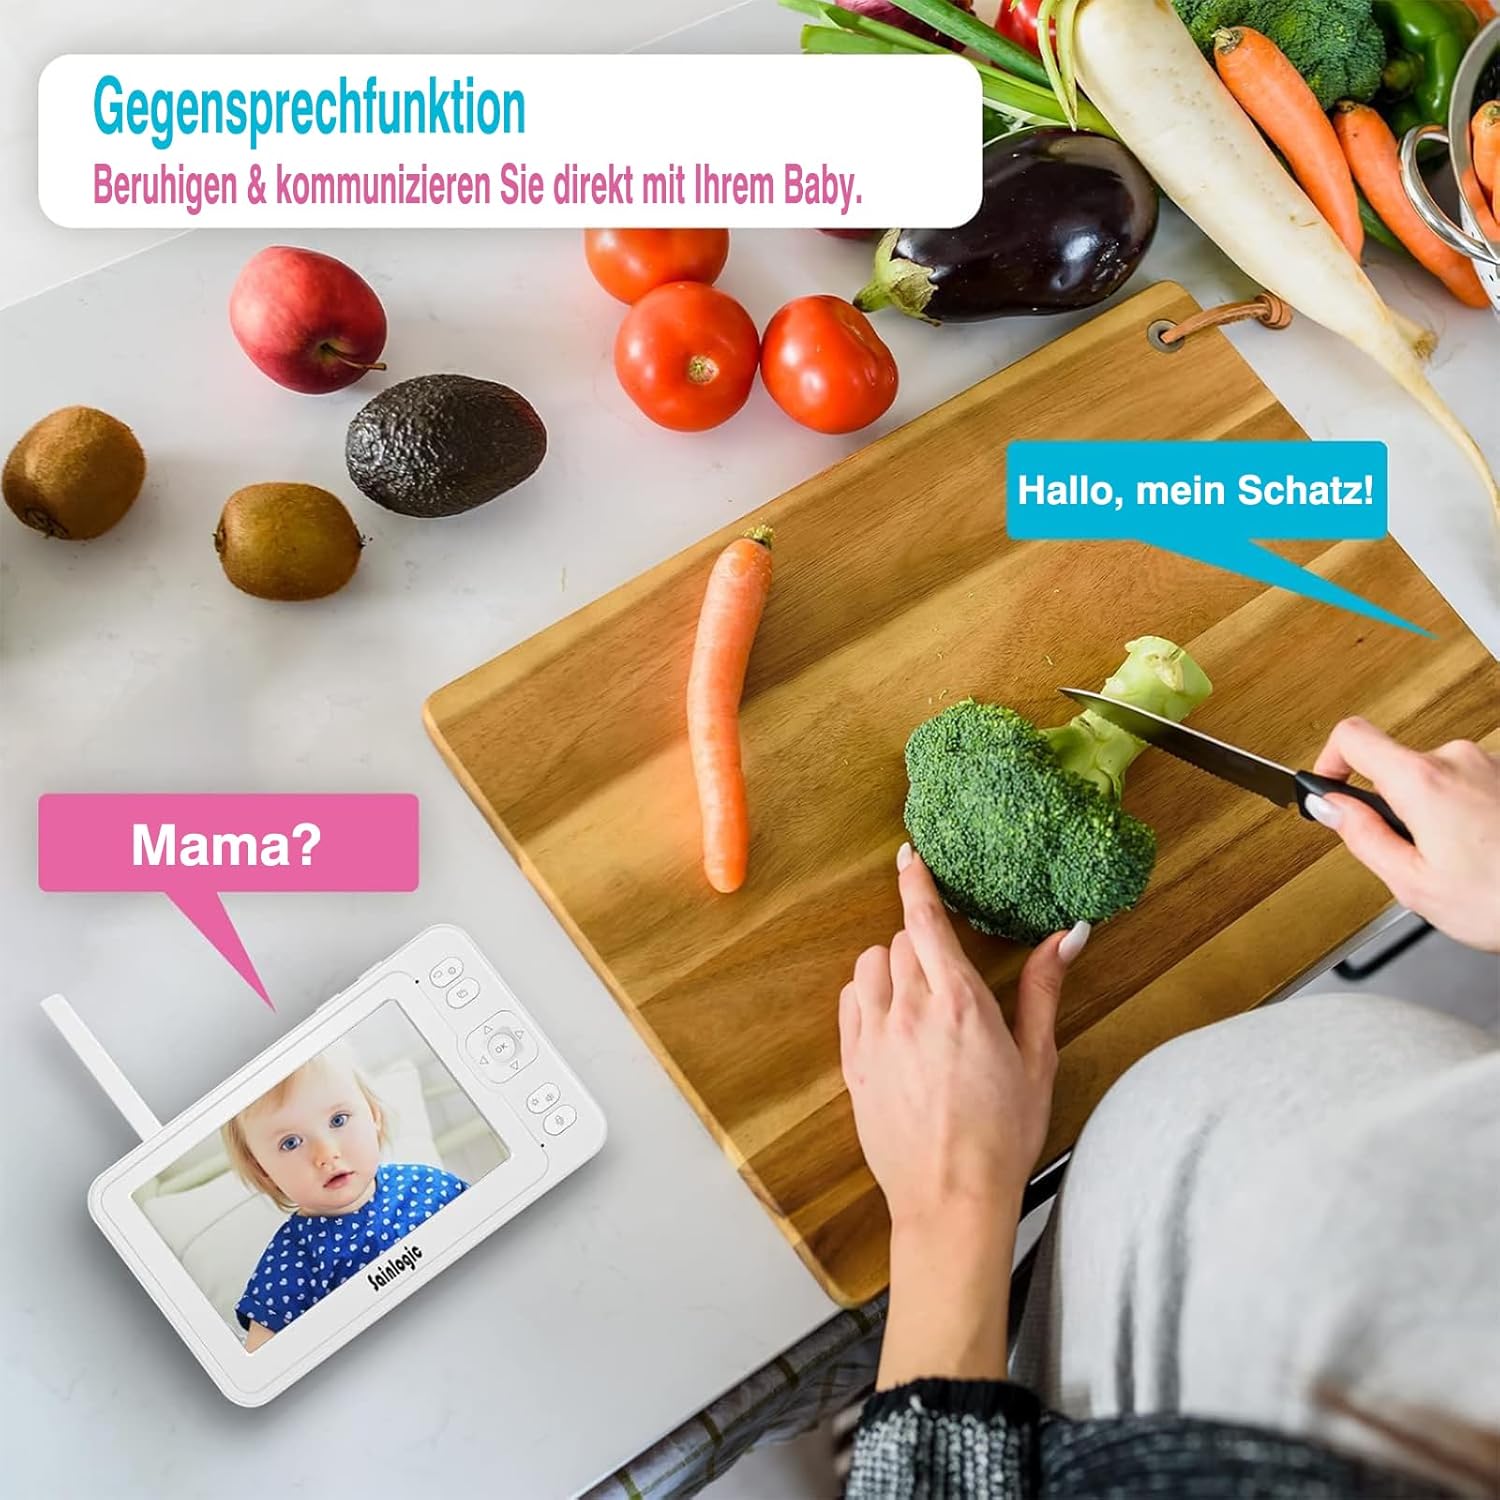
Figura 6.3: Demonstrating the two-way intercom function, allowing a parent to speak to their baby through the monitor.
To speak to your baby, press and hold the Vorbi button on the monitor. Release the button to hear your baby's sounds.
6.4 Funcția VOX (Centrală operată vocal)

Figura 6.4: The monitor displaying a crying baby, indicating the activation of the sound detection alarm via integrated VOX technology and auto-wake feature.
The VOX function automatically activates the monitor screen and sound when it detects noise above a certain level in the baby's room. You can adjust the VOX sensitivity level in the monitor's menu settings.
- Sensibilitate mare: Detects even soft sounds.
- Sensibilitate scăzută: Only activates for louder sounds.
6.5 Cântece de leagăn
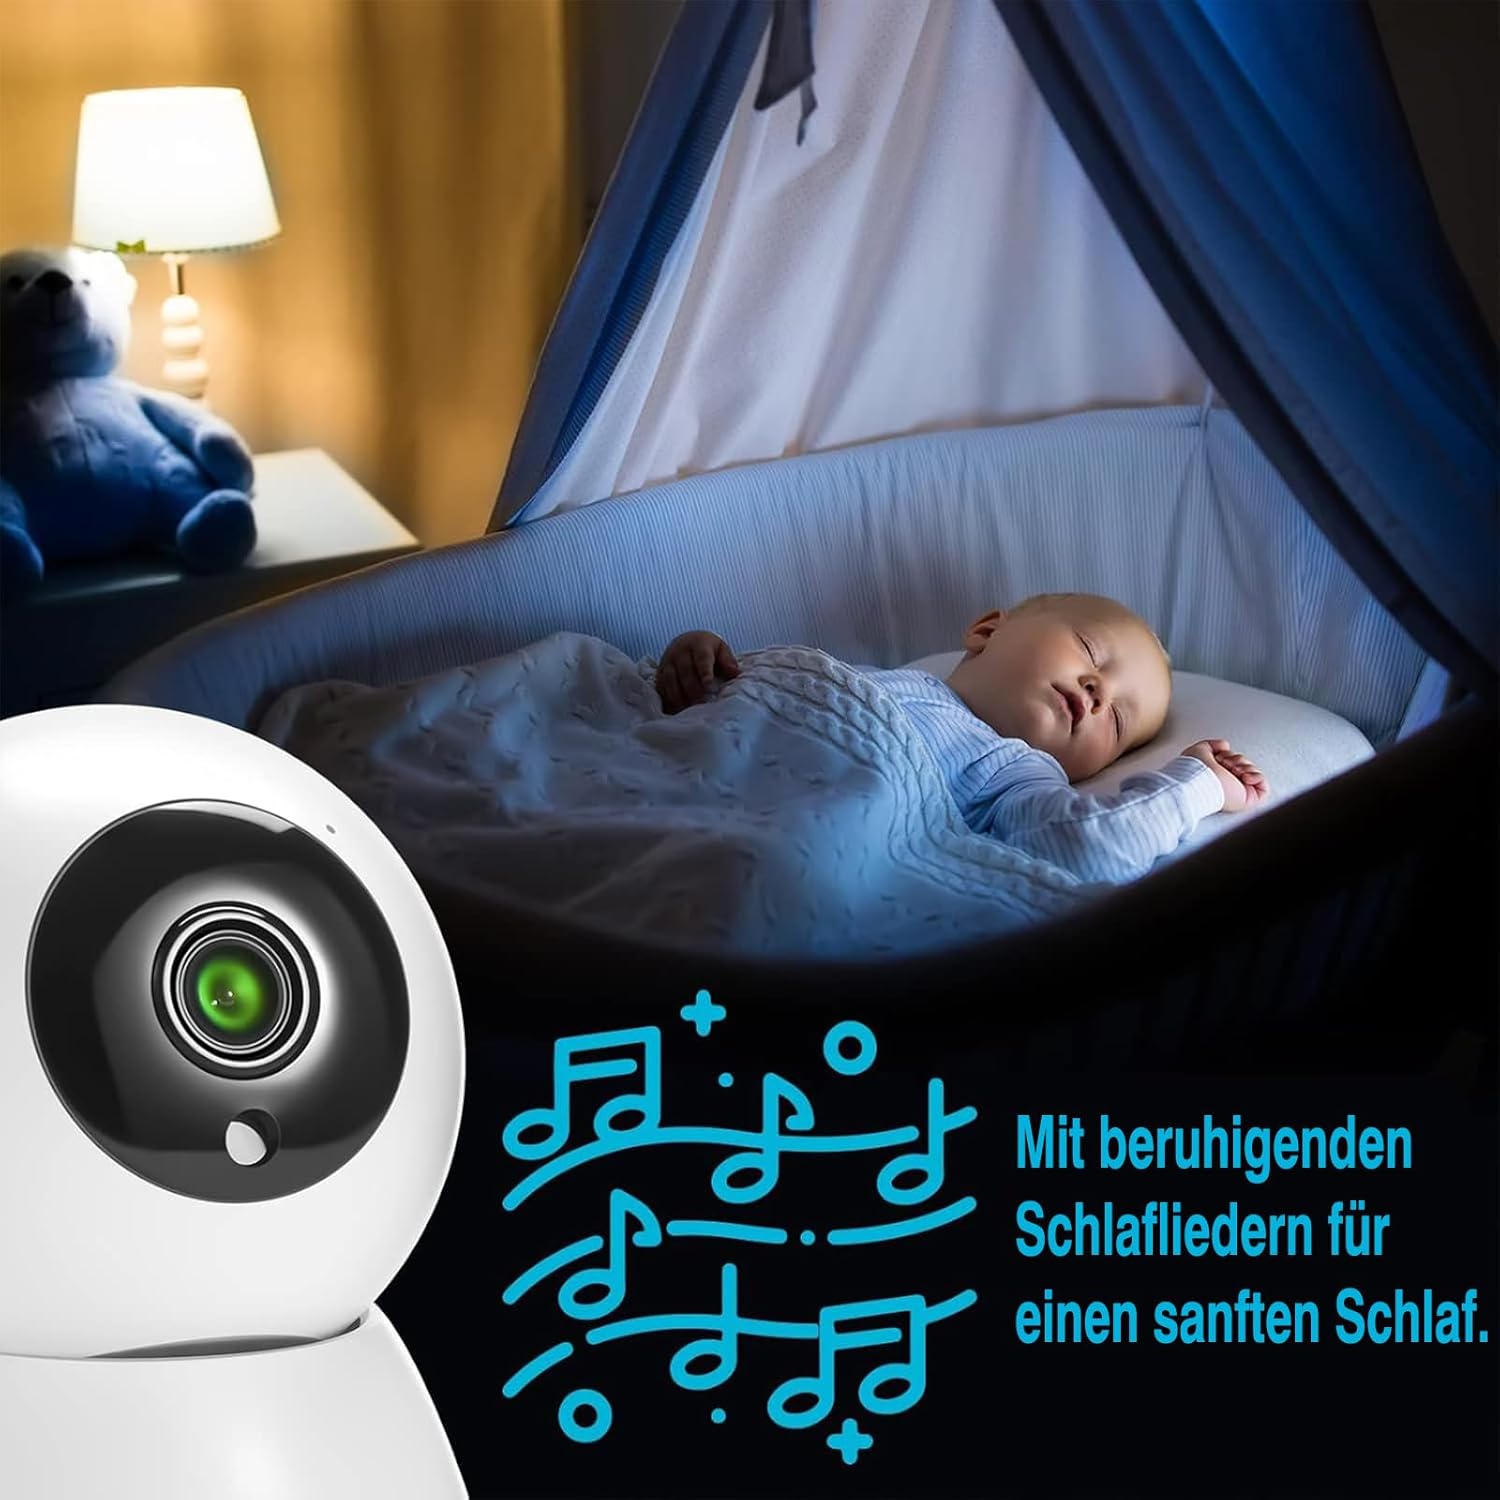
Figura 6.5: A baby sleeping soundly, accompanied by musical notes, illustrating the monitor's lullaby feature for soothing sleep.
The monitor includes 8 soothing lullabies. To play a lullaby, access the menu, navigate to the Cântec de leagăn option, and select your desired tune. You can also set a timer for how long the lullaby plays.
6.6 Monitorizarea temperaturii

Figura 6.6: The baby monitor displaying a baby, with an overlay indicating both temperature and sound alarms, ensuring a safe environment.
The baby unit has a built-in temperature sensor that displays the room temperature on the parent unit. You can set high and low temperature alerts in the menu to be notified if the room becomes too hot or too cold.
6.7 Feeding Reminders
Set up feeding reminders through the monitor's menu. This feature allows you to schedule alerts to help maintain your baby's feeding schedule.
6.8 MicroSD Recording
Insert a MicroSD card (not included) into the designated slot on the monitor to record video footage. Access recording options and playback through the monitor's menu.
6.9 Navigare prin meniu

Figura 6.9: The monitor screen displaying a range of menu icons, including options for cameras, feeding reminders, sound alarms, temperature alarms, lullabies, display settings, recording, playback, system settings, and language.
Apăsați tasta Meniu butonul pentru a accesa meniul principal. Folosește Navigare buttons to scroll through options and the OK button to select. Common menu options include:
- Setările camerei: Add/delete cameras, switch camera views.
- Setări VOX: Adjust sensitivity, enable/disable.
- Setări de alarmă: Temperature alerts, feeding reminders.
- Cântece de leagăn: Select and play melodies.
- Setări de afișare: Brightness, sleep mode.
- Setări de sistem: Time, date, language, factory reset.
7. Întreținere
- curatenie: Clean the monitor and camera with a soft, dry cloth. Do not use cleaning agents or solvents.
- Îngrijirea bateriei: For optimal battery life, avoid fully discharging the monitor's battery frequently. Charge it regularly.
- Depozitare: If storing the device for an extended period, ensure the battery is partially charged and store it in a cool, dry place.
8. Depanare
| Problemă | Cauza posibila | Soluţie |
|---|---|---|
| No picture/sound on monitor. |
|
|
| Picture is blurry or distorted. |
|
|
| VOX not working or too sensitive. |
|
|
| Two-way talk not functioning. |
|
|
9. Specificații
| Numărul de model | SM-1 |
| Marca | sainlogic |
| Dimensiunea ecranului | LCD HD de 5 inci |
| Rezoluție video | 1080P FHD (Recording and Effective Video Resolution) |
| Protocol de conectivitate | FHSS 2.4 GHz (No Wi-Fi required) |
| Intrare de putere | 5 volți, 10 wați |
| Monitorizați bateria | 1 Non-standard battery (rechargeable) |
| Dimensiuni produs (L x l x H) | 16 x 1.5 x 10 cm |
| Greutatea produsului | 830 de grame |
| Tip de montare | Montare pe perete |
| Tipuri de alerte | Audio and Motion, Temperature |
| Cântece de leagăn | 8 built-in melodies |
| Suport pentru mai multe camere | Până la 4 de camere |
| Mediul de utilizare | De interior |
| GTIN/UPC | 734257140072 |
10. Garanție și asistență
For warranty information or technical support, please refer to the warranty card included in your package or visit the official sainlogic webPăstrați bonul fiscal ca dovadă a achiziției.