
1. Introducere
The Xigmatek Aqua V AIR is a high-performance mid-tower PC case designed for gaming enthusiasts. It features a spacious interior, optimized airflow, and tempered glass panels on the front and side to showcase your components. Equipped with seven 120mm ARGB fans, it supports graphics cards up to 410mm in length and is compatible with motherboards featuring hidden connectors for a clean build.
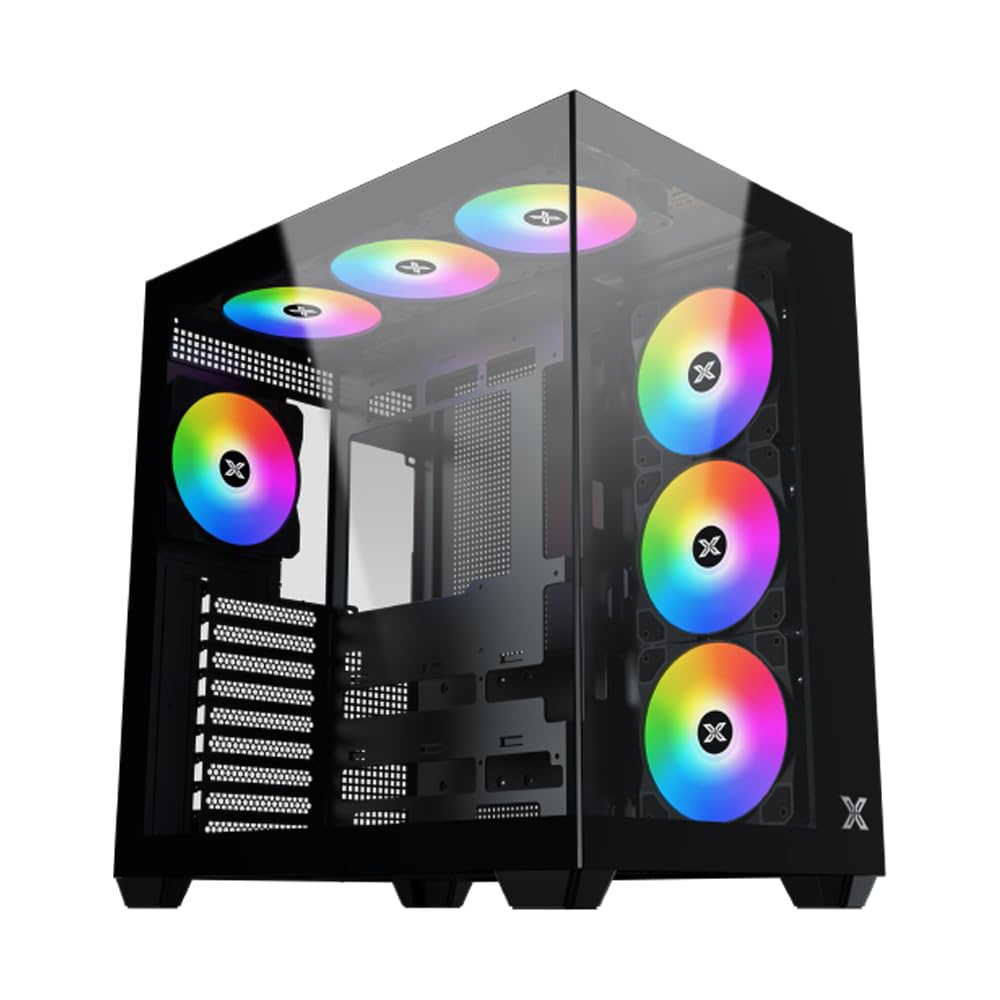
Figura 1: Per total view of the Xigmatek Aqua V AIR PC Case.
2. Caracteristici cheie
- Material: Constructed from high-quality steel for durability and reliability.
- Dimensiuni: 427 x 285 x 455 mm (L x W x H), offering a spacious interior.
- Sistem de racire: Supports up to three 120mm or two 140mm fans for optimal cooling performance.
- Suport radiator: Compatible with 240/280/360mm radiators on the top, bottom, and rear for versatile cooling options.
- Panoul I/O: Features 2x USB 3.0 ports, 1x USB-C port, and HD audio for convenient connectivity.
- Compatibilitate placa de baza: Supports ATX, Micro ATX, and Mini ITX motherboards, including those with hidden connectors.
- Lungimea GPU: Compatibil cu plăci grafice cu o lungime de până la 410 mm.
- Suport pentru stocare: Oferă ample space for multiple storage drives.
3. Specificații
| Caracteristică | Detaliu |
|---|---|
| Marca | Xigmatek |
| Numărul de model | EN45820 |
| Serie | Aqua V AIR BLACK |
| Culoare | Negru |
| Dimensiuni (L x l x H) | 42.7 x 28.5 x 45.5 cm |
| Greutatea produsului | 8.8 kilograme |
| Material | Oțel aliat, sticlă securizată |
| Compatibilitate cu placa de baza | ATX, Micro ATX, Mini ITX |
| Tipul cazului | Turnul Mijlociu |
| Utilizări recomandate | Gaming, High-Performance Computing |
| Porturi USB 3.0 | 2 |
| Porturi USB-C | 1 |
| Metoda de răcire | Water (Liquid Cooling Support) |
| Dimensiunea ventilatorului | 120 Millimeters (Pre-installed ARGB fans) |
| Tip de montare a sursei de alimentare | Montare de jos |
4. Configurare și instalare
This section provides general guidance for installing components into your Xigmatek Aqua V AIR PC case. Always refer to the specific manuals for your motherboard, power supply, and other components for detailed instructions.
4.1 Pregătirea cazului
- Unpack the PC case and remove all packaging materials.
- Carefully remove the tempered glass side panel(s) and front panel (if applicable) to access the interior. Store them safely to prevent damage.
- Identify the accessory box, which typically contains screws, cable ties, and other small parts.
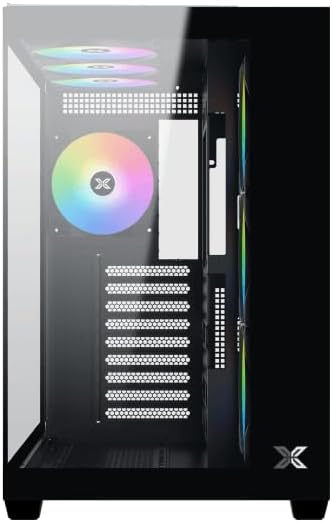
Figura 2: Interior view cu panoul lateral scos.
4.2 Instalarea plăcii de bază
- Instalați ecranul I/O (dacă nu este preinstalat pe placa de bază) în deschiderea din spate a carcasei.
- Align your ATX, Micro ATX, or Mini ITX motherboard with the standoffs inside the case. Ensure all standoffs match the screw holes on your motherboard.
- Secure the motherboard with the appropriate screws provided in the accessory kit.

Figure 3: Motherboard tray and cable management area.
4.3 Instalarea unității de alimentare (PSU).
- Localizați zona de montare a sursei de alimentare în partea din spate a carcasei.
- Slide your PSU into position, ensuring the fan faces downwards (if the case has a bottom vent) or upwards.
- Fixați sursa de alimentare cu șuruburi din spatele carcasei.
4.4 Instalarea unității de stocare
The case supports various storage configurations. Refer to the case diagram for specific drive bay locations.
- Install 2.5" SSDs or 3.5" HDDs into the designated drive bays or mounting brackets.
- Secure the drives with screws.
4.5 Instalarea plăcii grafice (GPU)
- Scoateți capacele sloturilor PCIe necesare din spatele carcasei.
- Introduceți placa grafică în slotul PCIe corespunzător de pe placa de bază.
- Fixați placa grafică cu șuruburi.
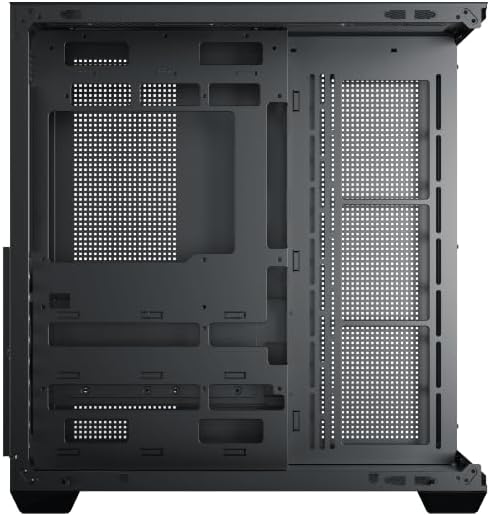
Figure 4: Components installed inside the case.
4.6 Managementul cablurilor
Folosește decupajele pentru rutarea cablurilor și punctele de fixare din spatele tăvii plăcii de bază pentru a gestiona cablurile, îmbunătățind fluxul de aer și aspectul estetic.
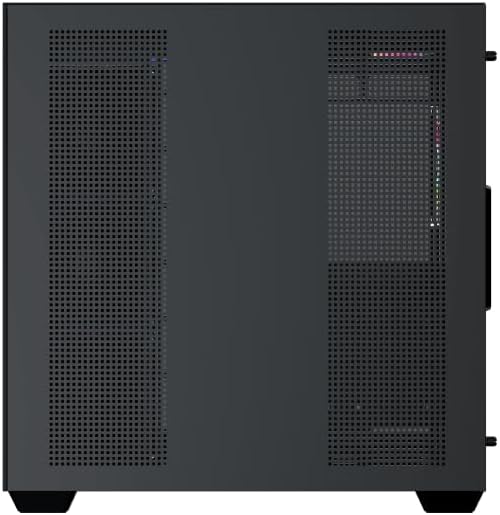
Figure 5: Top panel and I/O ports.
5. Instrucțiuni de utilizare
5.1 Pornire
Once all components are securely installed and connected, close the side panels. Connect your power cable to the PSU and press the power button on the case's front I/O panel.
5.2 Controlul ventilatorului ARGB
The Xigmatek Aqua V AIR comes with pre-installed ARGB fans. These fans can typically be controlled via:
- Software pentru placa de bază: If your motherboard supports ARGB synchronization, connect the fan's ARGB cables to the motherboard's 3-pin 5V ARGB header and use the motherboard's software (e.g., ASUS Aura Sync, MSI Mystic Light, Gigabyte RGB Fusion) to customize lighting effects.
- Controler integrat: If your case includes a built-in ARGB controller, use the dedicated button on the I/O panel to cycle through various lighting modes and colors.
6. Întreținere
Întreținerea regulată ajută la asigurarea performanței optime și a longevității componentelor PC-ului.
6.1 Curățarea filtrului de praf
The Xigmatek Aqua V AIR case is equipped with dust filters to prevent dust buildup. Locate and gently remove the dust filters (typically on the top, front, and bottom). Clean them with compressed air or by rinsing with water. Ensure they are completely dry before reattaching.
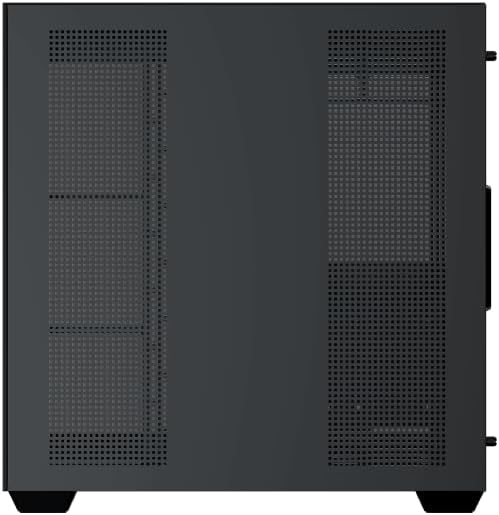
Figure 6: Bottom dust filter.
6.2 Curățare generală
Use a soft, dry cloth to wipe down the exterior of the case. For tempered glass panels, use a glass cleaner and a microfiber cloth to avoid streaks. Avoid using abrasive cleaners or solvents.
7. Depanare
Dacă întâmpinați probleme, luați în considerare următorii pași comuni de depanare:
- Fără putere:
- Ensure the PSU is switched on and properly connected to the wall outlet and motherboard.
- Check all power connections to components (motherboard, CPU, GPU, drives).
- Verificați dacă cablul comutatorului de alimentare de pe panoul frontal este conectat corect la placa de bază.
- Ventilatoarele nu se învârt / RGB nu funcționează:
- Verificați dacă cablurile de alimentare ale ventilatorului sunt conectate corect la placa de bază sau la controlerul ventilatorului.
- Ensure ARGB cables are connected to the correct 3-pin 5V ARGB header (not 4-pin 12V RGB).
- If using a controller, ensure it has power and is functioning correctly.
- Supraîncălzire:
- Ensure all fans are spinning and oriented correctly for optimal airflow (intake/exhaust).
- Curățați filtrele de praf și componentele interne.
- Verify CPU cooler and GPU cooler are properly seated and functioning.
8. Garanție și asistență
The Xigmatek Aqua V AIR PC Case comes with a Garanție de 2 an de la producător. For technical support, warranty claims, or further assistance, please contact Xigmatek customer service or visit their official website-ul.
Vă rugăm să păstrați dovada achiziției în scopul garanției.
