
1. Introducere
This manual provides essential information for the safe and efficient operation of your elejoy 40A MPPT Solar Charge Controller, Model EMD600W. This device is designed to maximize power harvesting from solar panels and efficiently charge various battery types in 12V/24V systems. It features advanced Maximum Power Point Tracking (MPPT) technology, universal battery compatibility, and a robust IP65 waterproof and dustproof design.
Please read this manual thoroughly before installation and operation to ensure proper use and longevity of the product.
2. Informații de siguranță
WARNING: Failure to follow these safety instructions may result in serious injury, death, or damage to the controller or other equipment.
- Siguranta electrica: Always disconnect power from the solar panels and battery before installing or servicing the controller. Use insulated tools.
- Siguranța bateriei: Batteries can produce explosive gases. Ensure adequate ventilation. Avoid sparks and open flames. Wear eye protection.
- Voltage: The solar panel array can produce high voltagFiți extrem de precauți.
- Instalare: Install the controller in a well-ventilated area, away from flammable materials. Ensure all connections are tight and secure.
- Apă și praf: While the controller is IP65 rated, avoid submerging it or exposing it to direct high-pressure water jets.
- Copii: Nu lăsați dispozitivul la îndemâna copiilor.
3. Produs terminatview
The elejoy EMD600W MPPT Solar Charge Controller is designed for robust performance in various environments. It features a durable aluminum casing, an integrated cooling fan, and an intuitive LCD display for monitoring system parameters.

Figure 3.1: elejoy 40A MPPT Solar Charge Controller EMD600W. This image shows the top-down view of the controller, highlighting its heat sink, fan, LCD display, control buttons, and wired connections with a terminal block.
3.1 Afișaj LCD și butoane
The integrated LCD provides real-time data on your solar system's performance. The buttons allow for easy navigation and parameter adjustment.

Figure 3.2: LCD Display and Control Buttons. This image provides a detailed view of the controller's LCD screen, displaying PV voltage, vol. baterietage, charging current, and internal temperature. It also labels the 'SET', 'OK', '+', and '-' buttons for user interaction.
- Buton SET: Intră în modul de setare a parametrilor.
- Buton OK: Confirms selections or exits setting mode.
- + Buton: Crește valorile sau navighează în sus.
- - Buton: Scade valorile sau navighează în jos.
4. Instalare (Configurare)
4.1 Montarea controlerului
Mount the controller vertically on a non-flammable surface, ensuring adequate airflow around the heat sink. Maintain at least 6 inches (15 cm) of clearance above and below the unit for optimal cooling. The IP65 rating allows for outdoor installation, but protection from direct, prolonged exposure to harsh weather is recommended.

Figure 4.1: IP65 All-Terrain Protection. This image shows the elejoy controller being splashed with water, visually confirming its IP65 waterproof and dustproof capabilities, suitable for various outdoor conditions.
4.2 Conexiuni de cablare
Follow the wiring sequence carefully to prevent damage to the controller or system components. Use appropriate wire gauges for your system's current and distance.
- Conectați bateria: Connect the battery cables to the controller's battery terminals (positive to positive, negative to negative). Ensure the battery is connected first to establish the system voltage.
- Conectați panourile solare: Connect the solar panel cables to the controller's PV terminals (positive to positive, negative to negative). Ensure correct polarity.

Figure 4.2: Basic Wiring Diagram. This diagram illustrates the straightforward connection process, showing a solar panel connected to the controller, which then connects to a battery, emphasizing ease of setup.
Nota: The controller requires power from the solar panels to operate. If the controller does not power on after connecting the battery, ensure sufficient light is reaching the solar panels.
5. Funcționare
5.1 Initial Power-Up and Settings
Once the battery and solar panels are connected, the controller will power on and display system information. You may need to configure the battery type and charging parameters.
- Apăsați tasta SET button to enter the parameter setting menu.
- Utilizați + şi - buttons to navigate through options or adjust values.
- Apăsați tasta OK button to confirm a selection or save a setting.
5.2 Compatibilitatea bateriei
The controller supports various battery types, including Lead Acid, Lithium, and LiFePO4. Ensure the correct battery type is selected in the settings for optimal charging and battery longevity.
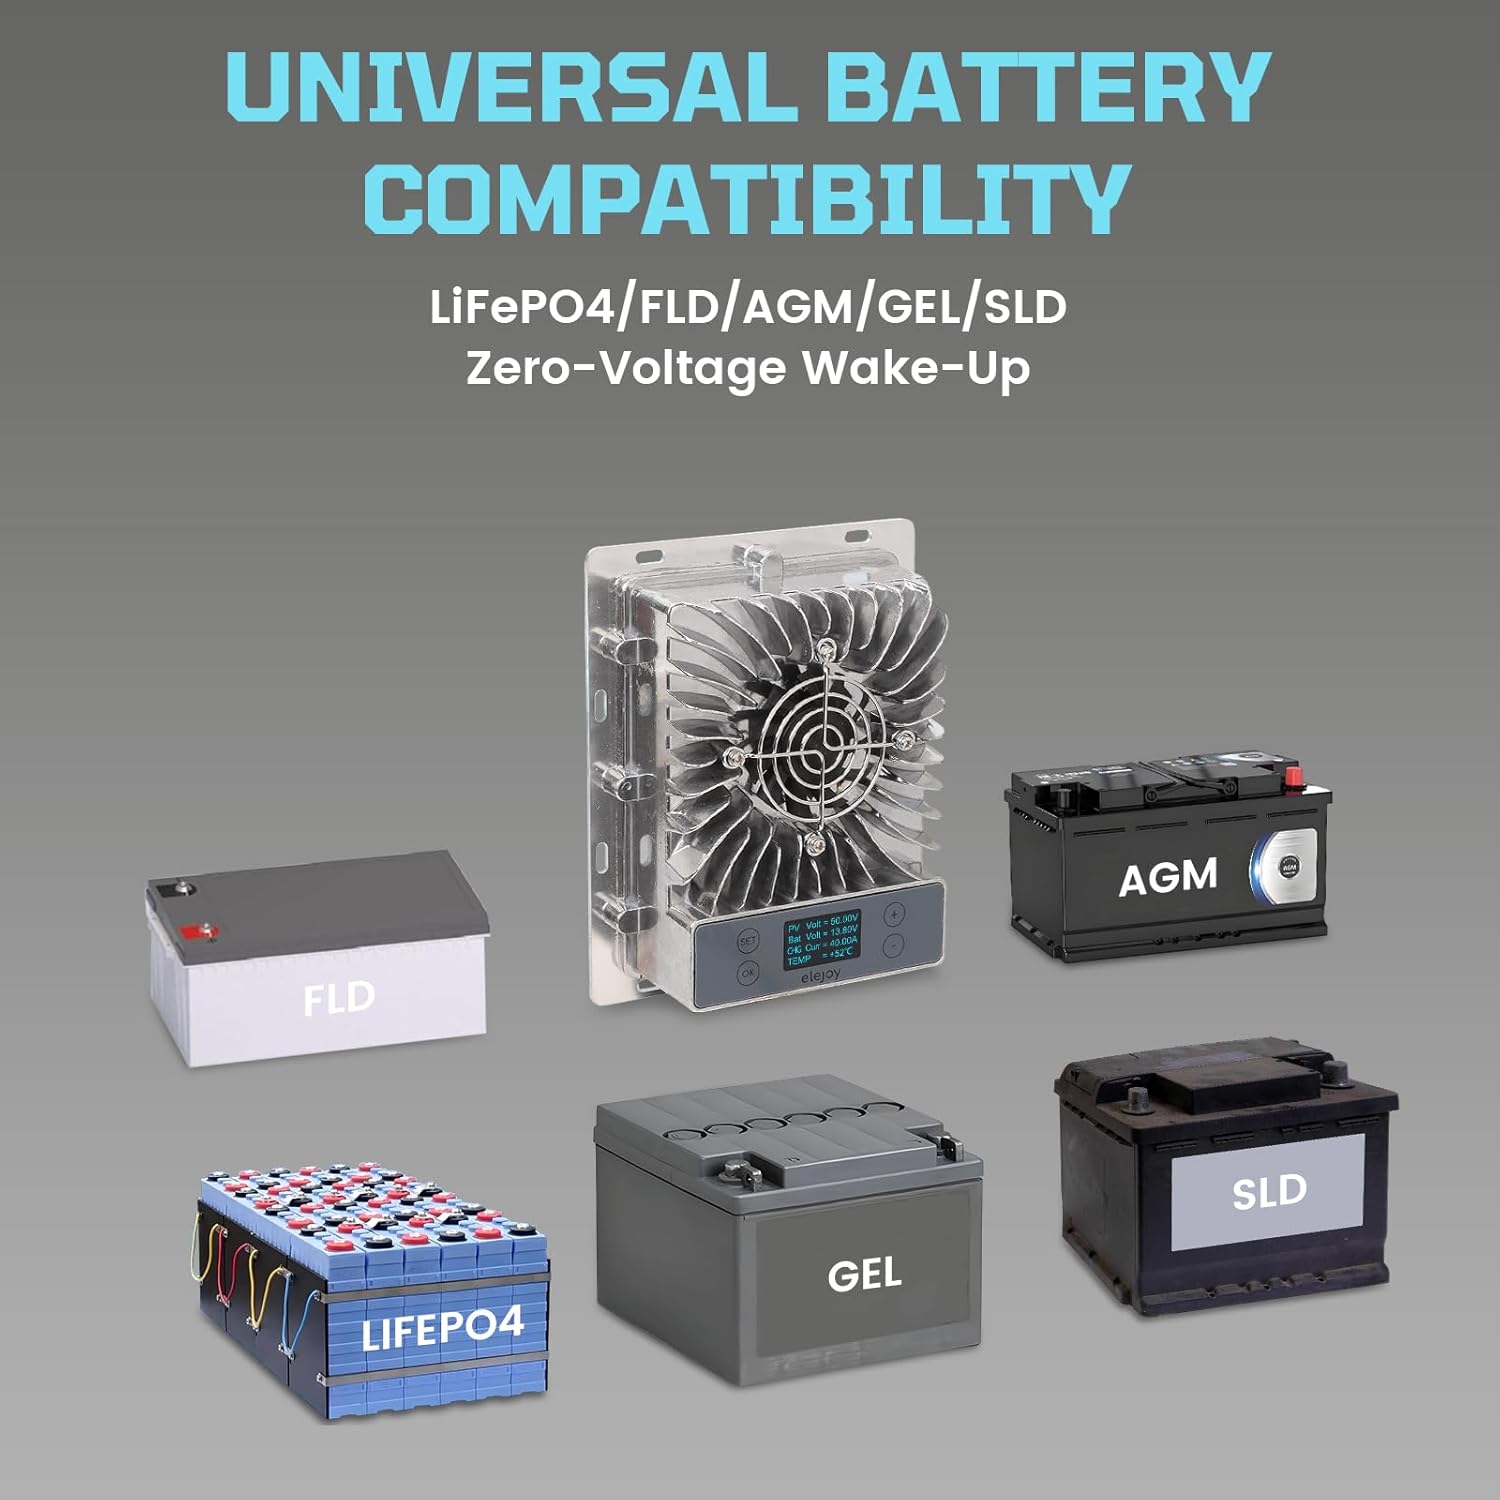
Figure 5.1: Universal Battery Compatibility. This image displays the elejoy controller's ability to work with multiple battery chemistries, including LiFePO4, FLD, AGM, GEL, and SLD, highlighting its versatility.
5.3 Monitorizarea datelor sistemului
The LCD display cycles through various parameters, including:
- PV Voltage (PV Volt)
- Volumul baterieitage (Bat Volt)
- Charging Current (CHG Curr)
- Internal Temperature (TEMP)
6. Întreținere
Întreținerea regulată asigură longevitatea și performanța optimă a regulatorului de încărcare solară.
- curatenie: Periodically clean the controller's exterior with a dry cloth. Ensure the cooling fan and heat sink fins are free from dust and debris to maintain efficient heat dissipation.
- Verificarea conexiunii: Annually inspect all wiring connections for tightness and corrosion. Loose connections can cause overheating and damage.
- Conditii de mediu: The controller is designed for a wide operating temperature range (-40℃ to 65℃). Ensure it is not exposed to temperatures outside this range for prolonged periods.
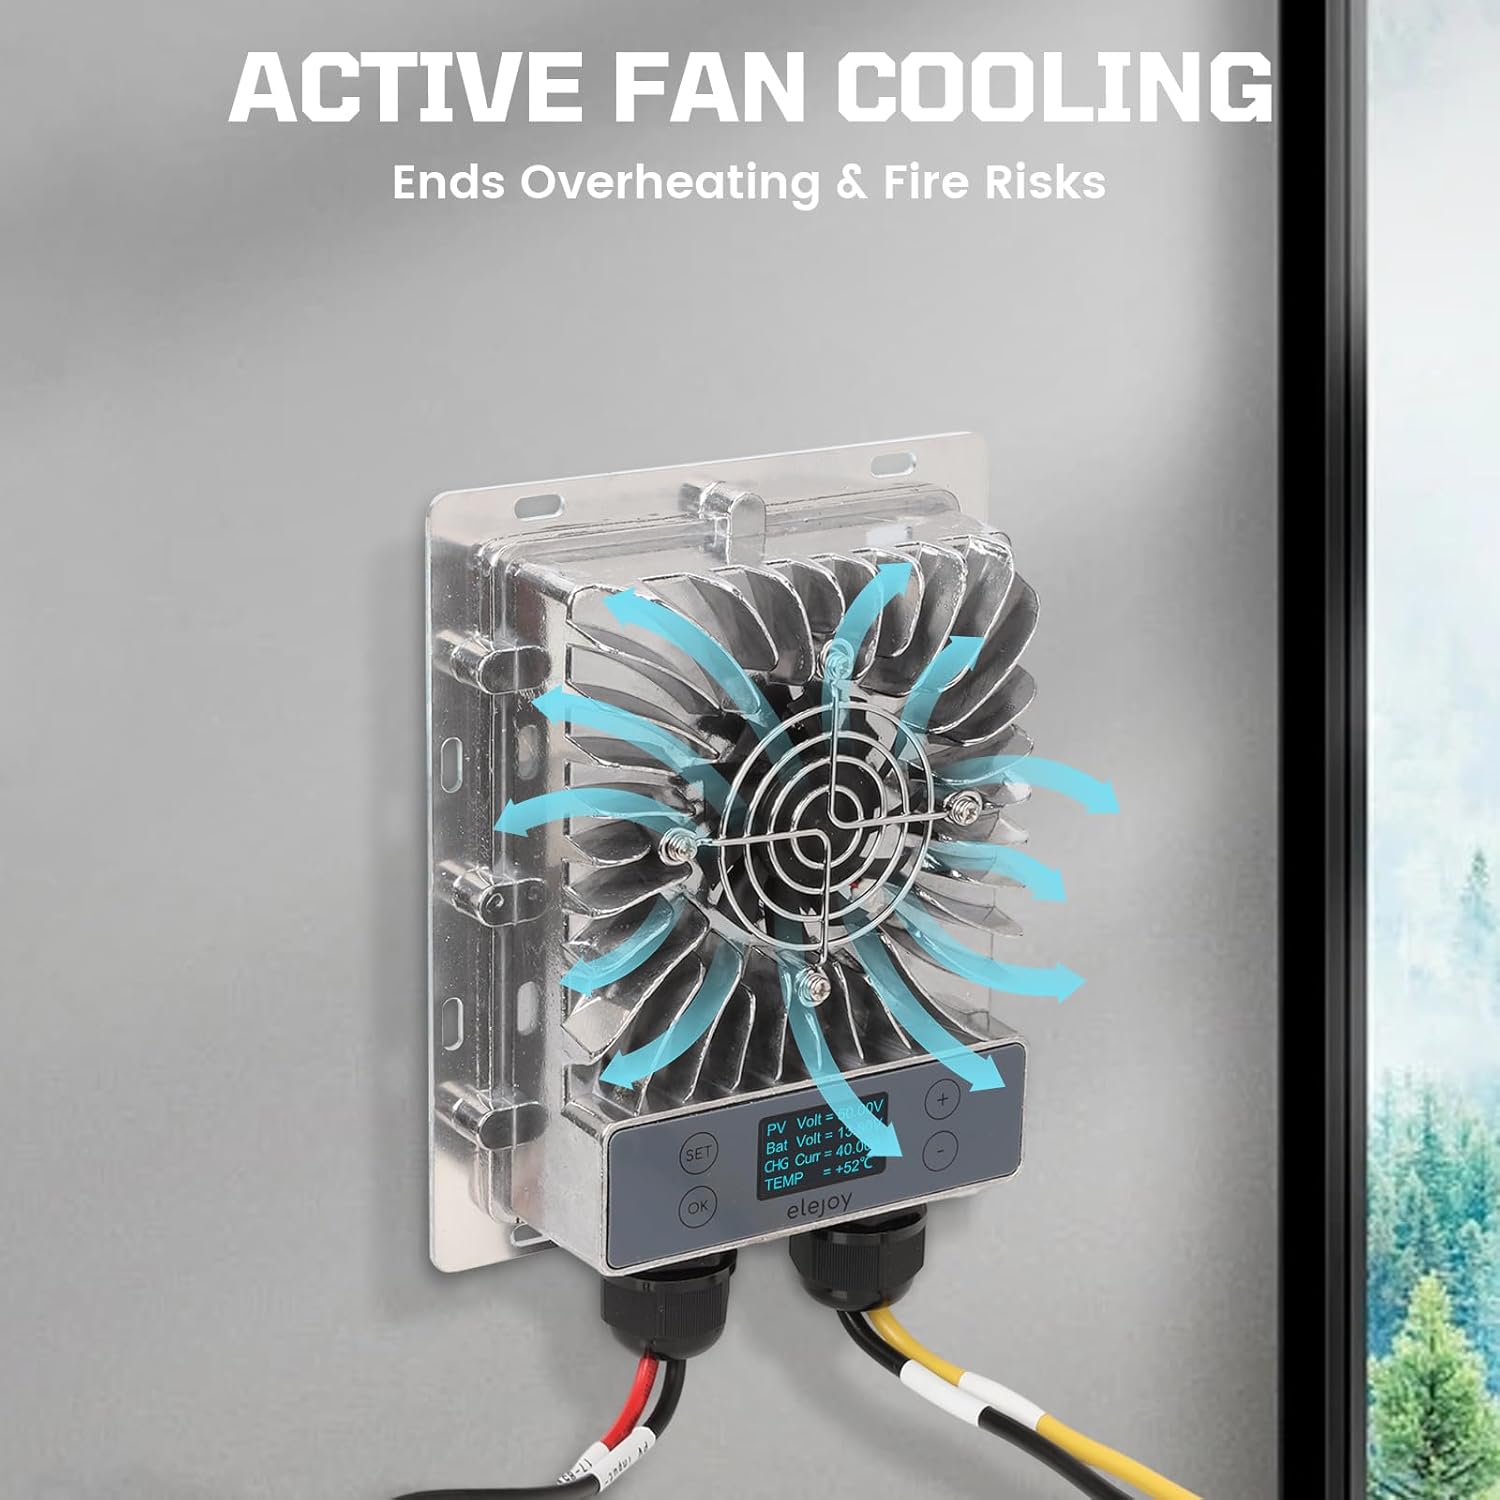
Figure 6.1: Active Fan Cooling. This image illustrates the active fan cooling mechanism of the elejoy controller, showing how air circulates to prevent overheating and ensure stable operation.

Figure 6.2: Extreme Temperature Range. This visual demonstrates the controller's capability to function reliably across a broad spectrum of temperatures, from freezing cold to intense heat, making it suitable for diverse climates.
7. Depanare
This section addresses common issues you might encounter with your elejoy MPPT Solar Charge Controller.
- Controlerul nu pornește:
- Ensure the battery is connected correctly and has sufficient voltage.
- Verify that solar panels are connected and receiving adequate sunlight. The controller requires PV input to fully activate.
- Check all wiring for loose connections or incorrect polarity.
- Curent de încărcare scăzut:
- Confirm solar panels are clean and not shaded.
- Check for proper battery type selection in the controller settings.
- Verificați dacă volumul panoului solartage is within the controller's input range (17-85V DC).
- Supraîncălzire:
- Ensure the controller is mounted in a well-ventilated area with sufficient clearance for airflow.
- Clean any dust or debris from the cooling fan and heat sink.
- Verificați dacă temperatura ambiantă se încadrează în intervalul de funcționare specificat.
8. Specificații
The following table details the technical specifications of the elejoy 40A MPPT Solar Charge Controller EMD600W.
| Caracteristică | Caietul de sarcini |
|---|---|
| Numărul de model | EMD600W |
| Putere maximă de intrare | 600W |
| Vol. Maxim de intraretage | 84 volți |
| Curent de ieșire | 40 Amp |
| Ieșire Voltage Gama | 10-30V DC (Auto-detects 12V/24V systems) |
| Eficiența urmăririi | 99.5% |
| Compatibilitatea bateriei | Lead Acid, Lithium, LiFePO4 (FLD, AGM, GEL, SLD) |
| Tip de afișare | LCD |
| Evaluare de protecție | IP65 Impermeabil/rezistent la praf |
| Temperatura de operare | -40 ℃ până la 65 ℃ (de la -40 ℉ la 149 ℉) |
| Dimensiuni (L x l x H) | 6.77 x 5.43 x 1.85 inchi (17.2 x 13.8 x 4.7 cm) |
| Greutatea articolului | 2.7 lire (1.22 kg) |
| Material | Aluminiu |
9. Garanție și asistență
For warranty information, please refer to the documentation provided at the time of purchase or contact your retailer. elejoy is committed to providing quality products and customer support.
If you encounter any issues or have questions regarding your elejoy 40A MPPT Solar Charge Controller, please contact elejoy customer support through your purchase platform or the official elejoy website pentru asistență.