
1. Introducere
This manual provides detailed instructions for the setup, operation, and maintenance of your dockteck USB 3.0 to SATA Dual Bay Hard Drive Docking Station. Please read this manual thoroughly before using the device to ensure proper functionality and to prevent data loss.

Image: The dockteck Dual Bay Hard Drive Docking Station, a device designed for external hard drive access and cloning.
2. Conținutul pachetului
Verificați dacă toate articolele sunt prezente în colet:
- 1 x dockteck HDD Docking Station
- 1 x 12V/3A Power Adapter (cable length: 4.9ft)
- 1 x USB 3.0 Data Cable (cable length: 3.3ft)
- 1 x Manual de instrucțiuni (acest document)
3. Specificații
| Interfață hardware | USB 3.0 |
| Marca | dockteck |
| Dimensiunile produsului | 5.47 cm L x 4.33 cm l x 2.6 cm Î |
| Platformă hardware | Windows 7, 8, 10, Mac OS X, Linux |
| Capacitate de stocare a memoriei | Până la 20 TB |
| Dispozitive compatibile | Desktop, PC (2.5''/3.5'' SATA SSDs/HDDs) |
| Factor de formă a hard diskului | 2.5 inci, 3.5 inci |
| Supported Devices Quantity | 2 |
| Rata de transfer de date | 5 gigabiți pe secundă (USB 3.0) |
| Material carcasă | Acrilonitril Butadien Stiren (ABS) |
| Greutatea articolului | 0.5 lire sterline |
| Numărul de model | DH0001 |

Image: The docking station showing its dimensions and compatibility with Windows, Mac OS, and Linux operating systems.
4. Configurare
4.1 Instalarea hard disk-urilor
- Asigurați-vă că stația de andocare este oprită și deconectată de la computer.
- Gently open the dustproof socket cover.
- Insert your 2.5-inch or 3.5-inch SATA HDD/SSD into the appropriate bay (Bay A for Source, Bay B for Target during cloning). Ensure the drive is firmly seated.

Image: Illustration of 2.5-inch and 3.5-inch SATA hard drives being inserted into the dual bays of the docking station, demonstrating versatile compatibility.
4.2 Connecting to Power and Computer
- Connect the 12V/3A power adapter to the DC 12V port on the docking station and then to a power outlet.
- Connect the USB 3.0 data cable to the USB 3.0 port on the docking station and the other end to an available USB port on your computer.
- Press the 'ON/OFF' button to power on the docking station. The blue LED indicators will light up.

Image: Step-by-step guide showing how to connect the power cable and USB 3.0 data cable to the docking station for read/write functionality.
5. Instrucțiuni de utilizare
5.1 Read and Write Function
Once connected to your computer and powered on, the installed hard drives will be recognized as external storage devices. You can access, transfer, and manage fileca și cu orice altă unitate externă.
- The blue LED indicators will flash when the hard disk is being read from or written to.
- For optimal performance, connect to a USB 3.0 port on your computer.

Image: Visual representation of data transfer speeds, highlighting 5Gbps with USB 3.0 compared to 480Mbps with USB 2.0.
5.2 Funcția de clonare offline
The docking station supports offline cloning, allowing you to duplicate a source drive to a target drive without a computer connection. Important: The target drive's capacity must be equal to or larger than the source drive's capacity. All data on the target drive will be overwritten.
- Insert the source drive into Bay A and the target drive into Bay B.
- Ensure the docking station is powered on but nu connected to a computer via USB.
- Press and hold the 'Clone' button for 3 seconds until the 25% LED indicator starts flashing.
- Release the 'Clone' button, then quickly press it again to confirm and start the cloning process.
- Indicatorii LED (25%, 50%, 75%, 100%) se vor aprinde secvențial pentru a arăta progresul clonării.
- Once all LEDs are solid blue, the cloning process is complete.
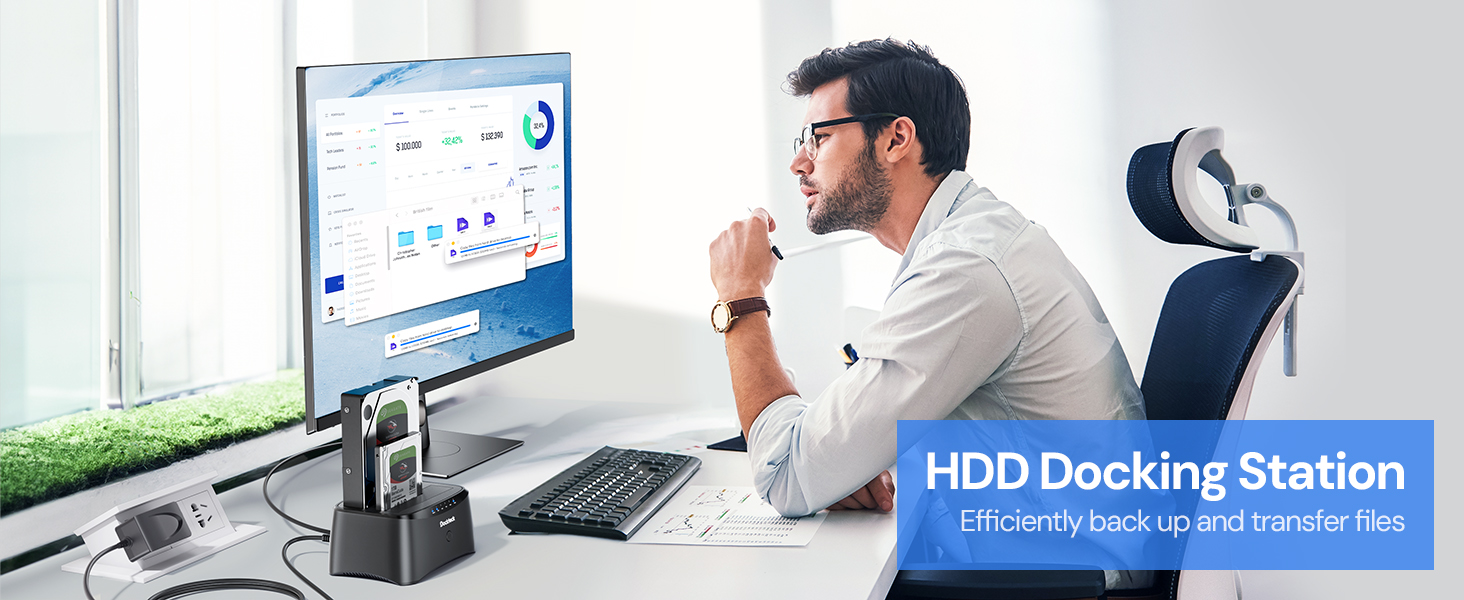
Image: Detailed steps for initiating and monitoring the offline cloning process, showing the source (A) and target (B) drives and the progress LEDs.
Warning: Back up all data on both source and target disks before cloning to prevent accidental data loss.
Video: An official product video demonstrating the setup and basic operation of the Hard Drive Docking Station.
6. Întreținere
- Capac rezistent la praf: The docking station features a unique dust-proof design cover plate. Keep the covers closed when not in use to protect the SATA connectors from dust and debris.
- curatenie: Use a soft, dry cloth to clean the exterior of the docking station. Do not use liquid cleaners or solvents.
- Tampoane antiderapante: The silicone anti-skid pads on the bottom ensure stability during operation.
- Modul Auto Sleep: The device automatically enters sleep mode after 3 minutes of inactivity to conserve energy and extend drive lifespan.

Imagine: Prim-plan views of the docking station highlighting its dustproof socket cover, LED indicators, included power adapter, and anti-slip pads.
7. Depanare
- Issue: Hard drive not detected by computer.
- Ensure the docking station is powered on and the USB cable is securely connected to both the docking station and the computer.
- Încercați să vă conectați la un alt port USB de pe computer.
- Verify the hard drive is properly seated in the bay.
- For new drives, they may need to be initialized and formatted in Disk Management (Windows) or Disk Utility (Mac OS) before they appear.
- Issue: Offline cloning fails or does not start.
- Ensure the docking station is nu connected to a computer via USB during the cloning process.
- Confirm that the target drive (Bay B) has a capacity equal to or greater than the source drive (Bay A).
- Press and hold the 'Clone' button for 3 seconds until the 25% LED flashes, then release and press again quickly to confirm.
- If the process still doesn't start, try using different drives to rule out drive issues.
- Problemă: viteze de transfer reduse.
- Asigurați-vă că sunteți conectat la un port USB 3.0 al computerului. Porturile USB 2.0 vor duce la viteze semnificativ mai mici.
- The actual transfer speed can be affected by the performance of the hard drive itself.
8. Informații despre garanție
The dockteck USB 3.0 to SATA Dual Bay Hard Drive Docking Station comes with a 1 ani garanție de la data achiziției. Această garanție acoperă defectele de fabricație și defecțiunile în condiții normale de utilizare. Nu acoperă daunele cauzate de utilizarea necorespunzătoare, accidente, modificări neautorizate sau dezastre naturale.
9. Asistență pentru clienți
If you encounter any issues or have questions regarding your dockteck product, please contact our customer support team. Refer to the contact information provided in your product packaging or visit the official dockteck website pentru asistență.
For further information and support, you may visit the dockteck Store on Amazon.