
1. Introducere
This manual provides detailed instructions for the installation, operation, and maintenance of your ELUSH 100A MPPT Solar Charge Controller. This advanced controller is designed to efficiently manage power from your solar panels to your battery bank, ensuring optimal charging and system protection. It automatically recognizes 12V, 24V, 36V, and 48V systems and features dual USB 5V charging ports.
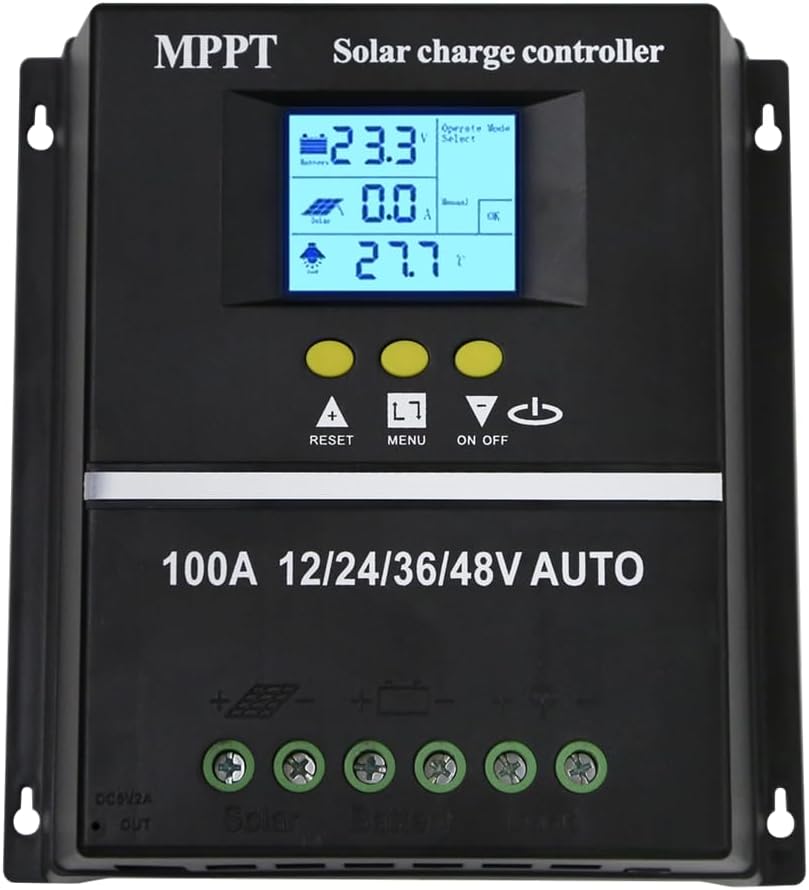
Figura 1.1: Față view of the ELUSH 100A MPPT Solar Charge Controller.
2. Instrucțiuni de siguranță
Please read all instructions carefully before installation and operation. Failure to follow these instructions may result in damage to the unit, personal injury, or property damage.
- Ensure all connections are secure and correct before powering on the system.
- Nu dezasamblați și nu încercați să reparați singur controlerul. Contactați personal calificat pentru service.
- Instalați controlerul într-o zonă bine ventilată, departe de materiale inflamabile și de lumina directă a soarelui.
- The controller provides comprehensive voltage protection, including safeguards against battery over-voltage, over-current, power failure, overcharge, deep discharge, reverse connection, and overheating.
- Device Startup Reminder: When connecting the equipment, first connect the rechargeable battery and ensure it has power. After successful startup, then connect the solar panel. This sequence ensures proper operation.
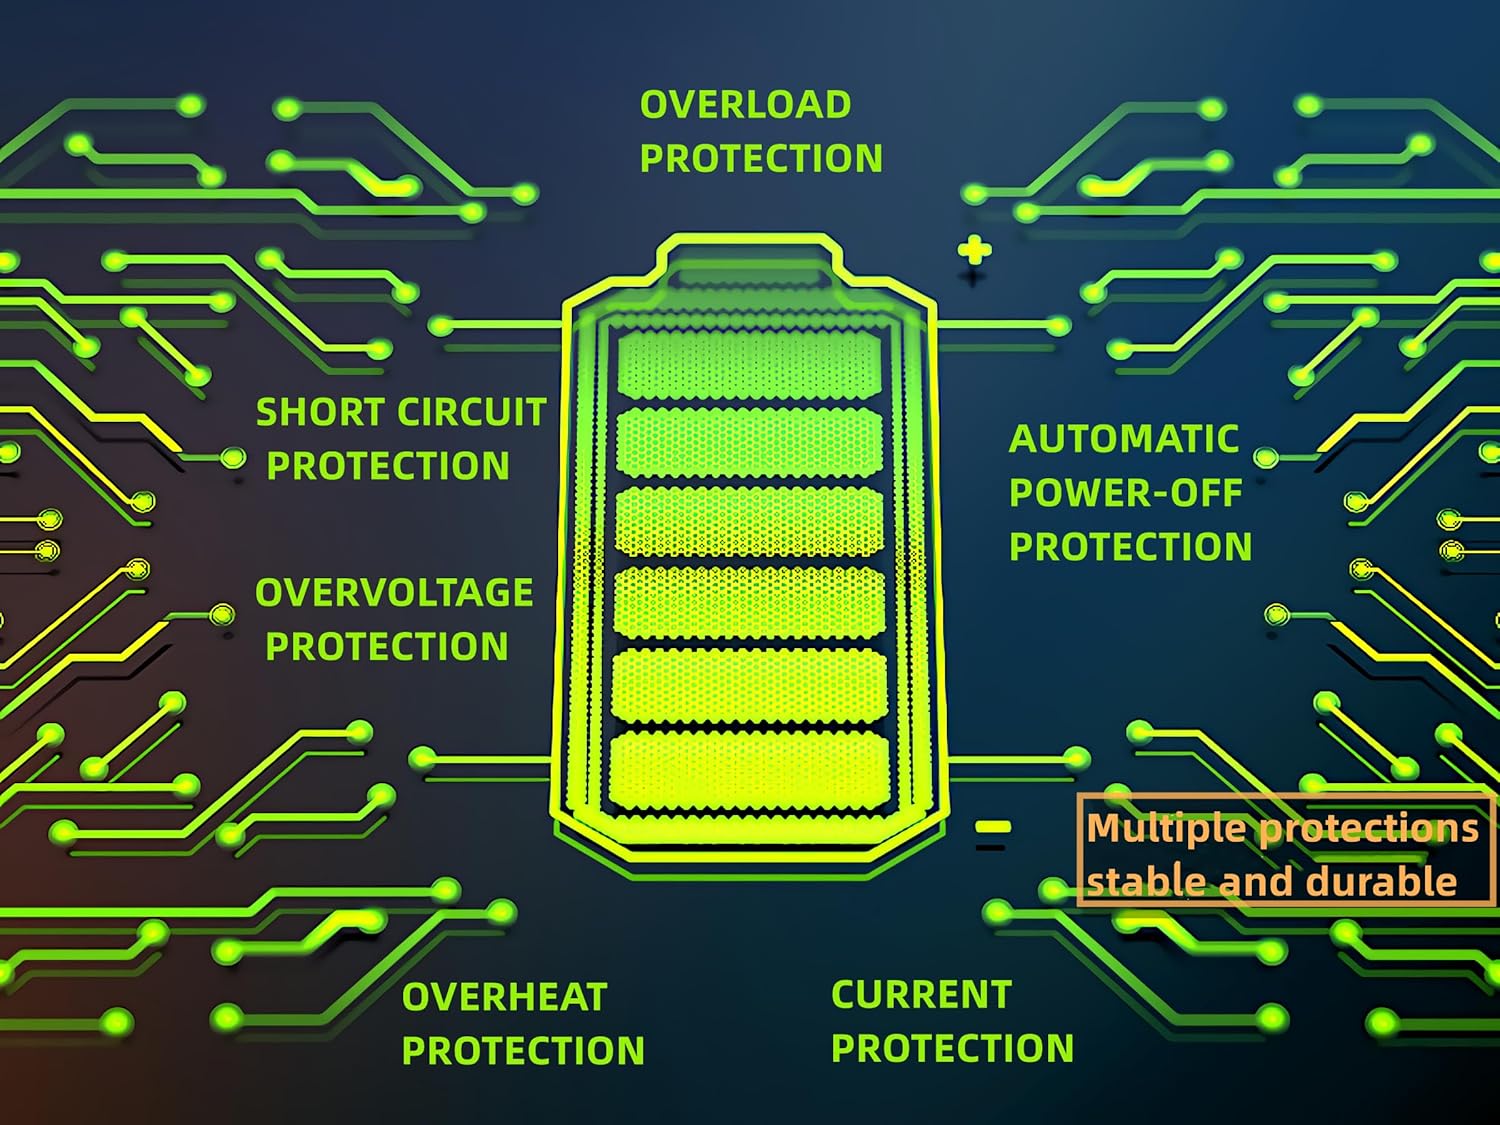
Figure 2.1: Built-in protection features for enhanced safety and durability.
3. Caracteristicile produsului
The ELUSH MPPT Solar Charge Controller offers a range of features designed for efficient and reliable solar power management:
- Superior MPPT Technology: Equipped with an advanced Maximum Power Point Tracking algorithm, ensuring tracking efficiency of no less than 99.5% for enhanced energy utilization.
- Automatic System Recognition: Automatically recognizes 12V, 24V, 36V, and 48V battery systems.
- Moduri de operare versatile: Features seven operating modes including charging mode, light control mode, light control + time delay control mode, universal control mode, manual control mode, and timing control mode.
- Afișaj LCD multifuncțional: Dynamically displays operational data such as working mode, battery voltage, PV charging current, battery discharging current, product working temperature, and delay time.
- Porturi USB duble: Includes dual USB 5V charging ports for convenient device charging.
- Compatibilitate largă a bateriei: Compatible with various battery types, including Sealed, GEL, Flooded, and LifePO4.
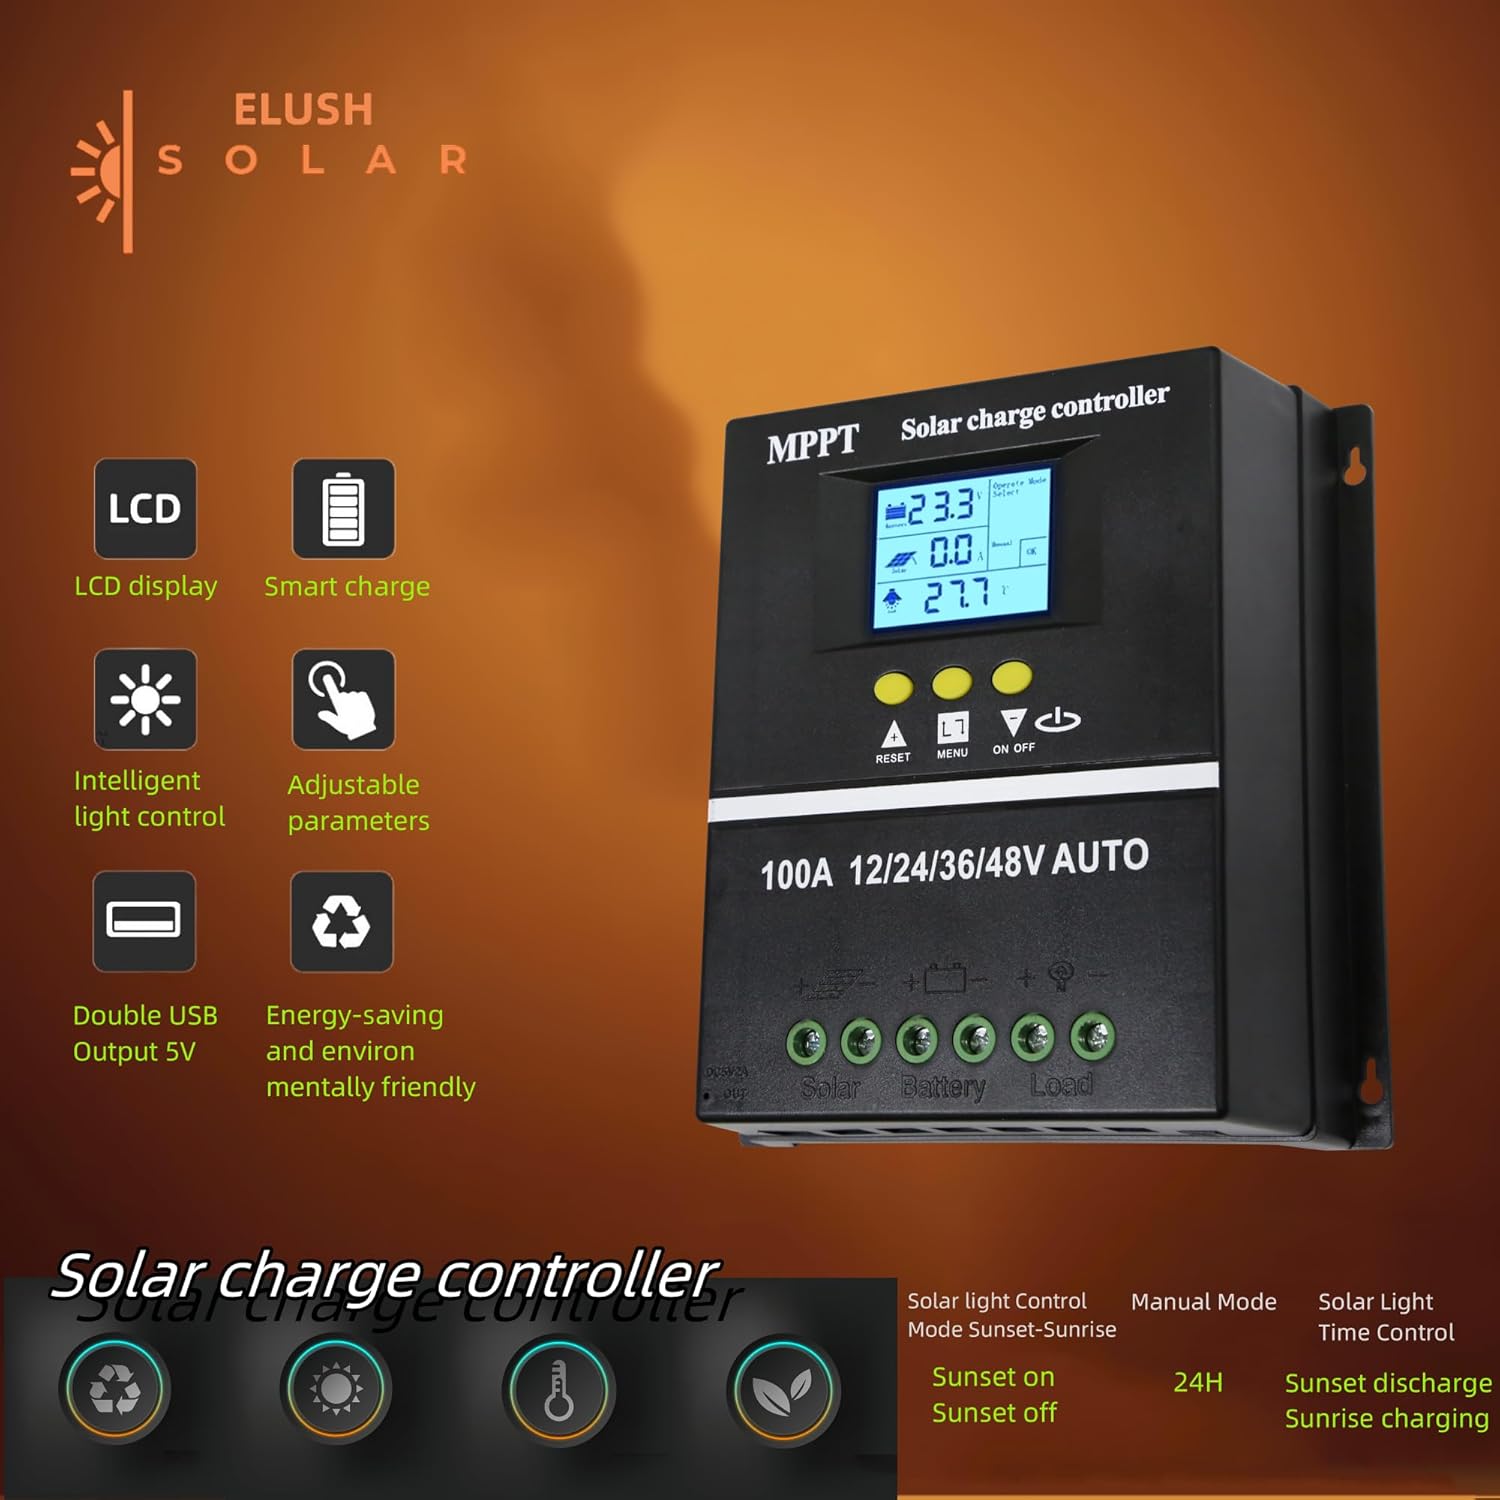
Figure 3.1: Key features of the ELUSH Solar Charge Controller.

Figura 3.2: Detaliat view of connection ports and heat dissipation design.
4. Configurare și instalare
Urmați acești pași pentru instalarea corectă a regulatorului de încărcare solară:
- Pregătiți locul de montare: Choose a dry, well-ventilated area, protected from direct sunlight and moisture. Ensure there is enough space around the controller for proper heat dissipation.
- Conectați bateria: First, connect the positive and negative terminals of your battery to the corresponding battery terminals on the controller. Ensure the battery has sufficient charge to power the controller's display.
- Conectați panourile solare: Next, connect the positive and negative terminals of your solar panel array to the corresponding solar panel terminals on the controller.
- Conectați sarcina (opțional): If you are connecting a DC load directly to the controller, connect its positive and negative terminals to the load terminals on the controller.
- Verificați conexiunile: Verificați de două ori toate conexiunile pentru a vă asigura că sunt fixate și polarizate corect.

Figure 4.1: Typical connection diagram for the solar charge controller.
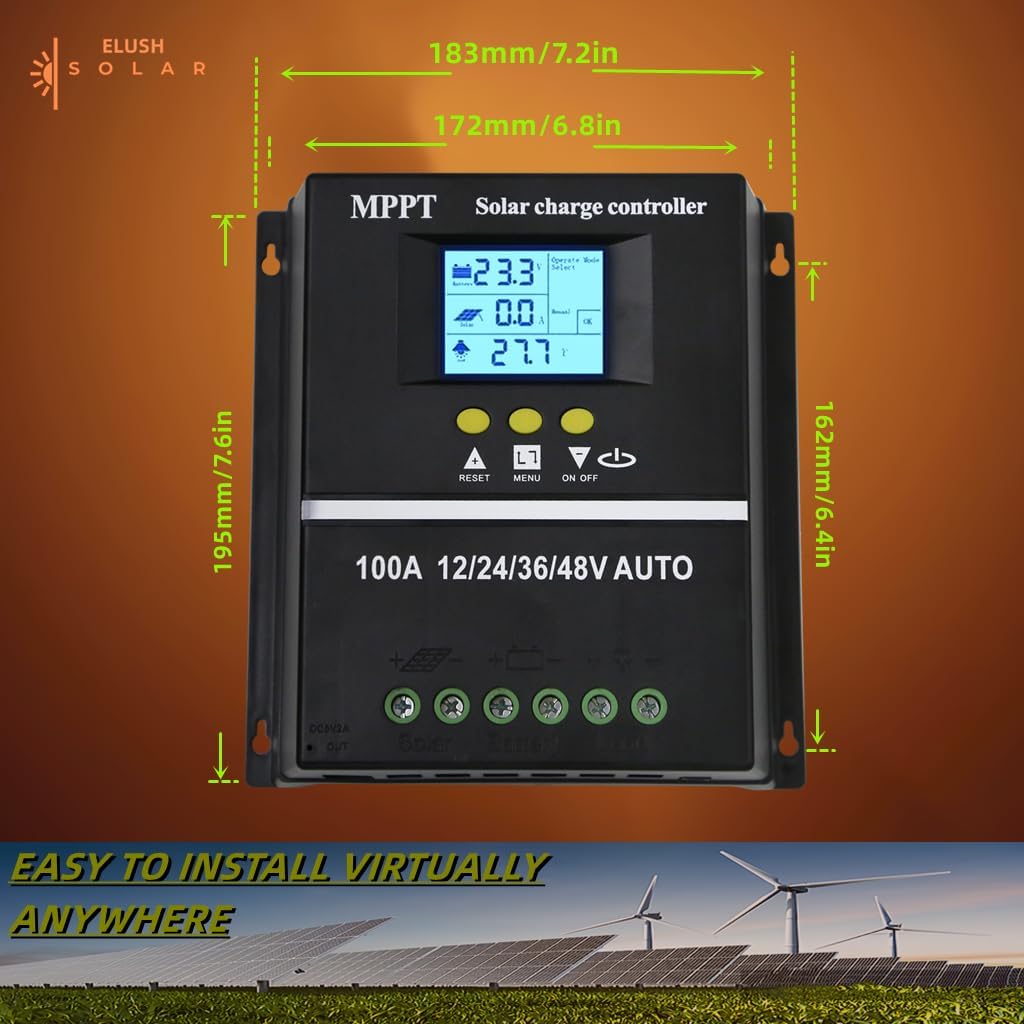
Figura 4.2: Dimensiunile produsului pentru planificarea instalării.
5. Instrucțiuni de utilizare
The controller's LCD display provides real-time information and allows for configuration of various settings.
5.1 Afișaj LCD și butoane
The LCD dynamically displays operational data. Use the buttons below the screen to navigate menus and adjust settings:
- RESETARE: Resets certain parameters or enters settings mode.
- MENIUL: Navigates through different display screens and settings.
- Săgeți SUS/JOS: Adjust values or select options within menus.
- ON/OFF: Controls the DC load output.
5.2 moduri de încărcare
The controller supports a rapid, efficient, and safe battery charging algorithm with four stages:
- Încărcare în vrac: S inițialtage where the battery receives maximum current.
- Incarcare de stimulare: Încarcă bateria la un volum mai maretage pentru a asigura încărcarea completă.
- Taxă plutitoare: Menține bateria la un volum constanttage pentru a preveni supraîncărcarea.
- Taxa de egalizare: Supraîncarcă periodic bateria pentru a echilibra volumul celulelortages (pentru anumite tipuri de baterii).

Figure 5.1: Four-stage battery charging process.
5.3 Selectarea tipului de baterie
The controller is compatible with Sealed, GEL, Flooded, and LifePO4 batteries. Ensure you select the correct battery type in the settings for optimal charging and battery longevity.

Figure 5.2: Compatible battery types.
5.4 Scenarii de aplicare
The ELUSH MPPT Solar Charge Controller is suitable for various applications, including:
- Residential solar power systems
- RV and marine solar setups
- Off-grid cabins and remote power solutions
- Portable solar power kits
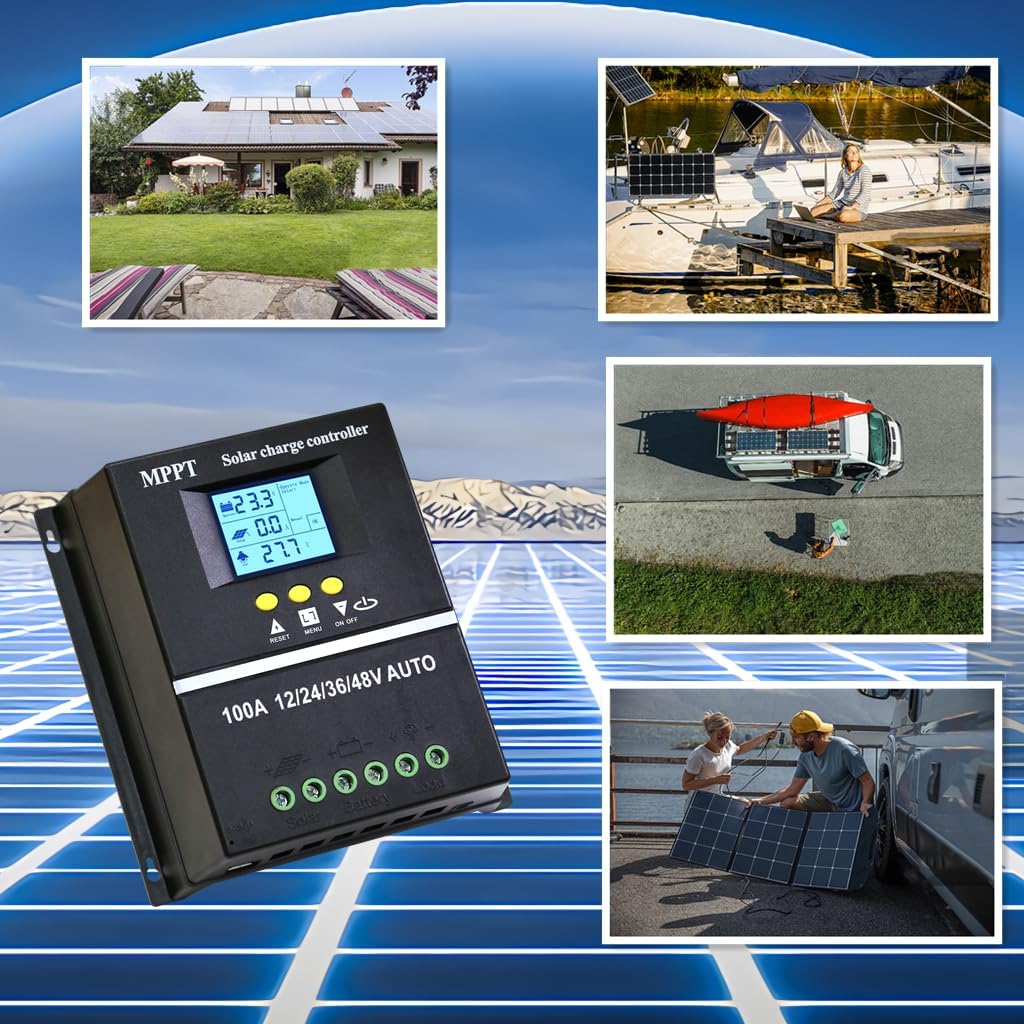
Figure 5.3: Diverse application scenarios for the solar charge controller.
6. Întreținere
Întreținerea regulată asigură longevitatea și performanța optimă a regulatorului de încărcare solară:
- Curăţenie: Păstrați controlerul curat și fără praf și resturi. Folosiți o cârpă uscată și moale pentru curățare.
- Conexiuni: Verificați periodic toate conexiunile cablurilor pentru a vă asigura că sunt strânse și fără coroziune. Conexiunile slăbite pot duce la pierderi de curent sau la supraîncălzire.
- Ventilare: Ensure the installation area remains well-ventilated to prevent overheating, especially during peak operation.
- Actualizări firmware: Verifică-l pe cel al producătorului webpentru orice actualizări de firmware disponibile, pentru a vă asigura că controlerul are cele mai recente funcții și remedieri de erori.
7. Depanare
Dacă întâmpinați probleme cu regulatorul de încărcare solară, consultați următoarele probleme și soluții comune:
| Problemă | Cauza posibila | Soluţie |
|---|---|---|
| Controller not powering on / No display | Battery not connected or insufficient battery voltage. | Ensure battery is connected first and has adequate charge (minimum 9V for 12V systems). Charge battery externally if completely depleted. |
| No solar charging current | Solar panels not connected, insufficient sunlight, or panel issues. | Check solar panel connections. Ensure panels are receiving direct sunlight. Verify panel voltage. |
| Bateria nu se încarcă complet | Incorrect battery type setting, insufficient solar input, or battery degradation. | Verify battery type setting on the controller. Increase solar panel capacity if needed. Test battery health. |
| Sarcina nu funcționează | Load output disabled, overload, or low battery voltage. | Check load output setting (ON/OFF button). Reduce load if overloaded. Charge battery. |
| Supraîncălzire | Poor ventilation or excessive load/charging current. | Ensure adequate airflow around the controller. Reduce load or check for short circuits. |
8. Specificații
Detailed technical specifications for the ELUSH 100A MPPT Solar Charge Controller:
| Parametru | Valoare |
|---|---|
| Volumul baterieitage | 12V/24V/36V/48V Auto |
| Curent de încărcare | 100A |
| Max Solar Input (Voc) | 15-25V (12V Battery); 30-50V (24V Battery); 45-75V (36V Battery); 60-100V (48V Battery) |
| Putere maximă de intrare PV | 1200W (12V Battery); 2400W (24V Battery); 3600W (36V Battery); 4800W (48V Battery) |
| Port USB | DC 5V/1.5A x 2 USB |
| Temperatura de operare | -25°C ~ 55°C |
| Producător | ELUSH |
| Greutatea articolului | 1.79 lire sterline |
| Dimensiuni pachet | 8.11 x 8.03 x 2.91 inci |

Figure 8.1: Detailed specifications of the 100A model.
9. Garanție și asistență
ELUSH offers a 1-year warranty for this product. For technical support or any issues you may encounter, please feel free to contact our team. Our engineers are available to provide advice and solutions.
Pentru mai multe informații și produse, vizitați ELUSH Store.


