
1. Introducere
This manual provides detailed instructions for the setup, operation, and maintenance of your TELLUR Shade Wireless Mouse (Model 491261). This mouse features multi-device connectivity, silent click buttons, RGB lighting, and adjustable DPI settings for enhanced productivity and comfort across various operating systems.
2. Conținutul pachetului
Verificați dacă toate articolele sunt prezente în colet:
- 1 x TELLUR Shade Wireless Mouse
- 1 x Nano receiver (USB-A)
- 1 x cablu de încărcare tip C
- 1 x Manual de utilizare (acest document)

Image: The TELLUR Shade Wireless Mouse, accompanied by its USB Nano receiver and Type-C charging cable, illustrating the complete package contents.
3. Produs terminatview
Familiarize yourself with the components of your TELLUR Shade Wireless Mouse:

Imagine: De sus în jos view of the TELLUR Shade Wireless Mouse, highlighting the left and right silent click buttons, the main scroll wheel, DPI adjustment button, and the multi-device switch button.
- Butonul stânga pentru clic: Funcționare silențioasă.
- Buton clic dreapta: Funcționare silențioasă.
- Scroll Wheel (Main): Pentru derulare verticală.
- Buton de ajustare DPI: Cycles through DPI settings (800/1200/1600/2400/3200).
- Multi-Device Switch Button: Toggles between connected devices (1, 2, 3, 4).
- Buton înainte: Navighează înainte în web browsere sau file exploratori.
- Buton înapoi: Navighează înapoi în web browsere sau file exploratori.
- Horizontal Scroll Wheel: Pentru derulare orizontală.
- Windows Home Button: Minimizes all windows to show the desktop; pressing again restores them.
- Port de încărcare USB-C: Located on the front for recharging the internal battery.
- Întrerupător: Comutator pornit/oprit în partea de jos a mouse-ului.
- Stocare receptor nano: Compartment on the bottom for storing the USB receiver.
4. Configurare
4.1. Încărcarea mouse-ului
Before initial use, ensure the mouse is fully charged. Connect the provided Type-C charging cable to the USB-C port on the front of the mouse and the other end to a USB power source (e.g., computer USB port, USB wall adapter).

Imagine: Laterală view of the TELLUR Shade Wireless Mouse, clearly showing the USB-C charging port located at the front for convenient recharging.
The RGB lighting may indicate charging status. A full charge typically provides approximately 20 days of average use.
4.2. Conectarea la un dispozitiv
The TELLUR Shade Wireless Mouse supports up to 4 devices simultaneously via Bluetooth and a 2.4GHz USB Nano receiver. Turn on the mouse using the power switch on the bottom.
4.2.1. 2.4GHz Wireless Connection (USB Nano Receiver)
- Locate the USB Nano receiver stored in the compartment on the bottom of the mouse.
- Plug the Nano receiver into an available USB-A port on your computer.
- Press the Multi-Device Switch Button on the mouse to select one of the 2.4GHz channels (usually indicated by a specific LED color or number).
- The mouse should automatically connect. If not, ensure the mouse is powered on and try replugging the receiver.
4.2.2. Bluetooth Connection (BT1, BT2, BT3)
- Press the Multi-Device Switch Button to select one of the Bluetooth channels (BT1, BT2, or BT3). The corresponding indicator light will flash.
- Press and hold the Multi-Device Switch Button for 3-5 seconds until the indicator light flashes rapidly. This puts the mouse into pairing mode.
- Pe dispozitivul dvs. (computer, tabletă, smartphone), accesați setările Bluetooth și căutați dispozitive noi.
- Select "TELLUR Shade Mouse" or a similar name from the list of available devices.
- După asociere, indicatorul luminos de pe mouse va înceta să clipească și va rămâne aprins constant câteva secunde înainte de a se opri.
Repeat these steps for additional Bluetooth devices on BT2 and BT3 channels.
5. Instrucțiuni de utilizare
5.1. Comutarea între dispozitive
To switch between connected devices, simply press the Multi-Device Switch Button. The mouse will cycle through the 2.4GHz channel and the three Bluetooth channels (BT1, BT2, BT3).
5.2. Reglarea sensibilității DPI
Press the DPI Adjustment Button to cycle through the available DPI settings: 800, 1200, 1600, 2400, and 3200 DPI. Each press will change the cursor speed, allowing you to find your preferred sensitivity.
5.3. Controlul iluminării RGB
The mouse features customizable RGB lighting. To change the RGB lighting mode or turn it off, simultaneously press the Forward and Backward buttons located on the side of the mouse. Continue pressing to cycle through different lighting effects or to disable the lighting.

Imagine: Prim-plan view of the TELLUR Shade Wireless Mouse, highlighting the side buttons (Forward and Backward) and the integrated RGB lighting strip.
5.4. Using the Windows Home Button
The dedicated Windows Home Button (often located near the thumb rest) allows for quick desktop access. Pressing this button will minimize all open windows, revealing your desktop. Pressing it again will restore the previously open windows.
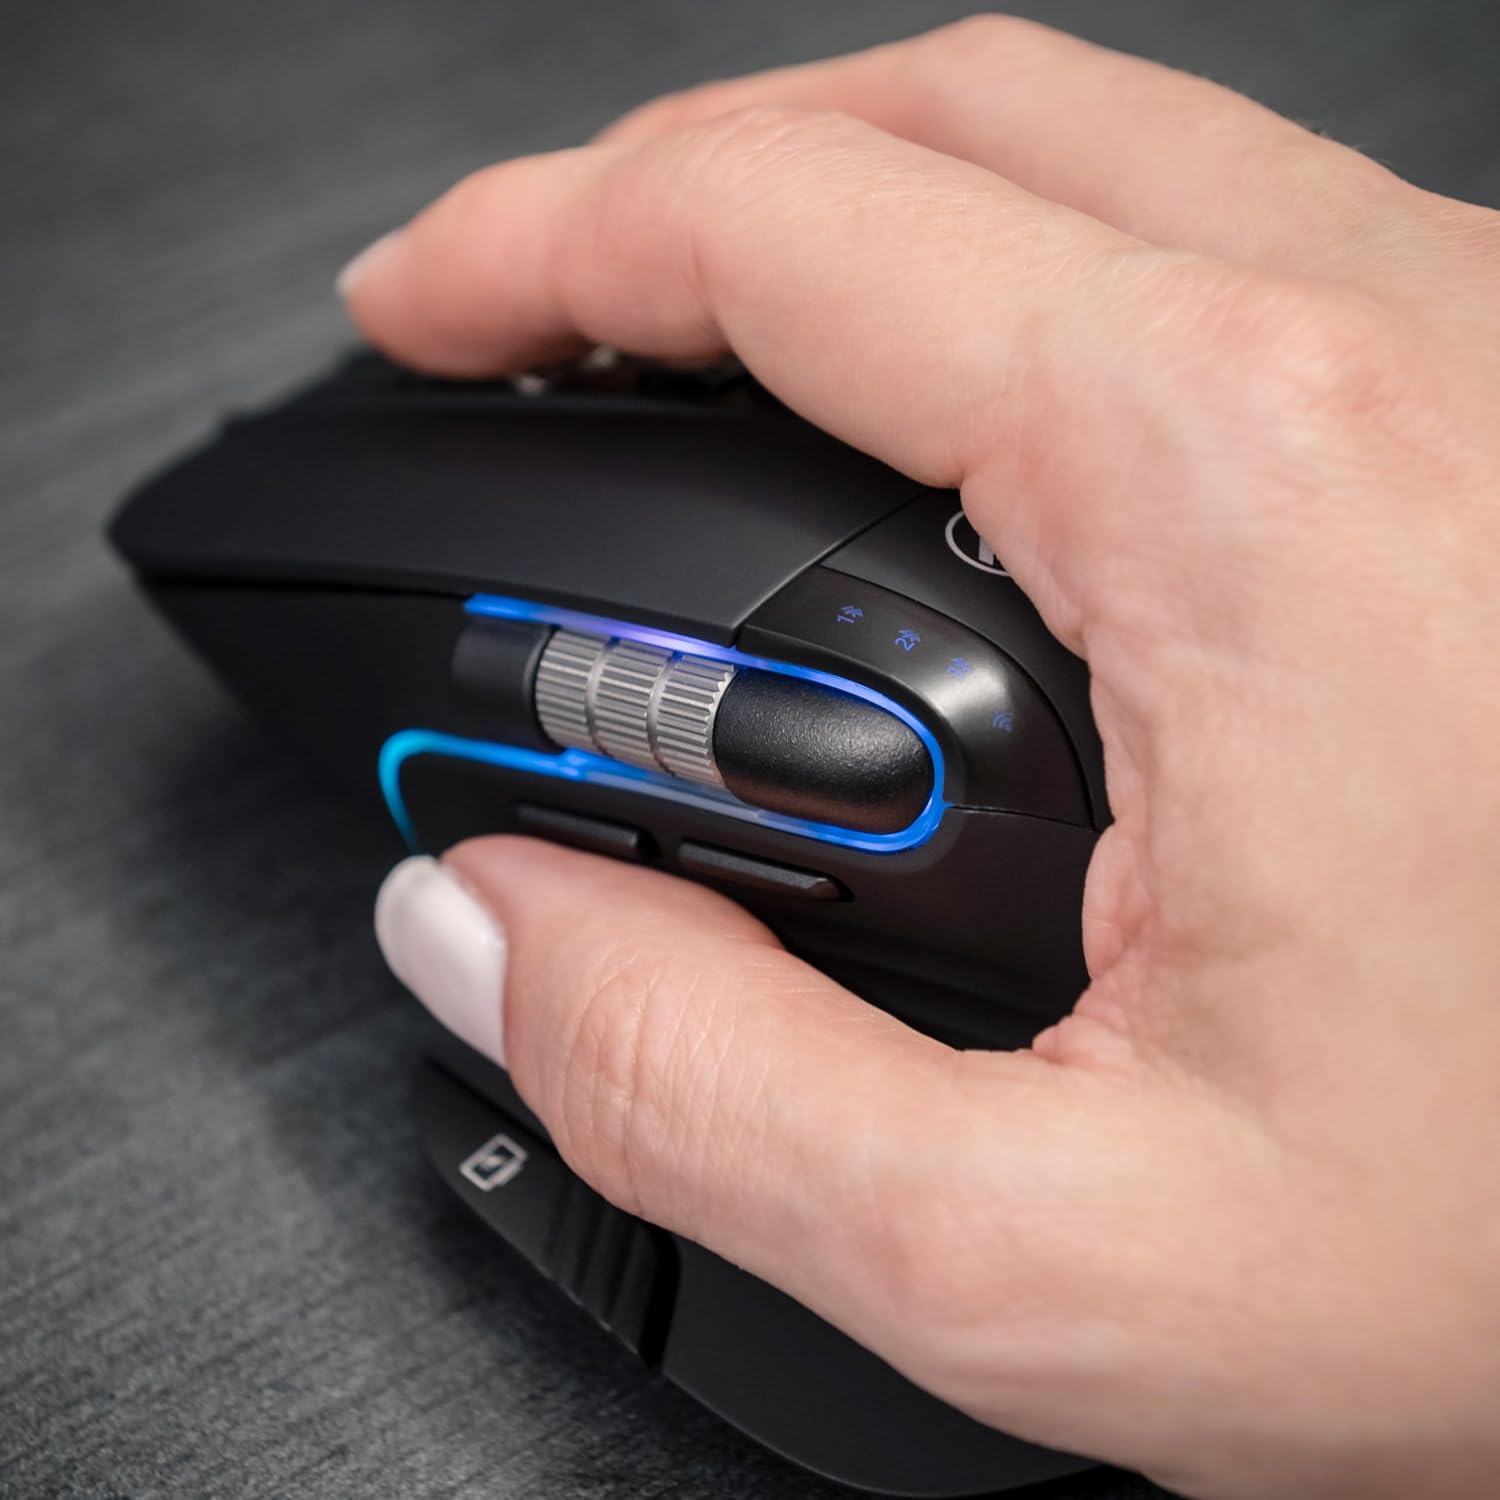
Image: A hand operating the TELLUR Shade Wireless Mouse, demonstrating the ergonomic grip and the placement of the Windows Home button accessible by the thumb.
6. Întreținere
- curatenie: Folosiți o lavetă moale și uscată pentru a curăța mouse-ul. Pentru murdăria persistentă, uscați ușor.amp Se poate folosi o cârpă, dar asigurați-vă că nu pătrunde umezeală în dispozitiv.
- Depozitare: When not in use for extended periods, turn off the mouse to conserve battery life. Store it in a cool, dry place.
- Îngrijirea bateriei: Avoid fully discharging the battery frequently. Recharge when the battery indicator is low.
- Evitați condițiile extreme: Nu expuneți mouse-ul la temperaturi extreme, la lumina directă a soarelui sau la umiditate ridicată.
7. Depanare
7.1. Mouse-ul nu răspunde
- Asigurați-vă că mouse-ul este pornit.
- Verificați nivelul bateriei și încărcați mouse-ul dacă este necesar.
- Verify that the correct connection channel (2.4GHz, BT1, BT2, or BT3) is selected using the Multi-Device Switch Button.
- For 2.4GHz connection, ensure the Nano receiver is securely plugged into a working USB port. Try a different USB port.
- For Bluetooth connection, ensure Bluetooth is enabled on your device and try re-pairing the mouse.
- Reporniți computerul sau dispozitivul.
7.2. Conexiune intermitentă
- Ensure the mouse is within the effective range (up to 10 meters).
- Minimizați interferențele de la alte dispozitive wireless (de exemplu, routere Wi-Fi, alte dispozitive Bluetooth).
- Evitați utilizarea mouse-ului pe suprafețe metalice, deoarece acestea pot interfera cu semnalele wireless.
7.3. Probleme de mișcare a cursorului
- Curățați senzorul optic din partea inferioară a mouse-ului.
- Folosiți mouse-ul pe o suprafață curată, nereflectorizantă sau pe un mouse pad.
- Adjust the DPI setting using the DPI Adjustment Button.
7.4. Iluminarea RGB nu funcționează
- Asigurați-vă că mouse-ul este pornit.
- Press the Forward and Backward buttons simultaneously to cycle through lighting modes or to turn it on if it was previously off.
- Check battery level; low battery might disable RGB lighting to conserve power.
8. Specificații
| Marca | TELLUR |
| Numele modelului | TLL491261 |
| Numărul de model | 491261 |
| Tehnologia de conectivitate | Bluetooth, 2.4GHz Wireless (via Nano receiver) |
| Detectarea mișcării | Optic |
| Sensibilitate DPI | 800/1200/1600/2400/3200 DPI |
| Numărul de butoane | 8 (including silent click, DPI, multi-device switch, forward/backward, horizontal scroll, Windows Home) |
| Orientarea mâinii | Ambidextru |
| Caracteristici speciale | Silent Click, RGB Light, Multi-device (4 devices), Lightweight, Portable |
| Dispozitive compatibile | Personal Computer, Laptop, Smartphones, Tablets |
| Suport sistem de operare | Windows, Mac, iOS, Android, Linux |
| wireless Range | Până la 10 metri |
| Sursa de alimentare | Alimentat cu baterie (reîncărcabilă prin USB-C) |
| Durata medie a bateriei | Aproximativ 20 de zile |
| Material | Plastic |
| Greutatea articolului | 0.29 kilograme |
9. Garanție și asistență
For warranty information and technical support, please refer to the warranty card included with your product or visit the official TELLUR webPăstrați bonul fiscal ca dovadă a achiziției pentru orice reclamații în garanție.
Informațiile de contact pentru asistență pot fi găsite de obicei pe fișa producătorului website-ul sau pe ambalajul produsului.