
1. Introducere
The BSIDE DC Clamp Meter ACM91 is a versatile digital multimeter designed for precise electrical measurements. It features true RMS auto-ranging capabilities, a 6000-count display, and a range of functions including AC/DC current, voltage, frequency, temperature, capacitance, and resistance. This manual provides essential information for the safe and effective use of your device.
Caracteristici cheie:
- Measures AC/DC current with 1mA resolution via jaws.
- Măsuri microamps (µA) with 0.1µA resolution via terminals.
- Măsuri AC/DC voltage, frequency, temperature, resistance, continuity, and capacitance.
- V-alert measurement and live-wire check for enhanced safety.
- Low Impedance (LoZ) voltage measurement to eliminate ghost voltages.
- Auto-ranging, auto power off, data hold, and low battery indication with backlight.
- Conforms to IEC-61010-1, IEC-61010-2-030, IEC-61010-2-032, IEC-61010-2-033 standards.
- Peste voltage protection class CAT III 300V, CAT II 600V, pollution degree II.
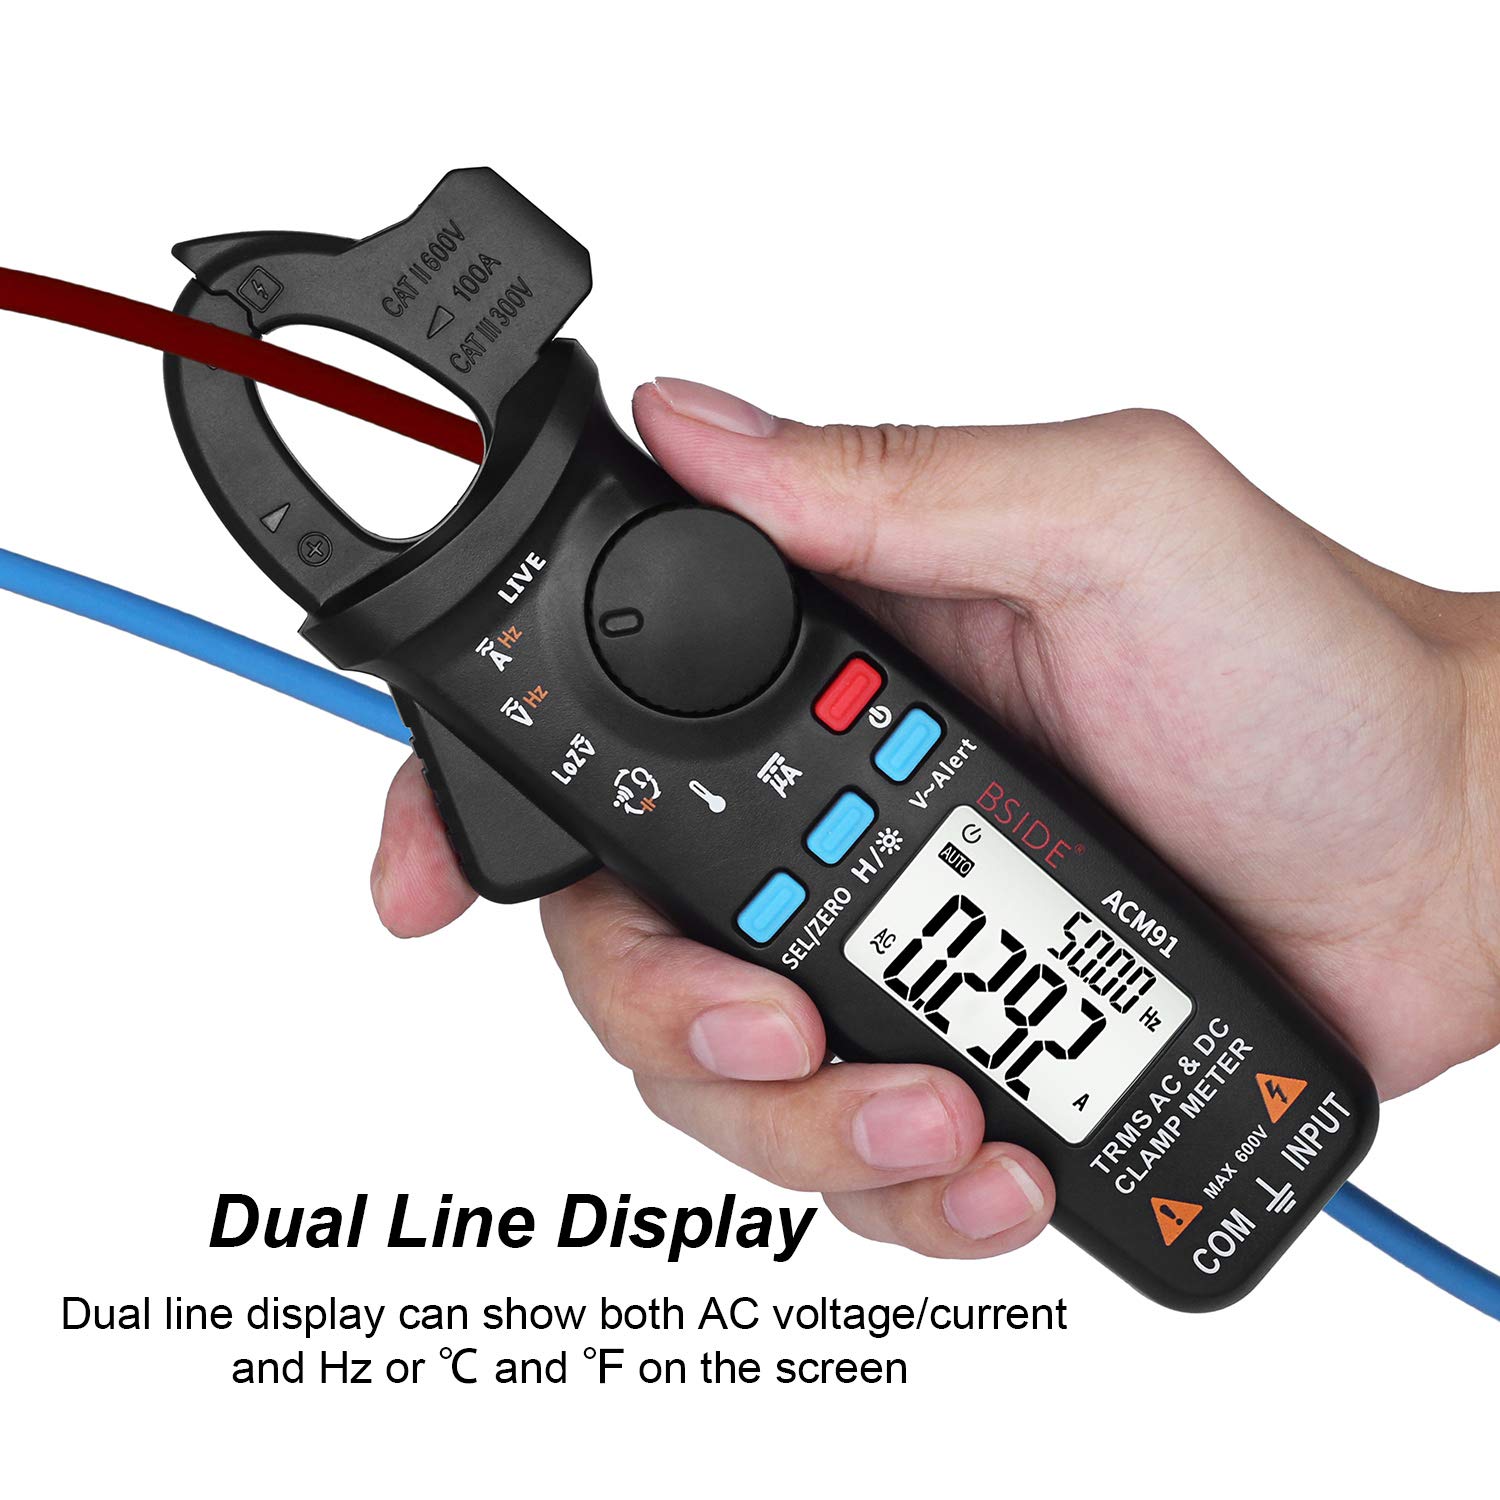
- Dual line display for simultaneous viewing of multiple parameters.
- Integrated back clip for convenient portability.
2. Conținutul pachetului
Verificați dacă toate articolele enumerate mai jos sunt prezente în colet. Dacă lipsesc sau sunt deteriorate articole, vă rugăm să contactați serviciul de asistență pentru clienți.
- 1 x BSIDE DC Clamp Meter ACM91
- 1 x Pereche de cabluri de testare (roșu și negru)
- 1 x Thermocouple (Temperature Probe)
- 1 x Husă de transport
- 1 x șurubelniță
- 1 x Manual de utilizare (acest document)
Nota: 2 AAA batteries are required for operation and are not included in the package due to aviation security regulations.

3. Configurare
3.1 Instalarea bateriei
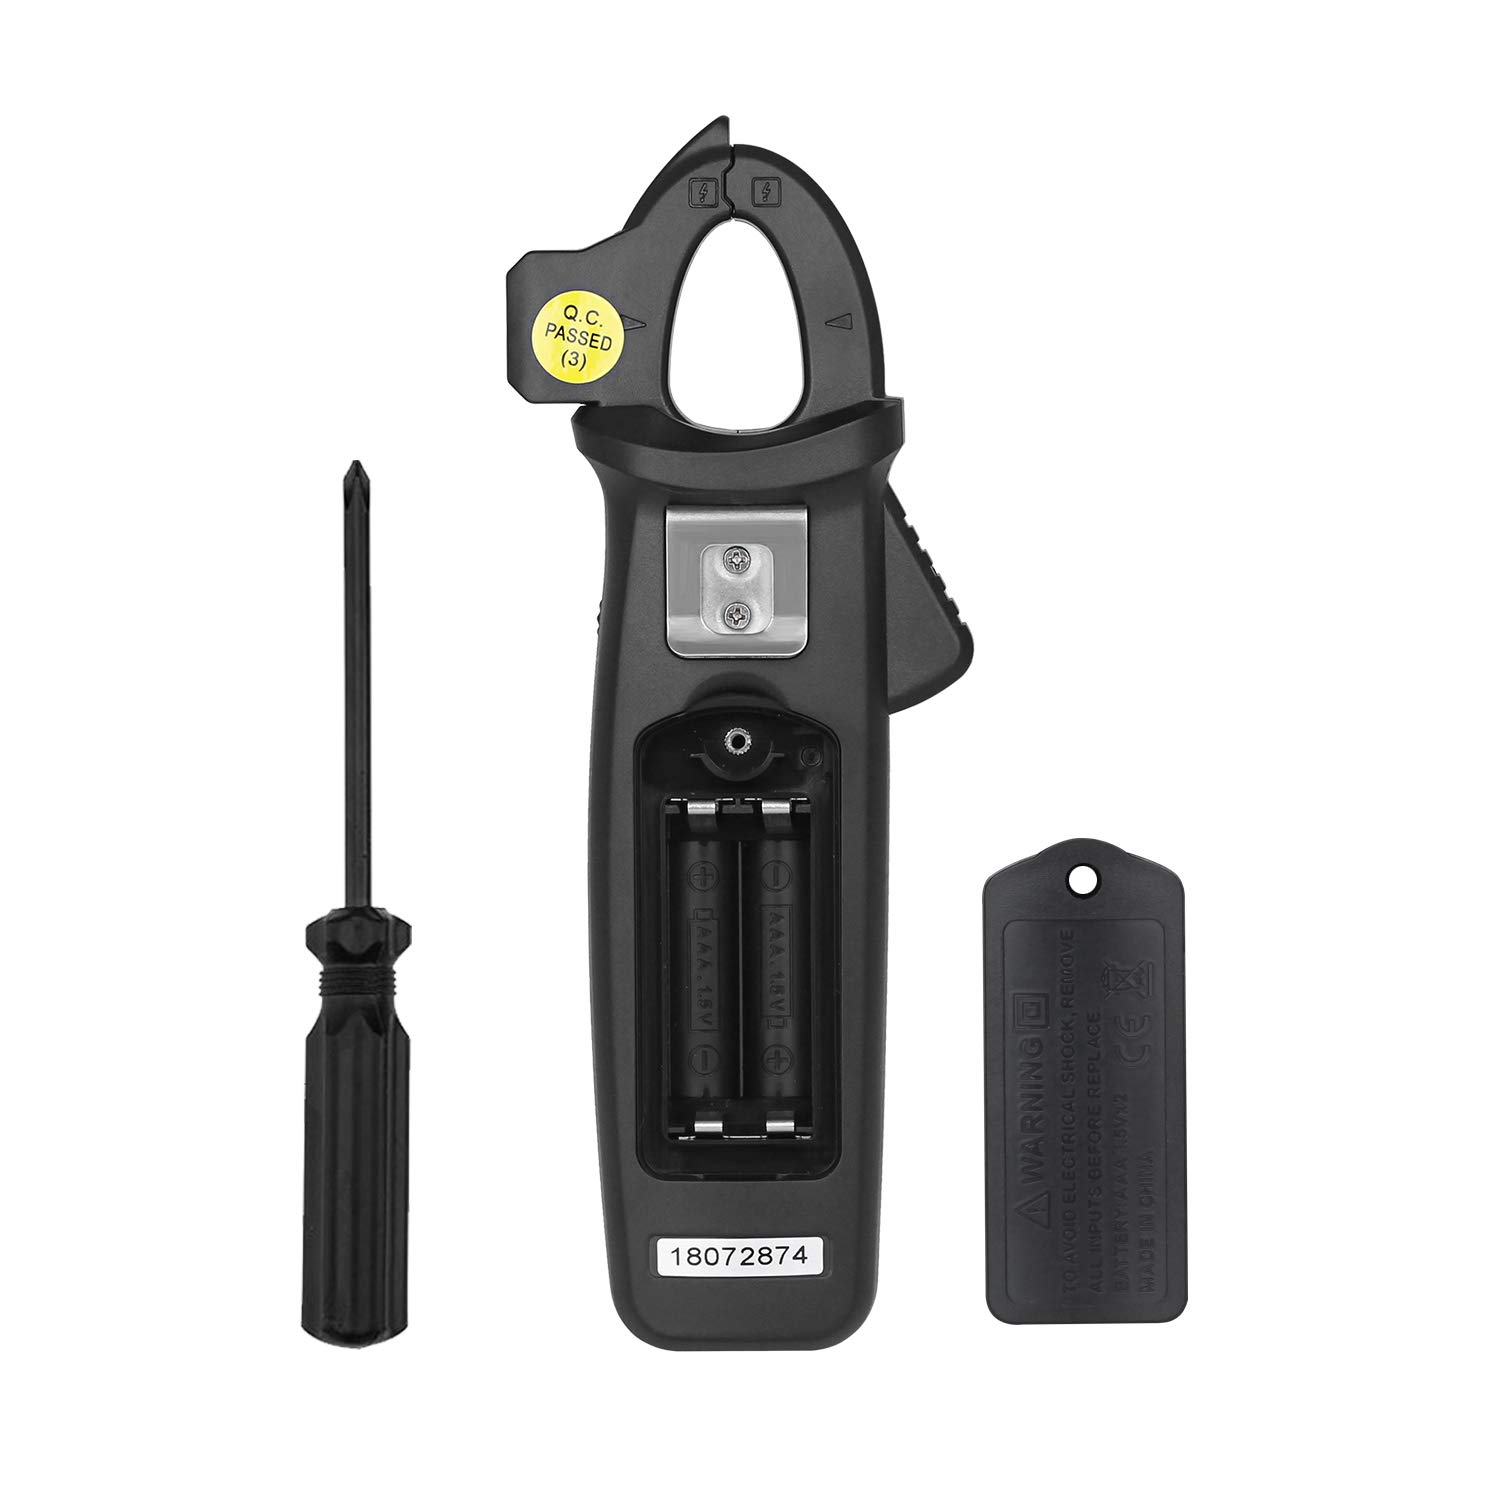
- Asigurați-vă că aparatul de măsură este oprit.
- Localizați capacul compartimentului bateriilor pe spatele contorului.
- Folosiți șurubelnița furnizată pentru a slăbi șurubul care fixează capacul bateriei.
- Scoateți capacul bateriei.
- Introduceți două baterii AAA de 1.5 V, respectând polaritatea corectă (+/-) așa cum este indicată în interiorul compartimentului.
- Replace the battery cover and tighten the screw with the screwdriver.
3.2 Conectarea cablurilor de testare
Pentru voltage, resistance, capacitance, frequency (via terminals), microamp current, and temperature measurements, connect the test leads as follows:
- Introduceți roşu cablul de testare în INTRARE Terminal.
- Introduceți negru cablul de testare în COM (common) terminal.

4. Instrucțiuni de utilizare
4.1 Pornire/Oprire
Apăsați tasta Buton de pornire () to turn the meter on or off. The meter features an auto power-off function to conserve battery life.
4.2 Selectarea funcției
Rotate the central dial to select the desired measurement function (e.g., AC/DC current, voltage, resistance, temperature). Use the SEL/ZERO button to switch between AC/DC modes or other sub-functions within a dial setting.
4.3 Măsurarea curentului AC/DC (Clamp)
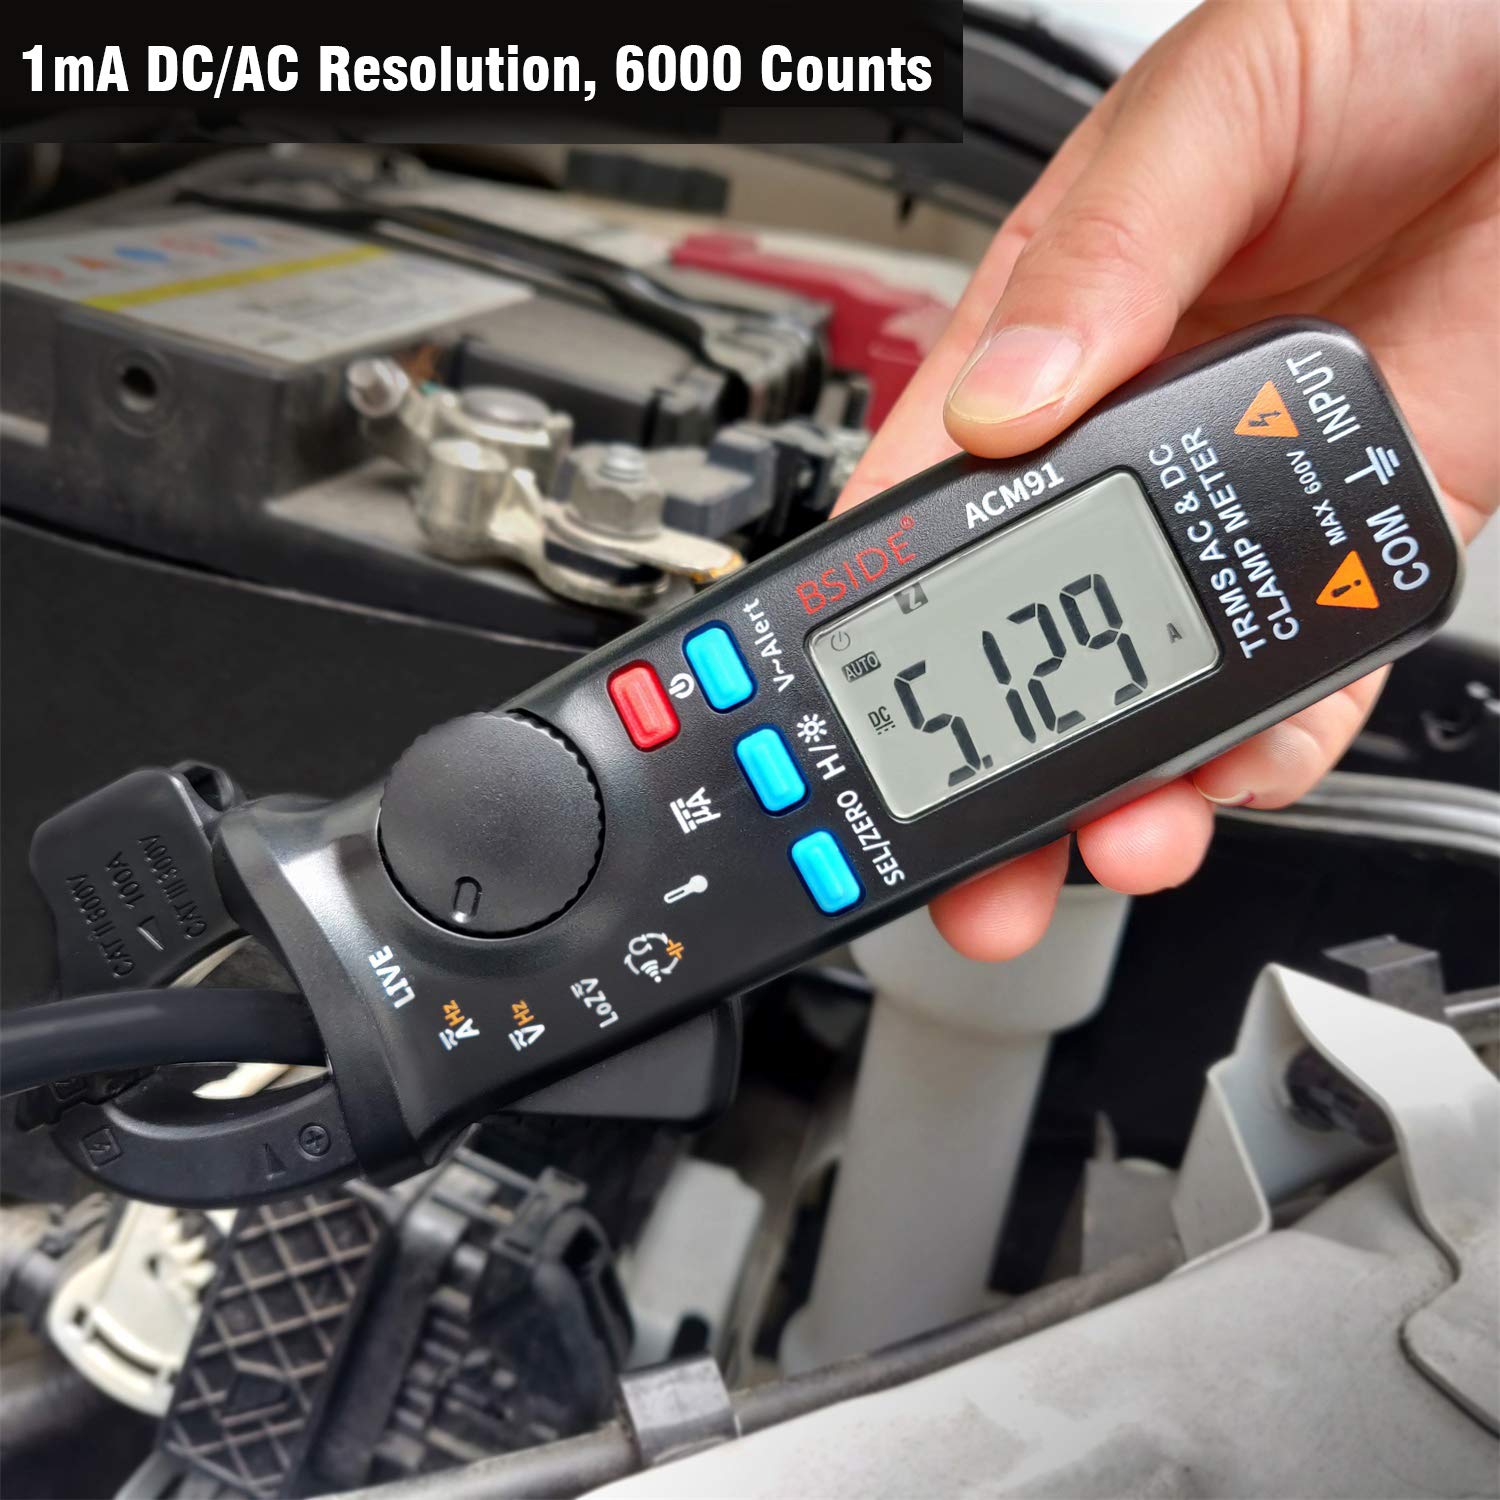
- Rotiți cadranul spre A~ (curent alternativ) sau A= poziția (curent continuu).
- Apăsați tasta SEL/ZERO button to select between AC and DC current if necessary. For DC current, press and hold the SEL/ZERO button to zero out the reading before measurement.
- Deschide clamp jaws and enclose a single conductor (not a bundle of wires) through the center of the jaws.
- Read the current value on the display. The meter provides 1mA resolution.

4.4 voitagMăsurare (AC/DC)
- Conectați sondele de testare așa cum este descris în Secțiunea 3.2.
- Rotiți cadranul spre V~ (Volumul AC)tage) sau V= (DC Voltage) poziţia.
- Apăsați tasta SEL/ZERO button to switch between AC and DC voltage.
- Atingeți sondele de testare punctele circuitului unde volumultage este de măsurat.
- Citiți voltage valoarea pe display.
4.5 Volum cu impedanță scăzutătage (LoZ) Measurement
The LoZ function helps to identify and eliminate ghost or stray voltages that can provide misleading readings. Rotate the dial to the LoZ V~ position and connect the test leads to the circuit. The meter will display the true voltage by presenting a low impedance load.
4.6 V-Alert (Volum fără contact)tage Detectie)
The V-Alert function allows for non-contact voltage detection. This function can be activated from any measurement mode. Press the V-Alert button. Bring the top of the clamp meter near a live conductor. The meter will indicate the presence of AC voltage through audible beeps and visual indicators on the display.

4.7 Verificarea cablului sub tensiune
To perform a live wire check, rotate the dial to the TRĂI position. Connect the red test lead to the INPUT terminal. Touch the red probe to the conductor you wish to test. The meter will indicate if the wire is live.
4.8 Other Measurements (Resistance, Capacitance, Frequency, Temperature, Microamps)
For these functions, connect the test leads as described in Section 3.2. Rotate the dial to the corresponding symbol (e.g., Ω for Resistance, Hz for Frequency, ° C / ° F for Temperature, µA for Microamps). Follow standard measurement procedures for each parameter.
5. Întreținere
5.1 Îngrijire și curățare generală
- Păstrați contorul uscat. Dacă se udă, ștergeți-l imediat.
- Folosiți un moale, damp cârpă pentru curățarea casing. Nu utilizați agenți de curățare abrazivi sau solvenți.
- Depozitați contorul în husa sa de transport atunci când nu îl utilizați pentru a-l proteja de praf și deteriorări.
- Avoid exposing the meter to extreme temperatures or high humidity.
5.2 Înlocuirea bateriei
When the low battery indicator appears on the display, replace the batteries promptly to ensure accurate readings. Refer to Section 3.1 for battery installation instructions.
6. Depanare
6.1 Inaccurate DC Current Readings
DC current readings can be influenced by the Earth's magnetic field, as the clamp meter utilizes a Hall effect sensor. To ensure accurate DC current measurements, follow these suggestions:
- Zero Out Before Each Measurement: Always press and hold the SEL/ZERO button to zero out the readings before taking a DC current measurement.
- Maintain Orientation: Once the meter is zeroed, hold it in the same orientation throughout the measurement. Avoid tilting, twisting, or rotating the meter, as changing its orientation can introduce false readings due to varying magnetic field strengths.
- Measure Promptly: Take the DC current measurement within 3 seconds after zeroing for the most accurate results.
7. Specificații
| Parametru | Caietul de sarcini |
|---|---|
| Afişa | 6000 conturi |
| Curent DC | 6A/60A/100A (0.001A/0.01A/0.1A resolution) ±(3.0%+5counts) |
| Curent continuu (µA) | 0-200µA (0.1µA resolution) ±(0.8%+5counts) |
| Curent alternativ | 6A/60A/100A (0.001A/0.01A/0.1A resolution) ±(2.5%+5counts) |
| DC Voltage | 6V/60V/600V (0.001V/0.01V/0.1V resolution) ±(1.0%+3counts) |
| AC Voltage | 6V/60V/600V (0.001V/0.01V/0.1V resolution) ±(1.0%+3counts) |
| Impedanță redusă (LoZ) | Max 600V, 0.1V Resolution |
| Rezistenţă | 600Ω/6kΩ/60kΩ/600kΩ/6MΩ (0.1Ω/0.001KΩ/0.01KΩ/0.1KΩ/0.001MΩ resolution) ±(1.0%+3counts); 60MΩ (0.01MΩ resolution) ±(1.2%+20counts) |
| Capacitate | 600µF/6000µF (0.1µF/1µF resolution) ±(4.0%+3counts) |
| Frecvenţă | 60Hz/1000Hz (0.1Hz/1Hz resolution) ±(1.0%+5counts) |
| Frequency (by jaws) | 60Hz/1000Hz (0.1Hz/1Hz resolution) ±(1.0%+5counts) |
| Buzzer (Continuitate) | Sounds if resistance is less than 30Ω |
| Temperatură | -20℃~500℃ (1℃/2℉ resolution) ±(2.0%+2counts) |
| Jaw Capacity | 20mm |
| Putere | 2 baterii AAA de 1.5 V |
| Dimensiune | 179 x 67 x 36 mm |
| Greutate | 137 g |
| Standarde de siguranță | IEC-61010-1, IEC-61010-2-030, IEC-61010-2-032, IEC-61010-2-033 |
| Peste voltage Protecție | CAT III 300V, CAT II 600V, Pollution Degree II |
8. Garanție și asistență
Specific warranty information and customer support contact details were not provided in the product data. Please refer to the product packaging or the seller's website for warranty terms and support options.


