
Mars Gaming MCVIEW
Mars Gaming MC-VIEW Micro-ATX Gaming Mini Tower Case Instruction Manual
Model: MCVIEW
1. Introducere
This manual provides detailed instructions for the installation, operation, and maintenance of your Mars Gaming MC-VIEW Micro-ATX Gaming Mini Tower Case. Designed for custom PC configurations, the MC-VIEW offers a unique blend of compact size, aesthetic appeal, and high performance for gaming enthusiasts. Please read this manual thoroughly before beginning assembly to ensure proper setup and to maximize the lifespan of your components.

Figure 1.1: The Mars Gaming MC-VIEW Micro-ATX Gaming Mini Tower Case.
2. Caracteristici cheie
- Continuous Frameless Tempered Glass Design: Showcases internal components with a 90-degree frameless tempered glass panel, offering an unobstructed view of your build.
- Modular Dual-Chamber Structure: Optimizes cooling and space by separating the power supply and storage drives into a hidden side compartment, ensuring efficient airflow and clean aesthetics.
- Expanded Micro-ATX Capacity: Compatible with Micro-ATX and Mini-ITX motherboards. Supports up to 7 fans, 5 storage drives, VGA cards up to 330mm in length and 148mm in width, and CPU coolers up to 158mm in height.
- Optimal Cooling and Liquid Cooling Support: Engineered for superior thermal performance, supporting liquid cooling systems with radiators up to 240mm at the rear and top.

Figure 2.1: Continuous frameless tempered glass design.

Figure 2.2: Expanded Micro-ATX capacity for various components.
3. Specificatii tehnice
| Atribut | Detaliu |
|---|---|
| Marca | Mars Gaming |
| Numele modelului | MCVIEW |
| Compatibilitate cu placa de baza | Micro ATX, Mini-ITX |
| Tipul cazului | Turnul Mini |
| Culoare | Negru |
| Material | Sticlă securizată, Aluminiu |
| Tip de montare a sursei de alimentare | Montare de jos |
| Metoda de răcire | Aer, Apă |
| Suport maxim pentru ventilatoare | 7 (120mm/140mm) |
| Suport radiator | Up to 240mm (Rear, Top) |
| Lungime maximă VGA | 330mm |
| Lățime VGA maximă | 148mm |
| Înălțimea maximă a răcitorului CPU | 158mm |
| Sloturi de expansiune | 4 |
| Locurile de unitate interne | 5 (2.5-inch compatible) |
| Porturi I / O frontale | 2x USB 2.0, 1x USB 3.0, Audio Jack, Power Button, Reset Button |
| Greutatea articolului | 3.95 kilograme |

Figure 3.1: Internal dimensions and component compatibility.
4. Configurare și instalare
Before starting, ensure you have all necessary components and tools. It is recommended to work on a clean, static-free surface.
4.1. Pregătirea cazului
- Despachetați carcasa: Carefully remove the MC-VIEW case from its packaging. Inspect for any damage.
- Scoateți panourile laterale: The tempered glass side panels are typically secured with thumbscrews or a latch mechanism. Remove them to access the interior.
- Kit de accesorii: Locate the accessory kit, which usually contains screws, standoffs, and cable ties.
4.2. Instalarea plăcii de bază
- Instalați separatori: Ensure the correct standoffs are installed for your Micro-ATX or Mini-ITX motherboard. The case may have pre-installed standoffs.
- Instalați scutul I/O: Fixează scutul I/O al plăcii de bază în deschiderea din spate a carcasei.
- Montați placa de bază: Carefully place your motherboard onto the standoffs, aligning the screw holes. Secure it with the provided screws.
4.3. Instalarea unității de alimentare (PSU)
MC-ulVIEW features a dual-chamber design, with the PSU mounted in a separate compartment.
- Poziție sursă de alimentare: Slide the PSU into its designated compartment at the bottom rear of the case. Ensure the fan faces the correct direction for optimal airflow (usually downwards or towards the side panel vent).
- Sursă de alimentare securizată: Fasten the PSU with screws from the rear of the case.
- Dirijarea cablurilor: Route the necessary PSU cables through the cutouts into the main chamber for component connection.

Figure 4.1: Power Supply Unit (PSU) installation in the dedicated compartment.
4.4. Instalarea unității de stocare
The case supports up to 5 x 2.5-inch drives. Refer to the case's internal structure for specific mounting points, typically located in the secondary chamber.
- Localizați compartimentele pentru unități: Identify the 2.5-inch drive mounting locations.
- Unități de montare: Secure your SSDs or HDDs using the provided screws.
- Cabluri de conectare: Attach SATA data and power cables to the installed drives.
4.5. Instalarea plăcii grafice (VGA)
- Scoateți capacele sloturilor de expansiune: Remove the necessary expansion slot covers at the rear of the case. Note that these are typically break-away covers and cannot be reattached.
- Insert VGA Card: Align your graphics card with the PCIe slot on the motherboard and press firmly until it clicks into place.
- Secure VGA Card: Fasten the graphics card to the case with screws.
- Conectare alimentare: Attach any required PCIe power cables from the PSU to the graphics card.
4.6. Instalarea sistemului de răcire (ventilatoare și radiatoare)
MC-ulVIEW supports up to 7 fans and liquid cooling radiators up to 240mm.
- Fan Placement: Install fans in the designated locations (front, top, rear, bottom) using fan screws. Consider airflow direction (intake/exhaust).
- Amplasarea radiatorului: For liquid cooling, mount radiators (up to 240mm) at the top or rear of the case. Secure them with screws.
- Connect Fans/Pumps: Connect fan and pump cables to your motherboard or a fan controller.
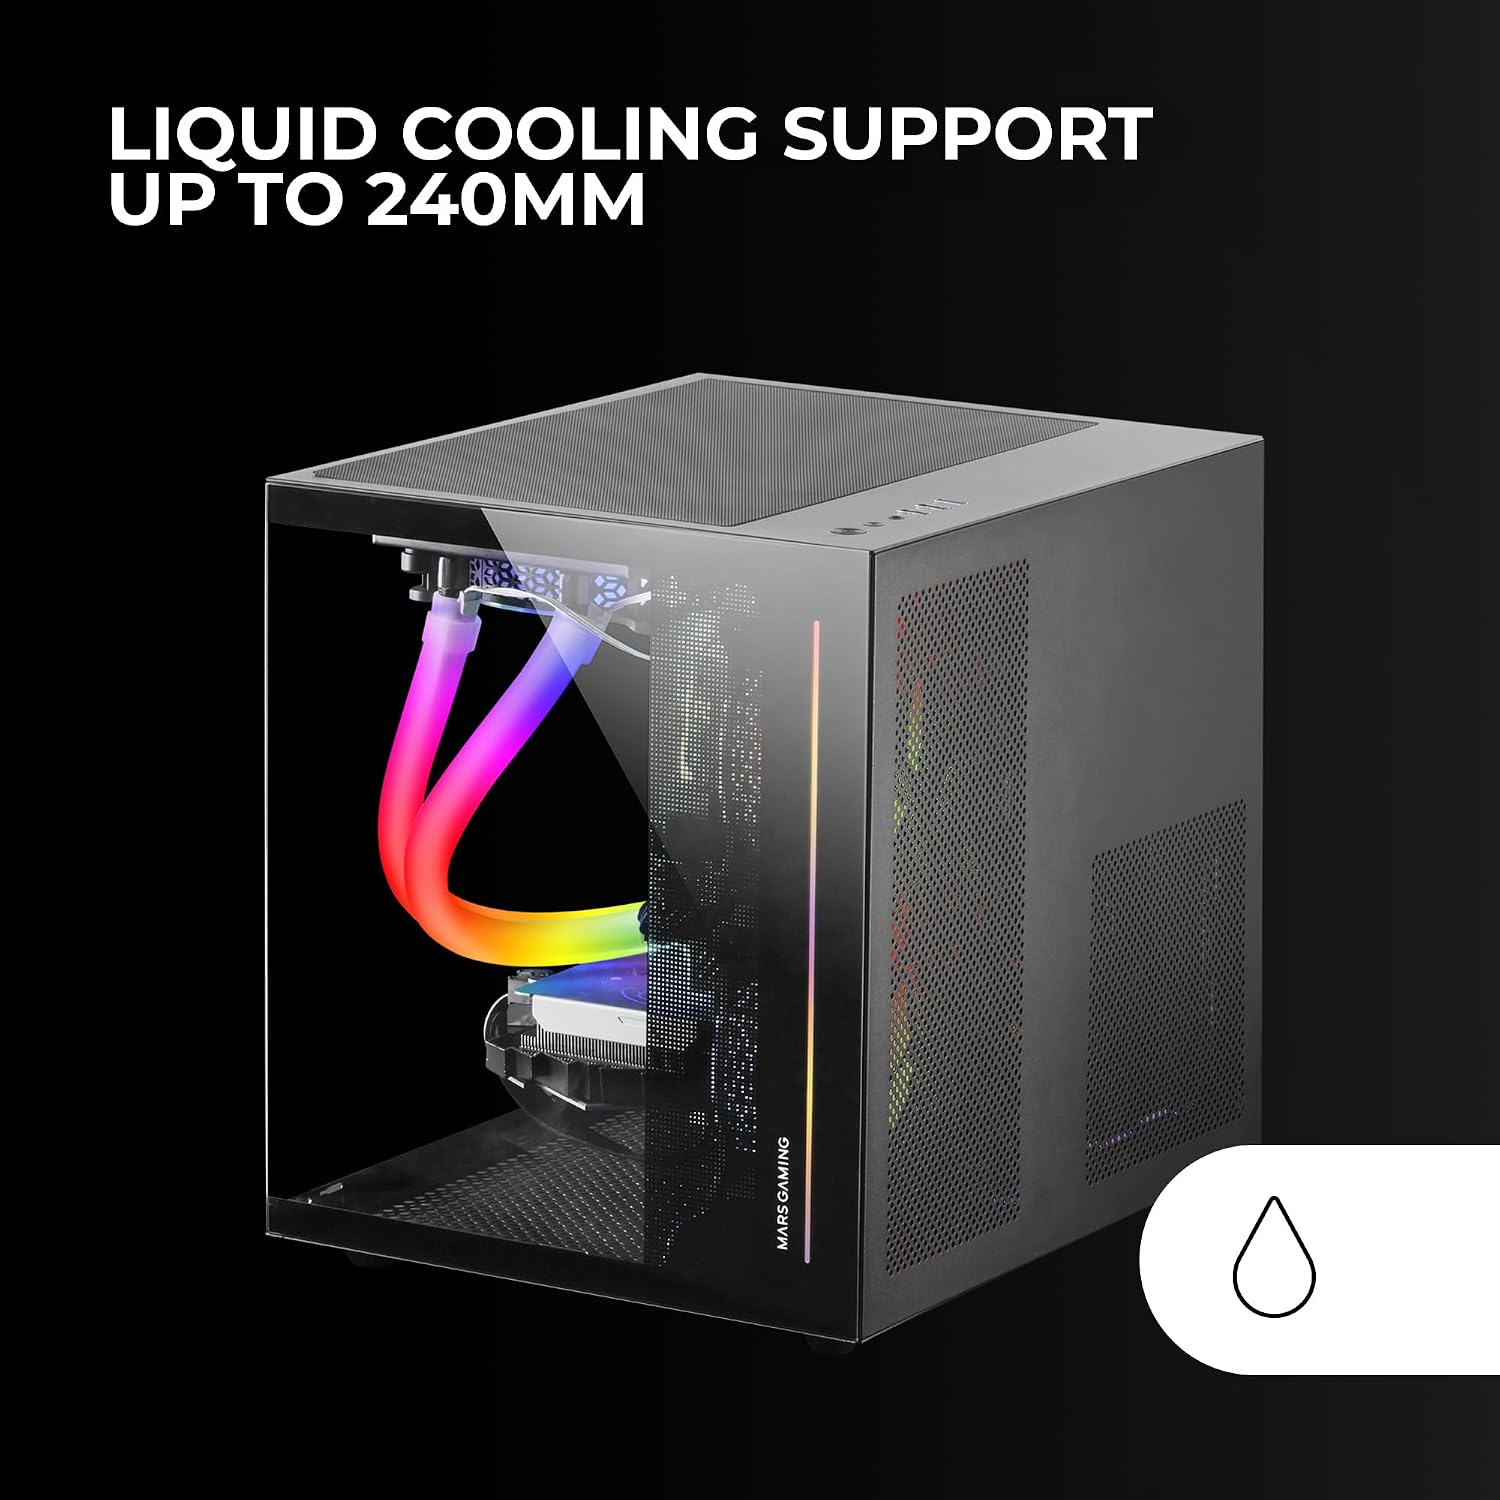
Figure 4.2: Liquid cooling system installed in the MC-VIEW caz.
4.7. Gestionarea cablurilor
Utilize the dual-chamber design and cable routing cutouts to manage cables neatly. This improves airflow and aesthetics.
- Traseul cablurilor: Pass cables through the grommets and tie-down points behind the motherboard tray.
- Cabluri sigure: Use cable ties (often included in the accessory kit) to bundle and secure cables.
- Conectați I/O-ul panoului frontal: Connect the front panel USB, audio, power, and reset cables to the appropriate headers on your motherboard.

Figure 4.3: Modular dual-chamber structure for efficient cable management.
4.8. Adunarea finală
- Reatașați panourile: Once all components are installed and cables managed, carefully reattach the tempered glass side panels.
- Conectați periferice: Conectați monitorul, tastatura, mouse-ul și alte periferice la porturile I/O din spate.
5. Instrucțiuni de utilizare
5.1. Pornire/Oprire
- Pornire: Apăsați butonul de alimentare situat pe panoul frontal I/O.
- Oprire: Initiate a shutdown from your operating system. For a forced shutdown, press and hold the power button for several seconds.
- Resetați: Use the reset button on the front I/O panel for a system restart if needed.
5.2. Conectivitate panou frontal
Panoul frontal I/O oferă acces convenabil la porturile esențiale:
- Port USB 3.0 (x1): Pentru transfer de date de mare viteză cu dispozitive compatibile.
- Porturi USB 2.0 (x2): Pentru conectarea perifericelor USB standard.
- Mufa audio: Pentru conectarea căștilor sau a unui set de căști.
6. Întreținere
Întreținerea regulată ajută la asigurarea performanței optime și a longevității componentelor PC-ului.
6.1. Gestionarea prafului
- Filtre de praf: The case includes a magnetic dust filter on the top panel. Regularly remove and clean this filter to prevent dust buildup.
- Curatenie interioara: Periodically open the case and use compressed air to remove dust from fans, heatsinks, and other components. Ensure the system is powered off and unplugged before cleaning.
6.2. Îngrijirea sticlei secure
- curatenie: Use a soft, lint-free cloth and a mild glass cleaner (or water) to clean the tempered glass panels. Avoid abrasive materials or harsh chemicals.
- Manipulare: Handle tempered glass panels carefully to prevent scratches or breakage.
7. Depanare
Această secțiune abordează problemele frecvente pe care le-ați putea întâmpina.
7.1. Sistemul nu pornește
- Conexiuni de alimentare: Verify that the PSU is properly connected to the wall outlet and switched on. Check all internal power connections to the motherboard, CPU, GPU, and drives.
- Anteturi panou frontal: Ensure the front panel power button cable is correctly connected to the motherboard's power header.
7.2. Probleme de supraîncălzire
- Configurație ventilator: Check that all installed fans are operating and configured for optimal airflow (e.g., front/bottom intake, top/rear exhaust).
- Acumulare de praf: Clean any dust filters and internal components as described in the Maintenance section.
- Distanță componente: Ensure no cables or other obstructions are blocking airflow to critical components.
7.3. Component Fitment Problems
- Verificați specificațiile: Refer to the Technical Specifications section for maximum supported dimensions for VGA cards, CPU coolers, and radiators.
- Cable Obstruction: Ensure cables are not interfering with component installation.
- Expansion Slot Covers: Note that PCI expansion slot covers are break-away type. Once removed, they cannot be reattached. Plan accordingly before removing them.
8. Informații despre garanție
MC-ul de la Mars GamingVIEW case comes with a Garanție de 3 an de la producător. This warranty covers defects in materials and workmanship under normal use. Please retain your proof of purchase for warranty claims. The warranty does not cover damage caused by improper installation, accidents, misuse, abuse, negligence, unauthorized modification, or natural disasters.
9. Asistență și contact
For further assistance, technical support, or to inquire about replacement parts, please visit the official Mars Gaming website or contact their customer service department. You can also find additional resources and product information on the Mars Gaming Store on Amazon.
10. Videoclipuri cu produse
No specific video URLs with creator type or preview information were provided in the product data. Please refer to the official Mars Gaming product page or support channels for any available instructional videos.
© 2024 Mars Gaming. Toate drepturile rezervate.
Ask a question about this manual
Ask about setup, troubleshooting, compatibility, parts, safety, or missing instructions. Manuals+ will review the question and use this page’s manual context to help answer it.