
1. Introducere
Thank you for choosing the KAIWEETS KM601s Smart Digital Multimeter. This device is designed for accurate and reliable electrical measurements, featuring a large display, smart mode for automatic recognition, and a rechargeable battery. This manual provides essential information for safe operation, setup, maintenance, and troubleshooting.

Imaginea 1.1: Față view of the KAIWEETS KM601s Smart Digital Multimeter.
2. Informații de siguranță
Please read and understand all safety warnings and operating instructions before using this multimeter. Failure to follow these instructions may result in electric shock, fire, or serious injury.
- This multimeter complies with IEC61010-1 measurement categories CAT III 1000V and CAT IV 600V.
- Always ensure the test leads are properly connected and the correct function is selected before making measurements.
- Nu măsurați voltages exceeding the specified maximum limits.
- Procedați cu mare precauție atunci când lucrați cu circuite sub tensiune.
- The device features double ceramic fuses and a thermistor protection circuit for enhanced safety against overloads.
- Nu utilizați multimetrul dacă pare deteriorat sau dacă sondele de testare sunt compromise.
- Țineți mâinile și degetele în spatele barierelor sondei în timpul măsurătorilor.
3. Produs terminatview
3.1 Componente incluse
The KAIWEETS KM601s package typically includes the following items:
- 1 x KAIWEETS KM601s Digital Multimeter
- 1 x Test Leads Set
- 1 x cablu de încărcare
- 1 x Termocuplu (pentru măsurarea temperaturii)
- 1 x Geanta de depozitare
- 1 x Manual de utilizare (acest document)

Image 3.1: KAIWEETS KM601s multimeter with its included accessories.
3.2 Aspectul dispozitivului
The KM601s features a user-friendly design with clearly labeled buttons and input jacks.
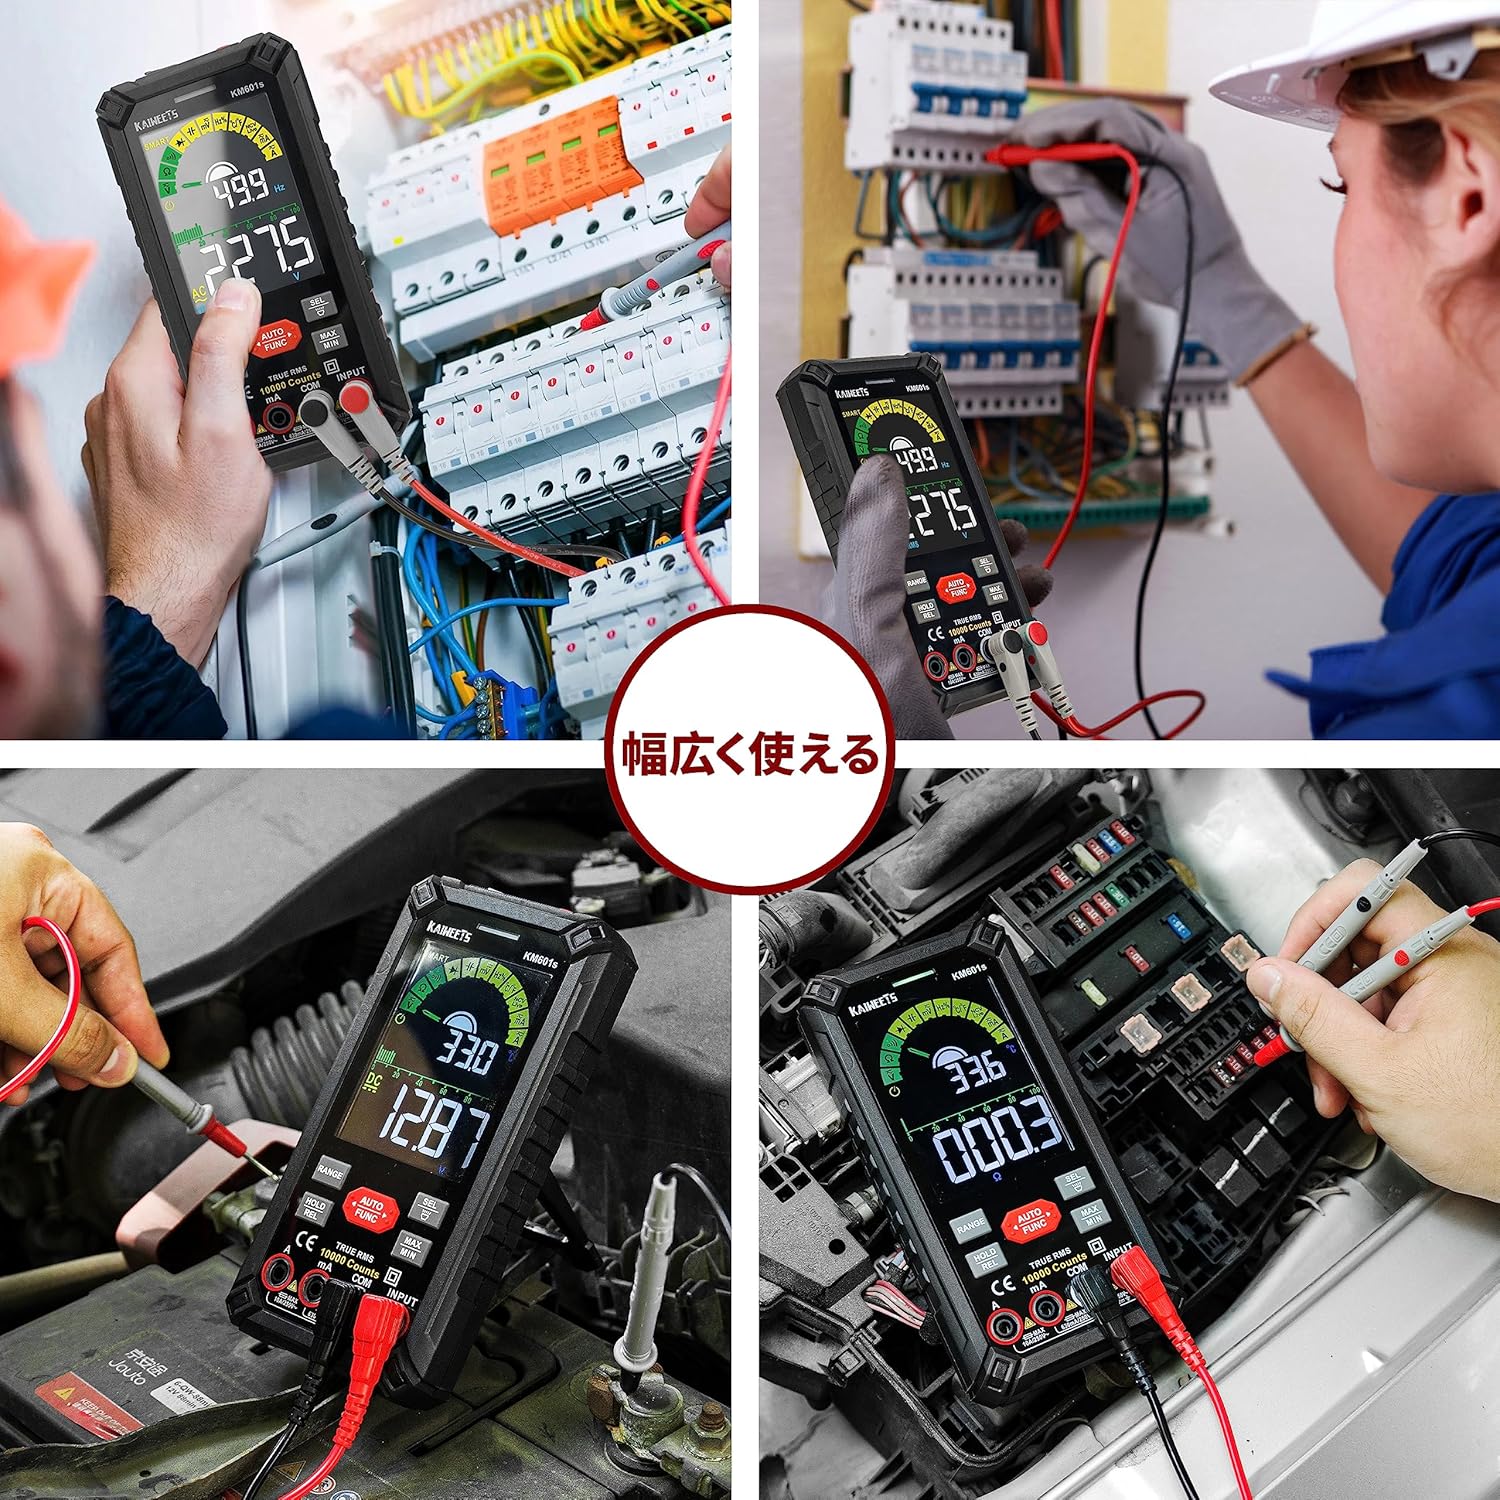
Image 3.2: KAIWEETS KM601s multimeter showing its integrated kickstand for hands-free operation.
- Afişa: LCD mare, iluminat din spate, pentru citiri clare.
- Butoane funcționale: For selecting modes, holding data, and other features.
- Mufe de intrare: Clearly marked for test lead connections (VΩmA, COM, 10A).
- Stativ: Integrated on the back for convenient viewunghiuri de ing.
- Lanternă: Located on the top for illuminating work areas.
- Senzor NCV: Pentru non-contact voltage detectare.
- Port de încărcare: Pentru reîncărcarea bateriei interne.
3.3 Caracteristici de afișare
The multimeter's display provides comprehensive information during measurements.

Image 3.3: The backlit display of the KAIWEETS KM601s multimeter, showing clear readings in low light.
- Afișaj cu 10000 de numere: Oferă rezoluție înaltă pentru citiri precise.
- Iluminare de fundal: Îmbunătățește vizibilitatea în medii slab iluminate.
- Indicator baterie descărcată: Alerts when the battery needs recharging.
- Auto Shutdown Indicator: Shows when the device will automatically power off to save battery.
- Unități de măsură: Displays appropriate units (V, A, Ω, F, Hz, °C/°F).
- Indicatori de mod: Icons for Smart Mode, Manual Mode, Data Hold, MAX/MIN, etc.
4. Configurare
4.1 Încărcarea multimetrului
The KM601s features a built-in 1200mAh rechargeable battery. Before first use, or when the low battery indicator appears, charge the device using the provided charging cable.
- Connect the small end of the charging cable to the charging port on the side of the multimeter.
- Connect the USB end of the charging cable to a standard USB power adapter (not included) or a computer USB port.
- The display will indicate charging status. A full charge ensures extended operation.

Image 4.1: The KAIWEETS KM601s multimeter connected to a power source for charging.
4.2 Conectarea cablurilor de testare
Conectarea corectă a sondelor de testare este crucială pentru măsurători precise și sigure.
- Introduceți cablul de testare negru în COM Mufă de intrare (comună).
- Pentru majoritatea volumuluitage, resistance, continuity, diode, capacitance, and frequency measurements, insert the red test lead into the VΩmA mufă de intrare.
- For current measurements (up to 10A), insert the red test lead into the 10A mufă de intrare.
- Ensure connections are firm before proceeding with measurements.

Image 4.2: KAIWEETS KM601s multimeter with red and black test leads properly connected to the input jacks.
5. Instrucțiuni de utilizare
5.1 Pornire/Oprire
Press and hold the power button to turn the multimeter on or off. The device features an auto-shutdown function to conserve battery life after a period of inactivity.
Mod inteligent 5.2 (AUTO)
The KM601s defaults to Smart Mode, which automatically identifies and measures AC/DC voltage, resistance, and continuity. This mode simplifies operation for common tasks.
- In Smart Mode, simply connect the test leads to the circuit or component you wish to measure. The multimeter will automatically detect the type of measurement and display the reading.
- Smart Mode also supports automatic detection for temperature, live wire, flashlight, diode, capacitance, and frequency/duty cycle.

Image 5.1: The KAIWEETS KM601s multimeter displaying 'Auto' in Smart Mode, ready for various measurements.
5.3 Manual Mode and Specific Measurements
For specific measurements or when Smart Mode cannot determine the correct function, you can manually select the desired mode using the AUTO/FUNC buton.
- Voltage (AC/DC): Presa AUTO/FUNC până la voltage symbol (V~ or V-) appears. Connect test leads in parallel to the circuit.
- Rezistență (Ω): Presa AUTO/FUNC until the Ω symbol appears. Connect test leads across the component. Ensure the circuit is de-energized.
- Continuitate: Presa AUTO/FUNC until the continuity symbol (speaker icon) appears. A beep indicates continuity.
- Curent (A): Switch the red test lead to the 10A jack. Press AUTO/FUNC until the current symbol (A~ or A-) appears. Connect the multimeter in series with the circuit.
- Capacitate (F): Presa AUTO/FUNC until the F symbol appears. Connect test leads across the capacitor. Ensure the capacitor is discharged.
- Test de diodă: Presa AUTO/FUNC until the diode symbol appears. Connect test leads across the diode.
- Frequency/Duty Cycle (Hz/%): Presa AUTO/FUNC until Hz or % appears.
- Temperatură (°C/°F): Connect the thermocouple to the appropriate input jacks. Press AUTO/FUNC until °C or °F appears.
- NCV (Vol. Fără contact)tage): Select NCV mode. Hold the top of the multimeter near a live wire. The device will beep and flash if voltage este detectat.
- Detectarea cablurilor sub tensiune: Select Live mode. Use the red test lead to detect live wires.

Image 5.2: A user performing an electrical measurement using the KAIWEETS KM601s multimeter.
5.4 funcții suplimentare
- Reținere date (HOLD): Apăsați tasta ȚINE Apăsați butonul pentru a îngheța citirea curentă pe afișaj. Apăsați din nou pentru a o elibera.
- MAX / MIN: Apăsați tasta MAX/MIN button to record the maximum and minimum values during a measurement session. Press again to cycle through MAX, MIN, and current readings.
- Lanternă: Press the flashlight button (often integrated with another function button, refer to device markings) to turn the flashlight on or off.

Image 5.3: The KAIWEETS KM601s multimeter's integrated flashlight illuminating a dark work area.
6. Întreținere
Proper maintenance ensures the longevity and accuracy of your KAIWEETS KM601s multimeter.
- curatenie: Ștergeți dispozitivul cu o lavetă uscată și moale. Nu utilizați substanțe de curățare abrazive sau solvenți.
- Depozitare: Store the multimeter in its protective case in a cool, dry place when not in use. Avoid extreme temperatures and humidity.
- Baterie: Recharge the battery regularly, even if the device is not frequently used, to maintain battery health.
- Cablii de testare: Inspect test leads for any signs of damage (cracks, frayed insulation) before each use. Replace damaged leads immediately.
- Siguranțe: If the current measurement function fails, the fuse may need replacement. Refer to the specifications for the correct fuse type and consult a qualified technician if unsure.
7. Depanare
If you encounter issues with your KAIWEETS KM601s, refer to the following common problems and solutions:
| Problemă | Cauza posibila | Soluţie |
|---|---|---|
| Dispozitivul nu pornește. | Baterie descărcată sau descărcată. | Charge the multimeter using the provided cable. |
| No reading or incorrect reading. | Incorrect function selected; poor test lead connection; damaged test leads; circuit not energized (for voltage); component faulty. | Verify function selection (Smart Mode or Manual); ensure test leads are firmly connected; check test leads for damage; confirm circuit status; test component separately. |
| Măsurarea curentului nu funcționează. | Red test lead in wrong jack; blown fuse. | Ensure red test lead is in the 10A jack; check and replace fuse if necessary (consult a professional). |
| Afișajul este întunecat sau pâlpâie. | Baterie descărcată. | Recharge the multimeter. |
| Oprirea automată se produce prea repede. | Setare implicită. | This is a power-saving feature. The auto-shutdown time is typically fixed and cannot be adjusted. |
8. Specificații
Technical specifications for the KAIWEETS KM601s Smart Digital Multimeter:
| Caracteristică | Caietul de sarcini |
|---|---|
| Marca | KAIWEETS |
| Numărul de model | KM601s |
| Afişa | 10000 Counts, Large Backlit LCD |
| Sursa de alimentare | Baterie reîncărcabilă de 1200 mAh |
| Evaluare de siguranță | IEC 61010-1, CAT III 1000V, CAT IV 600V |
| Certificari | CE, RoHS |
| Greutatea articolului | 265 de grame |
| Culoare | Negru |
| Origine | China |
9. Garanție și asistență
The KAIWEETS KM601s Smart Digital Multimeter comes with a Garanție de trei ani de la data achiziției. Această garanție acoperă defectele de materiale și de fabricație în condiții normale de utilizare.
For warranty claims, technical support, or any questions regarding the product, please contact KAIWEETS customer service through the retailer where you purchased the product or visit the official KAIWEETS website pentru informații de contact.
Vă rugăm să păstrați dovada achiziției pentru service-ul în garanție.