
Kaleinavi 03
Kaleinavi 6-Channel Industrial Wireless Remote Control System
Model: 03 - Manual de instrucțiuni pentru utilizator
Introducere
This manual provides detailed instructions for the installation, operation, and maintenance of your Kaleinavi 6-channel industrial wireless remote control system. This system is designed for reliable wireless control of various electrical devices, such as lights, electric doors, motors, and other industrial equipment, operating on DC12V, 24V, or 36V.
The system consists of a receiver unit and a remote control transmitter. It utilizes RF technology for stable signal transmission over distances up to 300 meters in open environments.

Imagine: Pesteview of the Kaleinavi 6-Channel Industrial Wireless Remote Control System, featuring the green receiver board with its antenna and the yellow handheld remote control unit.
Conținutul pachetului
- 1 x Receiver Unit (with protective cover)
- 1 x Remote Control Transmitter (with pre-installed battery)
Specificații
| Caracteristică | Descriere |
|---|---|
| Vol. De lucrutage | CC 12V - 36V |
| Curent de repaus | Mai puțin de 10mA |
| Curent de lucru | 30mA (per relay) |
| Temperatura de lucru | -40°C până la +80°C |
| Sensibilitate de recepție | Mai mare de -105dBm |
| Frecvența de lucru | 433MHz |
| Încărcare maximă | 10A Relay (Resistive load less than 8A, Inductive load less than 3A) |
| Dimensiune PCB | 87 mm x 92.6 mm x 16.4 mm |
| Dimensiunea carcasei | 90 mm x 115 mm x 40 mm |
| Distanța de la distanță | Up to 300m (in open field) |
| Numărul de canale | 6 canale |
Configurare și cablare
Before connecting the receiver, ensure that the power supply is disconnected to prevent electrical shock or damage to the device. The receiver supports a wide voltage input from DC12V to 36V.

Imagine: Detaliată view of the receiver's circuit board, highlighting the six blue relays and various electronic components.
Schema de cablare
The receiver provides dry contact relay outputs (NO, NC, COM) for each channel. Connect your devices according to the desired functionality. Below is a general wiring diagram for connecting loads.

Image: A schematic diagram illustrating how to connect DC 12-36V power and six independent loads to the receiver's terminal blocks.
Important: If you are unsure about the wiring process, it is recommended to consult a qualified electrician or contact customer support for assistance.
Moduri de operare
The receiver supports multiple working modes, which determine how the relays respond to remote control button presses. These modes can be set during the learning process.
- Mod momentan:
Press and hold a transmitter button (e.g., A), the corresponding receiver relay (A) turns ON. Release the button, and the relay (A) turns OFF. This applies to all channels (B, C, D, etc.).
- Modul de comutare:
Press a transmitter button (e.g., A) once, the corresponding receiver relay (A) turns ON. Press the same button (A) again, and the relay (A) turns OFF. This applies to all channels (B, C, D, etc.).
- Modul blocat:
Press a transmitter button (e.g., A), the corresponding receiver relay (A) turns ON, and all other relays (B, C, D, etc.) turn OFF. Press another transmitter button (e.g., D), the receiver relay (D) turns ON, and relays A, B, C turn OFF. Only one relay can be ON at a time.
Combined Working Modes
The system also supports combined working modes, allowing different behaviors for different sets of channels:
- 1-6CH Momentary
- 1-6CH Latched
- 1-6CH Toggle
- 1-3CH Momentary, 4-6CH Toggle
- 1-3CH Momentary, 4-6CH Latched
- 1-3CH Latched, 4-6CH Toggle
Programming (Learning Way and Steps)
To pair the remote control with the receiver and set the desired working mode, follow these steps:
- Intrați în modul de învățare: Press the "Learning Button" on the receiver board. The buzzer will start beeping continuously, indicating that the receiver has entered learning mode.
- Select Working Mode: On the remote control, press the button corresponding to the desired working mode (e.g., "1" for 1-6CH Momentary, "2" for 1-6CH Latched, "3" for 1-6CH Toggle, etc.).
- Confirm Learning: The buzzer on the receiver will emit three "Be Be Be" sounds, indicating successful learning. After this, you can press the transmitter button, and you should hear the relay actuate. The receiver will automatically exit learning mode if no action is taken within 32 seconds.
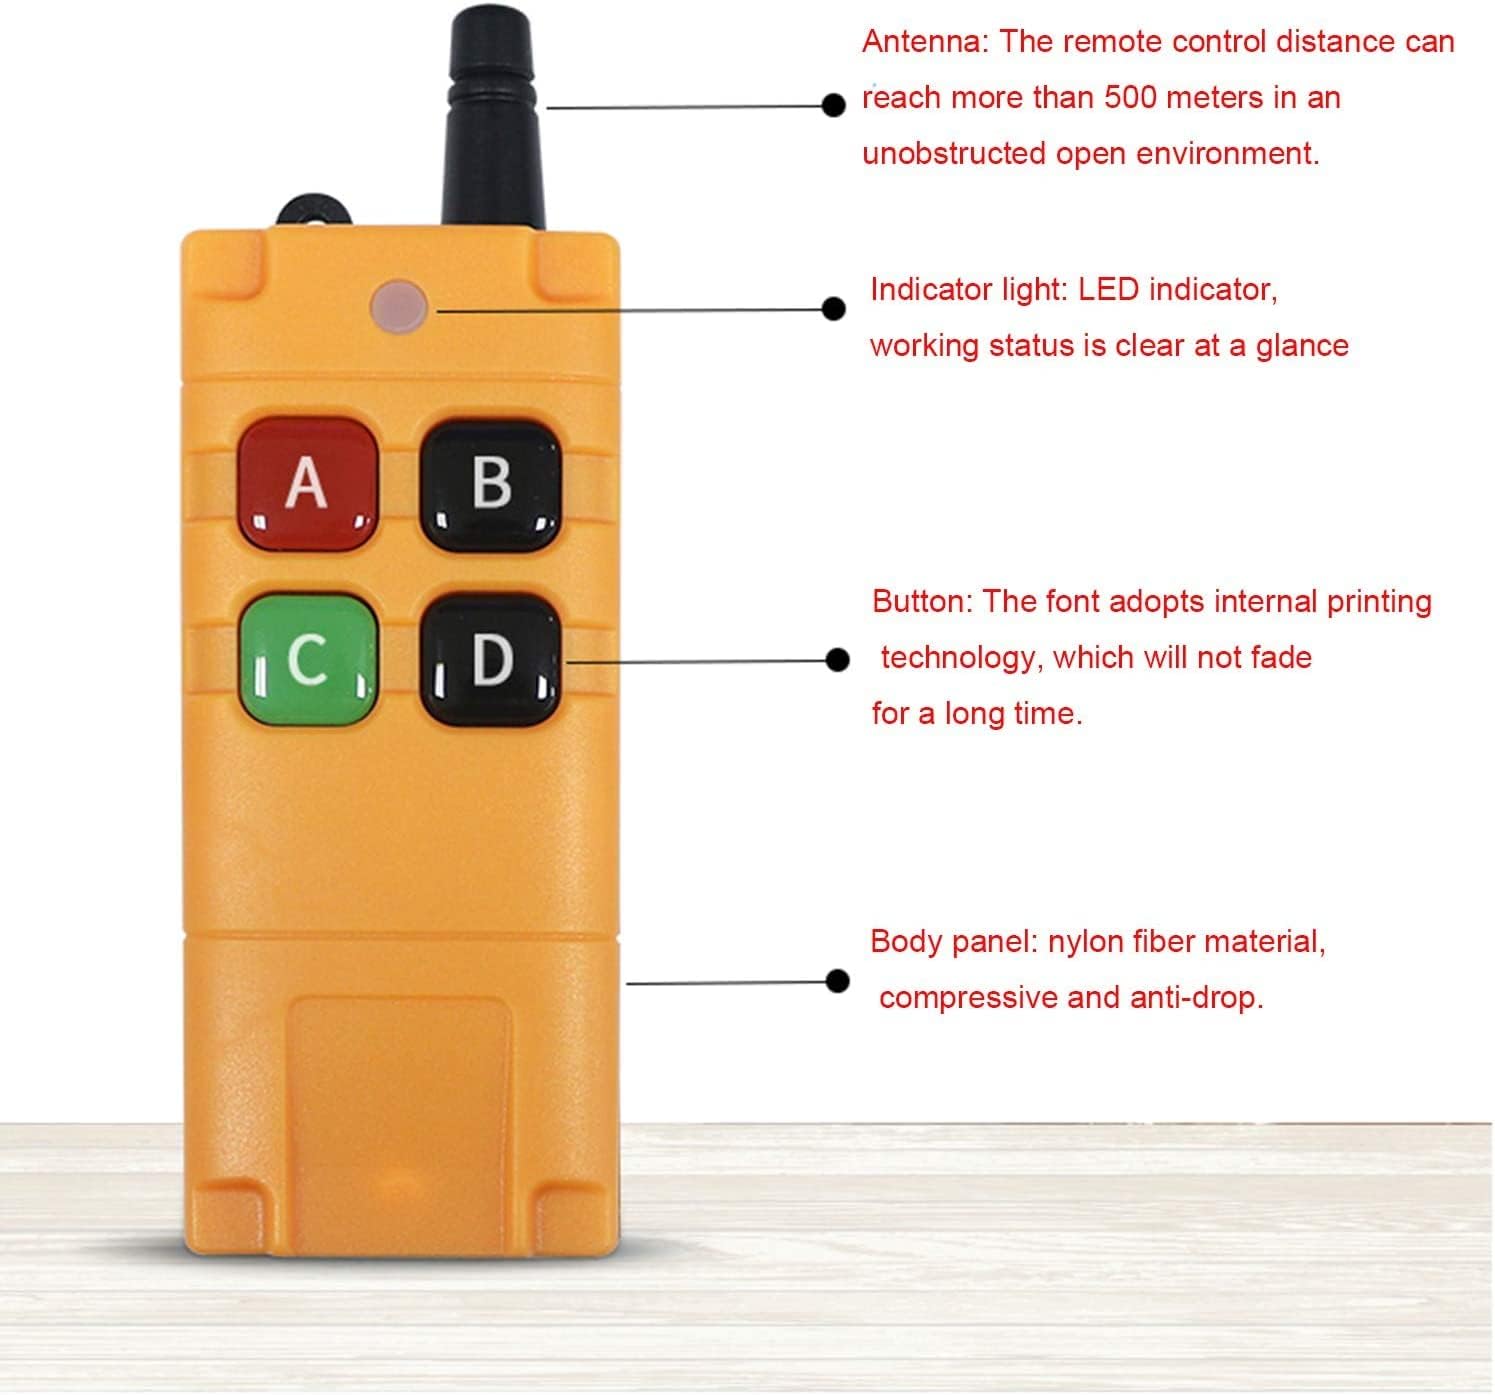
Image: Features of the remote control, including the antenna for extended range, an indicator light for operational status, and durable buttons with internal printing.
Delete Memory Message (Clear Codes)
It is necessary to clear existing codes before learning a new working mode or pairing with a different remote control. To delete all stored memory messages from the receiver:
- Inițiați ștergerea: Press and hold the "Learning Button" on the receiver.
- Confirm Deletion: The buzzer will beep continuously. Continue holding the button until the buzzer emits a "Be Be Be Be" sound (four beeps). Release the button immediately after these four beeps. Do not wait for six beeps.
- Verificare: All previously learned remote control codes are now deleted. The receiver is ready to learn new codes.
Întreţinere
To ensure the longevity and optimal performance of your Kaleinavi remote control system, follow these maintenance guidelines:
- curatenie: Use a soft, dry cloth to clean the receiver and remote control. Avoid using harsh chemicals or abrasive cleaners.
- Mediu: Store and operate the device in a dry environment, away from extreme temperatures, direct sunlight, and excessive dust.
- Înlocuirea bateriei (telecomandă): The remote control uses a 9V battery. When the indicator light dims or the range decreases, replace the battery.

Imagine: Internă view of the remote control's battery compartment, illustrating the placement of the 9V battery and the sealing ring for dust and water resistance.
- Timeout Protection (Remote Control): The remote control features a timeout protection function. If there is no operation for 10 minutes, the remote will automatically turn off to conserve battery life. To turn it on, press and hold any two buttons (e.g., A and B) for 0.5 seconds.
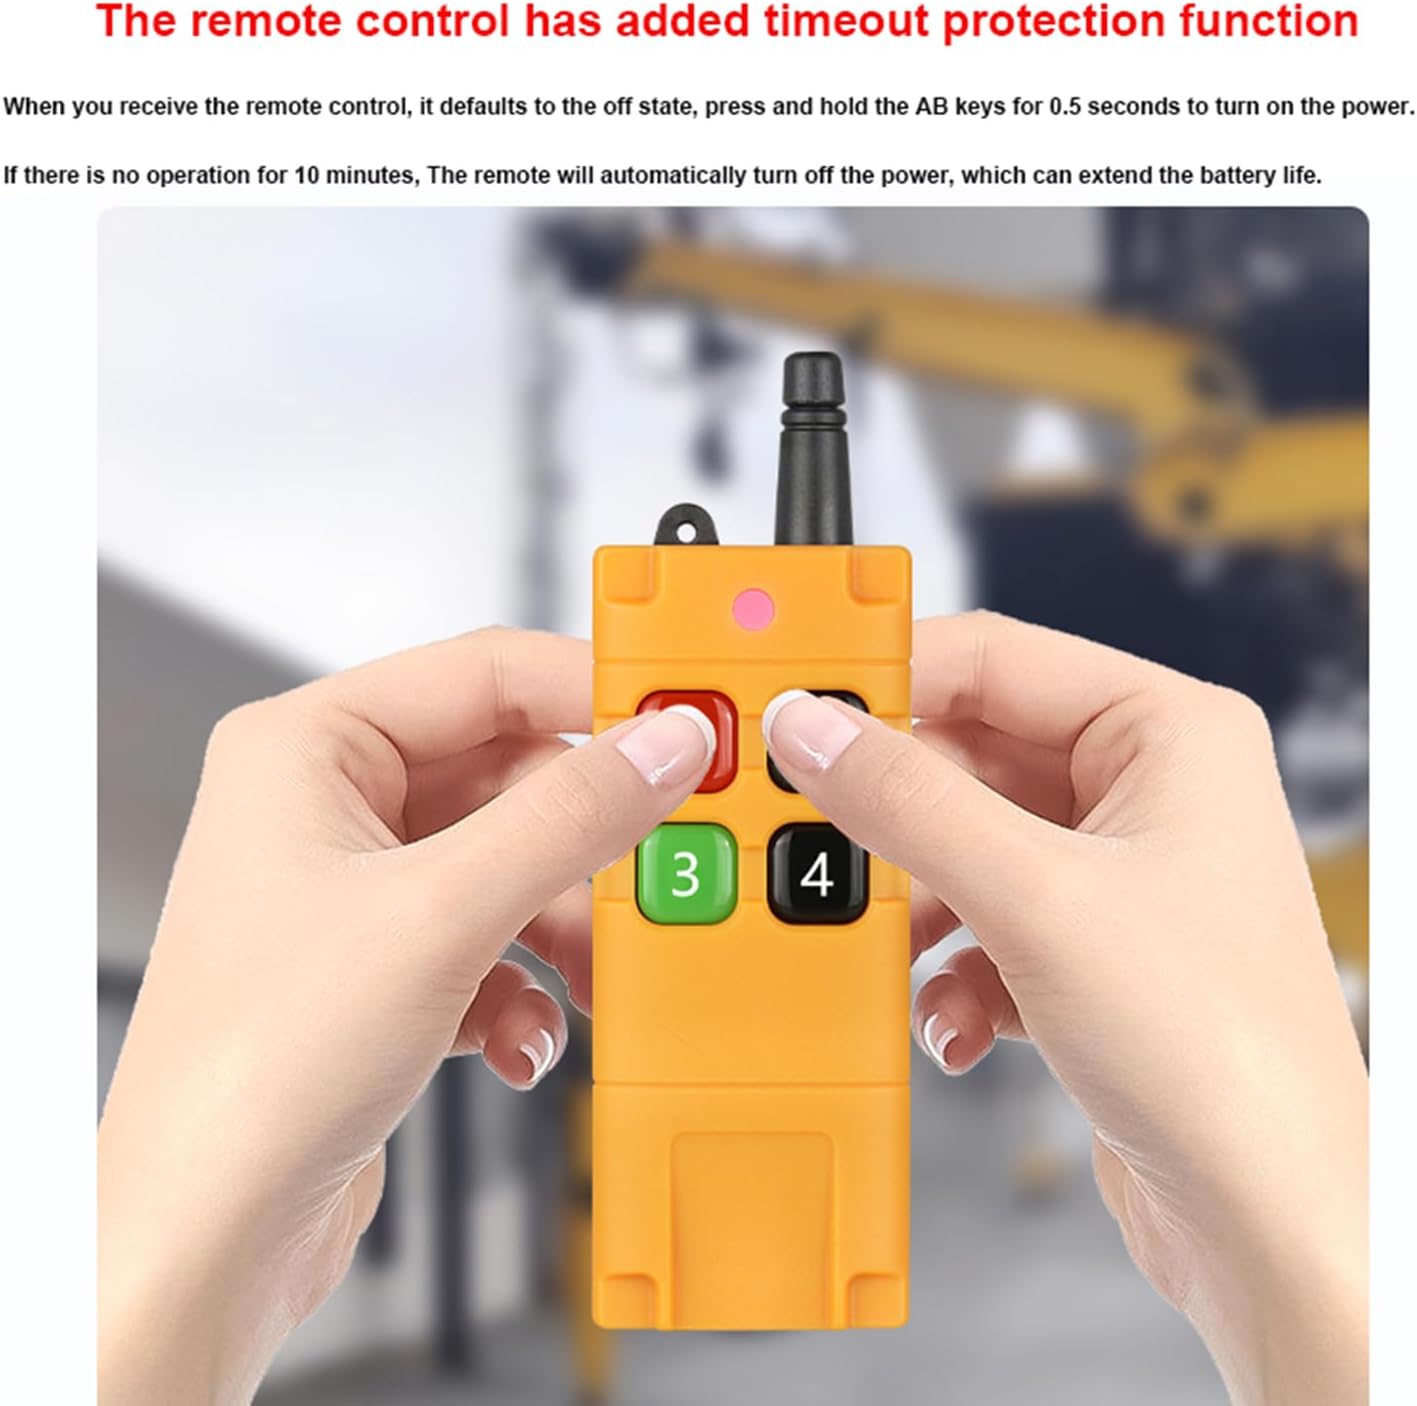
Image: A user's hands holding the remote control, illustrating the timeout protection feature which helps extend battery life by automatically powering off after 10 minutes of inactivity.
Depanare
If you encounter issues with your remote control system, refer to the following common problems and solutions:
- Sistemul nu răspunde:
- Check if the receiver is powered correctly (DC12V-36V).
- Asigurați-vă că bateria telecomenzii nu este descărcată. Înlocuiți-o dacă este necesar.
- Verify that the remote control is turned on (if it has timed out, press and hold two buttons for 0.5 seconds).
- Confirm that the remote control is properly paired with the receiver. If not, follow the "Programming" steps.
- Rază de acțiune redusă a telecomenzii:
- Verificați bateria telecomenzii.
- Ensure there are no significant obstacles (thick walls, metal structures) between the remote and the receiver.
- Avoid strong electromagnetic interference sources.
- Ensure the receiver's antenna is properly connected and positioned.
- Relays Not Actuating Correctly:
- Verify the wiring connections to the relays (NO, NC, COM).
- Check the load connected to the relay; ensure it does not exceed the maximum load specifications (10A, resistive load < 8A, inductive load < 3A).
- Confirm the working mode is set as desired (Momentary, Toggle, Latched). If unsure, clear codes and reprogram.
- Cannot Program New Remote:
- Ensure you have cleared all previous codes before attempting to learn new ones.
- Follow the "Programming" steps precisely, paying attention to the buzzer sounds.
Garanție și suport
This product comes with a one-year warranty from the date of purchase. The warranty covers defects in materials and workmanship under normal use.
For technical assistance, troubleshooting, or warranty claims, please contact Kaleinavi customer support. When contacting support, please have your product model number (03) and purchase details available.
Informații de contact: Please refer to your purchase documentation or the seller's contact details on the platform where you purchased the product.
Ask a question about this manual
Ask about setup, troubleshooting, compatibility, parts, safety, or missing instructions. Manuals+ will review the question and use this page’s manual context to help answer it.