
Pknight CR011R-3pin
Pknight CR011R-3pin ArtNet DMX Ethernet Lighting Controller Interface User Manual
Model: CR011R-3pin
1. Introducere
This manual provides comprehensive instructions for the setup, operation, and maintenance of your Pknight CR011R-3pin ArtNet DMX Ethernet Lighting Controller Interface. This device facilitates bi-directional conversion between Art-Net and DMX512 protocols, offering a robust solution for professional lighting control applications.
2. Produs terminatview
The Pknight CR011R-3pin is a compact and durable ArtNet DMX node designed for reliable performance in various lighting environments. It features an OLED display for direct configuration and supports versatile power options.

Figura 1: Pknight CR011R-3pin ArtNet DMX Ethernet Lighting Controller Interface.
2.1 Caracteristici cheie
- Bi-directional ArtNet/DMX Conversion: Supports both Art-Net to DMX and DMX to Art-Net modes.
- OLED Control System: Onboard display and buttons for direct device configuration.
- Versatile Power Solution: Compatible with 5V DC input and USB Power Delivery (PD) via USB-C.
- Configurație de la distanță: Settings can be adjusted remotely using DMX Workshop software.
- Construcție durabilă: Housed in a sturdy all-metal casing.
2.2 Componentele dispozitivului

Figura 2: Spate view of the CR011R-3pin showing DMX In/Out, Ethernet, and DC5V ports.
- Indicator LED albastru:
- Stays off: Standby mode, waiting for DMX (in/out).
- Stays on (no blinking): DMX-out mode, converts ArtNet to DMX output.
- Blinks continuously: DMX-in mode, converts DMX input to ArtNet.
- Female XLR Port (3-Pin): DMX input/output connection.
- RJ45 Port (ArtNet In/Out): Ethernet connection for Art-Net data.
- Green LED (left): Link LED.
- Green LED (right): Activity LED (blinks fast for data activity, off for no data).
- Port de alimentare (Tip C): 5V DC power input. Compatible with USB PD and third-party USB-C cables.
3. Configurare
3.1 Conexiune la alimentare
Connect the device to a 5V DC power source using the provided USB-C cable. The device supports USB Power Delivery (PD) and can be powered by 5V adapters, PC USB ports, or power banks.
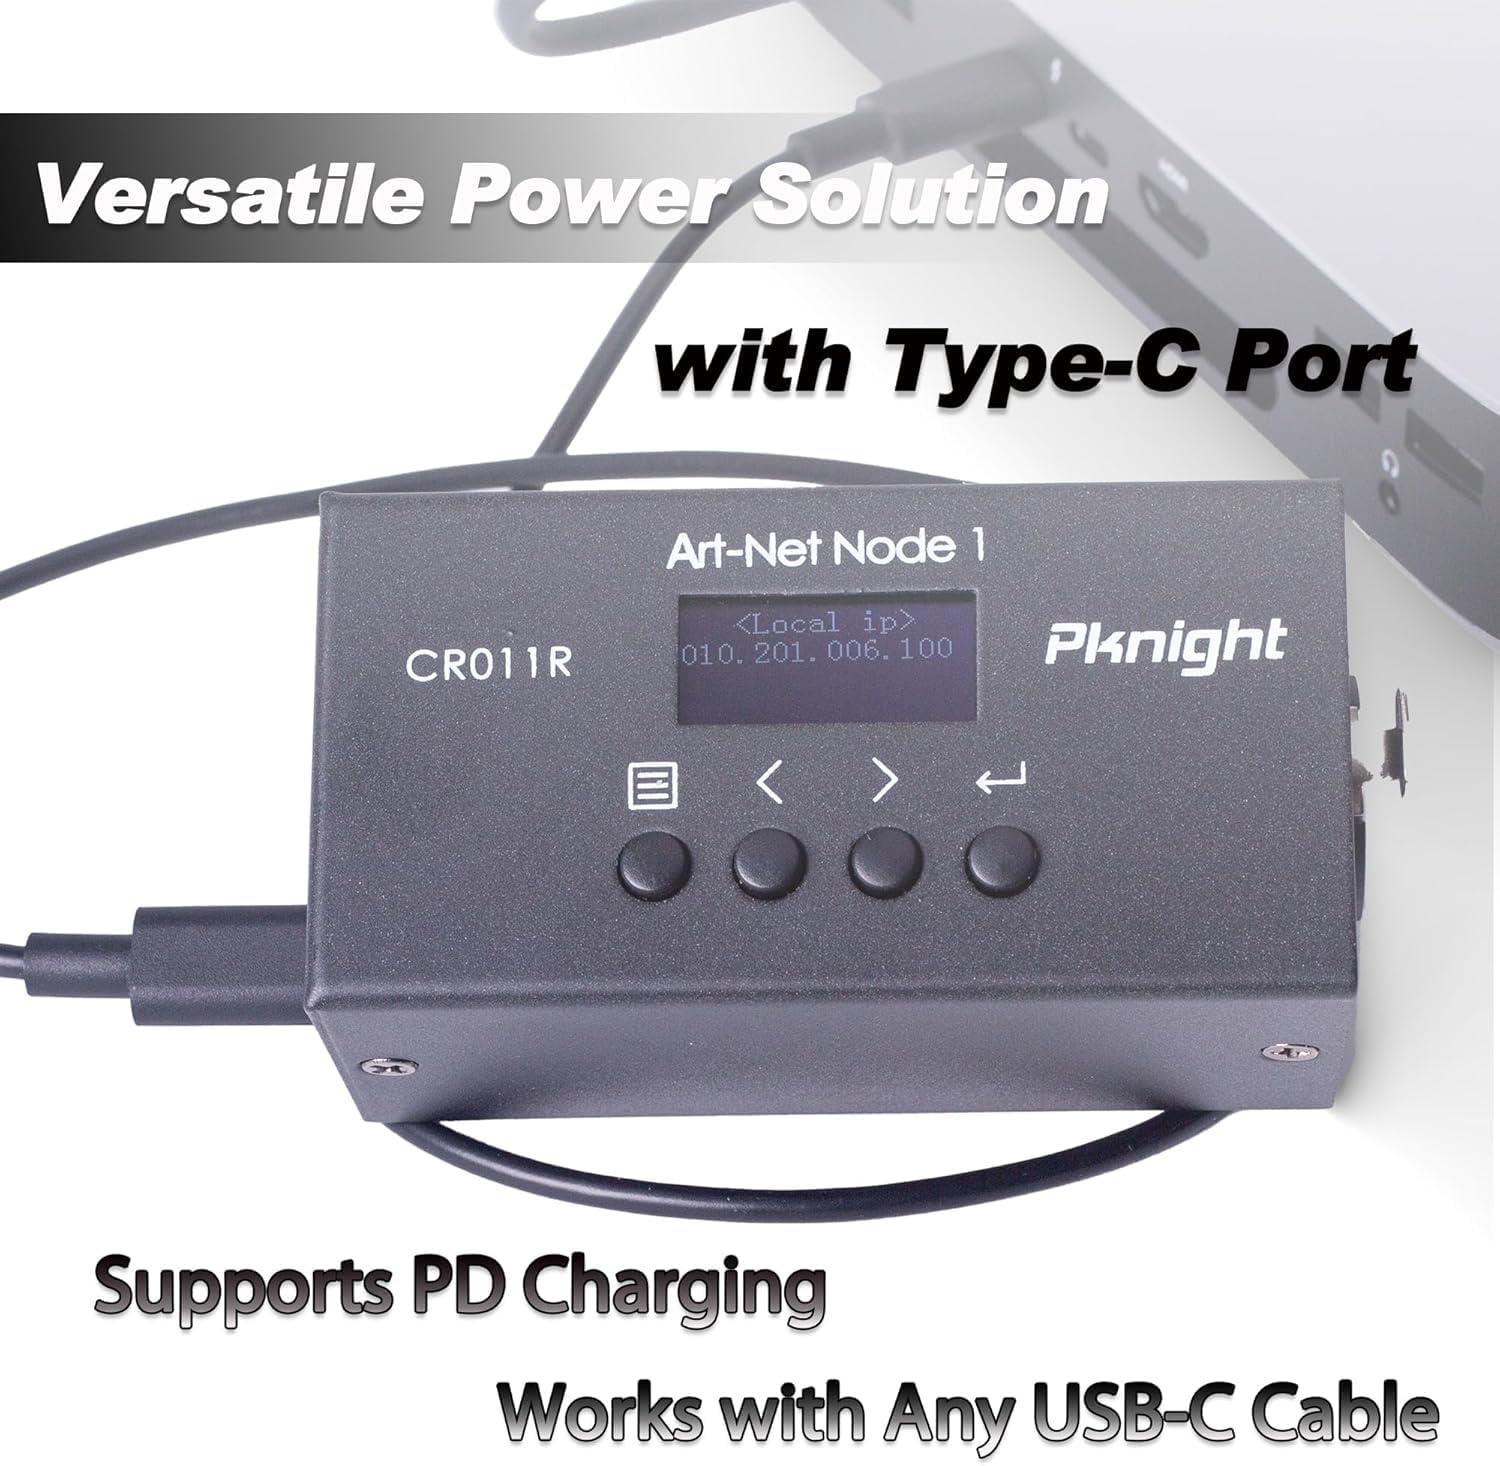
Figura 3: Powering the CR011R-3pin via its USB-C port.
3.2 Conexiune de rețea
Connect the RJ45 Ethernet port to your network switch or directly to a computer using a standard Ethernet cable. Ensure your network settings are configured to allow Art-Net communication.
3.3 Conexiune DMX
Connect your DMX lighting fixtures or DMX controller to the 3-pin XLR DMX In/Out port. The device will automatically detect the DMX signal direction based on its configured transmit mode.
4. Configuration (OLED Control System)
The CR011R-3pin features an OLED display and four function buttons for direct configuration without external software.

Figura 4: OLED display and control buttons.
- Ecran OLED: Displays current settings and menu options.
- Buton de meniu: Used to switch between menu options.
- Backward or Minus Button: Navigates backward or decreases a selected parameter.
- Forward or Plus Button: Navigates forward or increases a selected parameter.
- Buton Enter: Clicks to choose a function or parameter. Press and hold for 3 seconds to submit changes.
4.1 Remote Configuration and Naming
You can remotely configure network parameters (IP address, subnet mask, net address, subnet address, port universe) and customize the startup display text using the DMX Workshop application.

Figura 5: Customizing the device name using DMX Workshop.

Figura 6: Diagram illustrating the configuration flow for network and Art-Net parameters.
5. Moduri de operare
The CR011R-3pin supports bi-directional operation, allowing it to function as both an ArtNet to DMX converter and a DMX to ArtNet converter.
5.1 ArtNet to DMX (DMX Output Mode)
In this mode, the device receives Art-Net data over Ethernet and converts it into DMX512 signals, which are then output through the 3-pin XLR port to control DMX-compatible lighting fixtures. The blue LED indicator will stay on (no blinking).
5.2 DMX to ArtNet (DMX Input Mode)
When configured for DMX input, the device receives DMX512 signals from a DMX controller via the 3-pin XLR port and converts them into Art-Net data, which is then transmitted over Ethernet. This allows DMX consoles to control Art-Net compatible software or devices. The blue LED indicator will blink continuously.
To switch to DMX input mode, set the 'Transmit mode' to 'artnet <- dmx' via the OLED display or DMX Workshop.

Figura 7: Diagram illustrating DMX input mode, converting DMX to ArtNet for software control.
6. Aplicații
The Pknight CR011R-3pin is suitable for a variety of professional lighting applications, including:
- Stage controlul luminii
- Pixel LED installations
- Architectural decoration lighting
- Fixed lighting installations

Figura 8: Examen vizualamples of the CR011R-3pin in various lighting applications.
7. Specificații
| Caracteristică | Caietul de sarcini |
|---|---|
| Numărul de model | CR011R-3pin |
| Greutatea articolului | 13.4 uncii |
| Dimensiunile produsului | 4.53 x 2.76 x 2.36 inci |
| Porturi DMX | 1 (3-pin XLR, bi-directional) |
| Porturi Ethernet | 1 (RJ45, ArtNet In/Out) |
| Intrare de putere | 5V DC via USB-C (supports USB PD) |
| Interfață de control | OLED display and 4 function buttons |
| Materialul carcasei | Integral metalic |
8. Depanare
- No DMX Output/Input:
- Verify the 'Transmit mode' setting on the device or via DMX Workshop. Ensure it matches your intended operation (ArtNet to DMX or DMX to ArtNet).
- Verificați conexiunile cablului DMX și asigurați-vă că sunt fixate.
- Confirm that the DMX universe setting on the device matches your lighting control software. Note that some software may label the first universe as '1' while the device may internally refer to it as '0'. Adjust accordingly.
- Fără conectivitate la rețea:
- Ensure the Ethernet cable is properly connected and the green Link LED on the RJ45 port is illuminated.
- Check the IP address, subnet mask, and other network parameters configured on the device and your computer/network. Art-Net typically uses a specific IP range (e.g., 2.x.x.x or 10.x.x.x) and subnet mask (e.g., 255.0.0.0).
- If connecting directly to a computer, manually configure your computer's network adapter to be in the same IP range as the device.
- Confirm that your network allows UDP traffic on Art-Net's default port (6454).
- Dispozitivul nu pornește:
- Ensure the USB-C power cable is securely connected to both the device and a functional 5V power source.
- Try a different USB-C cable and power adapter to rule out faulty accessories.
9. Întreținere
To ensure the longevity and optimal performance of your Pknight CR011R-3pin, follow these maintenance guidelines:
- curatenie: Folosiți o lavetă moale și uscată pentru a curăța exteriorul dispozitivului. Evitați utilizarea de produse de curățare lichide sau solvenți, deoarece acestea pot deteriora finisajul sau componentele interne.
- Depozitare: Când nu îl utilizați, depozitați dispozitivul într-un loc răcoros și uscat, ferit de lumina directă a soarelui și de temperaturi extreme.
- Organizare de cabluri: Ensure all cables are routed properly to prevent strain on the connectors and accidental disconnections.
- Actualizări firmware: Verificați periodic producătorul website for any available firmware updates to ensure the device has the latest features and bug fixes.
10. Garanție și asistență
Pknight products are designed for reliability and performance. For specific warranty information, please refer to the warranty card included with your product or visit the official Pknight website. If you encounter any issues or require technical assistance, please contact Pknight customer support through their official channels.
Ask a question about this manual
Ask about setup, troubleshooting, compatibility, parts, safety, or missing instructions. Manuals+ will review the question and use this page’s manual context to help answer it.