1. Introducere
This manual provides essential information for the safe and efficient operation of your Reloop RP-7000 MK2 Direct Drive High Torque Turntable. Please read these instructions thoroughly before using the product to ensure proper setup, optimal performance, and longevity of your equipment. Keep this manual for future reference.
2. Instrucțiuni de siguranță
- Alimentare electrică: Conectați unitatea numai la o priză de curent alternativ cu volumul specificat.tage. Asigurați-vă că cablul de alimentare nu este deteriorat sau ciupit.
- Umiditate: Do not expose the unit to rain, moisture, or excessive humidity. Avoid placing liquid-filled objects on the turntable.
- Ventilare: Asigurați o ventilație adecvată în jurul unității. Nu blocați orificiile de ventilație.
- Plasare: Place the turntable on a stable, level surface away from direct sunlight, heat sources, and strong magnetic fields.
- curatenie: Deconectați alimentarea înainte de curățare. Folosiți o cârpă moale și uscată. Evitați utilizarea detergenților lichizi sau a solvenților.
- Service: Nu încercați să reparați unitatea singur. Apelați la personal calificat pentru toate lucrările de service.
3. Conținutul pachetului
Verificați dacă toate articolele enumerate mai jos sunt incluse în colet. Dacă lipsesc sau sunt deteriorate articole, contactați imediat distribuitorul.
- Reloop RP-7000 MK2 Direct Drive High Torque Turntable (x2)
- Dust Cover (x2)
- Digital Turntable Stylus Scale
- Record Care Solution
- Cablu de alimentare
- RCA prin cablu
- Sârmă la sol
- Slipmat
- Contragreutate
- Headshell with Cartridge (pre-mounted or separate, depending on region/bundle)

Figura 1: Pesteview of the Reloop RP-7000 MK2 turntable bundle components.
4. Configurare
4.1 Despachetarea și plasarea
- Carefully remove all components from the packaging. Retain packaging for future transport.
- Place the turntable on a flat, stable, and vibration-free surface. Ensure there is enough space for the dust cover to open fully.
- Attach the dust cover by aligning its hinges with the slots on the turntable's rear.

Figura 2: Turntable with the dust cover in place.
4.2 Platter and Slipmat Installation
- Așezați cu grijă platanul pe axul central. Asigurați-vă că este așezat la același nivel.
- Așezați covorașul deasupra platoului.
4.3 Configurarea brațului și a cartușului
- If not pre-mounted, attach the headshell with the cartridge to the tonearm. Secure it by turning the locking ring.
- Screw the counterweight onto the rear of the tonearm.
- Echilibrați brațul: Eliberați brațul clamp. Adjust the counterweight until the tonearm is perfectly balanced and floats horizontally.
- Setați forța de urmărire: Return the tonearm to its rest and clamp it. Rotate the numbered ring on the counterweight to '0' without moving the counterweight itself. Then, rotate the entire counterweight to the recommended tracking force for your cartridge (typically 2-4 grams for DJ cartridges).
- Setare Anti-Skate: Adjust the anti-skate dial to match the tracking force setting.
4.4 Using the Digital Stylus Scale
The included digital stylus scale allows for precise measurement of your cartridge's tracking force, ensuring optimal sound quality and minimizing record wear.
- Place the stylus scale on the platter.
- Porniți cântarul folosind butonul de pornire.
- Carefully lower the stylus onto the designated measuring point on the scale.
- Read the tracking force displayed. Adjust the tonearm's counterweight as needed until the desired force is achieved.

Figura 3: Digital Stylus Scale for precise tracking force measurement.
4.5 Conexiuni
- Ieșire audio: Connect the RCA cables from the turntable's audio output to the PHONO input of your mixer or amplifier. If your mixer/amplifier does not have a PHONO input, you will need an external phono preampmai în viață.
- Sârmă de împământare: Connect the ground wire from the turntable to the ground terminal on your mixer or amplifier to reduce hum.
- Putere: Connect the power cable to the turntable and then to a suitable AC power outlet.
5. Instrucțiuni de utilizare
Redare de bază 5.1
- Place a record on the slipmat.
- Selectați viteza corespunzătoare (33, 45 sau 78 RPM) folosind butoanele de selectare a vitezei.
- Apăsați tasta START/STOP buton pentru a începe rotirea platoului.
- Ridicați cu grijă brațul folosind maneta de replicare și poziționați stylus-ul peste canelura dorită de pe disc.
- Coborâți maneta de repornire pentru a plasa ușor stylus-ul pe disc.
- To stop playback, lift the tonearm using the cueing lever, return it to the tonearm rest, and press the START/STOP buton.
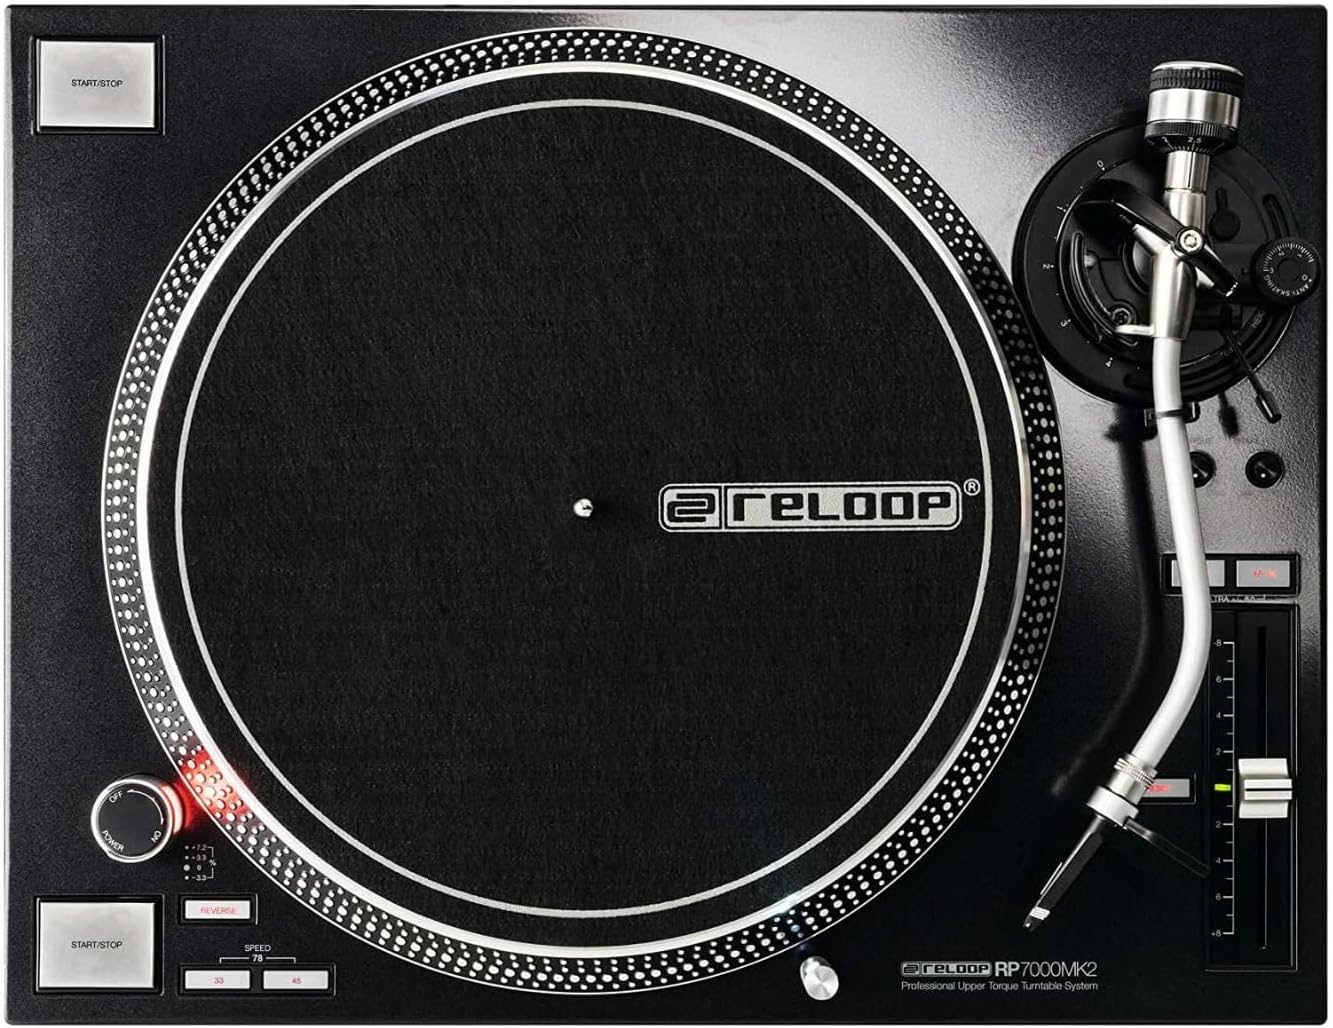
Figura 4: Turntable platter and control layout.
5.2 Controlul tonalității
The pitch fader allows you to adjust the playback speed (BPM) of the record. Move the fader up or down to increase or decrease the pitch. The pitch range can be selected using the range buttons (e.g., +/- 8%, 16%, 50%).
5.3 Funcția de inversare
The RP-7000 MK2 features a reverse playback function. Press the VERSO button to change the direction of platter rotation. Press it again to return to normal playback.
6. Întreținere
6.1 Curățarea platanului rotativ
- Deconectați întotdeauna curentul înainte de curățare.
- Use a soft, dry, lint-free cloth to wipe the surface of the turntable and dust cover.
- Evitați utilizarea de produse de curățare abrazive, solvenți sau spray-uri chimice, deoarece acestea pot deteriora finisajul.
6.2 Îngrijirea stylusului
- Gently brush the stylus from back to front using a soft stylus brush to remove dust and debris.
- Evitați să atingeți stylus-ul cu degetele.
6.3 Îngrijirea înregistrărilor
The included record care solution helps maintain the quality of your vinyl records and prolong their lifespan.
- Apply a small amount of record care solution to a clean, soft, lint-free cloth or a dedicated record cleaning brush.
- Gently wipe the record surface in a circular motion, following the grooves.
- Allow the record to dry completely before playing.
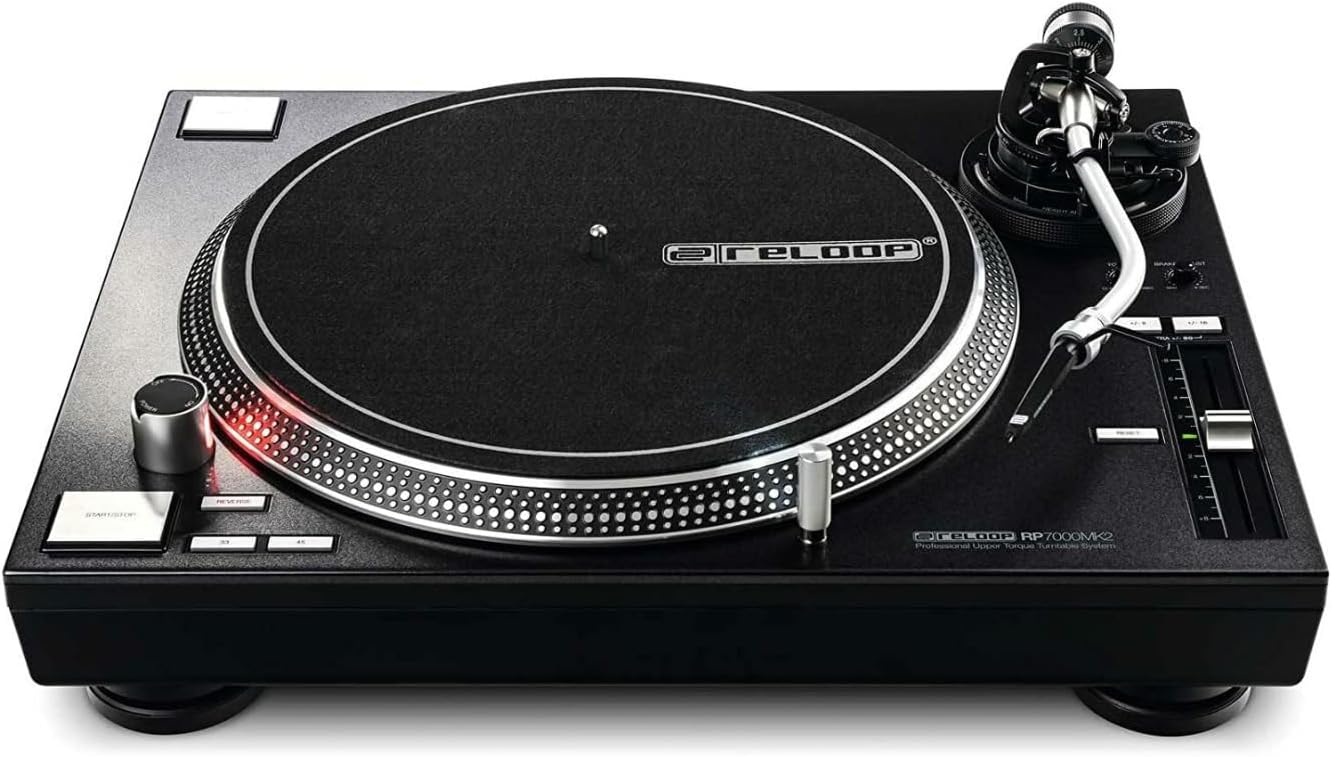
Figura 5: Record Care Solution for maintaining vinyl quality.
7. Depanare
| Problemă | Cauza posibila | Soluţie |
|---|---|---|
| Fără putere | Cablul de alimentare nu este conectat; priza nu este activă | Verificați conexiunea cablului de alimentare; testați priza cu un alt dispozitiv |
| Fără sunet sau volum redus | RCA cables incorrect; no PHONO input; amplifier/mixer settings | Ensure RCA cables are connected to PHONO input; check amplifier/mixer input selection and volume |
| Zgomot de zumzet | Ground wire not connected; interference | Connect ground wire; move turntable away from other electronic devices |
| Sunet sărit sau distorsionat | Incorrect tracking force; dirty stylus/record; damaged stylus | Adjust tracking force using stylus scale; clean stylus and record; replace stylus if damaged |
| Platoul nu se învârte | START/STOP button not pressed; motor issue | Press START/STOP; if problem persists, contact support |
8. Specificații
| Caracteristică | Detaliu |
|---|---|
| Numele modelului | RP-7000 MK2 |
| Marca | Reloop |
| Tip motor | Direct Drive DC Motor |
| Caracteristica specială | Cuplu mare |
| Dimensiunile produsului | 27.9 x 20 x 18.6 inci |
| Material | Metal |
| Culoare | Negru |
| Dispozitive compatibile | Speaker, Headphone, Personal Computer, MP3 Player, Laptop |
| Formatul semnalului | Digital |
9. Garanție și asistență
Reloop products are designed for reliability and performance. For warranty information, please refer to the warranty card included with your product or visit the official Reloop website. For technical support or service inquiries, please contact your authorized Reloop dealer or distributor.
Producător: Reloop
Data primului disponibil: 8 iulie 2022