
Introducere
This manual provides detailed instructions for the installation, operation, and maintenance of your AXAGON ADSA-ST USB 3.0 Docking Station. This device is designed to connect 2.5" and 3.5" SATA SSDs and HDDs to your computer via a USB 3.0 interface, offering fast data transfer speeds.
Vă rugăm să citiți cu atenție acest manual înainte de a utiliza produsul pentru a asigura funcționalitatea corectă și a preveni deteriorarea.
Conținutul pachetului
Verificați dacă toate componentele sunt prezente în pachet:
- AXAGON ADSA-ST Docking Station
- USB 3.0 Type-A to Micro-B cable
- Adaptor de alimentare
- Manual de utilizare (acest document)

Image: The AXAGON ADSA-ST Docking Station shown alongside its retail packaging, illustrating the product and its box.
Caracteristici cheie
- Supports 2.5" and 3.5" SATA I/II/III SSDs and HDDs.
- USB 3.0 (USB 3.2 Gen 1) interface with up to 5 Gbps transfer speed.
- SATA 6G (SATA III) support.
- UASP (USB Attached SCSI Protocol) support for enhanced performance.
- TRIM support for SSDs.
- HDD Auto Spindown function.
- LED indication for power and activity.
- Compact design with aluminum body.

Imagine: A view of the AXAGON ADSA-ST Docking Station highlighting its 5 Gbps USB 3.2 Gen 1 speed and compact size.
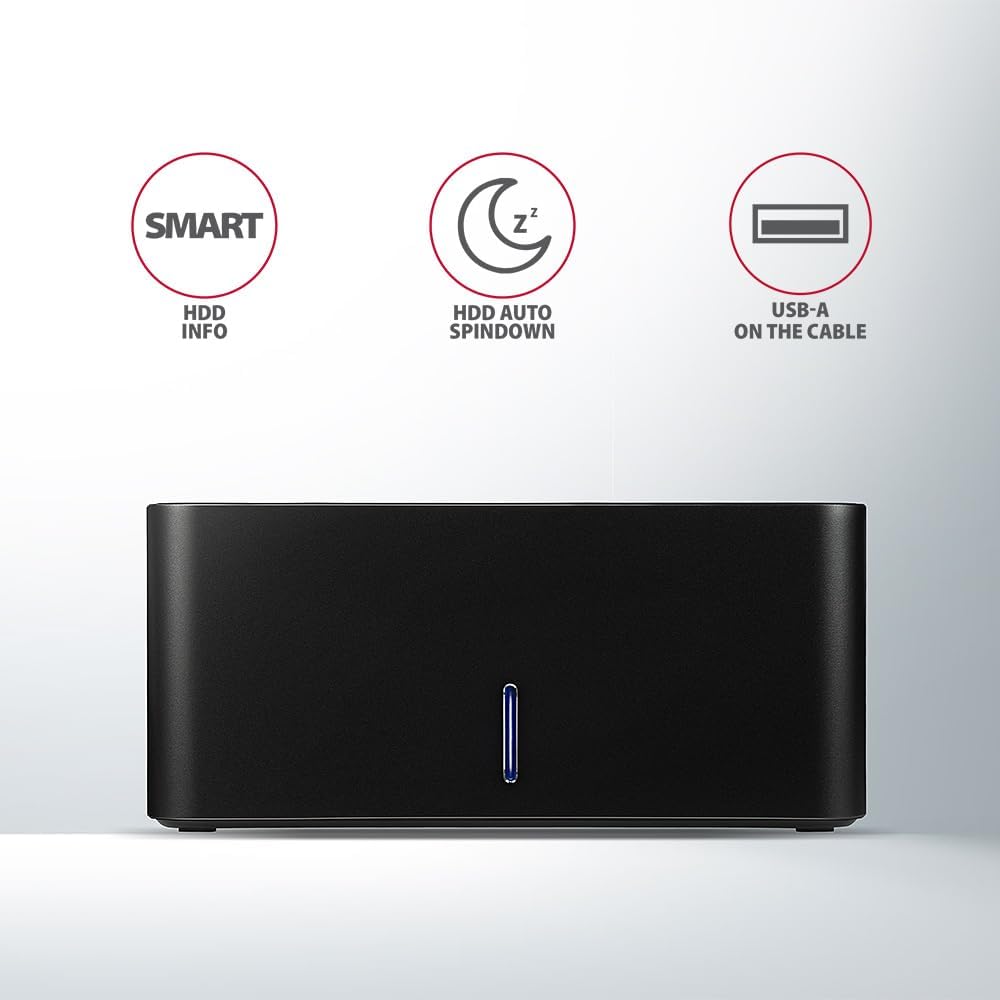
Image: The docking station from the front, indicating features like SMART HDD info, automatic HDD spindown, and USB-A connectivity.
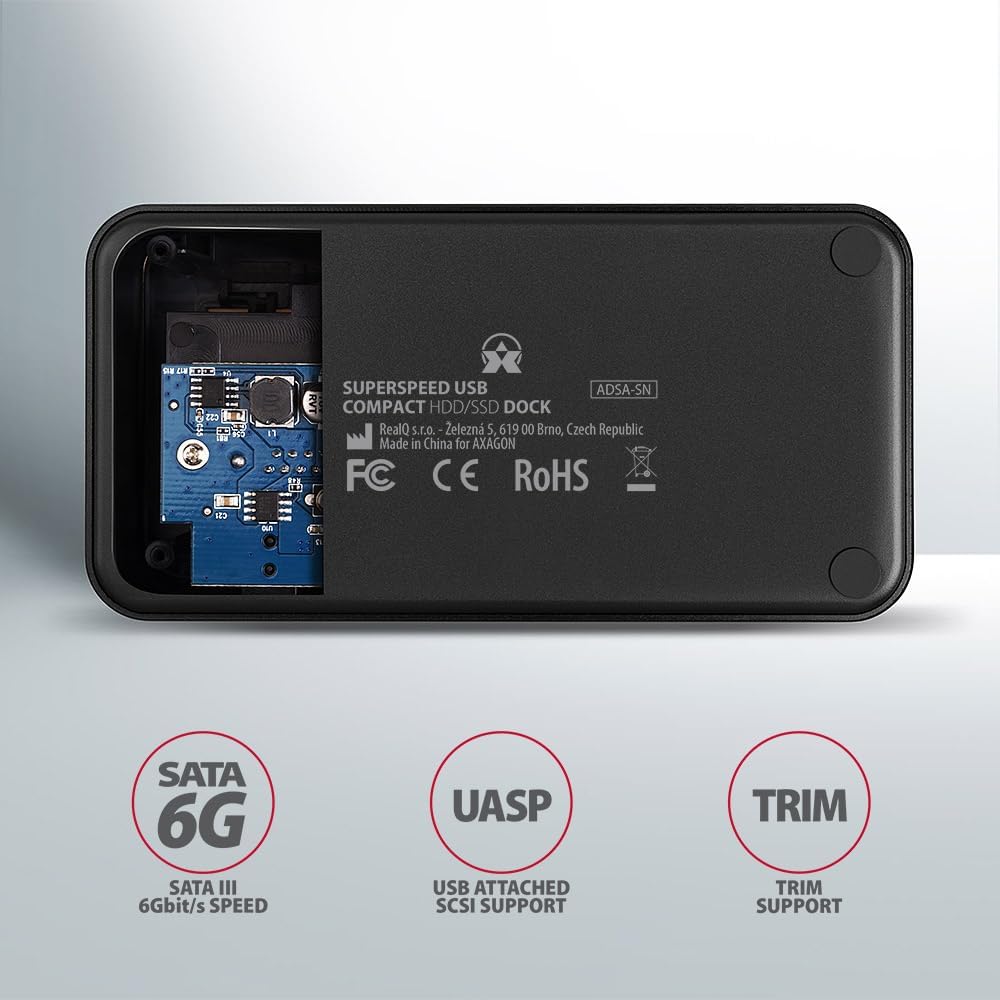
Image: The underside of the docking station, showing internal components and highlighting SATA 6G, UASP, and TRIM support.
Instrucțiuni de configurare
- Conectați adaptorul de alimentare: Plug the included power adapter into the DC IN port on the back of the docking station and then into a power outlet.
- Conectare la computer: Connect the USB 3.0 cable from the docking station's Micro-B port to an available USB 3.0 (or higher) port on your computer.
- Insert HDD/SSD:
- For 2.5" SSD/HDD: Gently slide the 2.5" drive into the slot until it connects firmly with the SATA connector.
- For 3.5" HDD: Gently slide the 3.5" drive into the slot until it connects firmly with the SATA connector.
Ensure the drive is inserted correctly with the SATA connector facing the correct direction. Do not force the drive.

Image: A 2.5-inch SSD being inserted into the docking station, demonstrating compatibility with smaller drives.
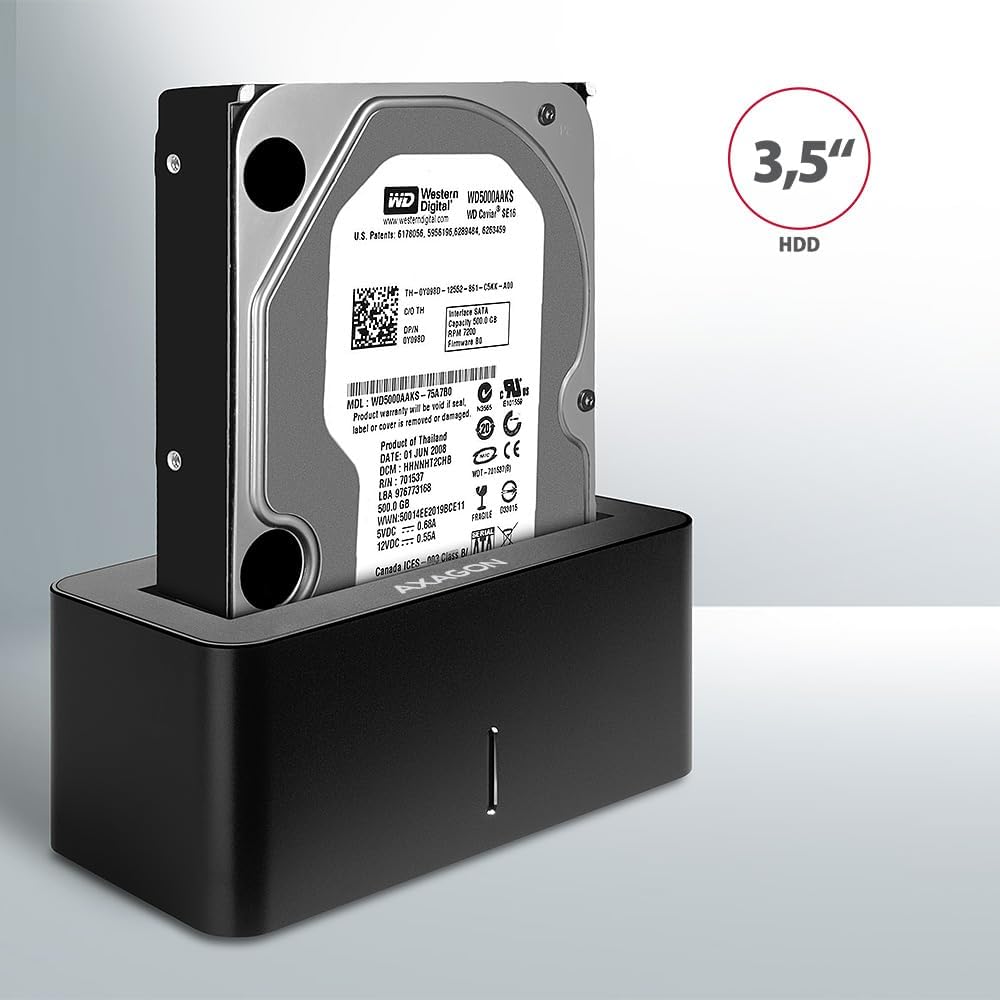
Image: A 3.5-inch HDD being inserted into the docking station, demonstrating compatibility with larger drives.
- Pornire: Press the power button located on the back of the docking station. The LED indicator on the front will illuminate.
Image: The rear panel of the docking station, showing the power button, USB Micro-B port, and power input for connection.
Instrucțiuni de operare
Drive Recognition
Once powered on and connected, your operating system should automatically detect the inserted drive. If it's a new drive, you may need to initialize and format it through Disk Management (Windows) or Disk Utility (macOS) before it appears in File Explorator/Căutător.
Indicator LED
The LED indicator on the front of the docking station provides status information:
- Albastru solid: Power on, drive idle.
- Albastru intermitent: Drive activity (reading or writing data).
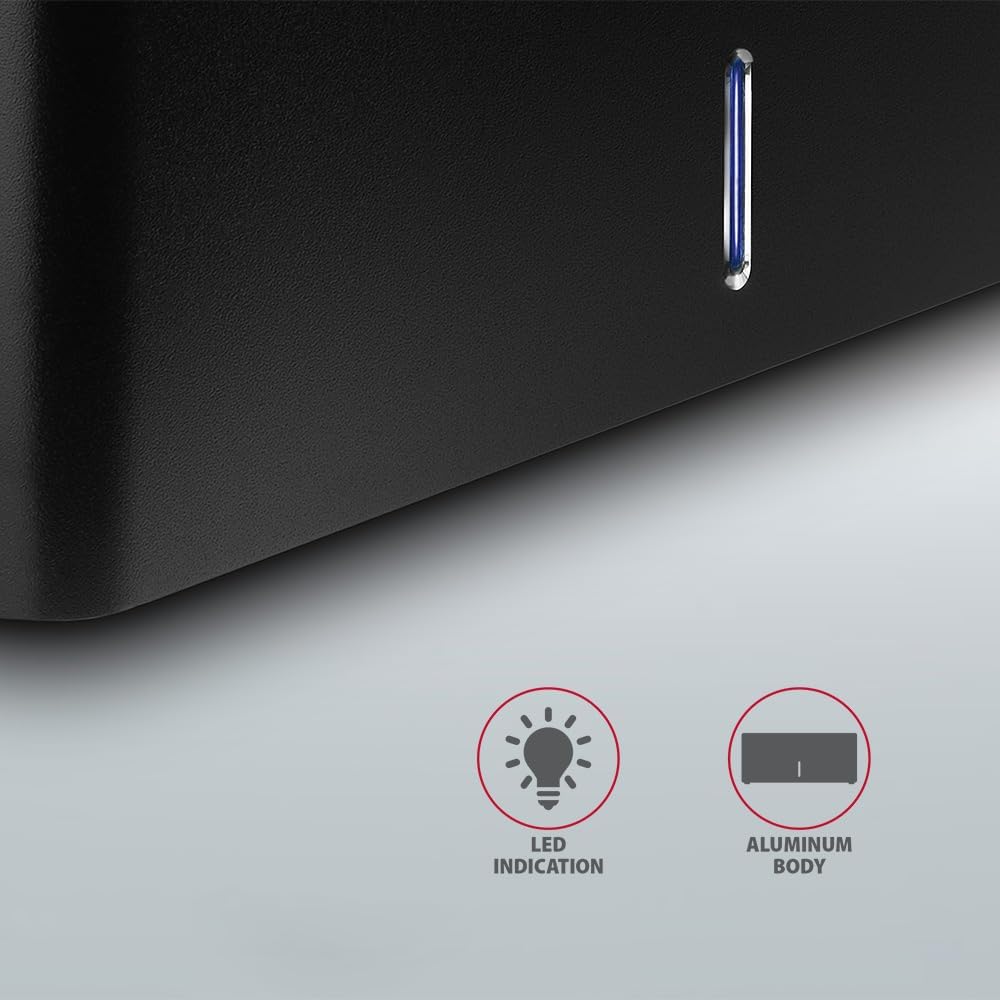
Imagine: Un prim-plan view of the docking station's front panel, highlighting the LED indicator light.
Removing a Drive
Before removing a drive, always safely eject it from your operating system to prevent data corruption. After ejection, gently pull the drive straight out of the docking station slot.
Rotire automată HDD
The docking station supports automatic spindown of the HDD when it is idle for a certain period, conserving power and extending drive lifespan. This feature is managed by the operating system or the drive itself.
Întreţinere
- Păstrați stația de andocare curată și fără praf. Folosiți o cârpă moale și uscată pentru curățare.
- Evitați expunerea dispozitivului la temperaturi extreme, umiditate sau lumina directă a soarelui.
- Nu încercați să dezasamblați sau să reparați dispozitivul singur. Adresați-vă personalului de service calificat.
- Ensure proper ventilation around the docking station during operation.
Depanare
- Unitatea nu a fost detectată:
- Asigurați-vă că adaptorul de alimentare este conectat corect și că stația de andocare este pornită.
- Verify the USB cable is properly connected to both the docking station and the computer.
- Încercați un alt port USB pe computer.
- Ensure the HDD/SSD is fully seated in the docking station's slot.
- Check Disk Management (Windows) or Disk Utility (macOS) to see if the drive is recognized but uninitialized/unformatted.
- Test with a different HDD/SSD to rule out a drive issue.
- Viteze mici de transfer:
- Ensure the docking station is connected to a USB 3.0 (or higher) port on your computer. USB 2.0 ports will limit speeds.
- Verify your operating system and drivers are up to date.
- The actual speed depends on the drive's performance and your computer's USB controller.
- Drive disconnects randomly:
- Verificați toate conexiunile prin cablu.
- Asigurați-vă că adaptorul de alimentare furnizează o alimentare stabilă.
- Disable USB power saving features in your computer's operating system settings.
Specificatii tehnice
| Caracteristică | Detaliu |
|---|---|
| Marca | AXAGON |
| Numărul de model | ADSA-SN |
| Platformă hardware | PC |
| Dispozitive compatibile | Laptop, PC desktop |
| Compatibilitate cu unitatea | 2.5" / 3.5" SATA I/II/III SSD/HDD |
| Interfață | USB 3.0 (USB 3.2 Gen 1) |
| Rata de transfer de date | Up to 5 Gbps (USB 3.0), 6 Gbps (SATA III) |
| Total porturi USB | 1 (Micro-B) |
| Numărul de locații de unitate | 1 |
| Culoare | Negru |
| Greutatea articolului | 2.2 livre (aprox. 1 kg) |
| Dimensiuni pachet | 3.94 x 0.79 x 0.39 inci (aprox. 10 x 2 x 1 cm) |
| Data primului disponibil | 30 martie 2021 |
Garanție și suport
For warranty information and technical support, please refer to the official AXAGON website-ul web sau contactați distribuitorul local. Păstrați dovada achiziției pentru solicitările de garanție.