
1. Introducere și Pesteview
This manual provides essential information for the safe and efficient operation of your OMTech 50W Fiber Laser Engraver with Rotary Axis. This machine is designed for precise marking and etching on various materials, including metals and certain plastics. Please read this manual thoroughly before initial use and retain it for future reference.

Image 1.1: The OMTech 50W Fiber Laser Engraver system, including the laser head, control unit, and rotary axis.
The OMTech 50W Fiber Laser Engraver features a durable solid-state laser source with an average service life exceeding 100,000 hours. Its high-speed galvanometric system ensures rapid scanning and engraving, capable of marking at speeds up to 10,000 mm/s. The compact F-theta field lens provides a 7.9x7.9 inch (200x200 mm) workbed with less than 1% distortion, ensuring high precision for detailed designs.
2. Informații de siguranță
Operating a laser engraver requires strict adherence to safety protocols to prevent injury. This device is a Class 2 laser product (0.874 mW output power). Always prioritize safety.
- Protecția ochilor: Always wear the provided protective eyewear when the laser is in operation. Never look directly into the laser beam or at reflections.
- Oprire de urgență: Familiarize yourself with the location and function of the emergency stop button. In case of any malfunction or hazard, immediately press this button to cut power to the laser.
- Zona de lucru: Ensure the work area is clear of flammable materials. Do not operate the laser near explosive gases or vapors.
- Ventilare: Ensure adequate ventilation to dissipate fumes and particles generated during engraving.
- Utilizare neautorizată: Use the access key to prevent unauthorized operation of the machine.

Image 2.1: The control panel with clearly marked emergency stop button, key switch, and laser activation button for safe operation.
3. Conținutul pachetului
Verify that all components are present and undamaged upon unpacking. If any items are missing or damaged, contact customer support immediately.
- Fiber Laser Engraver Unit (Laser Head and Column)
- Unitatea de control
- Atașament pentru axa rotativă
- Ochelari de protecție
- Cablu de alimentare
- USB Drive with EzCad2 Software
- Cablu USB
- Focusing Ruler/Gauge
- Manual de utilizare (acest document)
4. Instrucțiuni de configurare
Follow these steps to set up your OMTech Fiber Laser Engraver:
- Despachetarea: Carefully remove all components from the packaging. Retain packaging for potential future transport or service.
- Plasare: Place the laser engraver unit and control unit on a stable, level surface in a well-ventilated area.
- Conexiuni: Connect the laser head to the control unit using the provided cables. Connect the power cable to the control unit and a grounded power outlet. Connect the control unit to your computer via the USB cable.
- Instalare software: Insert the provided USB drive into your computer. Install the EzCad2 software. Ensure your operating system meets the software requirements.
- Rotary Axis (Optional): If using the rotary axis, connect it to the 4-pin port on the control unit.

Image 4.1: The height adjustment knob for convenient manual focusing of the laser head.
5. Instrucțiuni de utilizare
This section outlines the basic steps for operating your laser engraver.
5.1. Focalizarea laserului
Accurate focusing is crucial for optimal engraving results.
- Place your material on the workbed.
- Activate the red dot pointer (usually via software or a dedicated button).
- Adjust the height of the laser head using the manual focus knob until the two red dots from the pointer converge into a single, sharp dot on the material surface.
- The red dot guidance also provides an outline or pattern preview on the workpiece, aiding in precise positioning.

Image 5.1: Red dot guidance system showing outline and pattern preview on a workpiece for precise alignment.
5.2. Using EzCad2 Software
The EzCad2 software is used to create and control your engraving projects. The device is also compatible with LightBurn software.
- Launch EzCad2 on your computer.
- Import or create your design. The software supports various image formats.
- Adjust laser parameters such as power, speed, frequency, and number of passes according to your material and desired effect.
- Utilizați preview function to verify the engraving area and pattern.
- Ensure protective eyewear is worn, then initiate the engraving process.

Image 5.2: EzCad2 software interface on a computer, demonstrating design capabilities and LightBurn compatibility.
5.3. Rotary Axis Operation
The included rotary axis allows for engraving on curved or cylindrical surfaces.
- Attach the rotary axis to the laser engraver unit and connect it to the control unit.
- Secure the cylindrical object (e.g., ring, bracelet, cup) firmly in the rotary chuck.
- Adjust the height and position of the rotary axis and laser head to ensure proper focus and alignment with the object.
- Configure the rotary axis settings within the EzCad2 software for cylindrical engraving.
- Proceed with engraving as described in Section 5.2.

Imaginea 5.3: Examples of cylindrical objects being engraved using the rotary axis, demonstrating its capability for curved surfaces.
6. Întreținere
Întreținerea regulată asigură longevitatea și performanța optimă a gravatorului laser.
- curatenie: Regularly clean the workbed and surrounding areas to remove debris and dust. Use a soft, lint-free cloth.
- Îngrijirea lentilelor: The F-theta scanning lens is a critical component. Clean it gently with lens cleaning solution and a specialized lens cloth only when necessary, following manufacturer guidelines. Avoid touching the lens surface with bare hands.
- Verificarea cablului: Periodically inspect all cables for signs of wear or damage. Replace any damaged cables immediately.
- Actualizări de software: Keep your EzCad2 or LightBurn software updated to the latest version for improved performance and features.
7. Depanare
Această secțiune abordează problemele frecvente pe care le-ați putea întâmpina.
- Fără ieșire laser:
- Ensure the machine is powered on and the key switch is in the 'ON' position.
- Check if the emergency stop button is disengaged.
- Verificați dacă toate cablurile sunt conectate în siguranță.
- Confirm the laser is enabled in the software.
- Calitate slabă a gravurii:
- Check laser focus. Re-focus the laser as described in Section 5.1.
- Adjust laser parameters (power, speed, frequency) for the specific material.
- Ensure the material surface is clean and free of obstructions.
- Inspect the lens for dirt or damage.
- Software Not Connecting:
- Ensure the USB cable is properly connected to both the control unit and the computer.
- Restart both the laser engraver and the computer.
- Verificați driverele de dispozitiv de pe computer.
If you encounter issues not covered here or require further assistance, please contact OMTech customer support.
8. Specificații
| Caracteristică | Caietul de sarcini |
|---|---|
| Numărul de model | FMM-5RW2U1 |
| Putere laser | 50W |
| Tip laser | Solid-State Fiber Laser |
| Zona de lucru | 7.9" x 7.9" (200 x 200 mm) |
| Viteza de gravare | Până la 10,000 mm/s |
| Gravură de precizie | 0.01 mm |
| Laser Source Service Life | Peste 100,000 de ore |
| Compatibilitate software | EzCad2 (included), LightBurn (compatible) |
| Axa rotativă | Inclus |
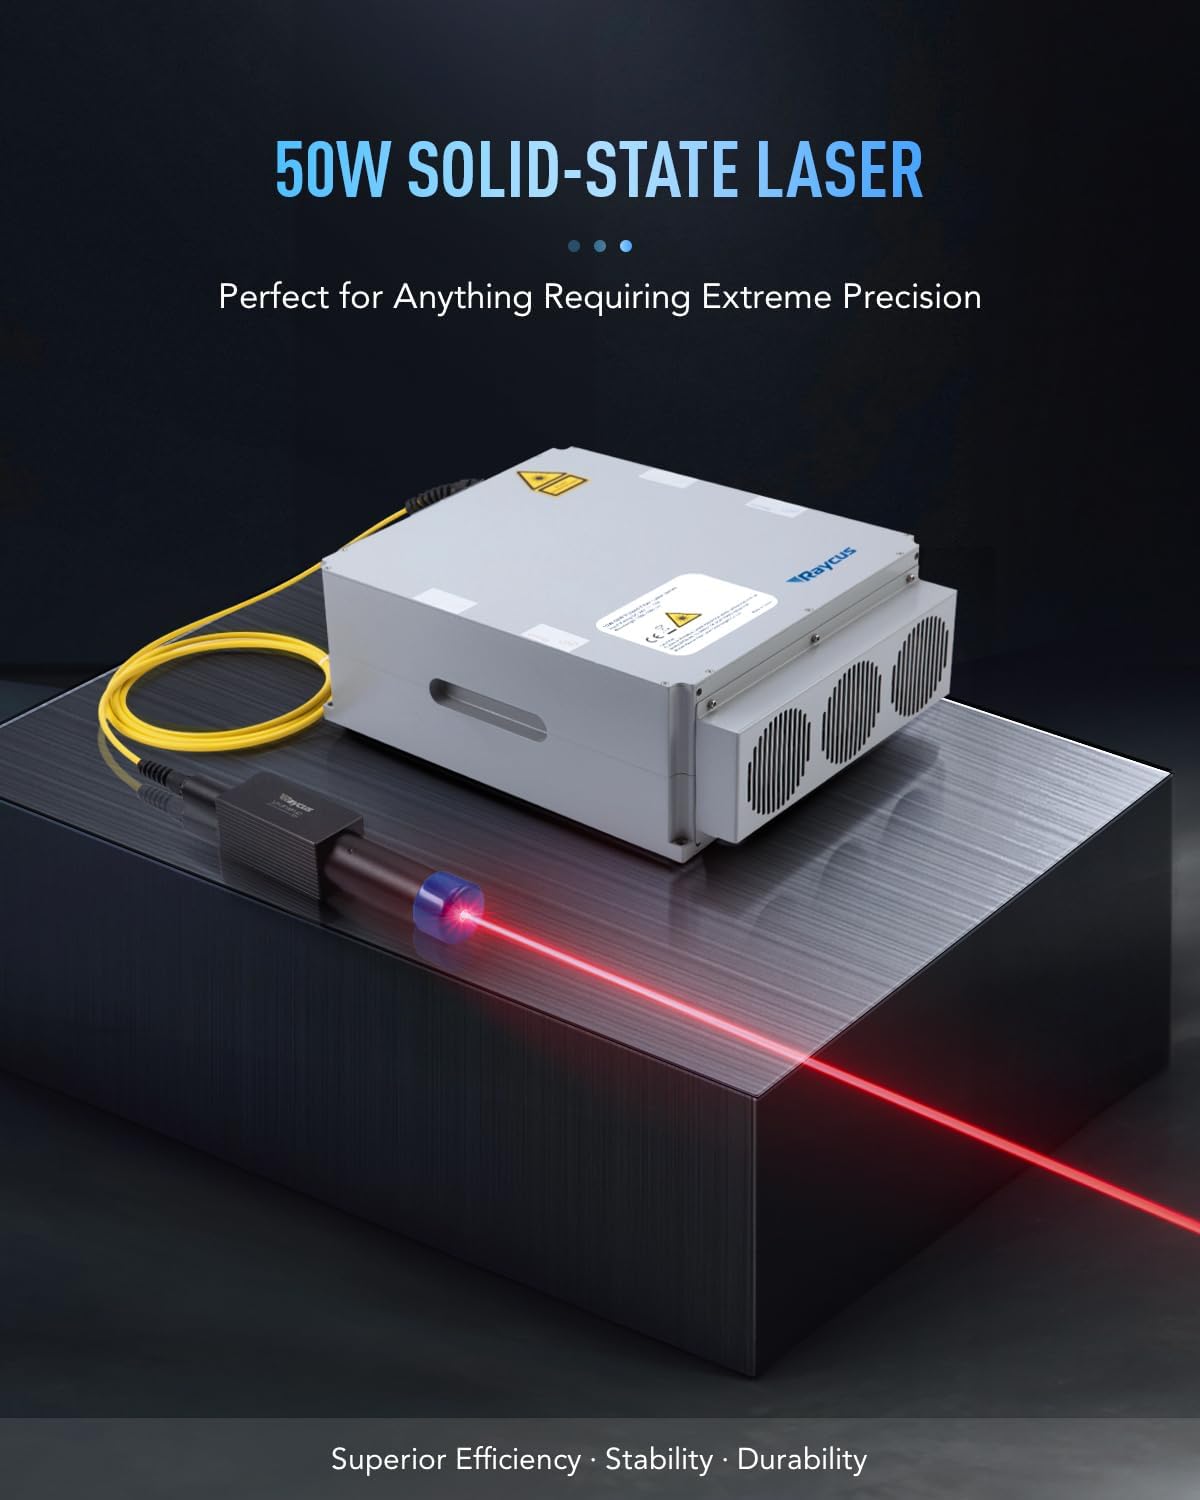
Image 8.1: The 50W solid-state fiber laser source, a key component of the engraver.

Image 8.2: Visual representation of the 7.9" x 7.9" work area and material capacity.
9. Garanție și asistență
OMTech provides customer support for their products. For warranty information, technical assistance, or service inquiries, please contact OMTech directly.
- Telefon: +1 (949) 438-4949
- Asistență prin e-mail: SUPPORT@OMTECHLASER.COM
- Asistență tehnică prin e-mail: TECHSUPPORT@OMTLASER.COM

Image 9.1: OMTech customer support contact details for assistance.