
1. Introducere
The C-LOGIC 5100 is a manual ranging digital multimeter designed for precise electrical measurements. This versatile instrument is capable of measuring AC/DC voltage, AC/DC current, resistance, capacitance, frequency, temperature, and transistor hFE. It features a durable rubber housing for enhanced grip and comfort, along with a hinged bracket for convenient table-top operation. This manual provides essential information for the safe and effective use of your C-LOGIC 5100 Digital Multimeter.
2. Informații de siguranță
Always observe the following safety precautions when operating the C-LOGIC 5100 Digital Multimeter to prevent personal injury or damage to the instrument:
- Ensure the multimeter is set to the correct function and range before connecting the test leads to any circuit.
- Do not exceed the maximum input values specified for each function. The C-LOGIC 5100 is rated for CAT III 600V.
- Deconectați sondele de testare de la circuit înainte de a schimba funcțiile sau intervalele.
- Inspect test leads for damaged insulation or exposed metal before each use. Replace damaged leads immediately.
- Nu utilizați multimetrul dacă pare deteriorat sau dacă carcasa este deschisă.
- Fiți extrem de precauți când lucrați cu voltagpeste 60V CC sau 30V CA RMS, deoarece acestea prezintă un pericol de electrocutare.
- Remove test leads from the multimeter before opening the battery compartment or fuse cover.
3. Caracteristicile produsului
The C-LOGIC 5100 Digital Multimeter incorporates several features designed for user convenience and functionality:
- Rubber Housing: Provides improved grip and protection against accidental drops.
- Hinged Bracket: Allows the multimeter to stand upright for hands-free operation on a workbench.
- Capabilitati de masurare: AC / DC Voltage, AC/DC Current, Resistance, Capacitance, Frequency, Temperature, and Transistor hFE.
- Număr de afișare: Afișaj digital cu 2000 de valori pentru citiri clare.
- Oprire automată (APO): Automatically turns off the device after a period of inactivity to conserve battery life.
- Păstrarea datelor: Îngheață citirea afișată pentru o înregistrare convenabilă.
- Afișaj baterie descărcată (LBD): Indică momentul în care bateria trebuie înlocuită.
- Diode Test and Continuity Buzzer: For testing diodes and checking circuit continuity.
4. Componente și comenzi

Figura 1: Faţă view of the C-LOGIC 5100 Digital Multimeter, showing the display, function selector, and input jacks.
Familiarize yourself with the main components of your multimeter:
- Display LCD: Afișează valorile măsurate, unitățile de măsură și indicatorii de funcție.
- Function/Range Selector Dial: Folosit pentru a selecta funcția și intervalul de măsurare dorite.
- Țineți butonul apasat: Apăsați pentru a îngheța valoarea curentă de pe afișaj. Apăsați din nou pentru a o elibera.
- Comutator PORNIT / OPRIT: Powers the multimeter on or off.
- Mufe de intrare:
- VΩHzTemp: Intrare pozitivă pentru volumtage, resistance, frequency, temperature, capacitance, diode, and continuity measurements.
- COM: Intrare comună (negativă) pentru toate măsurătorile.
- mA: Positive input for current measurements up to 200mA.
- 10A: Positive input for current measurements up to 10A (MAX 30 sec. every 15 min.). This input is fused.
- Soclu hFE: For testing transistor hFE (DC current gain).
5. Configurare
5.1 Instalarea bateriei
The C-LOGIC 5100 requires one 9V 6F22 battery (not included). To install or replace the battery:
- Ensure the multimeter is turned OFF and disconnect all test leads from the input jacks.
- Localizați capacul compartimentului bateriilor din spatele unității.
- Deșurubați șurubul (șuruburile) de fixare și scoateți cu grijă capacul.
- Conectați bateria de 9V la clema bateriei, respectând polaritatea corectă.
- Introduceți bateria în compartiment și puneți la loc capacul, fixându-l cu șurubul (șuruburile).
5.2 Conectarea cablurilor de testare
Conectarea corectă a sondelor de testare este crucială pentru măsurători precise și sigure:
- Pentru majoritatea măsurătorilor (vol.tage, resistance, capacitance, frequency, temperature, diode, continuity), insert the roşu cablul de testare în VΩHzTemp jack și negru cablul de testare în COM jack.
- For current measurements up to 200mA, insert the roşu cablul de testare în mA jack și negru cablul de testare în COM jack.
- For current measurements up to 10A, insert the roşu cablul de testare în 10A jack și negru cablul de testare în COM jack.
6. Instrucțiuni de utilizare

Figura 2: The C-LOGIC 5100 Digital Multimeter actively measuring voltage într-un panou electric.
Urmați acești pași generali pentru efectuarea măsurătorilor:
- Turn the multimeter ON using the ON/OFF switch.
- Select the desired function and appropriate range using the rotary dial. If unsure of the range, start with the highest range and work downwards.
- Conectați sondele de testare la circuitul sau componenta testată.
- Citiți valoarea măsurată pe afișajul LCD.
- After measurement, disconnect the test leads and turn the multimeter OFF.
6.1 Funcții specifice de măsurare
- DC Voltage (V=): Select the V= range. Connect the red lead to the positive side and the black lead to the negative side of the DC voltagsursa în paralel.
- AC Voltage (V~): Select the V~ range. Connect the test leads across the AC voltage source in parallel. Polarity is not critical for AC voltage.
- Curent continuu (A=): Select the A= range (mA or 10A jack). Disconnect power to the circuit. Open the circuit where current is to be measured and connect the multimeter in series. Reapply power.
- Curent alternativ (A~): Select the A~ range (mA or 10A jack). Follow the same series connection procedure as for DC current.
- Rezistență (Ω): Select the Ω range. Ensure the circuit is de-energized. Connect the test leads across the component to measure its resistance.
- Test de continuitate (♫): Select the continuity function. If resistance is below approximately 50Ω, the buzzer will sound, indicating continuity.
- Test diode (→|→): Select the diode function. Connect the red lead to the anode and the black lead to the cathode of the diode. The display will show the forward voltage drop. Reverse the leads; the display should show 'OL' (open loop) for a good diode.
- Capacitate (F): Select the F range. Ensure the capacitor is discharged before connecting the test leads.
- Frecvența (Hz): Select the Hz range. Connect the test leads across the signal source.
- Temperatura (Temp): Select the Temp range. Connect a K-type thermocouple (if included or purchased separately) to the VΩHzTemp and COM jacks.
- Transistor hFE: Insert the transistor's emitter, base, and collector leads into the corresponding holes in the hFE socket, ensuring correct NPN/PNP type selection.
7. Întreținere
7.1 Înlocuirea bateriei
When the low battery indicator appears on the display, replace the 9V battery as described in Section 5.1. Using a multimeter with a low battery can lead to inaccurate readings.
7.2 Curățare
Pentru a curăța multimetrul, ștergeți carcasa cu un detergent de vată.amp cloth and a mild detergent. Do not use abrasive cleaners, solvents, or alcohol, as these may damage the casing or display. Ensure the multimeter is completely dry before use.
7.3 Înlocuirea siguranței
If the 10A current measurement function stops working, the fuse may need replacement. This procedure should only be performed by qualified personnel. Refer to the specifications for the correct fuse type and rating. Always disconnect test leads and power off the unit before opening the case.
8. Depanare
If your C-LOGIC 5100 Multimeter is not functioning as expected, refer to the following common issues and solutions:
- Fără afișare: Check if the multimeter is turned ON. Verify the 9V battery is correctly installed and has sufficient charge. Replace the battery if necessary.
- Citiri incorecte: Ensure the correct function and range are selected for the measurement. Check that the test leads are securely connected to the correct input jacks and to the circuit. Verify the battery is not low.
- 'OL' (Overload) Indication: This indicates that the input value exceeds the selected range. Switch to a higher range or ensure the input is within the multimeter's maximum specifications.
- Fără buzer de continuitate: Check if the continuity function is selected. Ensure the circuit is de-energized.
- Măsurarea curentului nu funcționează: Check the fuse for the current input (especially the 10A input). Replace if blown. Ensure test leads are connected to the correct current jacks (mA or 10A) and the multimeter is in series with the circuit.
9. Specificații

Figura 3: Detailed specifications and features of the C-LOGIC 5100 Digital Multimeter.
| Măsurare | Interval/Valoare |
|---|---|
| DC Voltage | Până la 600V |
| AC Voltage | Până la 600V |
| Curent DC | Până la 10A |
| Curent alternativ | Până la 10A |
| Rezistenţă | Până la 200MΩ |
| Capacitate | Up to 100µF |
| Frecvenţă | Până la 20kHz |
| Temperatură | -20°C până la 1000°C / 1°F până la 1832°F |
| Afișează numărătorii | 2000 |
| Alimentare electrică | 1x baterie 9V 6F22 |
| Dimensiunile produsului (Lxlxh) | 18.8 x 9.3 x 5 cm (7.4 x 3.7 x 1.96 țoli) |
| Greutatea produsului | 380 g (0.84 lbs) |
| Evaluare de siguranță | CAT III 600V |
| Certificari | CE, ETL, RoHS |
10. Main Applications
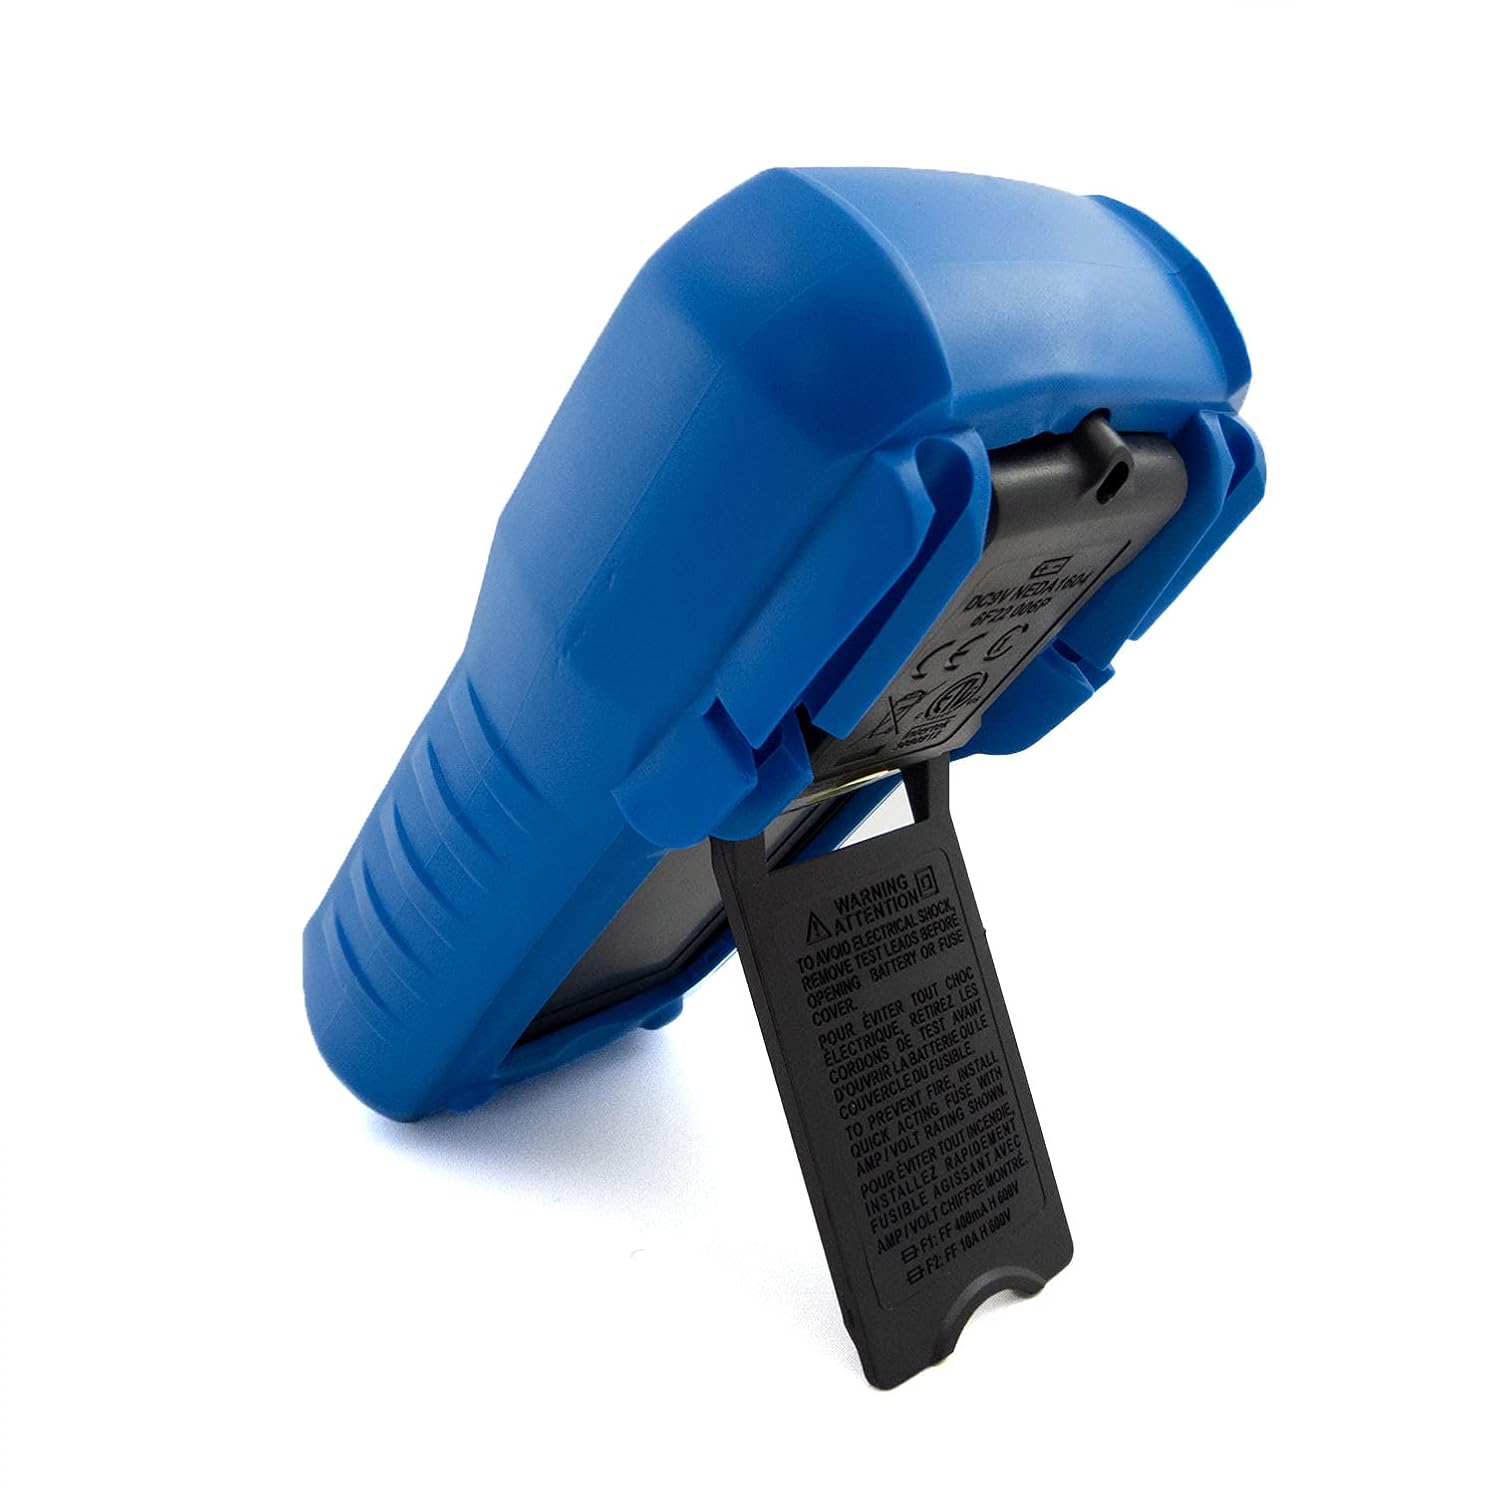
Figura 4: Visual representation of common domestic and electronics applications for the C-LOGIC 5100 Multimeter.
The C-LOGIC 5100 Digital Multimeter is suitable for a wide range of applications, including:
- Domestic Electrical Testing: Checking household wiring, outlets, batteries, and appliance continuity.
- Diagnosticare auto: Testing vehicle electrical systems, battery voltage, and component resistance.
- Electronics Troubleshooting: Măsurarea voltage, current, resistance, and capacitance in electronic circuits, testing diodes and transistors.
- HVAC System Checks: Verifying voltage and current in heating, ventilation, and air conditioning systems.
- Hobbyist and DIY Projects: Essential tool for various electrical and electronic projects.
11. Garanție și asistență
For information regarding warranty coverage, technical support, or customer service, please visit the official C-LOGIC website or contact their support team directly. You can find more product details at clogic-intl.com/clogic-5100 sau principalul website la clogic-intl.com.