
1. Introducere
This manual provides detailed instructions for the setup, operation, maintenance, and troubleshooting of your UF-TOOLS 7-Inch LCD Digital Microscope. Please read this manual thoroughly before using the device to ensure proper functionality and to maximize its lifespan.
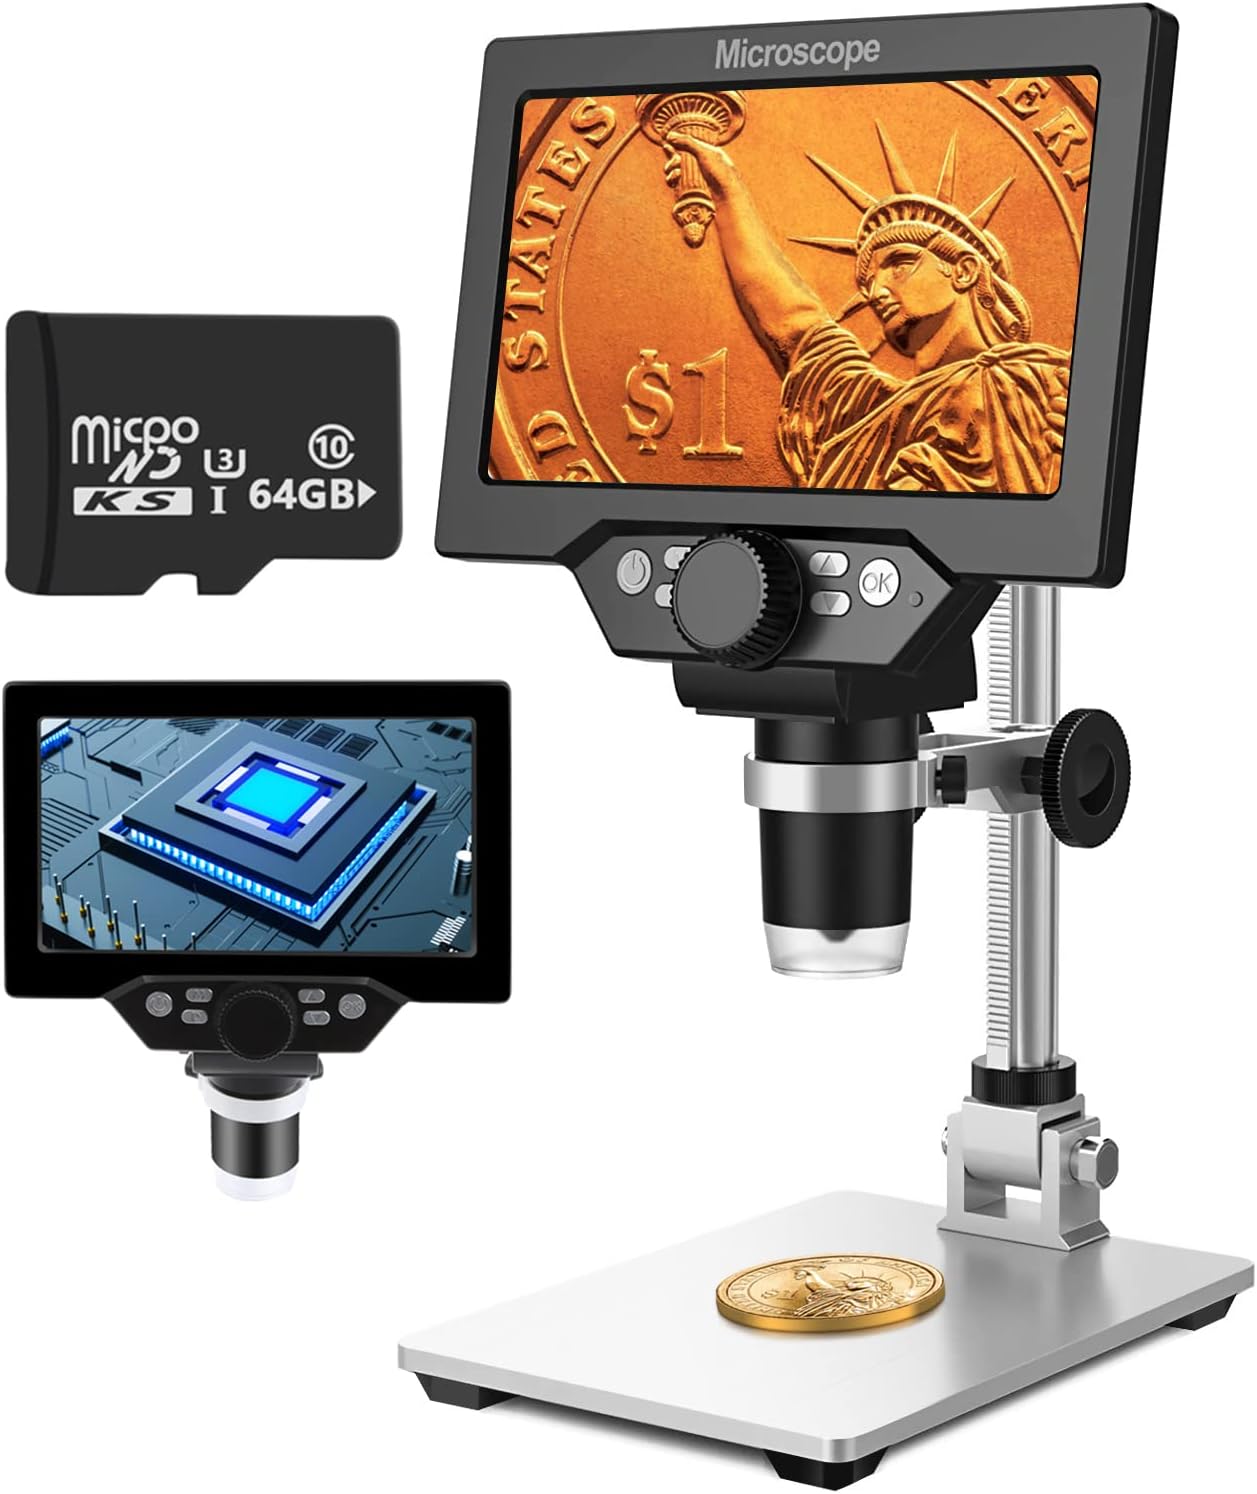
Image 1.1: UF-TOOLS 7-Inch LCD Digital Microscope with included 64GB TF card, showing the main unit and stand.
1.1 Caracteristici cheie
- Ecran LCD de 7 inchi: Provides a clear, high-definition display for direct viewing without a computer.
- Mărire 10X-1200X: Continuous zoom capability for observing various objects.
- Camera 12MP: Captures high-resolution images and 1080P video.
- 64GB TF Card: Included for direct storage of photos and videos. Supports up to 128GB.
- 8 lumini LED reglabile: Ensures optimal illumination for detailed observation.
- Flexible Aluminum Alloy Stand: Allows for 90° angle adjustment and 2-10cm focus distance adjustment.
- Baterie încorporată de 3000 mAh: Offers portability with up to 6 hours of operation on a full charge.
- Conectivitate PC: Compatible with Windows 7/8/10 for larger display and data transfer.
2. Conținutul pachetului
Verificați dacă toate articolele enumerate mai jos sunt prezente în colet:
- UF-TOOLS 7-Inch LCD Digital Microscope Unit
- Adjustable Aluminum Alloy Stand
- Card 64GB TF
- Cablu USB
- Adaptor de alimentare (dacă este inclus)
- Manual de utilizare (acest document)

Image 2.1: The microscope package includes a 64GB TF card for storage.
3. Ghid de instalare
3.1 Assembling the Microscope
- Despachetați cu grijă toate componentele din cutie.
- Attach the microscope unit to the adjustable aluminum alloy stand. Ensure it is securely fastened using the provided screws or locking mechanisms.
- Insert the 64GB TF card into the designated slot on the microscope unit.
- Place the assembled microscope on a stable, flat surface.

Image 3.1: Product dimensions and adjustable stand features, including 270° rotation and height adjustment.
3.2 Încărcarea bateriei
The microscope has a built-in 3000mAh rechargeable battery. Before first use, fully charge the device.
- Connect the USB cable to the microscope's charge port and the other end to a power adapter or a computer's USB port.
- Indicatorul luminos de încărcare va afișa starea de încărcare.
- A full charge typically provides up to 6 hours of continuous use.

Image 3.2: The microscope features a long-lasting rechargeable battery, charged via USB.
4. Instrucțiuni de utilizare
4.1 Dispozitiv pesteview și Controale

Imaginea 4.1: Pesteview of the microscope's controls and ports, including charge port, MicroSD slot, light regulation, fixed knob, lifting adjusting bracket knob, and various function buttons.
- Pornire/Oprire: Apăsați și mențineți apăsat butonul de Pornire/Oprire pentru a porni sau opri dispozitivul.
- Video/Camera Playback: Use dedicated buttons to switch between video recording, photo capture, and playback modes.
- System Key Programming: Access menu settings for various configurations.
- Object Distance Adjustment: Adjust the distance between the lens and the object.
- Pagina sus/jos: Navigate through menus or captured media.
- Confirm Key/Camera Button: Select options or capture photos/videos.
- Light Regulation: Adjust the brightness of the 8 LED lights.
- Buton fix: Fixează unitatea microscopului pe stativ.
- Lifting Adjusting Bracket Knob: Adjusts the height of the microscope unit on the stand.
4.2 Adjusting Magnification and Focus
- Așezați obiectul pe care doriți să îl observați pe placa de bază.
- Adjust the height of the microscope unit using the Lifting Adjusting Bracket Knob to get a rough focus.
- Use the focus wheel on the microscope lens to fine-tune the focus until the image on the 7-inch LCD screen is clear.
- The magnification range is 10X to 1200X. Adjust the distance between the lens and the object, along with the focus wheel, to achieve the desired magnification.

Image 4.2: The microscope features an adjustable screen, free length adjustment, and precise focus control.

Image 4.3: Digital magnification from 10X to 1200X, demonstrating the zoom capability on small objects.
4.3 Utilizarea luminilor LED
The microscope is equipped with 8 adjustable LED lights to illuminate your subject. Use the Light Regulation control to increase or decrease brightness as needed for optimal viewing.

Image 4.4: The 8 LED lights provide adequate illumination for observing objects in various lighting conditions.
4.4 Capturarea de fotografii și videoclipuri
With the included 64GB TF card, you can directly save images and videos.
- In photo mode, press the Confirm/Camera button to capture an image.
- In video mode, press the Confirm/Camera button to start recording, and press again to stop.
- Captured media can be reviewed using the playback function.
4.5 Conectivitate PC
La view observations on a larger screen or transfer files, connect the microscope to a Windows PC (Windows 7/8/10) using the provided USB cable.
- Connect the microscope to your PC via the USB cable.
- The microscope should be recognized as a storage device or a webcam, depending on the mode selected on the microscope.
- You can then access the stored images/videos or use the microscope as a live camera feed.

Image 4.5: Connect the microscope to a PC for a larger viewing experience and data management.
5. Întreținere
5.1 Curățare
- Obiectiv: Use a soft, lint-free cloth specifically designed for optical lenses. For stubborn smudges, a small amount of lens cleaning solution can be applied to the cloth, not directly to the lens.
- Ecran: Wipe the LCD screen gently with a microfiber cloth. Avoid harsh chemicals.
- Corp: Clean the microscope body and stand with a soft, dry cloth. Do not use abrasive cleaners or solvents.
5.2 Depozitare
- Store the microscope in a cool, dry place away from direct sunlight and extreme temperatures.
- Dacă depozitați produsul pentru o perioadă lungă de timp, asigurați-vă că bateria este parțial încărcată (aproximativ 50%) pentru a-i prelungi durata de viață.
- Keep the lens covered to prevent dust accumulation.
5.3 Îngrijirea bateriei
- Evitați descărcarea completă frecventă a bateriei.
- Încărcați bateria în mod regulat, chiar dacă nu este utilizată, pentru a-i menține starea de funcționare.
- Nu expuneți bateria la temperaturi ridicate.
6. Depanare
- Fără putere:
- Ensure the battery is charged. Connect the microscope to a power source and try again.
- Verificați conexiunea cablului de alimentare.
- Imagine neclară:
- Adjust the focus wheel carefully.
- Adjust the height of the microscope unit on the stand.
- Ensure the object is properly illuminated by adjusting the LED lights.
- Clean the lens if smudges or dust are present.
- Cannot Capture Photos/Videos:
- Asigurați-vă că este introdus un card TF și că este formatat corect.
- Check if the TF card has sufficient storage space.
- Verify the device is in the correct photo or video capture mode.
- PC Not Recognizing Device:
- Ensure the USB cable is securely connected to both the microscope and the PC.
- Încercați un alt port USB pe computer.
- Restart both the microscope and the PC.
- Ensure your PC is running Windows 7/8/10.
7. Specificații
| Caracteristică | Detaliu |
|---|---|
| Numele modelului | SUGON-Digital Microscope |
| Dimensiunea ecranului | LCD de 7 inchi |
| Mărire | 10X-1200X |
| Rezoluția camerei | 12MP |
| Rezoluție video | 1080P |
| Depozitare | 64GB TF Card (Max 128GB supported) |
| Iluminare | 8 Lumini LED |
| Capacitatea bateriei | 3000mAh polimer de litiu |
| Durata de viață a bateriei | Până la 6 ore (aproximativ) |
| Compatibilitate PC | Windows 7/8/10 |
| Material | Metal, plastic |
| Greutatea articolului | 2.44 lire (1.11 kg) |
| Dimensiuni pachet | 9.8 x 8.19 x 3.35 inci |
8. Garanție și asistență
UF-TOOLS provides the following warranty and support for this product:
- Perioada de returnare: 45 days limited product return period.
- Politica de schimb: 18 months exchange for product defects.
For technical support or warranty claims, please contact UF-TOOLS customer service through the retailer where the product was purchased or visit the official UF-TOOLS website pentru informații de contact.
Note: Warranty terms may vary based on region and retailer. Please retain your proof of purchase.


