
Introducere
Welcome to your new TELLUR Dash Patrol DC1 Car Camera. This manual provides instructions for installation, operation, and maintenance to ensure optimal performance and longevity of your device. Please read this manual thoroughly before using the product.
Informații de siguranță
- Ensure the dash camera is securely mounted and does not obstruct the driver's view sau interferează cu comenzile vehiculului.
- Nu utilizați dispozitivul în timp ce conduceți. Reglați setările numai atunci când vehiculul este parcat în siguranță.
- Evitați expunerea dispozitivului la temperaturi extreme, la lumina directă a soarelui pentru perioade lungi de timp sau la umiditate.
- Use only the provided power adapter and cables to prevent damage and ensure proper operation.
- Keep the lens clean to ensure clear video recordings.
- Nu încercați să dezasamblați sau să reparați dispozitivul singur. Contactați personalul de service calificat pentru asistență.
Conținutul pachetului
- 1 x Dash Patrol Dashcam DC1
- 1 x suport magnetic
- 1 x cablu MicroUSB
- 1 x Dual USB Car Charger
- 1 x Manual de utilizare
Produs terminatview
Componente


Comenzi și indicatoare
- Buton de alimentare: Press and hold to turn the device on or off. Short press to toggle screen display.
- Butonul M (Mod): Comută între modurile de înregistrare video, fotografii statice și redare.
- Butoane Sus / Jos: Navigați prin opțiunile de meniu sau ajustați setările.
- Buton OK: Confirms selections or starts/stops recording in video mode.
- Slot pentru carduri TF: Insert a microSD card for storing recordings.
- Port MicroUSB: Connects to the car charger for power.
- Microfon: Înregistrează audio.
Înființat
1. Introduceți cardul de memorie
Before first use, insert a Class 10 or higher microSD card (not included) into the TF Card slot. Ensure the card is inserted correctly until it clicks into place.
2. Mount the Dash Camera
Clean the windshield area where the camera will be mounted. Attach the magnetic bracket to the windshield using its adhesive. Ensure the camera's position does not obstruct your view. Once the bracket is secured, attach the dash camera to the magnetic bracket.
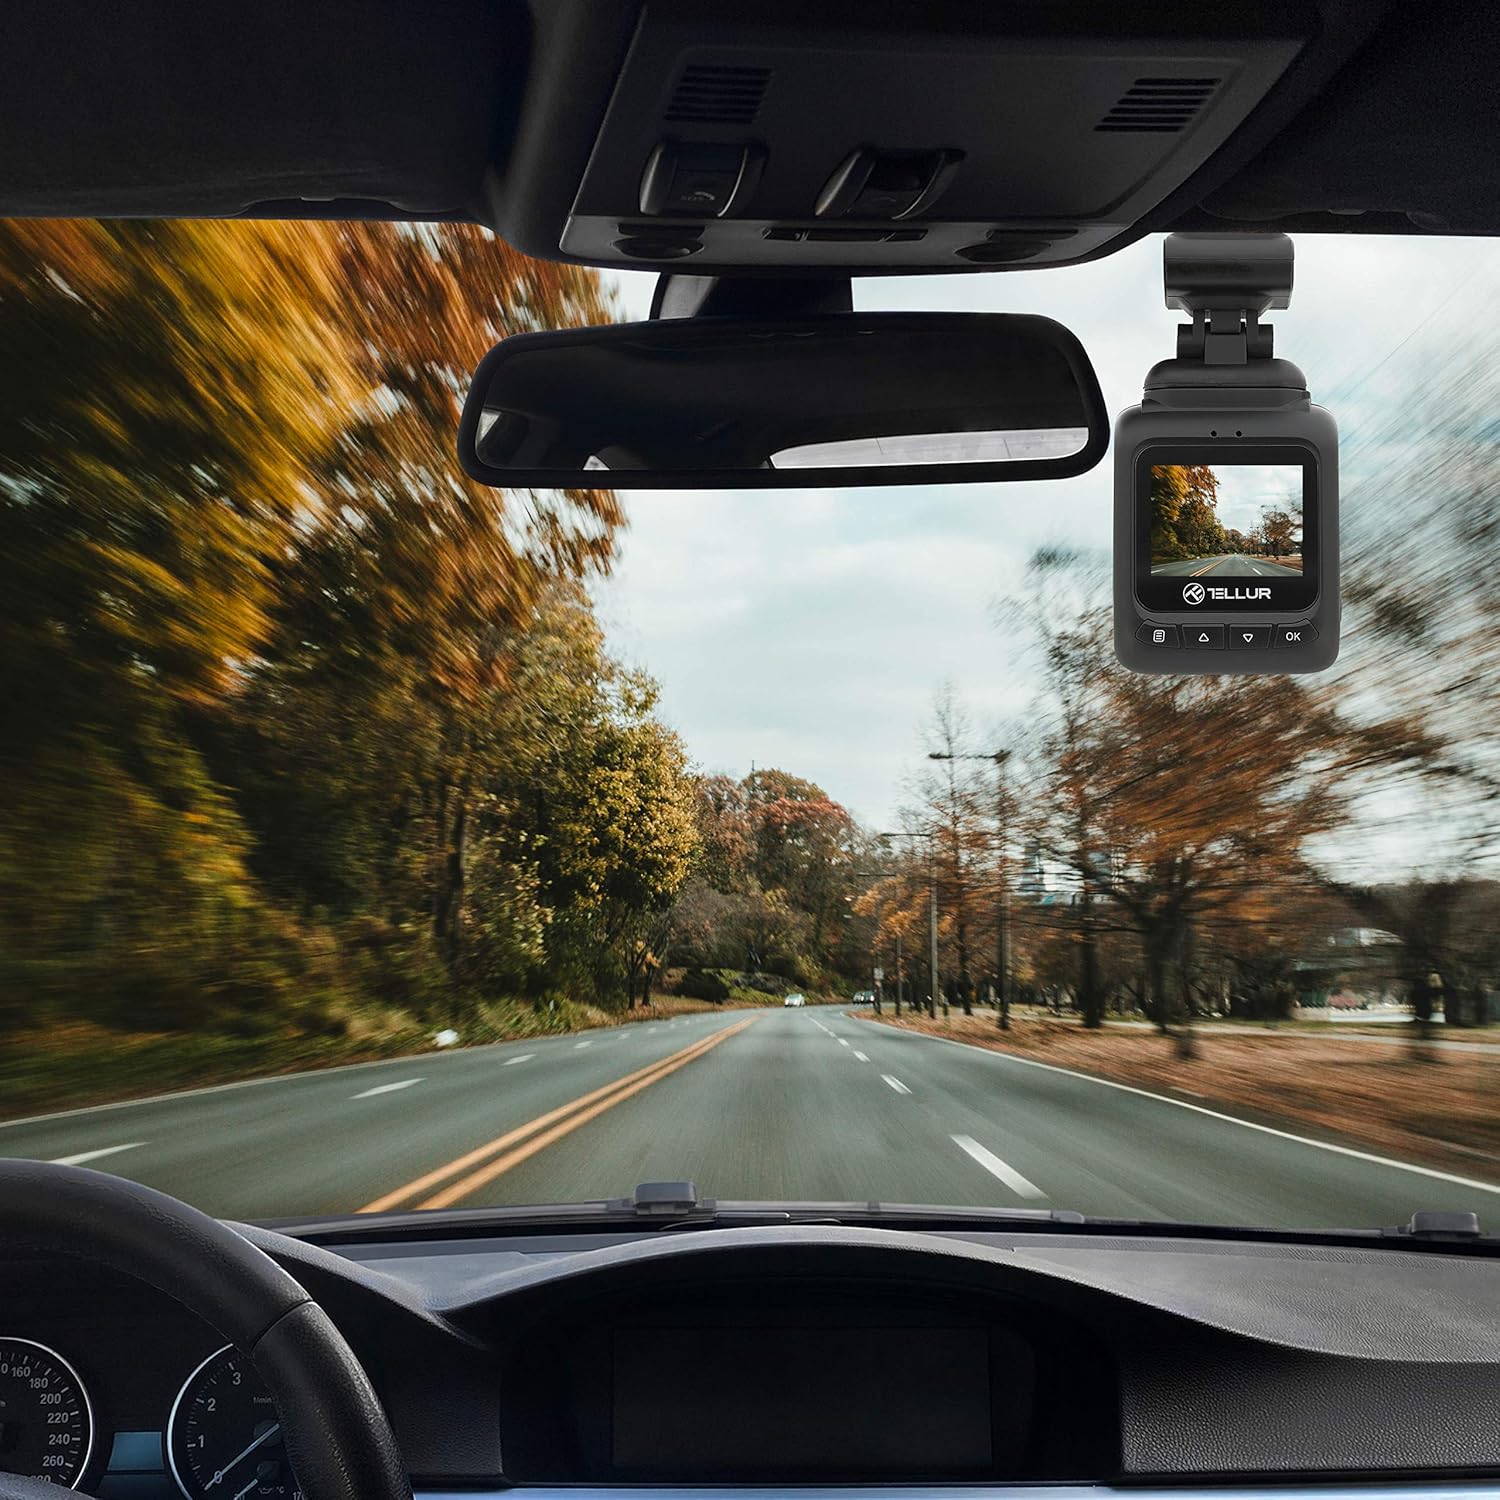
3. Conectați puterea
Connect the MicroUSB cable to the dash camera's MicroUSB port and the other end to the Dual USB Car Charger. Plug the car charger into your vehicle's 12V power outlet (cigarette lighter socket). The camera will automatically power on and begin recording when the vehicle starts.
Instrucțiuni de operare
Înregistrare de bază
Once powered on, the camera automatically starts recording in a continuous loop. The recording indicator (usually a red dot) will flash on the screen. Videos are recorded in FullHD 1080P resolution with a 140-degree wide-angle lens.
Funcția senzorului G
The built-in G-sensor detects sudden impacts or collisions. When an event is detected, the current video segment is automatically locked and saved to prevent it from being overwritten by loop recording. This ensures critical footage este păstrat.

Funcția de monitorizare a parcării
When the parking monitoring function is enabled, the camera will automatically start recording if it detects motion or an impact while the vehicle is parked and the engine is off. This feature provides surveillance for your vehicle when unattended.

Navigare meniu
Apăsați tasta M pentru a intra în meniu. Folosiți butonul Sus/Jos butoane pentru navigarea prin opțiuni și OK Apăsați butonul pentru a selecta. M din nou pentru a ieși din meniu.
Redare video
In playback mode (accessed via the M (butonul), utilizați Sus/Jos butoane pentru a selecta un videoclip file şi OK to play it. Press M a reveni la file listă.
Întreţinere
Curățarea lentilei
Regularly clean the camera lens with a soft, lint-free cloth to ensure clear video quality. Do not use abrasive cleaners.
Management card de memorie
It is recommended to format the microSD card periodically (e.g., once a month) within the camera's settings to maintain optimal performance and prevent data corruption.
Depanare
- Camera nu pornește: Check the power connection to the car charger and the vehicle's 12V outlet. Ensure the vehicle's ignition is on.
- Înregistrarea se oprește în mod neașteptat: Ensure the microSD card is properly inserted and is a Class 10 or higher. Format the card if issues persist.
- Calitate video slabă: Clean the camera lens. Check menu settings to ensure 1080P resolution is selected.
- G-Sensor not triggering: Adjust the G-sensor sensitivity in the camera's settings.
- Monitorul de parcare nu funcționează: Ensure the parking monitoring function is enabled in the settings.
Specificații
| Caracteristică | Detaliu |
|---|---|
| Numele modelului | DC1 |
| Numărul de model al articolului | TLL711001 |
| Rezoluție captură video | 1080p |
| Câmp de View | 140 de grade |
| Caracteristica specială | Automatic Incident Detection (G-Sensor), Parking Monitoring |
| Tehnologia de conectivitate | USB |
| Tip de montare | Magnetic Mount with Adhesive |
| Dimensiunile produsului | 1.72 x 1.47 x 2.17 inci |
| Greutatea articolului | 8.4 uncii |
| baterii | Este necesară 1 baterie cu litiu polimer |
| Culoare | Negru |
| Producător | TELLUR |
Garanție și suport
TELLUR products are designed for reliability and performance. For warranty information, technical support, or service inquiries, please refer to the contact details provided on the official TELLUR website-ul sau documentația achiziției. Păstrați dovada achiziției pentru solicitări de garanție.