1. Produs terminatview
The XUSHIDZ Q18 Dual Lens Dash Cam is designed to record your driving journey with both front and rear cameras, providing comprehensive coverage. It features Full HD 1080P resolution, a 3.0-inch LCD screen, loop recording, G-sensor, WDR technology, night vision, and motion detection capabilities.
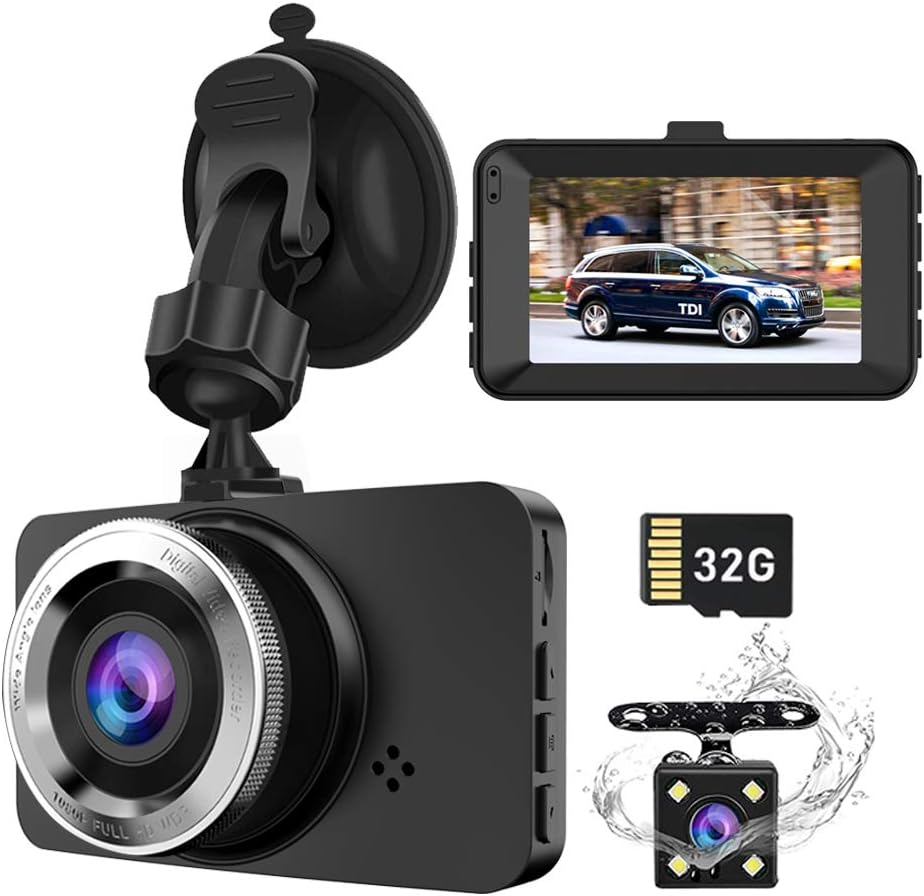
Imaginea 1.1: Pesteview of the XUSHIDZ Q18 Dash Cam components, including the main front camera unit, a separate rear camera, and a 32GB SD card.
Caracteristici cheie:
- Rezoluție Full HD 1080P: Capturează videoclipuri clare la 30 de cadre pe secundă.
- Înregistrare cu două obiective: Simultaneous recording from front (170°) and rear (130°) cameras.
- Ecran LCD de 3.0": Pentru timp real viewing și redare.
- Înregistrare în buclă: Suprascrie automat cele mai vechi files când cardul de memorie este plin.
- Senzor G: Detects sudden impacts and locks footage pentru a preveni suprascrierea.
- WDR & Night Vision: Enhances video clarity in various lighting conditions, including low light.
- Detectarea mișcării: Records automatically when motion is detected near the vehicle.
- Monitor de parcare: Provides protection for your vehicle when parked.

Image 1.2: Visual representation of the dash cam's primary functions and specifications.
2. Conținutul pachetului
Vă rugăm să verificați conținutul pachetului la despachetare pentru a vă asigura că toate articolele sunt prezente și nedeteriorate.

Image 2.1: Contents of the XUSHIDZ Q18 Dash Cam retail package, including the main unit, rear camera, suction mount, car charger, 32GB Micro SD card, and instruction manual.
- XUSHIDZ Q18 Dash Cam (Front Unit)
- Camera spate
- Suport pentru ventuză
- Car Charger (USB Cable)
- Card Micro SD de 32 GB (preinstalat)
- Manual de instructiuni
3. Componente și controale ale produsului
Familiarize yourself with the dash cam's various ports, buttons, and indicators.
Image 3.1: Front, top, bottom, and side views of the dash cam with labeled components.
Front Camera Unit:
- Buton de pornire / oprire: Press and hold to power on/off. Short press to turn screen on/off during recording.
- File Buton de blocare: Locks the current recording file.
- Butonul de mod: Comută între înregistrarea video, modul foto și modul redare.
- Tasta OK: Confirms selections in menus, starts/stops recording.
- Butoane Sus / Jos: Navigate menu options, zoom in/out in playback.
- Buton de meniu: Accesează meniul de setări.
- Port HDMI: Pentru conectarea la un afișaj extern.
- Port USB: Pentru alimentarea cu energie electrică și transferul de date.
- Port card TF: Slot pentru cardul Micro SD.
- Buton de resetare: Resets the device (use a thin pin).
- Microfon: Înregistrează audio.
4. Configurare și instalare
4.1 Instalarea cardului Micro SD
- Asigurați-vă că camera de bord este oprită.
- Insert the provided 32GB Micro SD card into the TF card slot until it clicks into place.
- Important: Format the SD card regularly (at least once a month) within the dash cam's settings to ensure optimal performance and prevent recording errors.
4.2 Instalarea camerei frontale
- Curățați zona parbrizului unde intenționați să montați camera de bord.
- Attach the suction cup mount to the windshield, ideally near the rearview oglindă, asigurându-vă că nu vă obstrucționează vederea view.
- Secure the dash cam to the suction cup mount.
- Reglați unghiul obiectivului pentru a surprinde clar drumul din față.
- Route the power cable neatly along the windshield edge, down the A-pillar, and to the car's cigarette lighter socket.

Image 4.1: Recommended installation path for the dash cam cables.
4.3 Instalarea camerei spate
The rear camera is waterproof and can be installed either inside the rear window or externally above the license plate.
- Choose a suitable location for the rear camera, ensuring a clear view din spate.
- Securely mount the rear camera using the provided adhesive or screws.
- Route the rear camera cable from the rear of the vehicle to the front dash cam unit. This typically involves tucking the cable along the headliner and side panels.
- Connect the rear camera cable to the dedicated port on the main dash cam unit.
- Opțional: The red cable included with the rear camera is for connecting to your vehicle's reverse light power source. This enables the dash cam to display a reversing image on the screen when the vehicle is in reverse gear. Connect this red wire to the positive wire of your reverse light.

Image 4.2: Front and rear camera wide-angle coverage.

Image 4.3: Dash cam mounted in a vehicle, showing its display and feature icons.
5. Instrucțiuni de utilizare
5.1 Pornire/Oprire
- Putere automată: The dash cam will automatically power on and begin recording when connected to the car's power supply and the engine starts. It will power off automatically when the engine is turned off.
- Putere manuală: Press and hold the Power ON/OFF button for a few seconds to manually turn the device on or off.
5.2 Moduri de înregistrare
The dash cam supports three main modes: Video Recording, Photo Mode, and Playback Mode. Press the Modul buton pentru a comuta între aceste moduri.
Mod înregistrare video:
- Upon powering on, the dash cam automatically enters video recording mode. A red dot icon will flash on the screen, indicating recording is in progress.
- Apăsați tasta OK button to manually start or stop recording.
- During recording, other buttons are locked. Press the OK button first to unlock and access menu or mode functions.
Mod foto:
- În modul Foto, apăsați butonul OK button to take a still picture.
Mod redare:
- În modul Redare, utilizați Sus/Jos buttons to navigate through recorded videos or photos.
- Apăsați tasta OK buton pentru a reda un videoclip selectat sau view o fotografie.
5.3 Setări meniu
Apăsați tasta Meniu butonul pentru a accesa meniul de setări. Folosește Sus/Jos butoanele pentru a naviga și OK butonul pentru a confirma selecțiile.
- Înregistrare în buclă: Set video clip duration (1, 3, or 5 minutes). When the SD card is full, the oldest unprotected files vor fi suprascrise.
- Sensibilitatea senzorului G: Adjust sensitivity for impact detection. When an impact is detected, the current video file is locked and protected from overwriting.
- WDR (gamă dinamică largă): Improves video quality in high-contrast lighting conditions.
- Detectarea mișcării: When enabled, the camera will start recording if motion is detected in front of the lens while the vehicle is stationary. Recomandare: Turn off motion detection when driving to avoid continuous recording of unnecessary events.
- Monitor de parcare: Provides 24-hour protection. If an external force is detected while parked, the dash cam will record approximately 1 minute of video. Nota: For continuous 24-hour parking monitoring, a hardwire kit (not included) is required to provide constant power.
- Screen saver: Set the screen to turn off automatically after 3, 5, or 10 minutes, or disable it. Recording continues even when the screen is off.
- Data/Ora: Setați data și ora corecte.
- Formatează cardul SD: Erases all data on the SD card. Perform this regularly.
Image 5.1: Explanation of the loop recording function.

Image 5.2: Demonstration of Superior Night Vision and WDR technology.
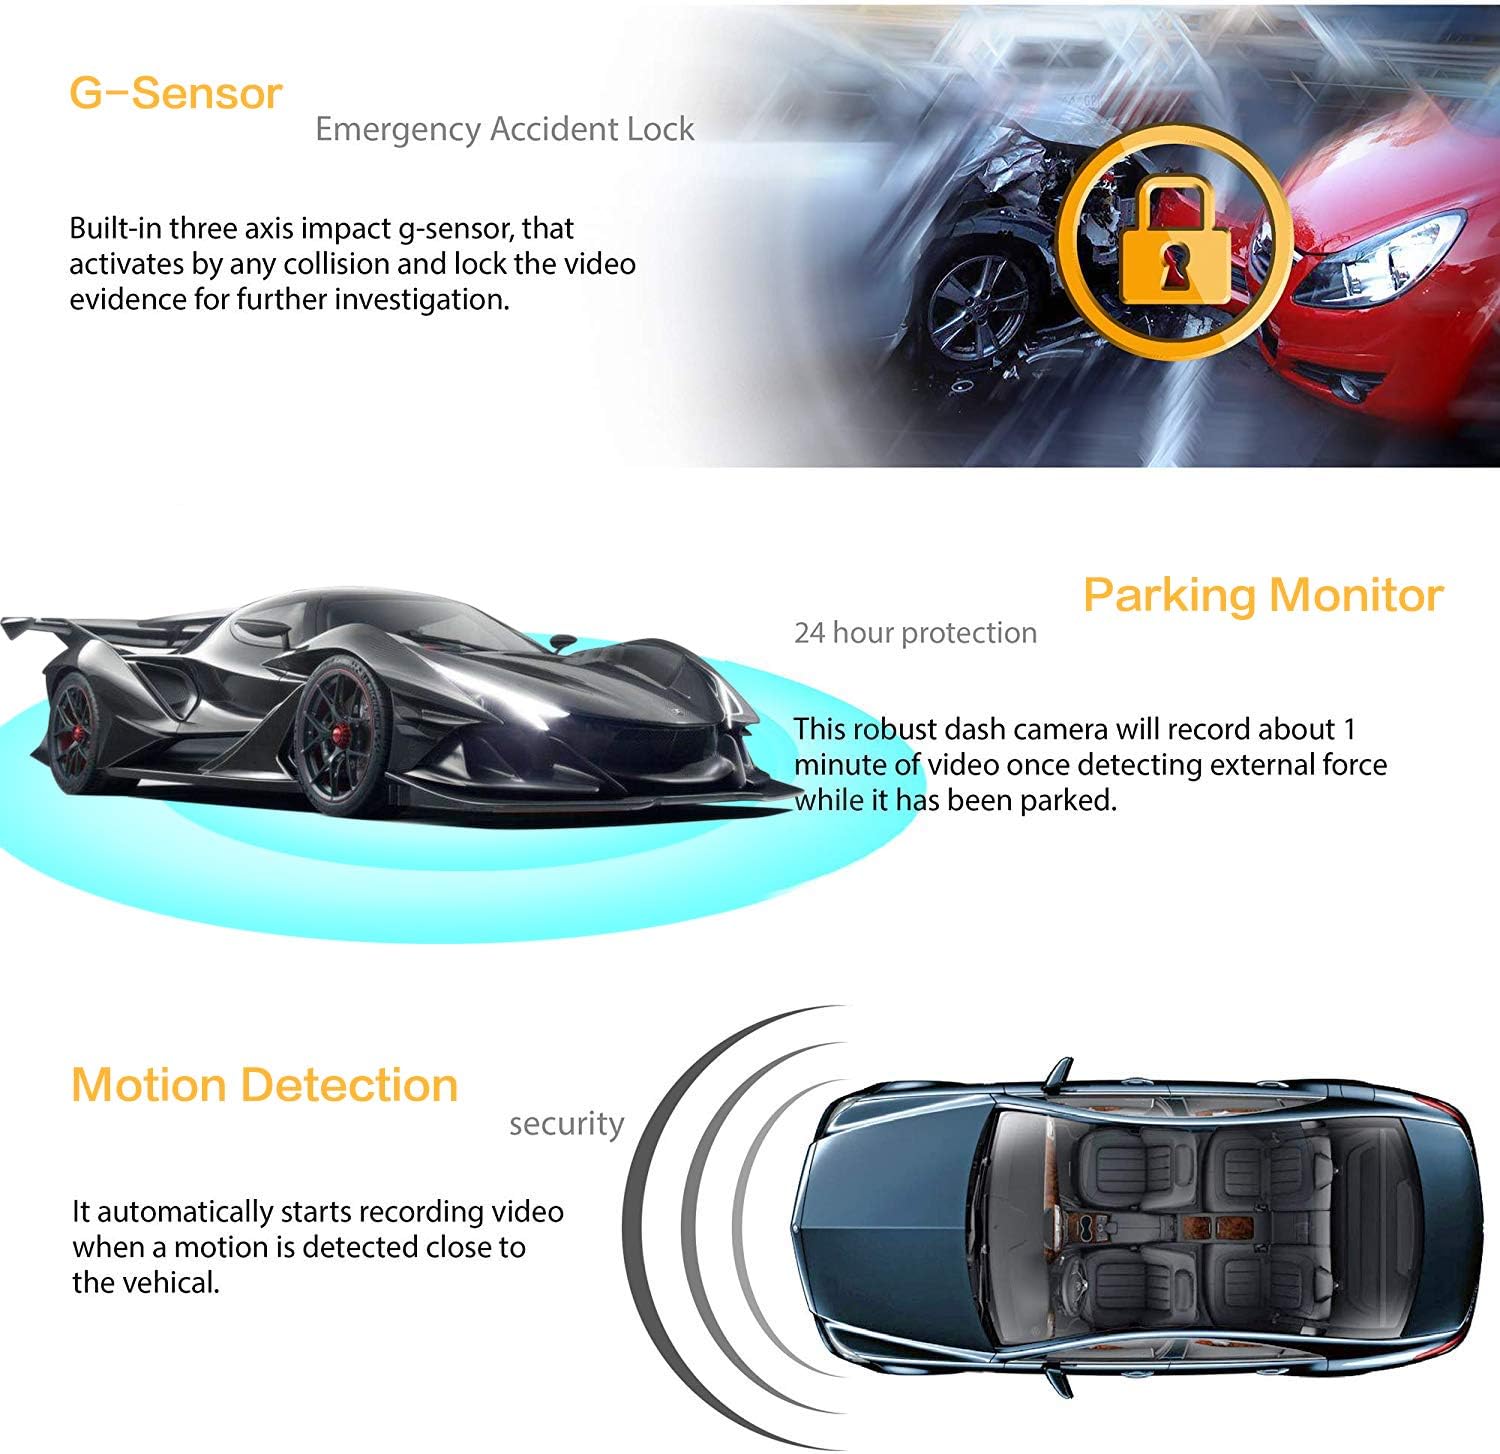
Image 5.3: Explanation of G-Sensor, Parking Monitor, and Motion Detection features.
6. Întreținere
- Formatarea cardului SD: To maintain optimal recording performance and prevent data corruption, format the Micro SD card within the dash cam's settings at least once a month.
- curatenie: Folosiți o cârpă moale și uscată pentru a curăța lentilele și ecranul camerei. Evitați utilizarea de produse de curățare abrazive sau solvenți.
- Temperatură: Evitați expunerea camerei de bord la temperaturi extreme pentru perioade lungi de timp.
7. Depanare
| Problemă | Cauză/Soluție posibilă |
|---|---|
| Camera de bord nu pornește. |
|
| Dash cam freezes or stops recording. |
|
| Calitatea video este slabă sau neclară. |
|
| Buttons are unresponsive during recording. |
|
| Parking Monitor not working for 24 hours. |
|
8. Specificații
| Caracteristică | Detaliu |
|---|---|
| Model | Q18 |
| Dimensiunea ecranului | LCD de 3.0 inchi |
| Unghiul lentilei frontale | Unghi larg de 170° |
| Unghiul lentilei din spate | Unghi larg de 130° |
| Diafragmă a obiectivului | F2.0 |
| Rezoluție video | 1080FHD (1920x1080) / 720P (1280x720) |
| Sursă de alimentare externă | DC 12V~24V |
| Temperatura de operare | -15°C ~ 60°C |
| Loop Recording Options | 1 minut / 3 minute / 5 minute / Oprit |
| Suport card de memorie | Up to 32GB Micro SD (Class 10 recommended) |
| Caracteristici speciale | G-Sensor, Night Vision, Parking Monitor, WDR, Motion Detection |
| Tip baterie | Lithium Ion (small internal battery for emergency shutdown) |
| Conectivitate | USB |
| Dimensiunile produsului | 8 x 6 x 5 cm |
| Greutatea articolului | 100 g (0.1 kilograme) |
9. Garanție și asistență
For warranty information or technical support, please refer to the contact details provided with your purchase or visit the official XUSHIDZ webPăstrați bonul fiscal ca dovadă a achiziției.