
1. Introducere
The Whadda WPM436 is an 8-channel relay interface board designed for controlling various high-current appliances and equipment. This board is compatible with most micro-controllers, allowing for flexible integration into prototyping and programming projects. Each of the eight relays can be independently controlled, providing versatile switching capabilities for a wide range of applications.
2. Configurare și conexiuni
Before connecting the WPM436 relay board, ensure all power sources are disconnected to prevent damage to the board or connected devices. This section outlines the general connection procedures.
2.1 Board Overview
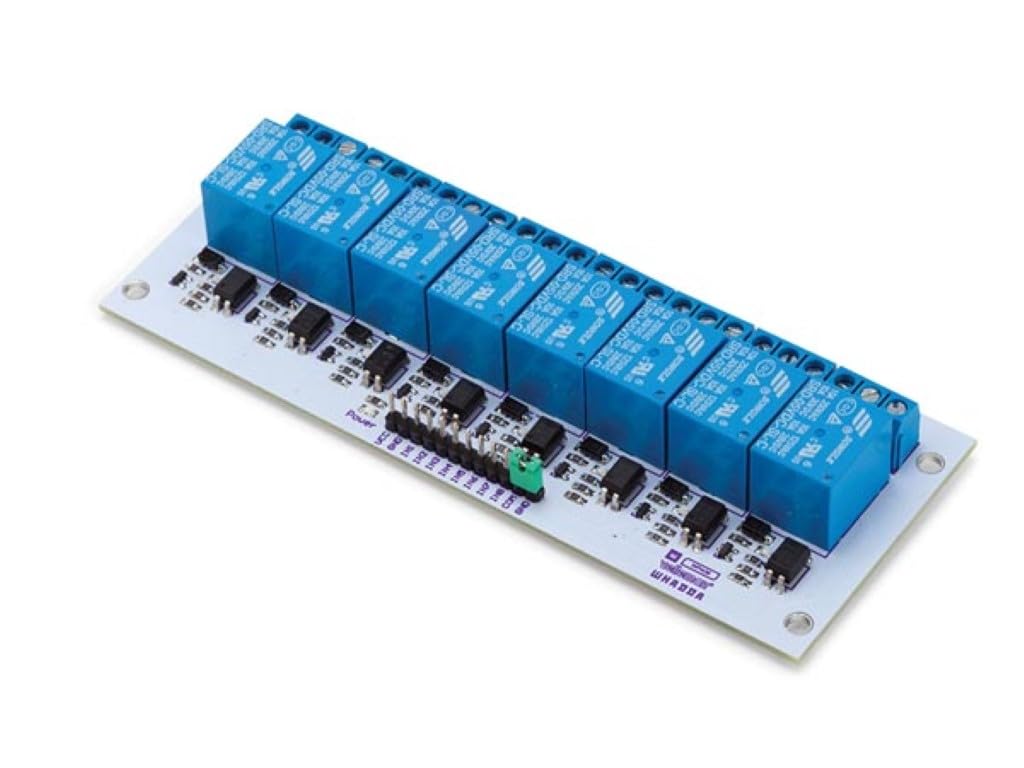
Figura 1: Sus view of the WPM436 8-channel relay board, illustrating the layout of relays, input pins, and output terminals.
2.2 Conexiune la sursa de alimentare
- Vol. operativtage for the relay board is 5 VDC. Connect a stable 5V power supply to the VCC and GND pins on the input header.
- Ensure the power supply can provide sufficient current for the board and the relays.
2.3 Micro-controller Control Input
- The control input voltage for the relay board is 5 - 12 V CC. This allows compatibility with various micro-controllers (e.g., Arduino, Raspberry Pi).
- Connect the digital output pins of your micro-controller to the IN1 through IN8 pins on the WPM436 board. Each IN pin corresponds to a specific relay.
- The control input current for IN1 to IN4 is 5 - 25 mA. Refer to your micro-controller's documentation for its output current capabilities.
2.4 Load Connections
- Each relay has three terminals: Normally Open (NO), Common (COM), and Normally Closed (NC).
- Connect the load (appliance or equipment) to the appropriate relay terminals based on your application's requirements. For example, to switch a device on when the relay is activated, connect it between COM and NO.
- Asigurați-vă că curentul și voltage ratings of your load do not exceed the relay's maximum specifications.
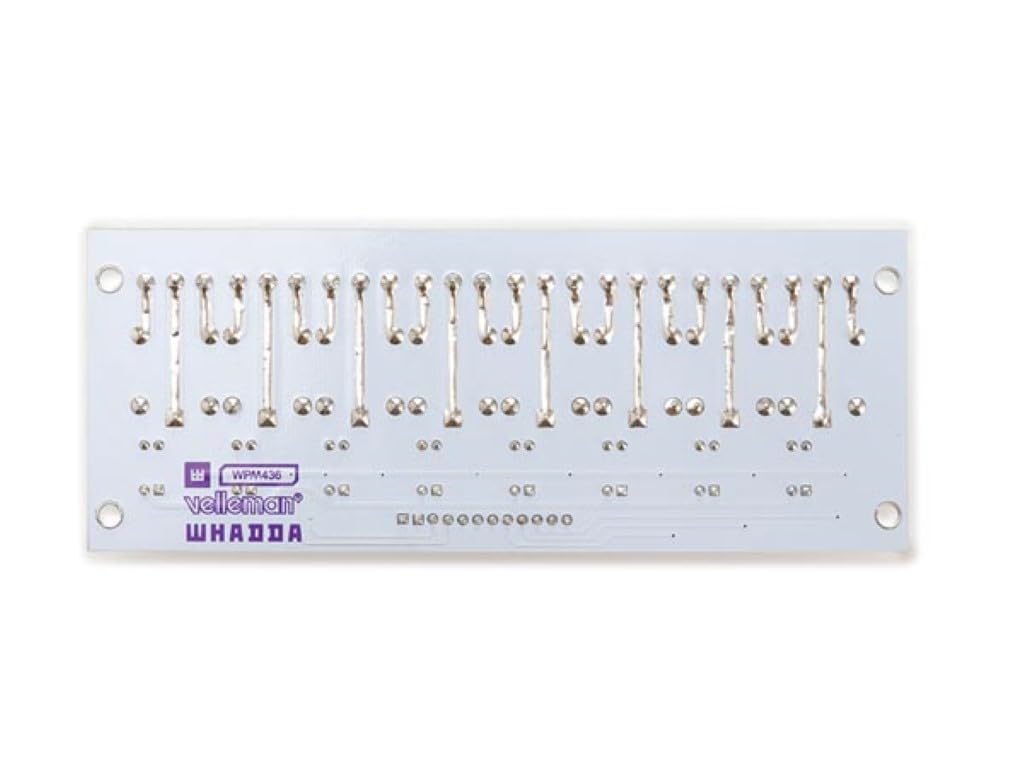
Figura 2: Detaliat view of the input header and power connections on the WPM436 board.
3. Instrucțiuni de utilizare
The WPM436 relay board operates by receiving digital signals from a micro-controller to activate or deactivate individual relays.
3.1 Relay Activation
- When a digital HIGH signal (e.g., 5V) is applied to an IN pin (IN1-IN8), the corresponding relay will activate.
- Upon activation, the relay's internal switch will change state: the Common (COM) terminal will connect to the Normally Open (NO) terminal, and disconnect from the Normally Closed (NC) terminal.
3.2 Relay Deactivation
- When a digital LOW signal (e.g., 0V or GND) is applied to an IN pin, the corresponding relay will deactivate.
- Upon deactivation, the relay's internal switch will return to its default state: the Common (COM) terminal will connect to the Normally Closed (NC) terminal, and disconnect from the Normally Open (NO) terminal.
Programare examples for specific micro-controllers (e.g., Arduino sketches) can be found in the respective micro-controller's documentation or online community resources.
4. Întreținere
The Whadda WPM436 relay board is designed for reliable operation with minimal maintenance. Follow these general guidelines to ensure its longevity:
- Păstrați uscat: Protect the board from moisture and humidity, which can cause short circuits and corrosion.
- Curăţenie: Keep the board free from dust and debris. Use a soft, dry brush or compressed air for cleaning. Avoid using liquids or harsh chemicals.
- Protecție statică: Handle the board with care, especially in environments prone to static electricity. Use anti-static precautions when necessary.
- Daune fizice: Avoid dropping or subjecting the board to physical shocks, which can damage components or solder joints.
- Temperatură: Operate the board within its specified temperature range. Extreme temperatures can affect performance and lifespan.
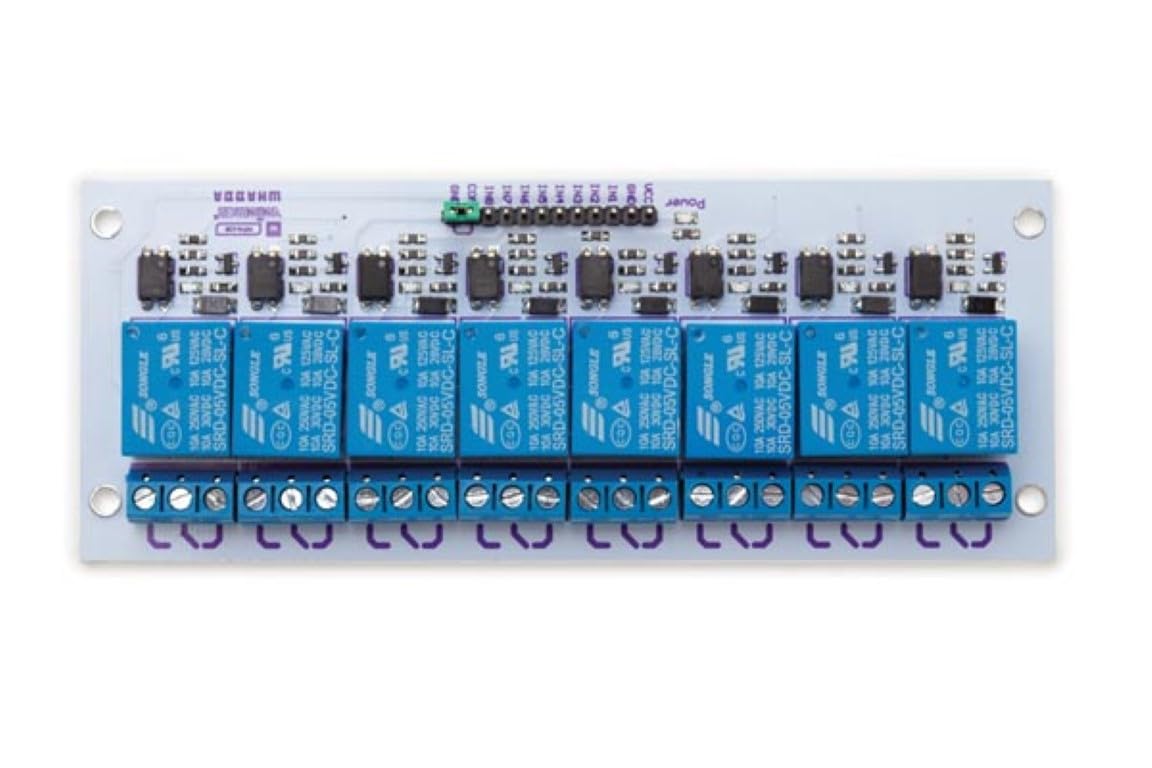
Figura 3: De jos view of the WPM436 board, showing the solder side and component traces.
5. Depanare
If you encounter issues with your WPM436 relay board, consider the following troubleshooting steps:
- Fără putere:
- Verify that the 5VDC power supply is correctly connected to the VCC and GND pins.
- Check the power supply itself to ensure it is providing the correct voltage and sufficient current.
- Releul nu se activează:
- Ensure the micro-controller's output pin connected to the IN pin is sending a HIGH signal. Use a multimeter to check the voltage at the IN pin.
- Confirm that the micro-controller's ground is connected to the relay board's ground.
- Check for any loose connections between the micro-controller and the relay board.
- Sarcina nu comută:
- Verify that the relay is activating (you might hear a click or see an indicator LED if present).
- Check the wiring of the load to the NO/COM/NC terminals. Ensure connections are secure.
- Confirm that the load's voltage and current requirements do not exceed the relay's maximum ratings (250 VAC 10 A; 30 VDC 10 A).
- Test the load independently to ensure it is functional.
- Funcționare intermitentă:
- Check for poor solder joints or damaged traces on the board.
- Asigurați-vă că sursa de alimentare este stabilă și nu prezintă supratensiuni.tage drops under load.
If these steps do not resolve the issue, consult the manufacturer's support resources or a qualified electronics technician.
6. Specificații
| Caracteristică | Caietul de sarcini |
|---|---|
| Numărul de model | WPM436 |
| Numărul de canale | 8 |
| Vol. De operaretage | 5 VDC |
| Vol. intrare controltage | 5 - 12 V CC |
| Control Input Current (IN1-IN4) | 5 - 25 mA |
| Relay Output (AC) | 250 VAC, 10 A (non-inductive) |
| Relay Output (DC) | 30 VDC, 10 A (non-inductive) |
| Dimensiuni | 57 x 138 mm (approx. 2.24 x 5.43 inches) |
| Greutatea articolului | 6 uncii |
| Producător | VELLEMAN |
| Material | Diverse |
| Wattage | 125 miliwați |
| Tip de montare | Montare la suprafață |
| Componente incluse | All components needed, any battery is excluded. |
| Bateriile necesare | Nu |
7. Garanție și asistență
For warranty information and technical support regarding your Whadda WPM436 8-Channel Relay Interface Board, please refer to the documentation provided by your retailer or contact the manufacturer, Velleman, directly. Specific warranty terms may vary based on your region and point of purchase.