
1. Introducere
Thank you for choosing the Strex 12 LED Universal RCA Reversing Camera. This manual provides essential information for the proper installation, operation, and maintenance of your new reversing camera. Please read this manual thoroughly before use to ensure optimal performance and safety.
2. Informații de siguranță
- Always ensure your vehicle is turned off and the parking brake is engaged before attempting any installation or maintenance.
- Disconnect the vehicle's battery before connecting any electrical components to prevent short circuits or damage.
- Ensure all wiring is properly insulated and secured to prevent damage from vibration, heat, or moisture.
- Do not obstruct the camera's view with dirt, snow, or ice. Regularly clean the lens for clear visibility.
- This camera is designed as an aid for reversing and parking. Always check your surroundings visually and use your mirrors.
3. Conținutul pachetului
Verificați dacă toate articolele sunt prezente în colet:
- 1x Strex 12 LED Reversing Camera
- 1x Mounting material with 6M RCA cable
- 1x Manual de utilizare

Figura 3.1: Conținutul pachetului. The image displays the Strex 12 LED reversing camera, the included 6-meter RCA cable and power cable, and the product packaging.
4. Specificații
| Caracteristică | Caietul de sarcini |
|---|---|
| Marca | Strex |
| Numărul de model | SP97 |
| Voltage | DC 12V |
| Rezoluție de înregistrare video | 720p |
| Real Viewunghiul ing | 140 de grade |
| Tip de lentile | Unghi larg |
| Tehnologia senzorilor optici | CMOS |
| Dimensiunea senzorului optic | 1/4 inch |
| Tip conector | RCA |
| Tip de instalare | Spate-view munte |
| Dispozitive compatibile | Monitorizați |
| Dimensiunile produsului | 40L x 23l x 23Î milimetri |

Figure 4.1: Camera Dimensions. This image illustrates the physical dimensions of the Strex reversing camera, including its mounting bracket.
5. Configurare și instalare
The Strex 12 LED Reversing Camera is designed for a plug-and-play installation. Follow these general steps:
- Alegeți locația de montare: Select a suitable location at the rear of your vehicle, typically above the license plate, ensuring a clear view and that the camera does not obstruct any vehicle lights or features.
- Montați camera: Use the provided mounting hardware to securely attach the camera. Ensure it is firmly fixed to prevent movement from vibrations.
- Conectare alimentare: Connect the camera's power cable to your vehicle's DC 12V system. It is recommended to connect it to the reverse light circuit so the camera activates automatically when the vehicle is put into reverse.
- Conectați cablul video: Route the 6-meter RCA video cable from the camera to your in-car monitor or head unit. Ensure the cable is routed safely, avoiding moving parts, sharp edges, and excessive heat.
- Funcționalitate de testare: Once all connections are made, turn on your vehicle and engage reverse gear to test the camera's functionality. Adjust the camera angle if necessary for optimal viewing.
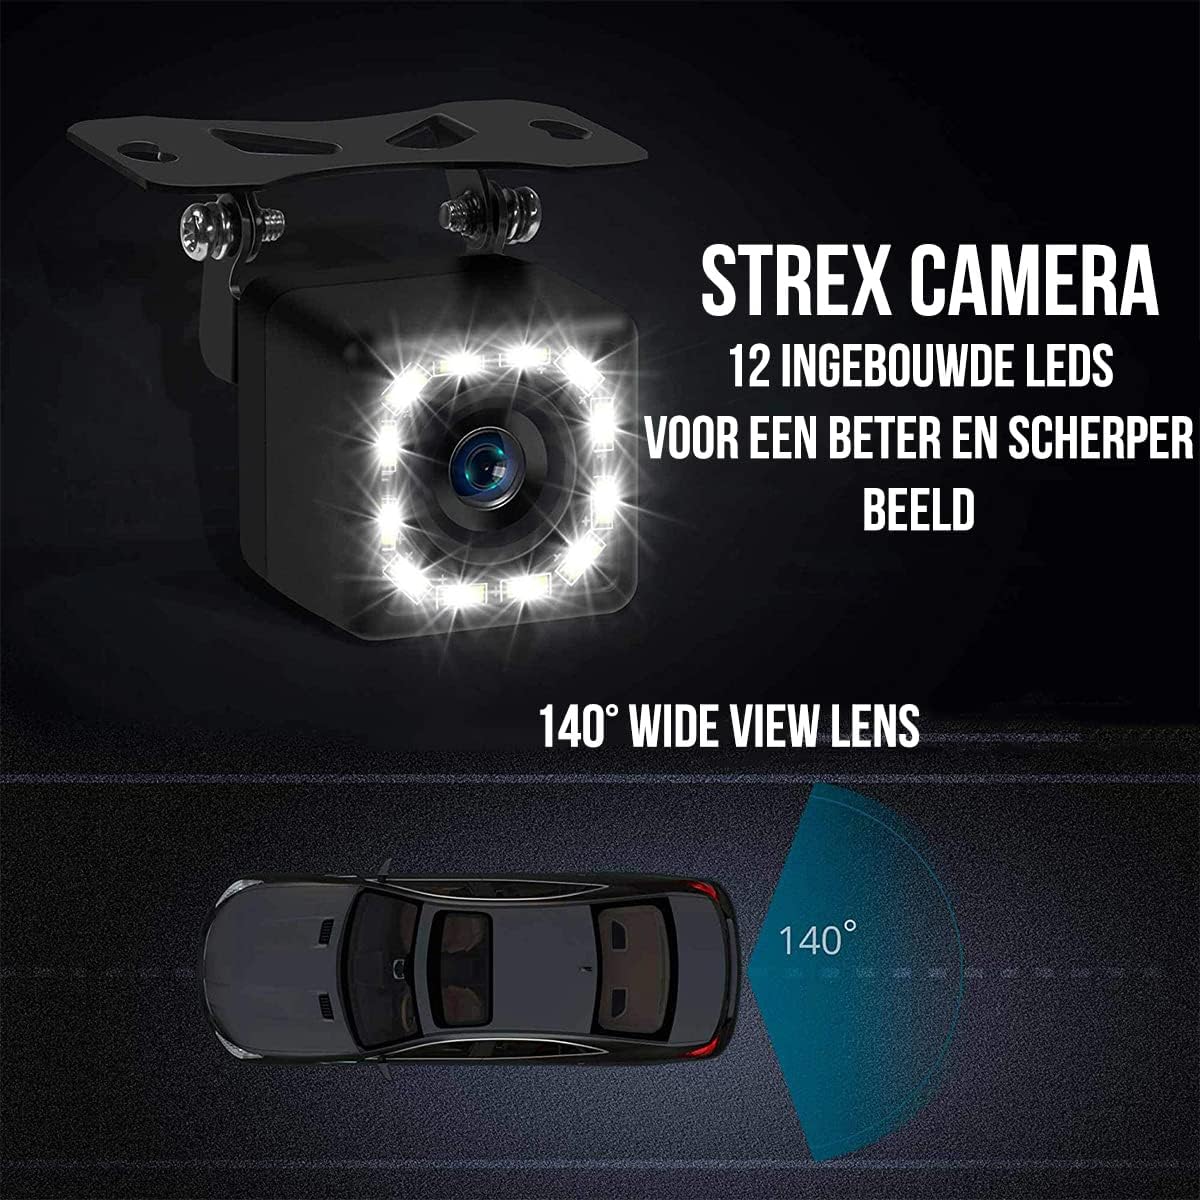
Figure 5.1: Camera Features. This image highlights the 12 built-in LEDs and the 140-degree wide-angle lens of the Strex camera, crucial for installation and operation.
6. Instrucțiuni de utilizare
The Strex 12 LED Reversing Camera provides clear visibility to assist with parking and reversing maneuvers.
- Activare automată: When properly installed, the camera will automatically activate and display the rear view on your connected monitor when you shift your vehicle into reverse gear.
- Clar View: The camera features a 140° wide-angle lens, providing an expansive field of view to detect obstacles and other vehicles.
- Vedere nocturnă îmbunătățită: Equipped with 12 powerful LED lights and 720P resolution, the camera ensures a clear image even in low-light or completely dark conditions.

Figure 6.1: Ultra Clear Image. The camera's advanced lens and chip technology ensure a clear image both during the day and at night.

Figure 6.2: Improved Night Vision. This comparison demonstrates the superior clarity and brightness provided by the Strex camera's night vision capabilities.
7. Întreținere
To ensure the longevity and optimal performance of your Strex Reversing Camera, follow these maintenance guidelines:
- Curățare regulată: Curățați periodic obiectivul camerei cu o lavetă moale,amp cloth to remove dirt, dust, and water spots. Avoid abrasive cleaners that could scratch the lens.
- Verificați conexiunile: Occasionally inspect all cable connections to ensure they are secure and free from corrosion or damage.
- Rezistenta la intemperii: The camera features an IP68 waterproof rating, making it resistant to rain, snow, and other extreme weather conditions. However, avoid direct high-pressure water jets on the camera.

Figure 7.1: Robust and Waterproof Design. The image emphasizes the camera's durable construction and IP68 waterproof rating, ensuring reliable performance in all weather conditions.
8. Depanare
If you encounter issues with your Strex Reversing Camera, refer to the following common problems and solutions:
- Nicio imagine pe monitor:
- Check all power connections to ensure the camera is receiving 12V power.
- Verify the RCA video cable is securely connected to both the camera and the monitor.
- Ensure your monitor is set to the correct input source for the camera.
- Check the vehicle's reverse light circuit for proper function if the camera is wired to it.
- Calitate slabă a imaginii:
- Clean the camera lens to remove any dirt, dust, or moisture.
- Asigurați-vă că nu există obstrucții în câmpul de acțiune al camerei view.
- Verificați dacă există îndoiri sau deteriorări ale cablului video.
- Verify the monitor's display settings (brightness, contrast) are correctly adjusted.
- Semnal intermitent:
- Inspect all cable connections for looseness or corrosion.
- Asigurați-vă că alimentarea cu energie a camerei este stabilă.
Dacă acești pași nu rezolvă problema, vă rugăm să contactați serviciul de asistență pentru clienți.
9. Garanție și asistență
This Strex product comes with a standard manufacturer's warranty. Please refer to the warranty card included in your package or contact your retailer for specific warranty terms and conditions.
For technical support, troubleshooting assistance, or warranty claims, please contact Strex customer service through the retailer where you purchased the product or visit the official Strex website pentru informații de contact.