
1. Introducere
This manual provides detailed instructions for the installation, operation, and maintenance of your Lapetus 4-channel 1080N Hybrid 5-in-1 AHD DVR. This Digital Video Recorder is designed for comprehensive surveillance, supporting multiple camera technologies including Analog, HD-TVI, CVI, AHD, and wired IP cameras. It features H.265+ video compression for efficient storage and offers various recording and remote viewcapacități de ing.
Caracteristici cheie:
- 5-in-1 Hybrid Compatibility: Supports CVBS, AHD, TVI, CVI, and wired IP cameras.
- 1080N Resolution: Oferă un videoclip clar și detaliattage.
- Compresie video H.265+: Advanced compression technology for reduced storage space and improved efficiency compared to H.264.
- Detectarea mișcării: Configurable motion detection zones and real-time alerts.
- Telecomanda Viewing: Accesați mâncare live și înregistratătage via smartphone, tablet, or PC using the XMEYE app.
- Moduri multiple de înregistrare: Continuous, scheduled, and motion-triggered recording options.


2. Ce se află în cutie
Upon unboxing your Lapetus DVR, please verify that all the following components are included:
- Lapetus 4CH 1080N Hybrid 5-in-1 AHD DVR Unit
- Adaptor de alimentare
- Mouse USB
- Manual de utilizare (acest document)
- Mounting Screws for HDD (if applicable)

3. Configurare
3.1 Instalare hardware
Follow these steps to connect your DVR to a monitor and input devices:
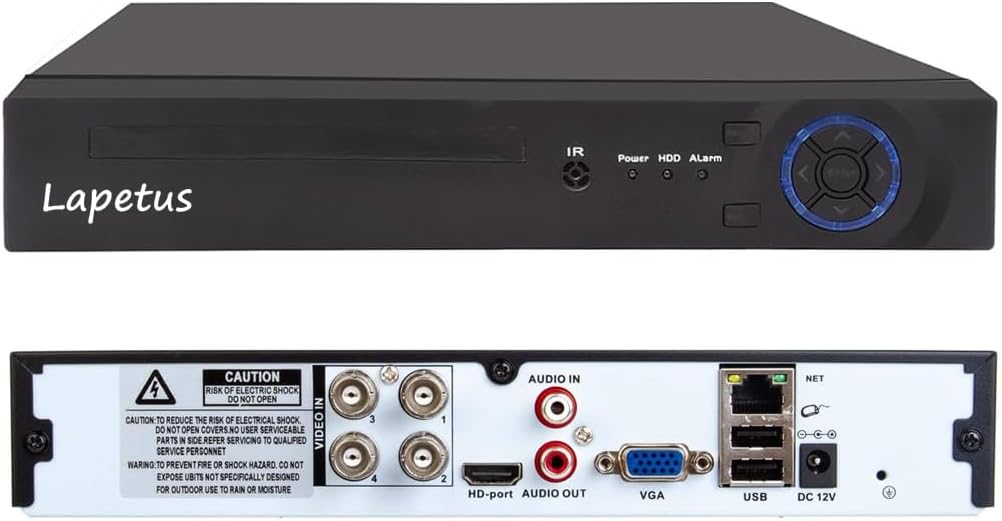
- Connect your monitor to the DVR using either the HDMI or VGA port.
- Conectați mouse-ul USB la unul dintre porturile USB din spatele DVR-ului.
- Connect the power adapter to the DVR's DC 12V input and then to a power outlet.
- Connect your surveillance cameras to the 'VIDEO IN' BNC ports on the back of the DVR. Ensure each camera is also powered.
- Pentru acces de la distanță, conectați un cablu Ethernet de la portul LAN al DVR-ului la router.
3.2 Instalarea hard diskului
The DVR unit does not include a hard drive. A hard drive is required for recording and playback. It is recommended to use a surveillance-grade HDD. Make sure to turn off the DVR before installing or replacing the hard drive.
- Unscrew the top cover of the DVR unit.
- Connect the SATA data cable and power cable from the DVR to the corresponding ports on the hard drive.
- Secure the hard drive to the bottom of the DVR casing using the provided screws.
- Puneți la loc capacul superior și fixați-l cu șuruburi.
3.3 Configurare inițială
Upon first power-up, the DVR will guide you through an initial setup wizard. This typically includes:
- Selectarea limbii preferate.
- Setting the date and time, including time zone.
- Creating a strong password for the administrator account.
- Configuring network settings (DHCP is usually enabled by default).
- Adjusting display resolution to match your monitor (e.g., 1920x1080).
3.4 Configurarea aplicației mobile
Pentru a activa telecomanda viewing, download and configure the XMEYE mobile application:
- Scan the QR code displayed on your DVR's monitor or search for "XMEYE" in your device's app store (Magazin de aplicații iOS, Android APK).
- Install and open the XMEYE app. Register a user account and log in.
- Tap the "+" icon to add a new device. Scan the QR code on your DVR's monitor or manually enter the device's serial number.
- După conectarea cu succes, puteți view live feeds and manage your DVR remotely.

4. Operare
4.1 În direct View
After successful setup, the DVR will display live feeds from connected cameras on your monitor. You can switch between single-camera view, grilă cu mai multe camere view (e.g., 1+7, 2+2), and customize the display layout using the mouse.
4.2 Înregistrare și redare
The DVR supports various recording methods and allows for easy playback of recorded footage.
- Înregistrare continuă: Înregistrări 24/7.
- Înregistrare programată: Setați ore specifice pentru înregistrare.
- Înregistrare detectare mișcare: Înregistrează doar atunci când este detectată mișcare, economisind spațiu de stocare.
To play back footage, access the playback menu, select the desired date and camera, and use the timeline to navigate through recordings. Options for fast forward, fast retreat, and single-frame play are available.

4.3 Detectarea mișcării
Configure motion detection settings to enhance security and optimize storage:
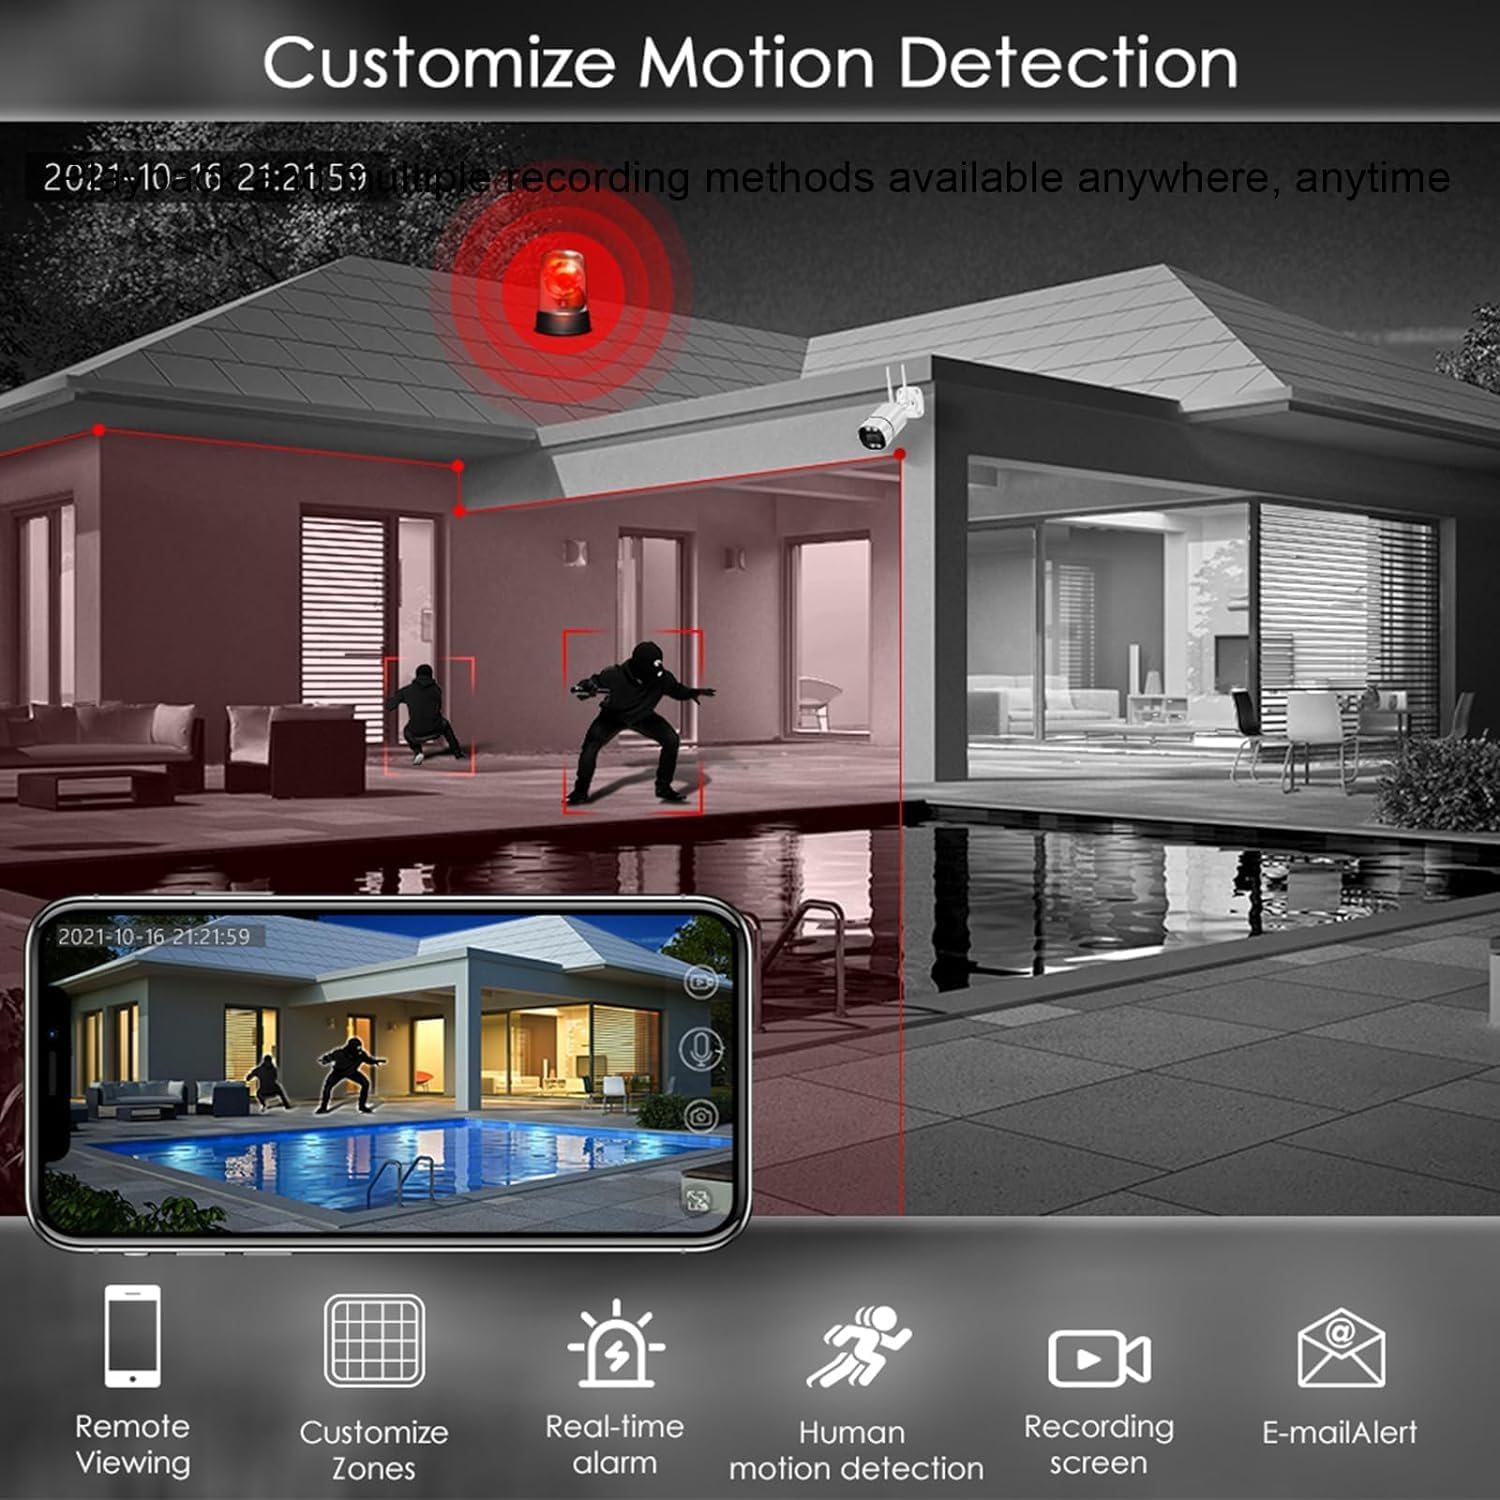
- Personalizați zonele: Definiți zone specifice din raza de acțiune a camerei view pentru detectarea mișcării.
- Real-time Alarm: Receive instant alerts when motion is detected.
- Detectarea mișcării umane: Detecție avansată pentru a minimiza alarmele false.
- E-mail Alert: Receive notifications via email.
4.4 Telecomandă Viewing
Utilize the XMEYE mobile app to view your camera feeds and recorded footage from anywhere with an internet connection. The app provides a user-friendly interface for managing your surveillance system on the go.
5. Întreținere
5.1 Întreținere generală
- Keep the DVR unit in a well-ventilated area to prevent overheating.
- Regularly clean the exterior of the DVR with a soft, dry cloth.
- Asigurați-vă că toate conexiunile prin cablu sunt sigure.
5.2 Managementul stocării
Periodically check the hard drive status and free space. If the hard drive becomes full, older footage will be overwritten unless configured otherwise. You can format the hard drive through the DVR's system settings if needed.
6. Depanare
- Fără ieșire video: Check monitor cable connections (HDMI/VGA) and ensure the monitor is set to the correct input. Verify DVR power.
- Fără înregistrare: Ensure a hard drive is installed and properly formatted. Check recording schedules and motion detection settings.
- Telecomanda ViewProbleme: Verify the DVR has an active internet connection (LAN cable connected to router). Ensure the XMEYE app is correctly configured and the device is added.
- Calitate slabă a imaginii: Check camera connections. Ensure the DVR's display resolution matches your monitor's capabilities.
- DVR Not Powering On: Verificați adaptorul de alimentare și priza.
7. Specificații
- Număr de model: LT-6704NS
- Număr de canale: 4
- Compresie video: H.265 +
- Intrări video: CVBS, AHD, TVI, CVI, Wired IP
- Ieșiri video: hdmi, vga
- Intrări audio: RCA
- Porturi USB: Da
- Interfață de rețea: LAN (Ethernet)
- Alimentare electrică: DC 12V
- Dimensiuni: 13.8 x 10.9 x 3 inci
- Greutatea articolului: 2.49 lire sterline
8. Garanție și asistență
For warranty information and technical support, please refer to the documentation provided with your purchase or contact Lapetus customer service. Protection plans may be available for extended coverage.