
MASO B07VRHZN2J
MASO 10-inch Dual Lens Car DVR Dash Cam User Manual
Model: B07VRHZN2J
1. Informații de siguranță
Please read all instructions carefully before using the device. Improper use may result in damage to the product or vehicle, and may void the warranty. Keep this manual for future reference.
- Nu expuneți dispozitivul la temperaturi extreme, la lumina directă a soarelui pentru perioade lungi de timp sau la umiditate ridicată.
- Asigurați-vă că dispozitivul este montat în siguranță și nu obstrucționează vizibilitatea șoferului. view sau să interfereze cu caracteristicile de siguranță ale vehiculului.
- Folosiți doar adaptorul de alimentare și cablurile furnizate. Utilizarea accesoriilor neautorizate poate provoca daune sau incendii.
- Nu încercați să dezasamblați sau să reparați singur dispozitivul. Contactați asistența pentru clienți pentru asistență.
- Always format the microSD card regularly to ensure optimal recording performance.
2. Conținutul pachetului
Verificați dacă toate articolele enumerate mai jos sunt incluse în pachetul dumneavoastră:
- 1 x MASO 10-inch Dual Camera Car DVR Dash Cam (Mirror Unit)
- 1 x Cameră spate
- 1 x Car Charger (Power Cable)
- Mounting Straps (for mirror unit)
- Manual de utilizare
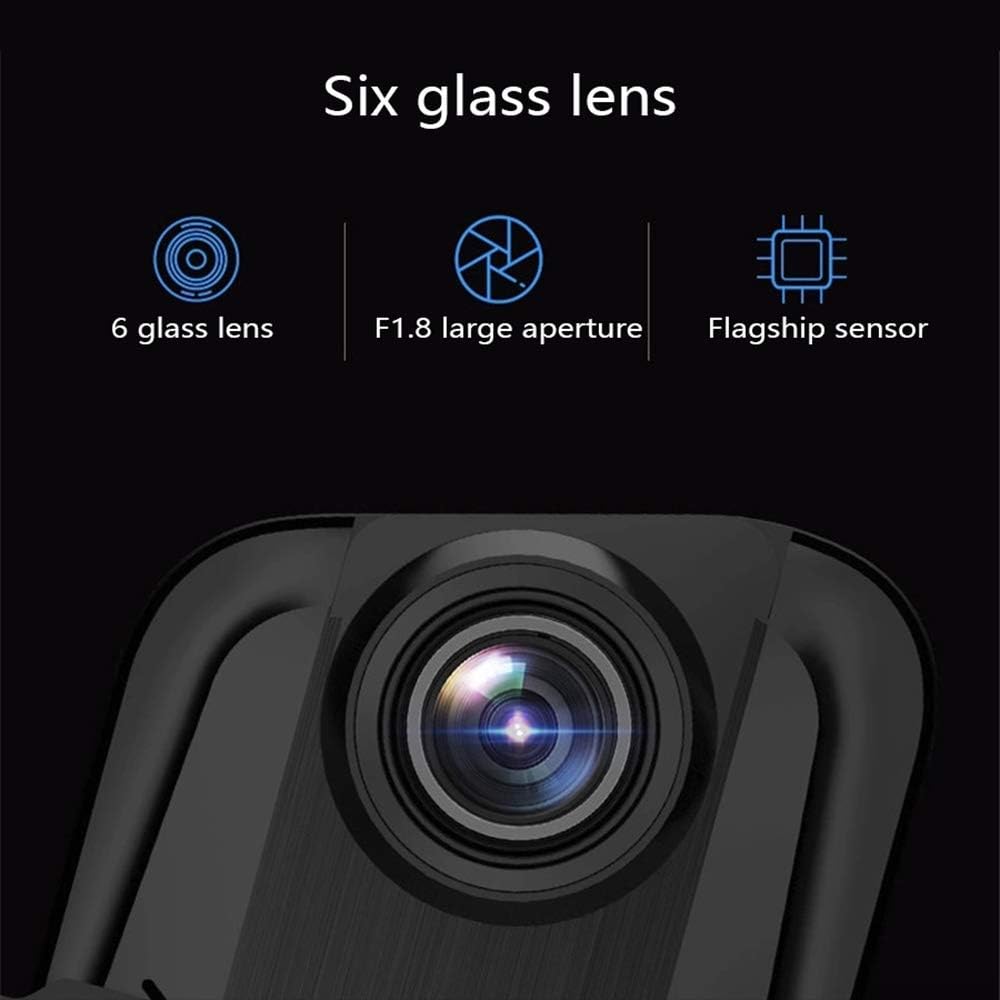
Image: Contents of the MASO 10-inch Dual Lens Car DVR Dash Cam package, including the mirror dash cam, rear camera, car charger, and mounting accessories.
3. Produs terminatview
The MASO 10-inch Dual Lens Car DVR Dash Cam is designed to provide comprehensive video recording for your vehicle, featuring both front and rear cameras, a large touchscreen display, and advanced recording functionalities.
Caracteristici cheie:
- Înregistrare cu cameră duală: Captures front and rear views simultaneously in 1080P resolution.
- Ecran tactil de 10 inci: Large and intuitive interface for easy operation and video playback.
- Tehnologia G-Sensor: Automatically detects collisions and locks footage pentru a preveni suprascrierea.
- Înregistrare în buclă: Seamlessly overwrites older footage with new recordings to optimize storage space.
- Lat Viewunghi: Oferă un domeniu larg de view, minimizing blind spots.
- Viziune nocturnă și WDR: Enhanced low-light performance and Wide Dynamic Range for clear recordings in various lighting conditions.

Imagine: față view of the MASO 10-inch Dual Lens Car DVR Dash Cam mounted on a rearview mirror, displaying a live feed.

Image: Various product views of the MASO dash cam, showing the front, top, and bottom perspectives of the mirror unit.
4. Instalare
4.1 Front Camera (Mirror Unit) Installation
- Secure the dash cam mirror unit over your existing rearview mirror using the provided rubber straps. Ensure it is firmly attached and does not vibrate.
- Connect the car charger cable to the dash cam's power input port and plug the other end into your vehicle's 12V power outlet (cigarette lighter socket).
- Route the power cable neatly along the windshield trim and dashboard to avoid obstructing your view sau care interferează cu condusul.
4.2 Instalarea camerei spate
The rear camera can be installed in two primary ways:
Method 1: Inside the Rear Windshield
- Choose a central location on the inside of your rear windshield that provides a clear view.
- Curățați bine suprafața de montare.
- Atașați camera din spate folosind placa adezivă.
- Route the rear camera cable to the front mirror unit, typically along the headliner and A-pillar trim.

Image: Diagram illustrating the installation of the rear camera inside the rear windshield of a car.
Method 2: Above the Rear License Plate Light (External)
- Mount the rear camera above your vehicle's rear license plate light using screws or adhesive, ensuring it has a clear view a drumului din spate.
- Route the rear camera cable into the vehicle's interior, typically through a grommet or existing wiring channel, and then forward to the front mirror unit.
- Connect the rear camera cable to the designated input port on the main mirror unit.

Image: Diagram illustrating the installation of the rear camera externally, positioned above the rear license plate light of a car.
5. Configurare
5.1 Introducerea cardului MicroSD
Before first use, insert a high-speed (Class 10 or higher) microSD card (not included) into the designated slot on the side of the mirror unit. Ensure the card is inserted correctly until it clicks into place.
5.2 Initial Power On and Formatting
- Once powered, the device will typically turn on automatically with your vehicle's ignition.
- Upon first use or after inserting a new card, the device may prompt you to format the microSD card. It is highly recommended to format the card directly on the device for optimal performance and compatibility.
- Urmați instrucțiunile de pe ecran pentru a finaliza procesul de formatare.
5.3 Setări de bază
Access the settings menu via the touchscreen to configure:
- Data și ora: Set the correct date and time for accurate video timestamps.
- Limbă: Selectați limba preferată.
- Rezoluție video: Confirm 1080P for both front and rear cameras.
- Sensibilitatea senzorului G: Adjust the sensitivity of the G-Sensor (impact detection).
- Durata înregistrării în buclă: Set the length of video segments (e.g., 1, 3, or 5 minutes).

Imagine: Un prim-plan view of the MASO dash cam's 9.66-inch IPS touchscreen display, showing a user interacting with the interface.
6. Instrucțiuni de utilizare
6.1 Înregistrare automată
The dash cam automatically begins recording when the vehicle's ignition is turned on and power is supplied. Recording stops when the ignition is turned off.
6.2 Înregistrare în buclă
The device records video in continuous loops (e.g., 1, 3, or 5-minute segments). When the microSD card is full, the oldest unlocked fileÎnregistrările sunt suprascrise automat de noile înregistrări. Acest lucru asigură înregistrarea continuă fără intervenție manuală.
6.3 Senzor G (Înregistrare de urgență)
In the event of a sudden impact or collision, the built-in G-Sensor will detect the event and automatically lock the current video segment, preventing it from being overwritten by loop recording. These emergency files are stored in a separate folder on the microSD card.
6.4 Viziune nocturnă și WDR
The dash cam features a large aperture lens for improved low-light performance (Night Vision) and Wide Dynamic Range (WDR) technology. WDR helps balance exposure in scenes with high contrast, ensuring clearer video quality in both bright and dark areas.

Image: Illustration of the dash cam's large aperture lens for night vision and a comparison demonstrating the effect of WDR technology on video clarity in varied lighting conditions.
6.5 Operarea ecranului tactil
Navigate the device's menus, settings, and playback functions by tapping and swiping on the 10-inch touchscreen display. Specific icons and gestures will be displayed on-screen for various controls.
6.6 Redare
Pentru a review inregistrat footage:
- Tap the playback icon on the touchscreen.
- Browse through the video files (normal recordings, locked files).
- Selectați a file pentru a-l reda pe ecran.
7. Întreținere
7.1 Curăţarea dispozitivului
- Use a soft, dry cloth to clean the dash cam's screen and lens.
- Nu utilizați agenți de curățare abrazivi sau solvenți, deoarece aceștia pot deteriora suprafața.
- Ensure the lenses are free of dust and smudges for clear recordings.
7.2 Gestionarea cardului MicroSD
- Regularly format the microSD card (at least once a month) to maintain optimal performance and prevent data corruption.
- Faceți o copie de rezervă a videoclipurilor importante files pe un computer înainte de formatare.
- Replace the microSD card if it shows signs of degradation or error messages.
8. Depanare
If you encounter issues with your MASO Dash Cam, refer to the following common solutions:
- Dispozitivul nu pornește: Check the car charger connection and ensure the vehicle's 12V outlet is functioning. Try a different power source if available.
- Probleme de înregistrare (de exemplu, se oprește înregistrarea, înregistrare coruptă files): Format the microSD card in the device. Ensure you are using a high-speed (Class 10 or higher) microSD card. Replace the card if issues persist.
- Screen not responding to touch: Reporniți dispozitivul. Asigurați-vă că ecranul este curat și uscat.
- Camera din spate nu afișează: Check the cable connection between the rear camera and the main unit. Ensure the cable is not damaged.
- Calitate video slabă: Clean the camera lenses. Ensure the protective film has been removed from the lenses. Check settings for correct resolution.
For further assistance, please contact MASO customer support.
9. Specificații
| Caracteristică | Caietul de sarcini |
|---|---|
| Dimensiunea ecranului | 10 inci (ecran tactil) |
| Rezoluție captură video | 1080p (Front & Rear) |
| Format de înregistrare | AVI |
| Depozitare | Supports MicroSD card (not included) |
| G-Senzor | Da |
| Înregistrare în buclă | Da |
| Caracteristici speciale | G-Sensor, Loop Recording, Night Vision, WDR |
| Tehnologia de conectivitate | USB |
| Câmp de View | 170 de grade |
| Metoda de control | Atingere |
| Dimensiunile produsului | 0.59" D x 10.04" L x 2.76" H |
| Greutatea articolului | 1.83 lire sterline |
| Producător | MASO |
10. Garanție și asistență
This product comes with a standard manufacturer's warranty. Please refer to the warranty card included in your package or contact MASO customer support for detailed warranty terms and conditions.
For technical support, troubleshooting, or warranty claims, please visit the official MASO website or contact their customer service department using the contact information provided with your purchase.
Ask a question about this manual
Ask about setup, troubleshooting, compatibility, parts, safety, or missing instructions. Manuals+ will review the question and use this page’s manual context to help answer it.