
DALI IO-6
DALI IO-6 Premium Wireless Over-The-Ear ANC Headphones User Manual
Model: IO-6
Introducere
Welcome to the user manual for your DALI IO-6 Premium Wireless Over-The-Ear ANC Headphones. These headphones are designed to deliver exceptional audio quality with the convenience of wireless connectivity and advanced Active Noise Cancellation (ANC) technology. This manual provides essential information on setup, operation, maintenance, and troubleshooting to ensure you get the most out of your DALI IO-6 headphones.
Conținutul pachetului
Înainte de a începe, vă rugăm să vă asigurați că toate articolele sunt prezente în colet:
- Căști DALI IO-6
- Cablu de încărcare USB
- Cablu audio de 3.5 mm
- Geantă de călătorie (dacă este inclusă)
- Ghid de pornire rapidă
- Perne de urechi
Note: The specific contents may vary slightly based on regional packaging.
Înființat
1. Încărcarea căștilor
Before first use, fully charge your DALI IO-6 headphones. A full charge provides approximately 30 hours of battery life with ANC enabled.
- Connect the supplied USB charging cable to the USB-C port on the headphones.
- Connect the other end of the cable to a USB power adapter (not supplied) or a powered USB port on a computer.
- The LED indicator on the headphones will show charging status. It typically takes about 2 hours for a full charge.

Figure 1: DALI IO-6 headphones, Army Green color, showing the overall design. The USB-C port is located on one of the earcups.
2. Asociere Bluetooth
Pair your DALI IO-6 headphones with your Bluetooth-enabled device (smartphone, tablet, laptop, etc.).
- Asigurați-vă că căștile sunt oprite.
- Press and hold the Power/Bluetooth button on the headphones for approximately 5 seconds until the LED indicator flashes blue and red, indicating pairing mode.
- Pe dispozitiv, accesați setările Bluetooth și activați Bluetooth.
- Select "DALI IO-6" from the list of available devices.
- Once paired, the LED indicator on the headphones will turn solid blue.

Figura 2: Față view căștilor DALI IO-6, prezentareasing the earcups and headband. The control buttons are located on the right earcup.
3. Conexiune prin cablu
For a wired connection, use the supplied 3.5mm audio cable.
- Conectați un capăt al cablului audio de 3.5 mm la mufa de intrare audio a căștilor.
- Conectați celălalt capăt la mufa de ieșire audio de 3.5 mm de pe dispozitiv.
- Căștile vor trece automat în modul cu fir.
Instrucțiuni de operare
Pornire/Oprire
- Pentru a porni: Apăsați și țineți apăsat butonul de pornire timp de 2 secunde.
- Pentru a opri: Apăsați și țineți apăsat butonul de pornire timp de 3 secunde.
Redare muzică și control apeluri
| Funcţie | Acţiune |
|---|---|
| Redare/Pauză | Apăsați o dată butonul multifuncțional. |
| Următoarea piesă | Apăsați butonul multifuncțional de două ori. |
| Piesa anterioară | Apăsați butonul multifuncțional de trei ori. |
| Creșterea volumului | Apăsați butonul Volume +. |
| Reducerea volumului | Apăsați butonul Volum -. |
| Răspundeți/Terminați apelul | Apăsați o dată butonul multifuncțional. |
| Respinge apelul | Apăsați și mențineți apăsat butonul multifuncțional timp de 2 secunde. |
| Activați Asistentul vocal | Apăsați și mențineți apăsat butonul multifuncțional timp de 2 secunde (când nu sunteți în timpul unui apel). |
Anulare activă a zgomotului (ANC) și mod de transparență
The DALI IO-6 features Active Noise Cancellation to reduce ambient noise and a Transparency Mode to allow external sounds to pass through.
- To cycle through ANC modes (ANC On, Transparency Mode, ANC Off): Press the ANC button located on the earcup.
- The LED indicator will change color to indicate the current ANC mode.
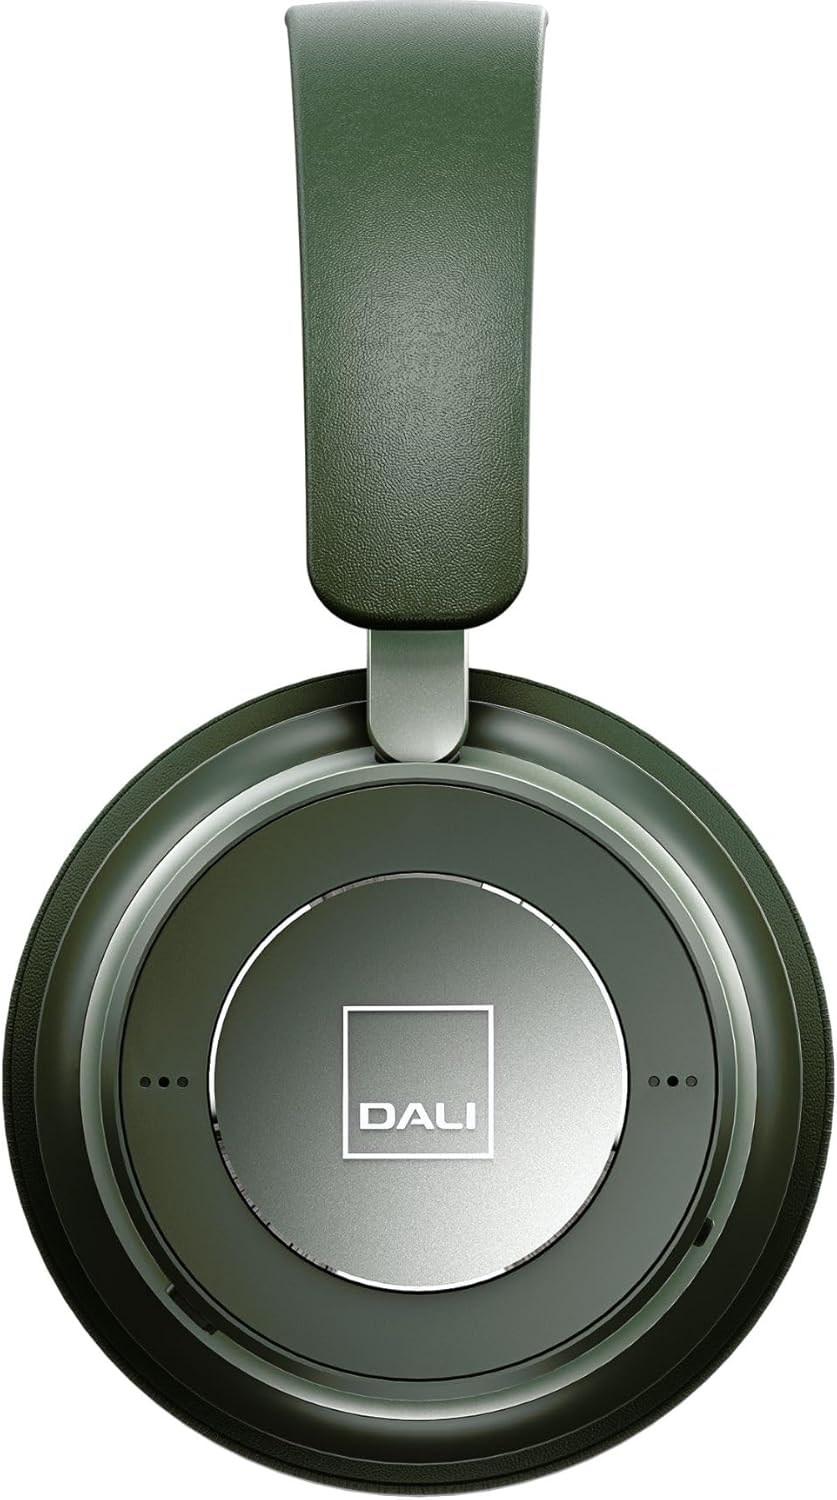
Figura 3: Prim-plan view of the DALI IO-6 earcup, highlighting the DALI logo and the subtle design details. The control buttons are integrated into the earcup design.
Întreținere și îngrijire
Proper care will extend the life and performance of your DALI IO-6 headphones.
- curatenie: Folosiți o lavetă moale și uscată pentru a curăța căștile. Nu utilizați produse de curățare abrazive, solvenți sau substanțe chimice puternice.
- Depozitare: Când nu le utilizați, depozitați căștile în husa lor de protecție pentru a preveni deteriorarea.
- Temperatură: Evitați expunerea căștilor la temperaturi extreme (căldură sau frig) sau la umiditate ridicată.
- Expunerea la lichid: Keep the headphones away from water and other liquids. They are not waterproof.
- Perne de urechi: The ear cushions are designed for comfort and can be replaced if worn. Refer to DALI's official website pentru piese de schimb.

Figure 4: DALI IO-6 headphones resting on a concrete surface, demonstrating their robust build and design. This image highlights the durable materials used.
Depanare
If you encounter issues with your DALI IO-6 headphones, try the following solutions:
| Problemă | Soluție posibilă |
|---|---|
| Fără putere | Asigurați-vă că sunt complet încărcate căștile. Conectați-le la o sursă de alimentare și verificați indicatorul de încărcare. |
| Nu se poate conecta prin Bluetooth |
|
| Fără sunet |
|
| ANC nu funcționează eficient |
|
Specificații
| Caracteristică | Detaliu |
|---|---|
| Numele modelului | IO-6 |
| Tehnologia de conectivitate | Fără fir (Bluetooth 5.0) |
| Controlul zgomotului | Anularea zgomotului activ (ANC) |
| Mufă pentru căști | 3.5 mm Jack |
| Durata de viață a bateriei | Până la 30 ore (cu ANC) |
| Timp de încărcare | Aproximativ. 2 ore |
| Gama de frecvente | 10 - 20000 Hz |
| Impedanta | 25 ohmi |
| Dimensiunea driverului audio | 50 mm |
| Material | Plastic, Spumă cu memorie |
| Dimensiunile produsului | 3.11 x 8.86 x 9.65 inci |
| Greutatea articolului | 2.4 lire sterline |
Garanție și suport
DALI products are built to high standards and come with a limited warranty. For specific warranty terms and conditions, please refer to the warranty card included with your product or visit the official DALI website-ul.
For technical support, service, or replacement parts, please contact DALI customer support through their official website or authorized service centers. You can find more information and contact details at: www.dali-speakers.com
Ask a question about this manual
Ask about setup, troubleshooting, compatibility, parts, safety, or missing instructions. Manuals+ will review the question and use this page’s manual context to help answer it.