
1. Introducere
Welcome to the user manual for your Modecom Oberon Pro Glass USB 3.0 White PC Case. This manual provides essential information for the proper installation, operation, and maintenance of your computer chassis. Please read this manual thoroughly before beginning assembly to ensure correct setup and to prevent damage to your components or the case itself.
Măsuri de siguranță:
- Deconectați întotdeauna sursa de alimentare de la priza de perete înainte de a instala sau demonta orice componente.
- Manipulați componentele cu grijă pentru a evita descărcarea electrostatică (ESD). Luați în considerare utilizarea unei curele antistatice pentru încheietura mâinii.
- A nu se lăsa la îndemâna copiilor piesele mici și materialele de ambalare.
- Asigurați o ventilație adecvată în jurul carcasei pentru a preveni supraîncălzirea.
2. Produs terminatview
The Modecom Oberon Pro Glass is a stylish mid-tower PC case designed to house your computer components. It features a tempered glass side panel for showcasing your build and a clean white finish. The front panel includes convenient USB 3.0 ports for high-speed data transfer.
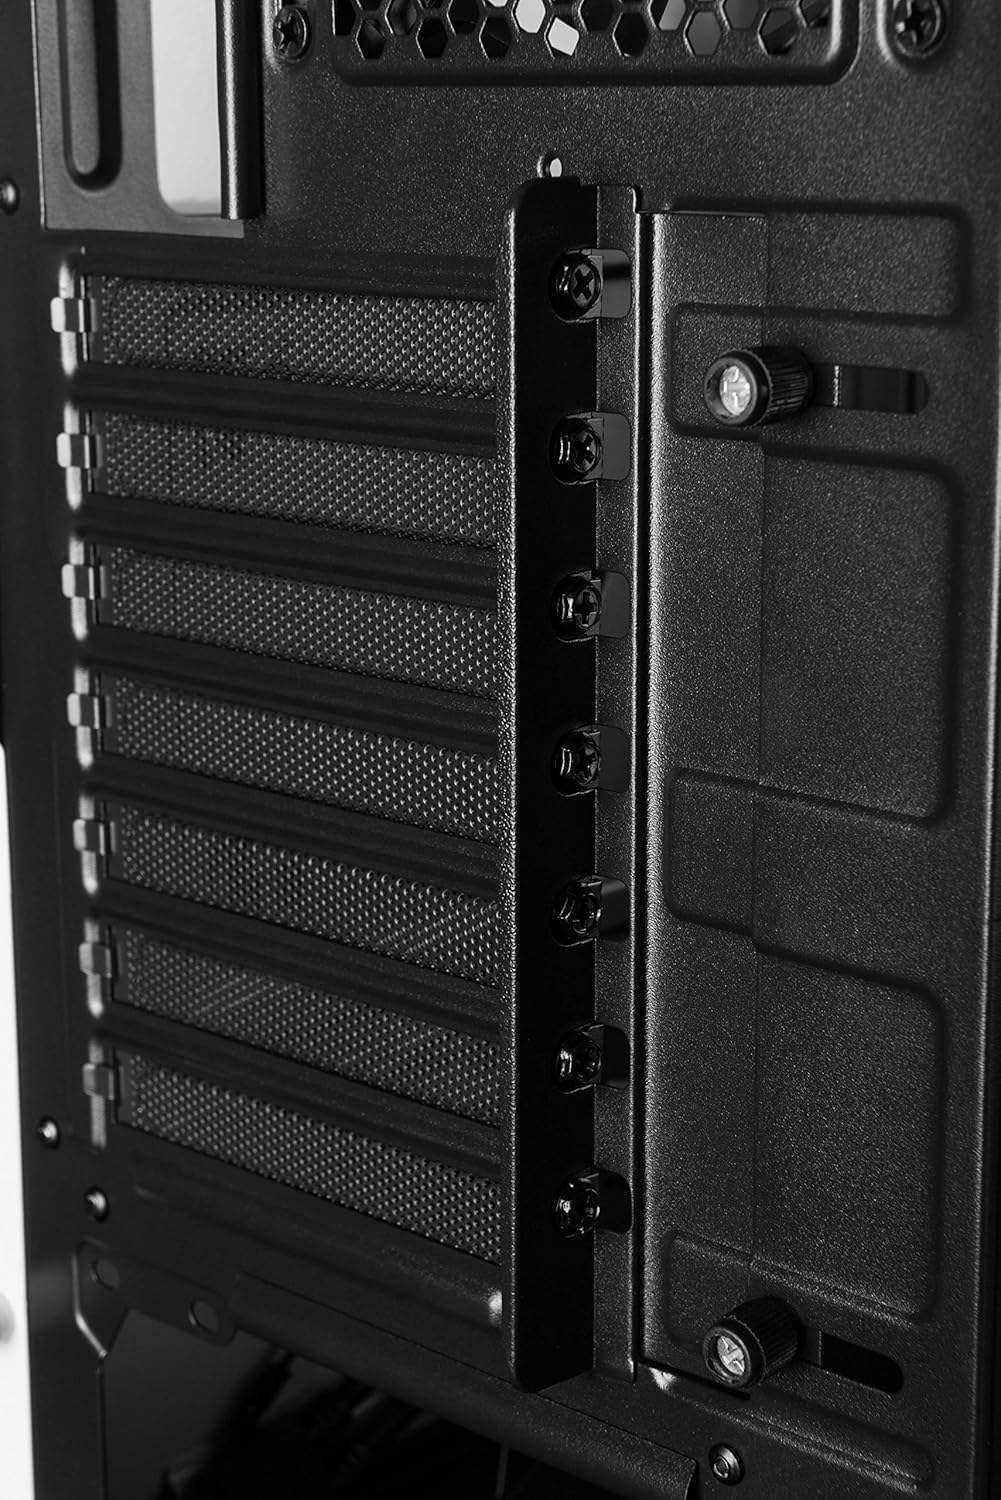
Figura 2.1: Fata-dreapta view of the Modecom Oberon Pro Glass PC Case. This image displays the white exterior, the front panel with ventilation, and the top-mounted I/O ports including USB 3.0.
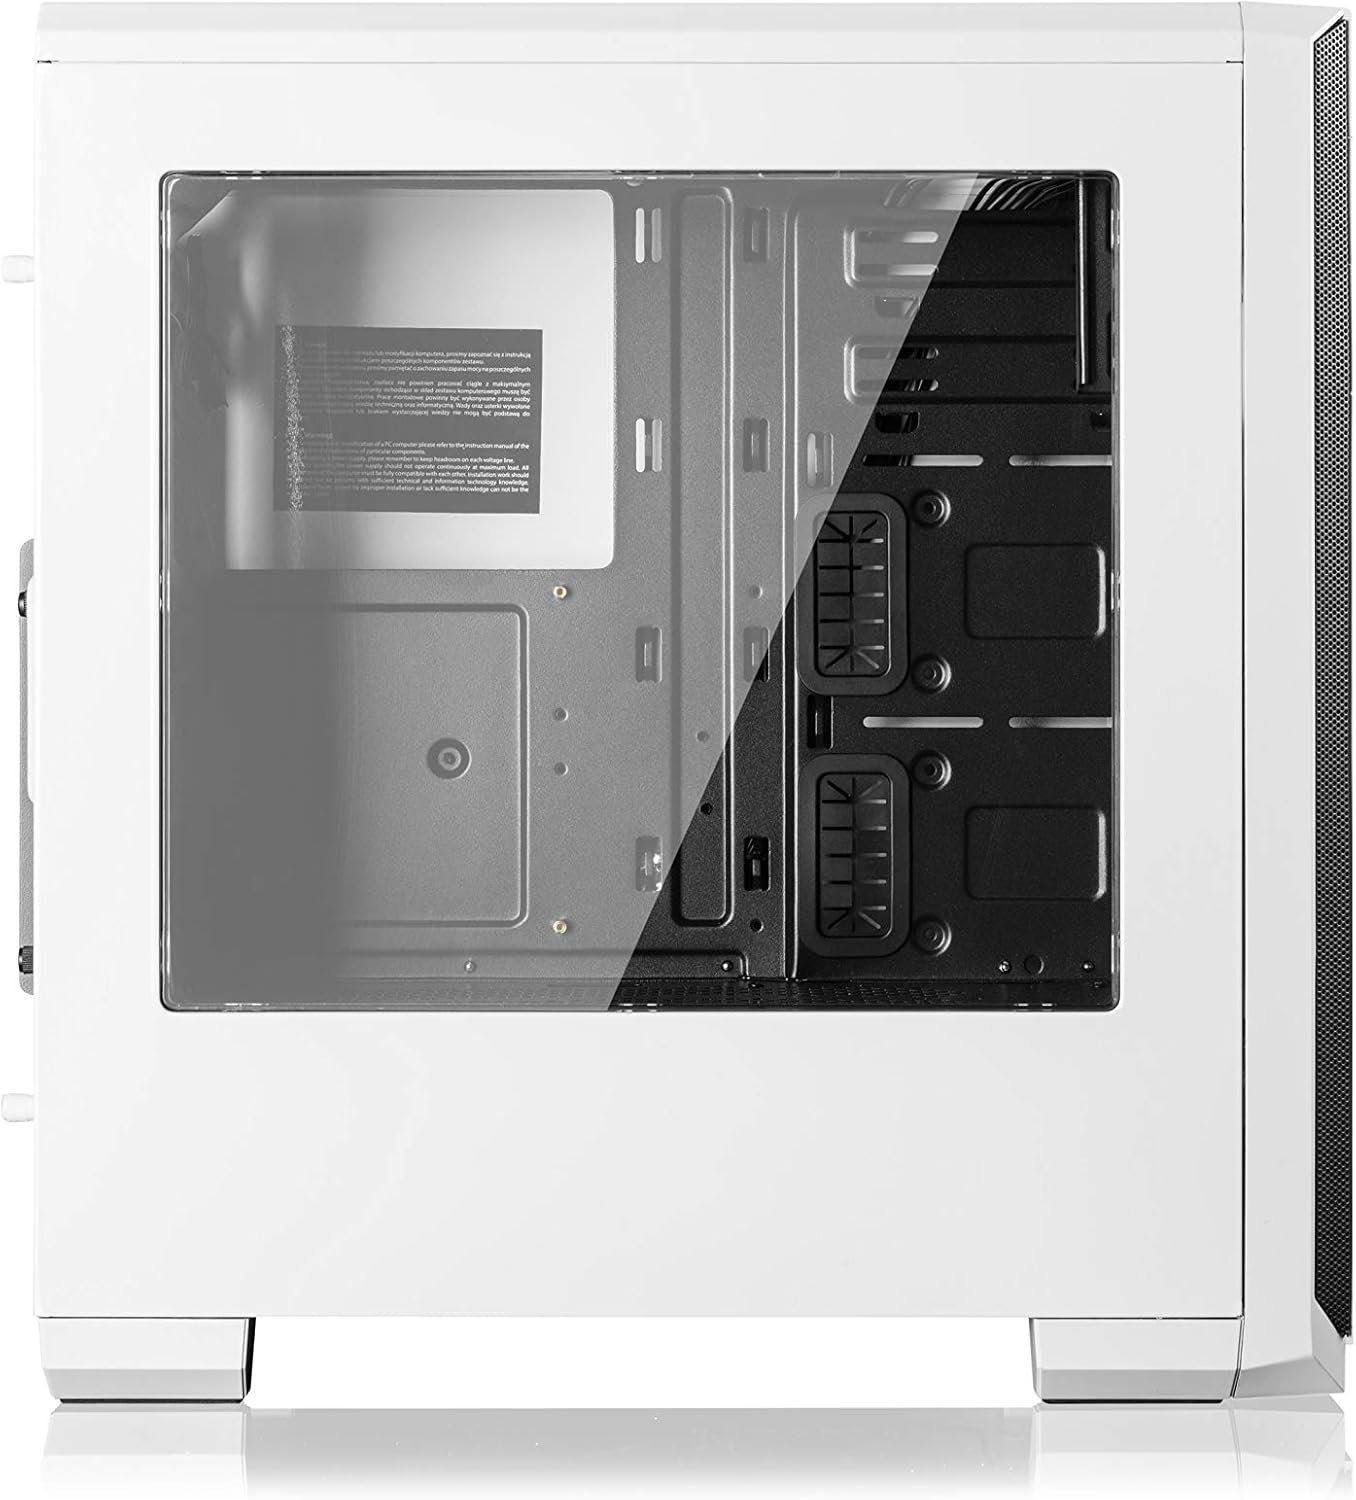
Figura 2.2: Latura view of the Modecom Oberon Pro Glass PC Case, highlighting the tempered glass side panel. This panel allows for a clear view of the internal components when installed.
3. Configurare și instalare
Follow these steps to install your computer components into the Modecom Oberon Pro Glass PC Case.
3.1. Despachetarea și inspecția inițială
- Scoateți cu grijă carcasa PC-ului din ambalaj.
- Verificați carcasa pentru a depista orice semne de deteriorare în timpul transportului. Contactați imediat distribuitorul dacă constatați deteriorarea.
- Remove the tempered glass side panel by unscrewing the thumb screws, typically located at the rear corners of the panel. Set the panel aside on a soft, flat surface to prevent scratches.
3.2. Instalarea plăcii de bază

Figura 3.1: Interior view of the Modecom Oberon Pro Glass PC Case, showing the motherboard tray, drive bays, and cable management cutouts.
- Install the I/O shield that came with your motherboard into the designated opening at the rear of the case.
- Ensure the motherboard standoffs are correctly aligned for your motherboard's form factor (ATX, Micro ATX, or ITX). Install additional standoffs if necessary.
- Așezați cu grijă placa de bază pe distanțiere, aliniind orificiile șuruburilor.
- Fixați placa de bază cu șuruburile furnizate. Nu strângeți prea tare.
3.3. Instalarea unității de alimentare (PSU)
- Position your PSU in the dedicated compartment, typically at the bottom rear of the case.
- Align the screw holes on the PSU with those on the case's rear panel.
- Secure the PSU with the provided screws.
3.4. Instalarea unității de stocare (HDD/SSD)
- Locate the 3.5" HDD bays and 2.5" SSD mounting points within the case.
- For 3.5" HDDs, slide the drive into a bay and secure it with screws or tool-less clips if available.
- For 2.5" SSDs, mount them to the designated trays or screw points, typically behind the motherboard tray or in specific drive cages.
3.5. Expansion Card Installation (GPU, PCIe cards)

Figura 3.2: Interiorul din spate view of the Modecom Oberon Pro Glass PC Case, illustrating the expansion slot covers and thumb screws for securing PCIe cards.
- Remove the necessary expansion slot covers from the rear of the case, corresponding to your card's slot on the motherboard.
- Insert your expansion card (e.g., graphics card) firmly into the PCIe slot on the motherboard.
- Secure the card to the case with the provided screws or retention mechanism.
3.6. Front Panel Connector Installation
- Connect the front panel cables (USB 3.0, HD Audio, Power Switch, Reset Switch, Power LED, HDD LED) to their respective headers on your motherboard. Refer to your motherboard manual for exact pin layouts.
3.7. Gestionarea cablurilor
- Folosește decupajele pentru rutarea cablurilor și punctele de fixare din spatele tăvii plăcii de bază pentru a organiza cablurile. Acest lucru îmbunătățește circulația aerului și aspectul estetic.
- Once all components are installed and cables managed, reattach the tempered glass side panel and secure it with the thumb screws.
4. Funcționare
After successful installation, your PC is ready for operation.
- Pornire: Apăsați butonul de alimentare situat pe panoul superior I/O al carcasei.
- Using Front Panel Ports: The front panel includes USB 3.0 ports and audio jacks. Connect your USB devices (e.g., flash drives, external hard drives) to the USB ports for data transfer. Plug your headphones or microphone into the respective audio jacks.
5. Întreținere
Întreținerea regulată ajută la asigurarea performanței optime și a longevității componentelor PC-ului.
- Filtre de praf: Periodically remove and clean the dust filters (if present) to maintain good airflow and prevent dust buildup inside the case. Use compressed air or a soft brush.
- Curatenie exterioara: Ștergeți suprafețele exterioare ale carcasei cu o lavetă moale șiamp cloth. Avoid abrasive cleaners or solvents that could damage the finish or tempered glass.
- Panou din sticlă securizată: Clean the tempered glass with a glass cleaner and a microfiber cloth to avoid streaks and scratches.
6. Depanare
If you encounter issues, consider the following basic troubleshooting steps:
- Sistemul nu pornește:
- Asigurați-vă că sursa de alimentare este pornită și conectată corect la priza de perete.
- Verificați dacă cablul comutatorului de alimentare de pe panoul frontal este conectat corect la conectorul plăcii de bază.
- Verificați toate conexiunile de alimentare la placa de bază și componente.
- Porturile USB nu funcționează:
- Confirm that the front panel USB 3.0 cable is securely connected to the corresponding header on the motherboard.
- Test with different USB devices.
- Zgomot excesiv:
- Identify the source of the noise (e.g., case fans, CPU cooler fan, GPU fan).
- Ensure all fans are free from obstructions and properly secured.
- Clean any dust buildup on fans.
Pentru probleme mai complexe, consultați manualele componentelor sau solicitați asistență profesională.
7. Specificații
| Caracteristică | Descriere |
|---|---|
| Marca | Modecom |
| Numele modelului | Oberon Pro Glass |
| Numărul de model | AT-OBERON-PG-20-000000-0002 |
| Tipul cazului | Turnul Mijlociu |
| Culoare | Alb |
| Material | Policarbonat (PC) |
| Plăci de bază compatibile | ATX, Micro ATX, ITX |
| Porturi I / O frontale | USB 3.0, Audio In/Out |
| Alimentare electrică | W/O PSU (Power Supply Unit not included) |
| Greutatea articolului | 2 kilograme |
| Codul internațional al articolului | 05901885248370 |
8. Garanție și asistență
Informații despre garanție:
Modecom provides a guarantee of spare parts availability for 2 years from the date of purchase. This ensures that essential components for repair or replacement will be accessible within this period.
Asistență clienți:
For technical assistance, warranty claims, or further inquiries, please refer to the official Modecom website or contact your local retailer where the product was purchased. Ensure you have your product model number and proof of purchase available when seeking support.