
1. Introducere
Thank you for choosing the Gikfun Upgraded USB Mini Amplifier Electronic Transparent Stereo Speaker Box DIY Kit. This kit provides an engaging and educational experience for electronics enthusiasts to build their own functional stereo speakers. Featuring a transparent casing and LED lights that react to music, this amplifier kit is designed for use with various audio sources such as music players, smartphones, tablets, and computers.
2. Informații de siguranță
Vă rugăm să citiți și să înțelegeți toate instrucțiunile de siguranță înainte de a începe asamblarea sau utilizarea. Nerespectarea acestei instrucțiuni poate duce la vătămări corporale sau la deteriorarea produsului.
- Soldering Iron Safety: This kit requires soldering. Always use a 30W (110V) soldering iron and ensure proper ventilation. Wear appropriate safety glasses to protect your eyes.
- Supravegherea adulților: This kit contains small parts and requires soldering. Adult supervision is recommended for younger users.
- Siguranta electrica: Ensure all connections are correct before powering on the device to prevent short circuits or damage.
- Manipularea componentelor: Handle electronic components carefully. Some components are sensitive to static electricity.
- Sursa de alimentare: Use a stable 5V USB power source.
3. Conținutul pachetului
Verify that all components listed below are present in your kit before starting assembly.
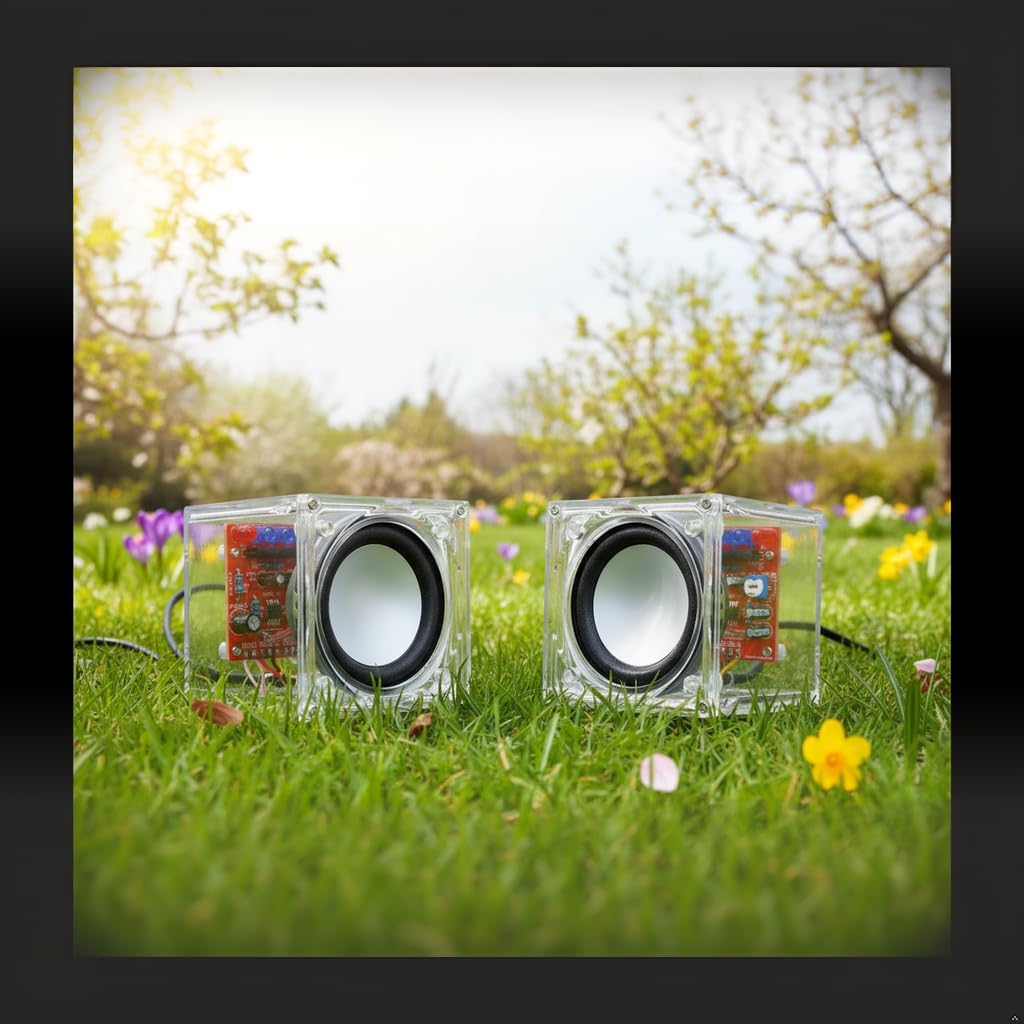
Image: All components of the Gikfun Upgraded USB Mini Amplifier DIY Kit, including circuit boards, speakers, wires, and various electronic parts.
- 2x PCB (placă cu circuite imprimate)
- 2x Speakers (4Ω 3W)
- Transparent Acrylic CasinPanouri g
- Cablu de alimentare USB
- Cablu de intrare audio de 3.5 mm
- Various Electronic Components (ICs, Resistors, Capacitors, LEDs, Potentiometer)
- Nuts, Screws, and Standoffs for assembly
- Fire de conectare
4. Instructiuni de asamblare
Follow these steps carefully to assemble your Gikfun Stereo Speaker Box. Refer to the provided video for visual guidance.
Video: Detailed assembly guide for the Gikfun Mini Electronic Transparent Speaker Box DIY Kit, demonstrating soldering and construction steps.
4.1. Pregătirea componentelor
- Unpack all components and organize them. Identify the two PCB boards, speakers, acrylic panels, and various electronic parts.
- Ensure you have a soldering iron (30W, 110V recommended), solder, wire cutters, and safety glasses.
4.2. Solder Components to PCB
- Integrated Circuit (IC): Carefully place the IC onto its designated pads on the PCB. Ensure correct orientation (notch aligns with the marking on the PCB). Solder one pin first, then check alignment before soldering the remaining pins.
- Rezistoare: Insert and solder all resistors according to their marked values on the PCB.
- Condensatoare: Solder the capacitors, paying attention to polarity for electrolytic capacitors (the longer lead is positive, usually marked with a stripe on the negative side).
- LED-uri: Solder the LEDs. Note that LEDs are polarized; the longer lead is positive (+).
- Potențiometru: Solder the potentiometer for volume control.
- Trim excess leads from all soldered components using wire cutters.

Imagine: Un prim-plan view of one of the speaker's circuit boards with various electronic components already soldered, showing the intricate wiring.
4.3. Conectați firele
- Connect the speaker wires to the designated points on the PCB.
- Connect the USB power cable and 3.5mm audio input cable to the respective pads on the PCB. Ensure correct polarity for power connections.

Image: A clear wiring diagram illustrating how to connect the USB power, 3.5mm audio jack, and speakers to the circuit boards.

Image: An alternative wiring diagram showing the connections between the USB power, 3.5mm audio input, and the two speaker circuit boards.
4.4. Assemble Acrylic Casing
- Carefully peel off the protective film from all acrylic panels.
- Assemble the transparent acrylic panels around the soldered PCB, securing them with the provided nuts and screws. Ensure the PCB is correctly aligned within the casing.
4.5. Mount Speakers
- Mount the speakers into the front panels of the acrylic casing, ensuring the speaker wires are routed correctly and do not interfere with the casinansamblu g.
- Secure the speakers with the remaining screws.
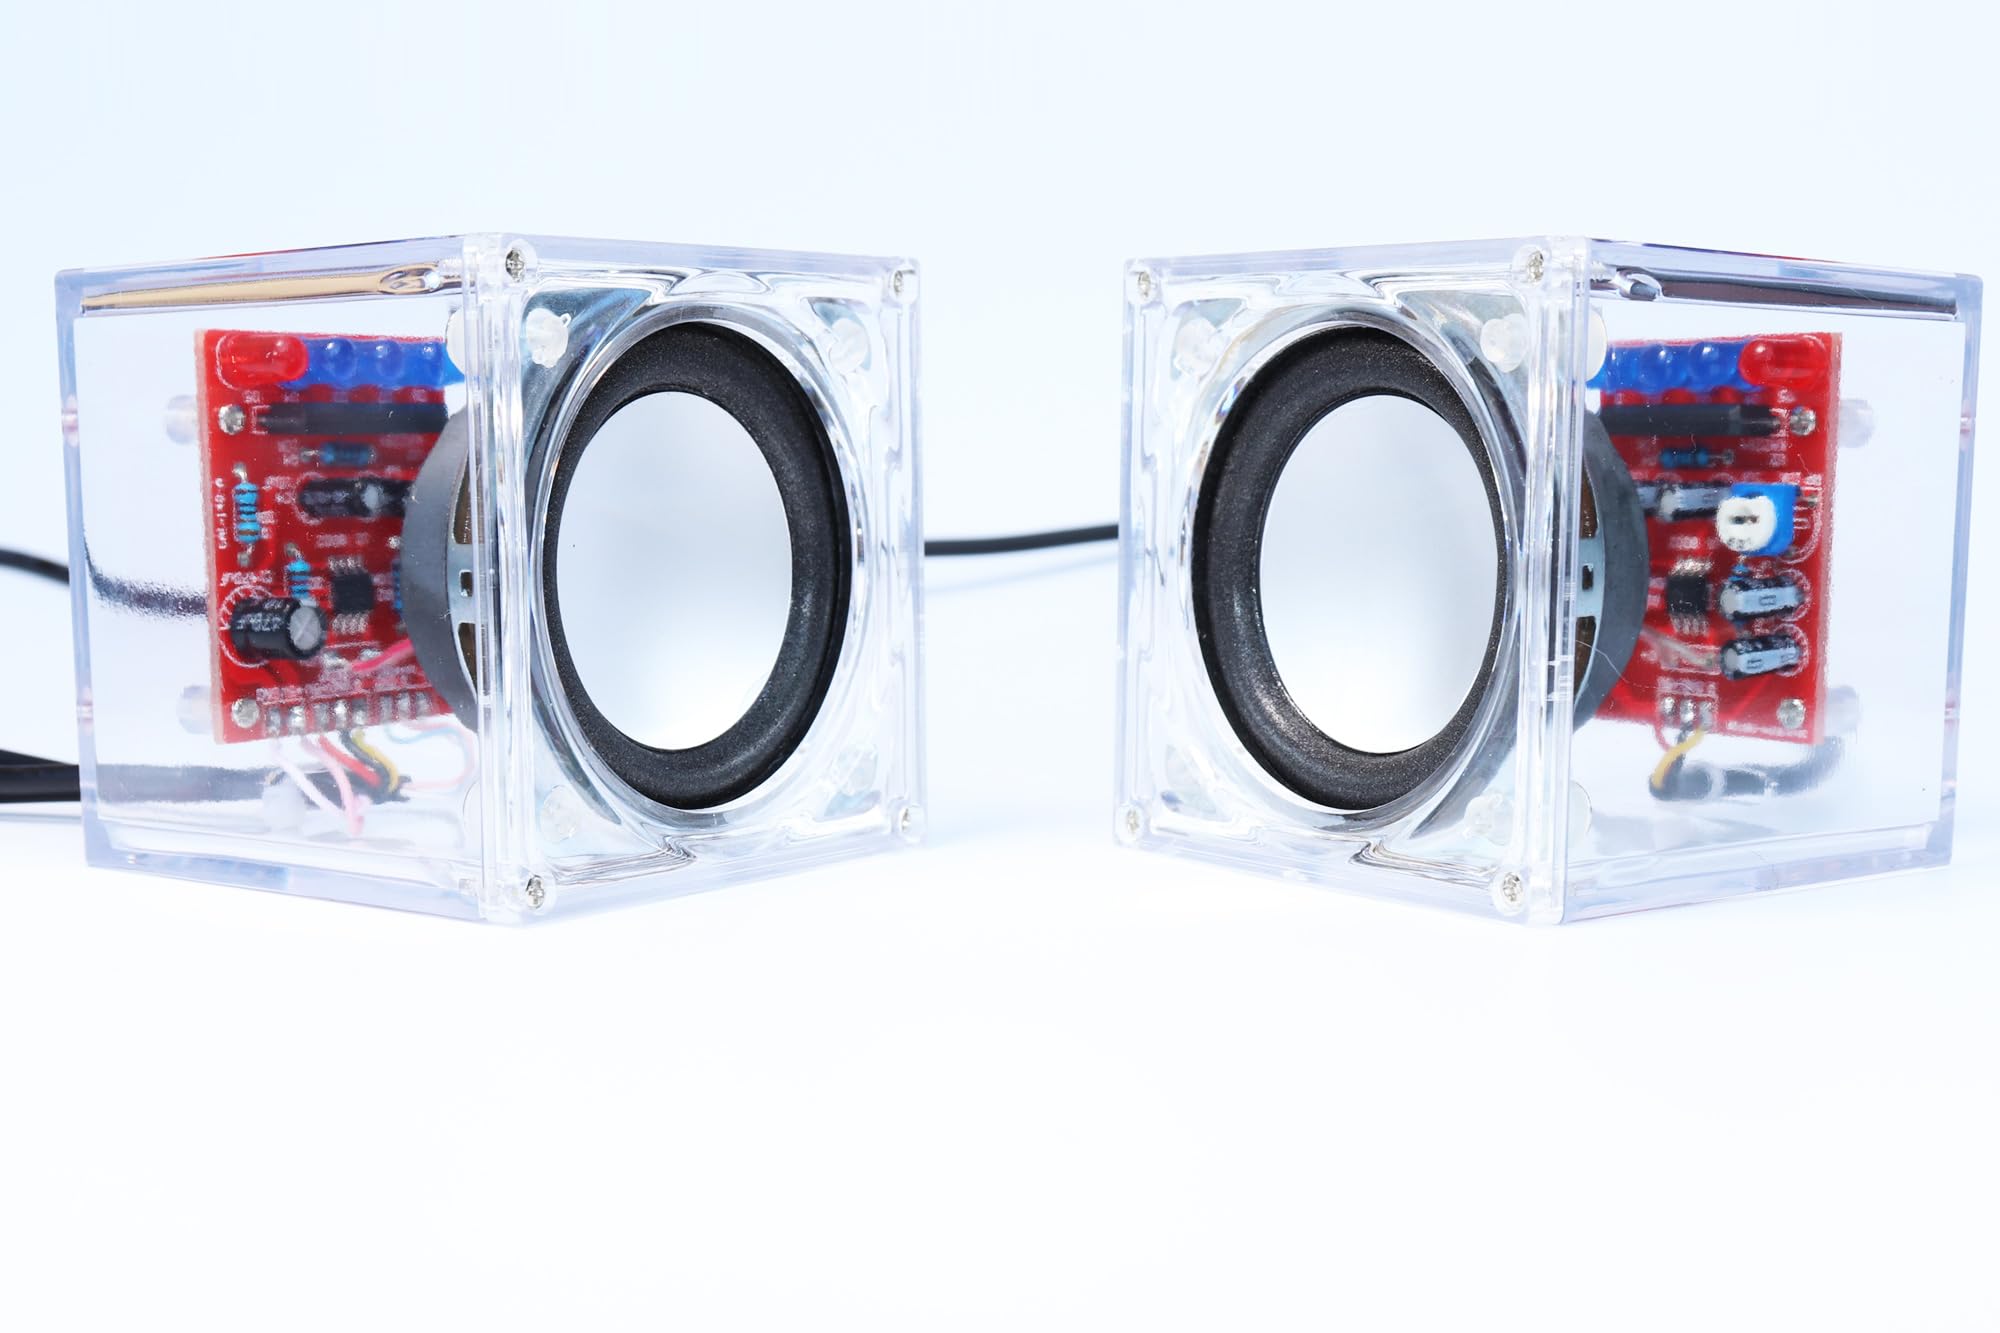
Image: The fully assembled Gikfun USB Mini Amplifier Electronic Transparent Stereo Speaker Box, showcasindesignul său transparent.
5. Instrucțiuni de utilizare
5.1. Pornire
- Connect the USB power cable to a 5V USB power source (e.g., computer USB port, USB wall adapter). The speakers will power on automatically.
5.2. Conectarea la sursa audio
- Plug the 3.5mm audio input cable into the audio jack of your music player, smartphone, tablet, or computer.
- Connect the other end of the 3.5mm audio cable to the input jack on the speaker unit.

Image: The assembled Gikfun speakers connected to a laptop, demonstrating their use as external audio output.

Image: The transparent speakers connected to a smartphone, with the internal LED lights illuminating in response to the music being played.
5.3. Controlul volumului
- Adjust the volume using the potentiometer located on the PCB.
- You can also control the volume from your connected audio source.
5.4. Funcționalitatea luminii LED
- The integrated LED lights will illuminate and react to the music spectrum, providing a visual display synchronized with your audio.

Image: The Gikfun speakers operating in a dimly lit environment, highlighting the vibrant glow of the LED lights.
6. Întreținere
- curatenie: Use a soft, dry cloth to clean the transparent acrylic casing. Avoid abrasive cleaners or solvents that could scratch the surface.
- Depozitare: Depozitați difuzoarele într-un loc răcoros și uscat, ferit de lumina directă a soarelui și de temperaturi extreme.
- Verificare componente: Periodically inspect soldered connections for any signs of loosening or corrosion. Re-solder if necessary.
7. Depanare
| Problemă | Cauza posibila | Soluţie |
|---|---|---|
| Niciun sunet de la difuzoare. |
|
|
| Luminile LED nu funcționează. |
|
|
| Sunet distorsionat. |
|
|
8. Specificații
- Model: EK1918
- Putere difuzor: 3 W pe canal
- Material: PCB, Electronic Components, Transparent Acrylic
- Dimensiuni: 60 x 60 x 62mm (approximate, for each speaker unit)
- Putere de intrare: 5V DC via USB
- Intrare audio: Mufă stereo de 3.5 mm
- Caracteristici speciale: LED lights illuminate according to music spectrum
- Recommended Soldering Iron: 30 W (110 V)
9. Garanție și asistență
This product is a DIY kit, and its functionality depends on correct assembly. Gikfun provides support for genuine product defects and missing components. For technical assistance or inquiries, please contact Gikfun customer support through the retailer's platform where the product was purchased. Please retain your proof of purchase for any warranty claims.